Wallaby

Home Model Engine Machinist Forum

Help Support Home Model Engine Machinist Forum:

This site may earn a commission from merchant affiliate links, including eBay, Amazon, and others.
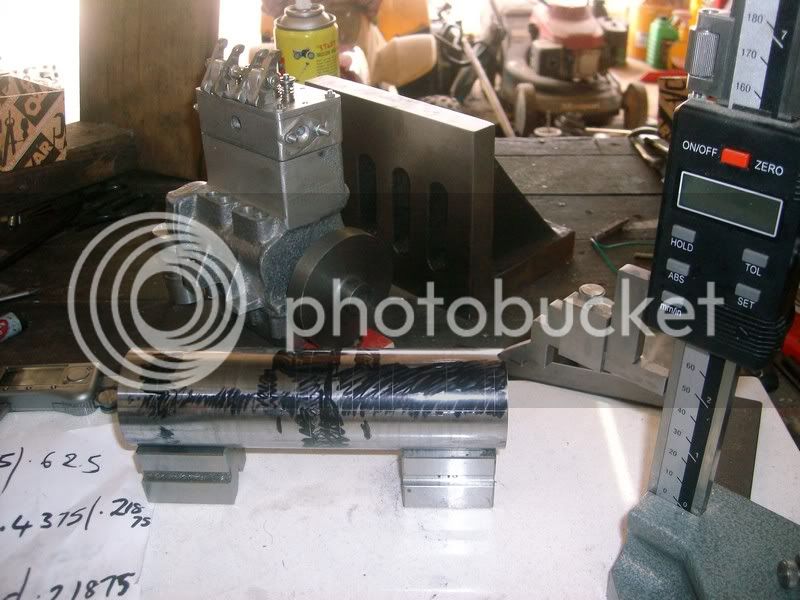
Got a little bit done this weekend.
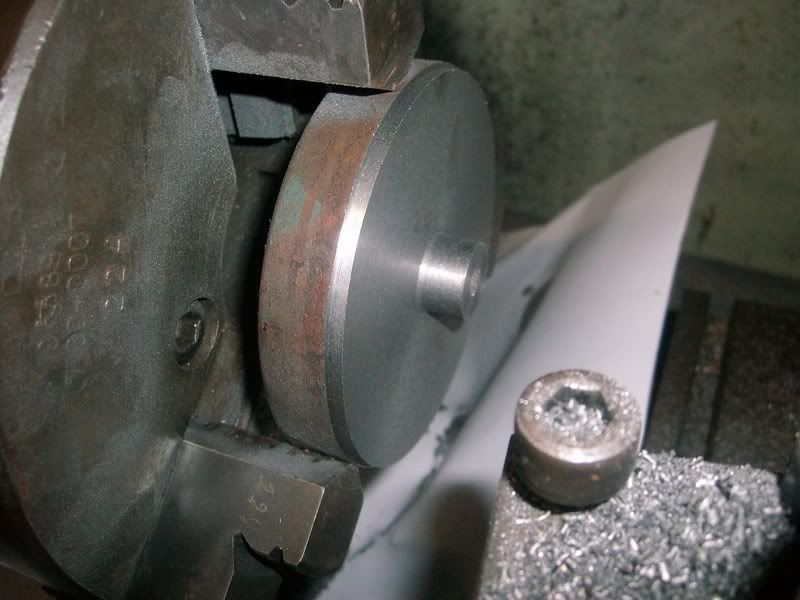
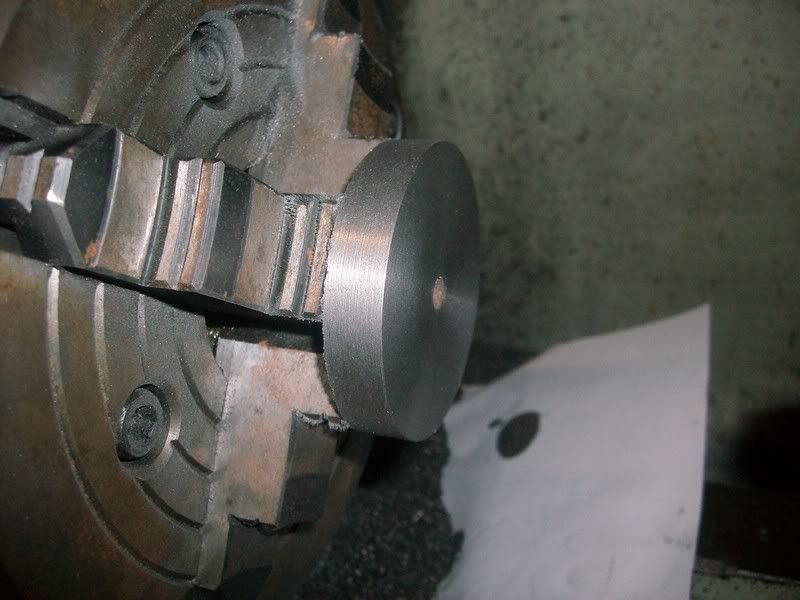
The big end Caps are installed now so I started on the flywheel from a bit of scrap.
I have not done the 10 degree internal taper yet as the smallest boring bar ive got is 3/8,
dont ya just love cast iron :big:
Pete
SANY0048.jpg

SANY0046.jpg

SANY0047.jpg
 
Pete,

Is the taper system that is being done in the flywheel ET's usual method of a small slit tapered slug fitting up against a shoulder and the flywheel clamping up onto it?

If so, it is the best method I have ever used for flywheel fixture. It automatically aligns itself perfectly and when you come to take the flywheel off, just a slight tap and it slides off the shaft as easy as anything.

John
 
Hi Bogs
The Crank end has a 10 degree inc taper going from 7/16 down to a 5/16-26 thread and then 1/4 at the end.
The Flywheel has a matching internal taper.
I'm wondering if i should do both internal and external tapers on the same setting.
At the moment i don't have a boring bar small enough anyway so Ill sleep on it :)
PS Bogs
Any Chance of a thumbnail sketch of the slug system?
 
Hey Pete,

That's looking great!...I'll be talking to you next week Bez... ;D

Dave
 
Hi Dave
So far this week I have no work booked in at all, so with any luck ill get the crank mostly done by the weekend.
of course this could all change with one phone call, so we will see what we see.
Pete
PS
u will love em Dave :big:
 
Pete,

Your wish is my command

loosetaperfitting.jpg


I did my cutting at exactly the same setting.

For the flywheel, I bored from small at the front to large at the back, then turned my taper cone onto the end of a bar so that the fit was perfect inside the flywheel. Then the bar was drilled and bored to a nice slip fit onto the crank. The slot was just cut with a hacksaw after I had the taper length with the small end about 3/32" in from the front of the flywheel, and the same protruding out of the back then parted off.

It gives you a few tries at making the crank taper rather than the one shot you have at the moment.

I hope this helps.


John
 
Thanks for that Bogs
I need to think about that a bit
I'm a little concerned that the wallaby crank would end up too weak if I took it down under 5/16 as everything about this engine so far tells me screamer :big:
I guess I could make the taper larger to use a thicker shank.
Is there any reason why you machined the internal taper from the small end?
I had intended going from the big end.
would there be a problem doing that?
Pete
 
Pete,

I can guarantee that you won't have a screamer on your hands. I don't think any of ET's engines ever did that, even ones for fitting to aircraft.

The reason you do the internal female taper first from the small to large is that you don't have to move the topslide at all to cut the male taper, it stays at the exact setting you used for the female You just need to swap the tool from a boring one to an outside cutting tool, so the tapers should be at exactly the same angle. This is of course if you are using the topslide (compound) to cut your tapers.

John
 
Thanks Bogs
maybe not a screamer then :big:
But ill be happy with a nice idle and good carby response.
(failing that, then just a runner LOL)
Pete
 
Hi Tim
I guess the radius would ensure everything locked up?
and for strength.
Pete


Sharp corners are stress points for fracture points to start. They should be avoided when possible.

A radius makes for a stronger corner.


Ron
 
Hi ron
as soon as I pressed enter, my brain engaged LOL
(too little too late :big:)
Pete
 
Just thought I would say I am enjoying watching your build so you would know others are looking in. Thanks for sharing!
 
Hi Danstir
Thanks for dropping in, I really enjoy the social side of Model engineering as well as building the engine itself.
By posting I find it helps me focus and gives me access to far better machinists then myself and its also great to chat with like minded people from all over the world. :)
Pete
 
I was hoping to start machining the crank today but the live center that came with my old lathe is on its last legs, so I think ill put off the crank till I can buy another.
Otherwise the crank blank is marked out and center drilled ready to go.
Pete
SANY0049.jpg
 
That's looking awesome Pete, I always liked the "industrial" look of the Wallaby.....

Dave

 
Hi Dave
ETW had a style all of his own that's for sure.
I like what Ive seen of his, but his plans could have done with an edit or two :big:
maybe tomorrow ill setup the angle plate on the mill and start thinking about boring the crank and Cam tunnels.
Pete
 

Doing a bang up job there Pete.

I'm enjoying the thread a lot. Thank you.

Ron

 
Thanks Ron
I'm still holding my breath a little bit in case I come upon more plan errors that could distroy all my work.
unfortunately its going to be some time before I know it will run!
but I'm learning heaps :big:
Pete
 

Latest posts

Back
Top