


- Joined
- Jan 19, 2010
- Messages
- 1,193
- Reaction score
- 41
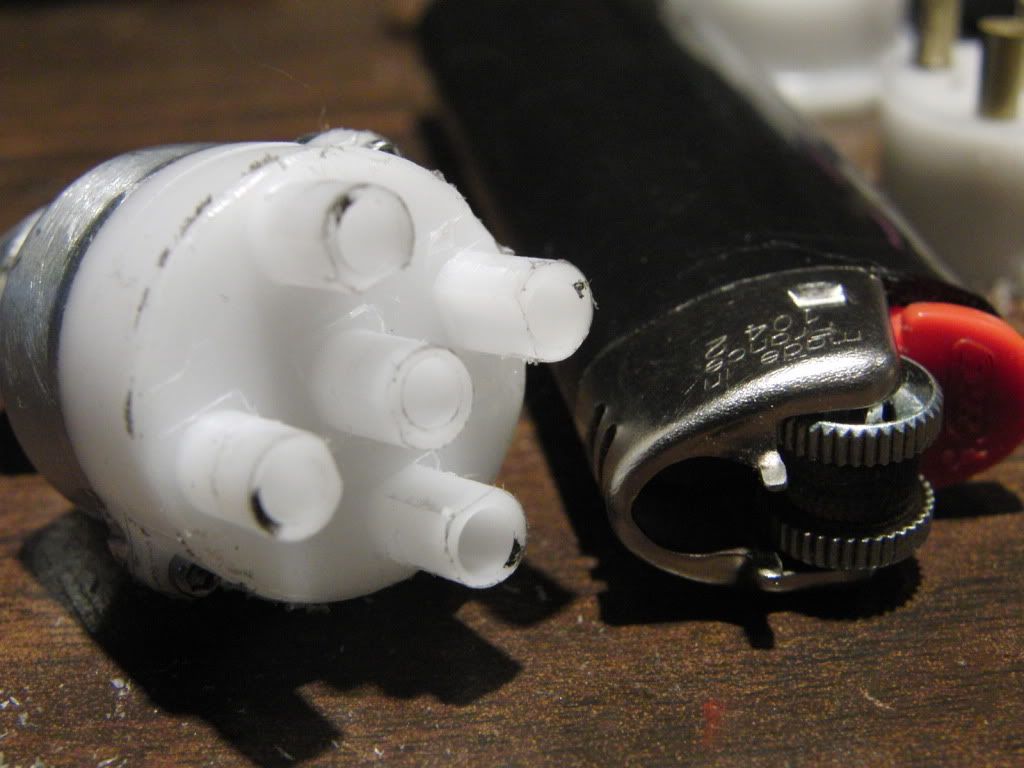
OK, for this weekends work I decided (FINALLY!!!!) on a design for the distributer.
It is for the most part a smaller version of George's inline 4. However I will be using screws to hold the distributer cap on.
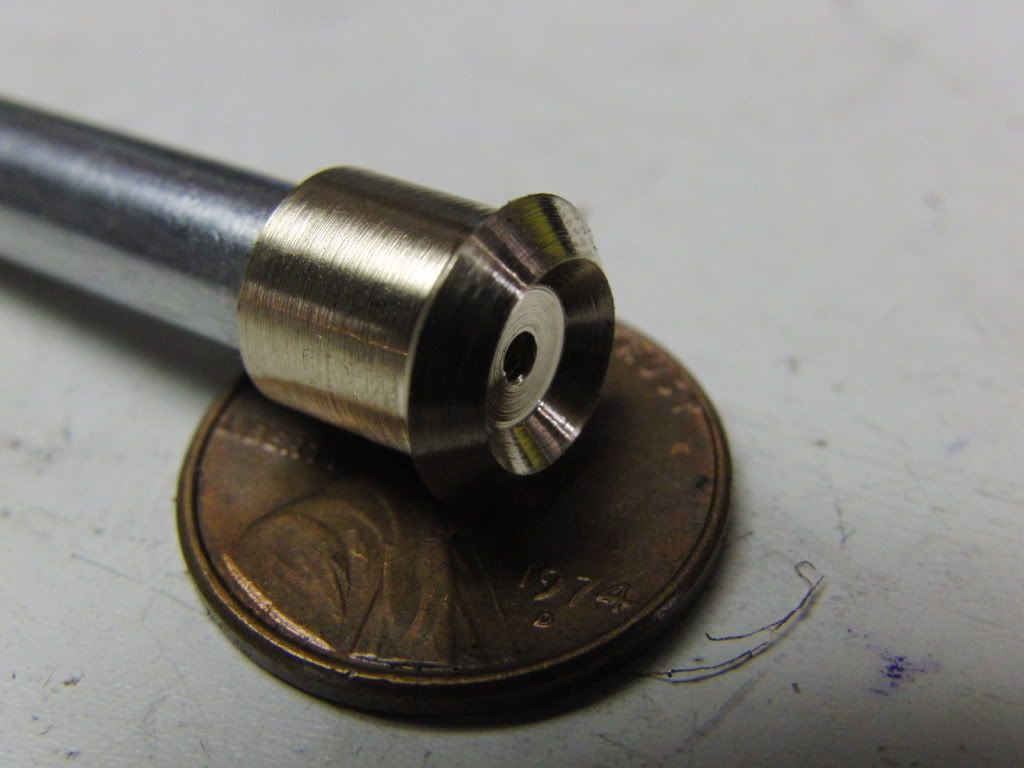
I started by getting a basic shape from a 1 inch bar of aluminum.
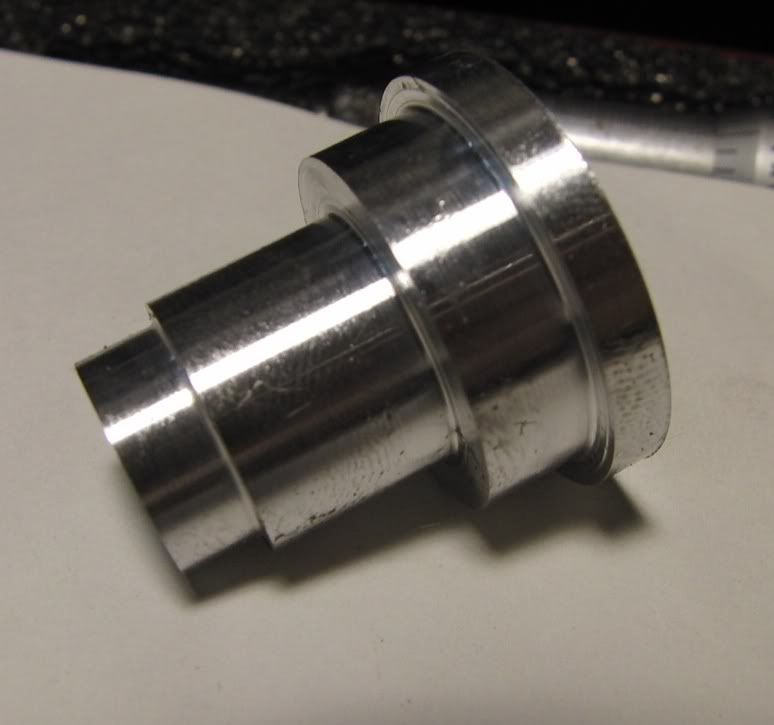
I left it large on the shaft so I could fit it in the collet all the way to the large end.
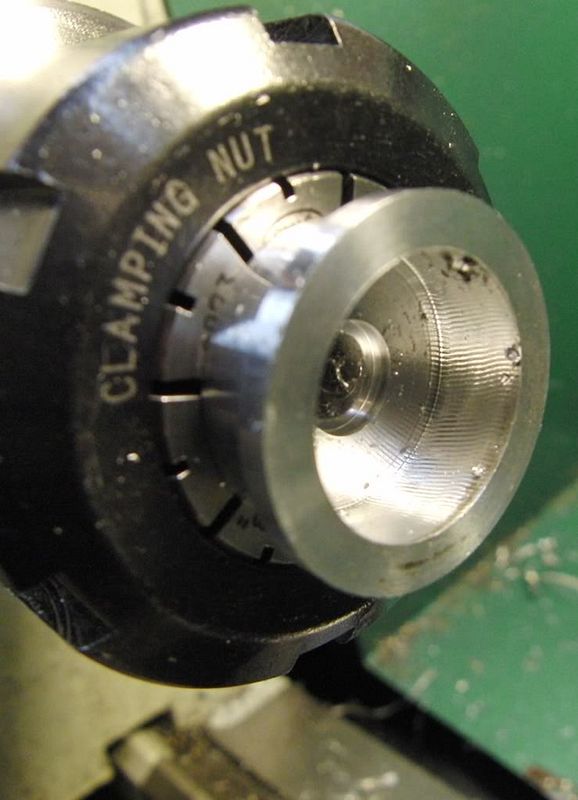
I then bored out the inside of the top.
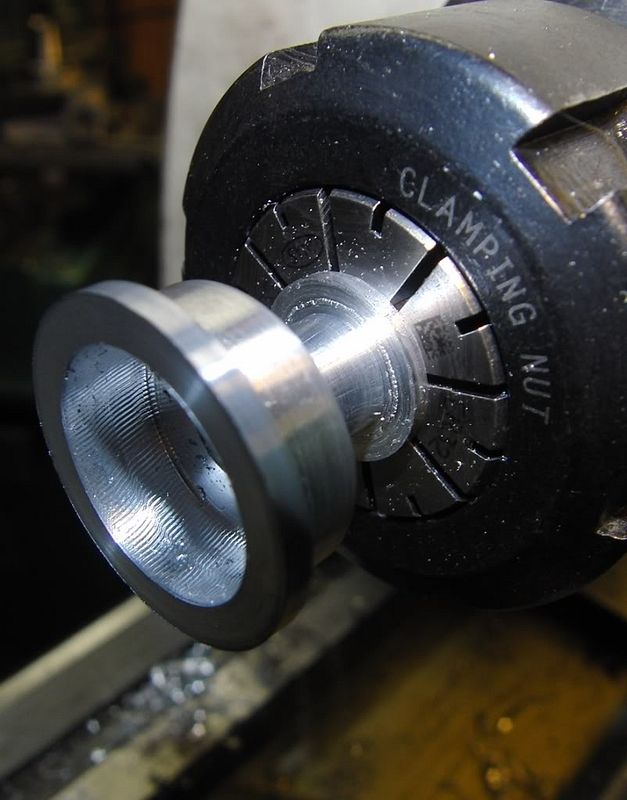
Next I put a 1/2" collet in and turned down the shaft to a more pleasing 3/8"
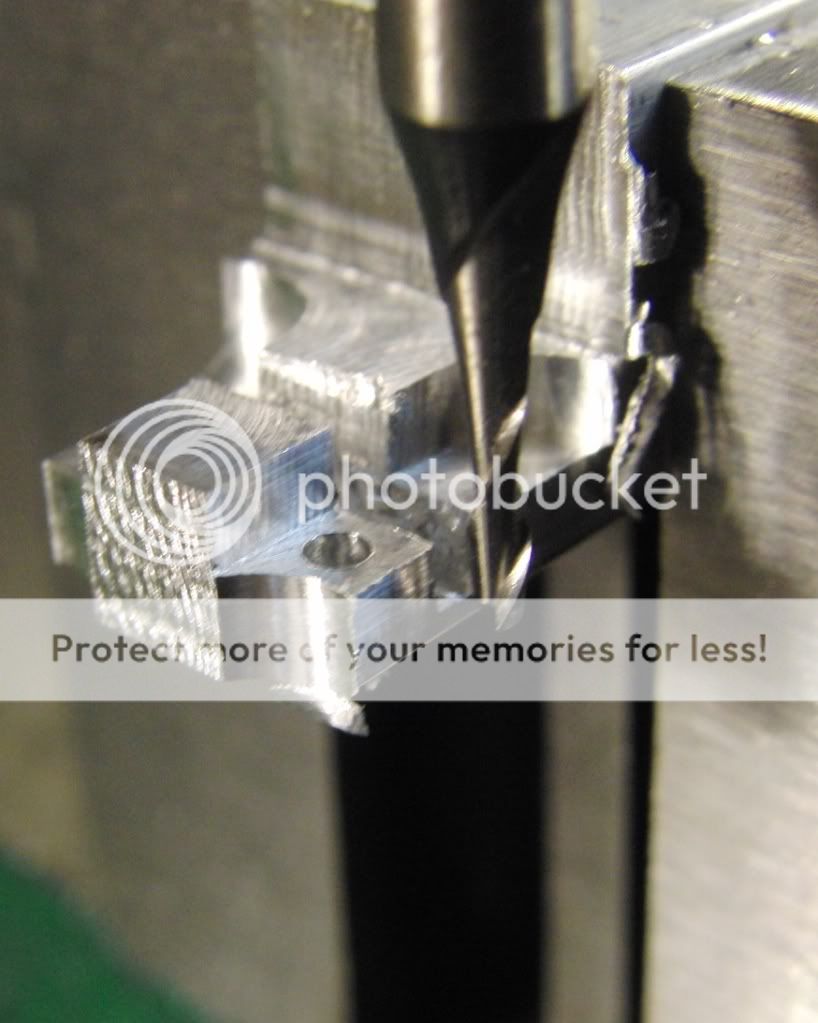
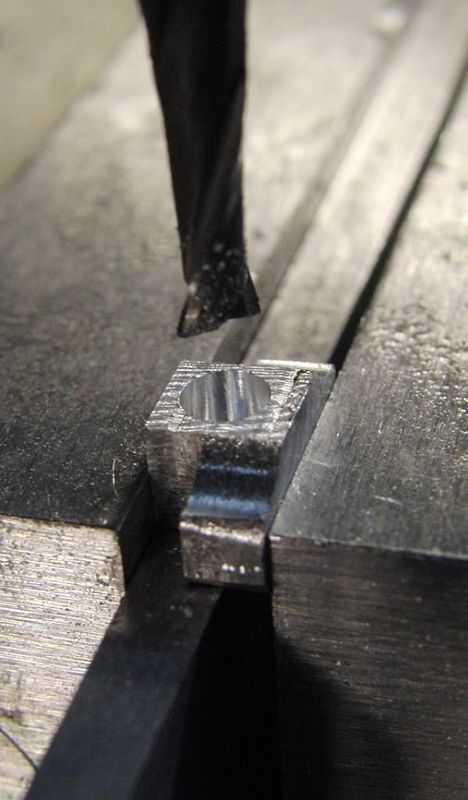
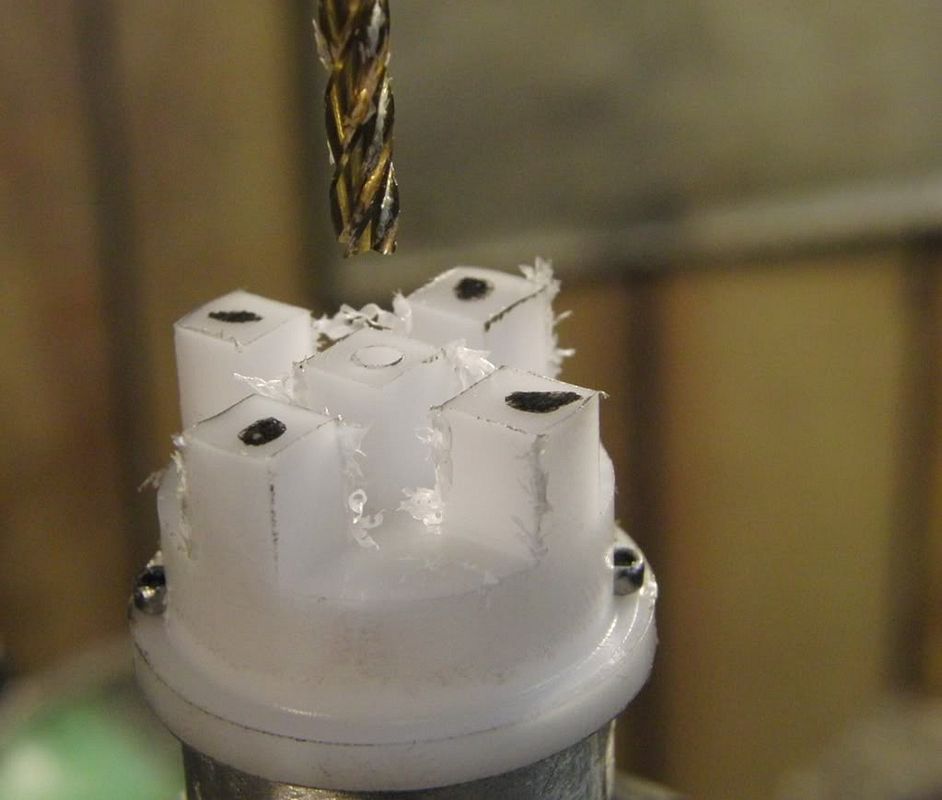
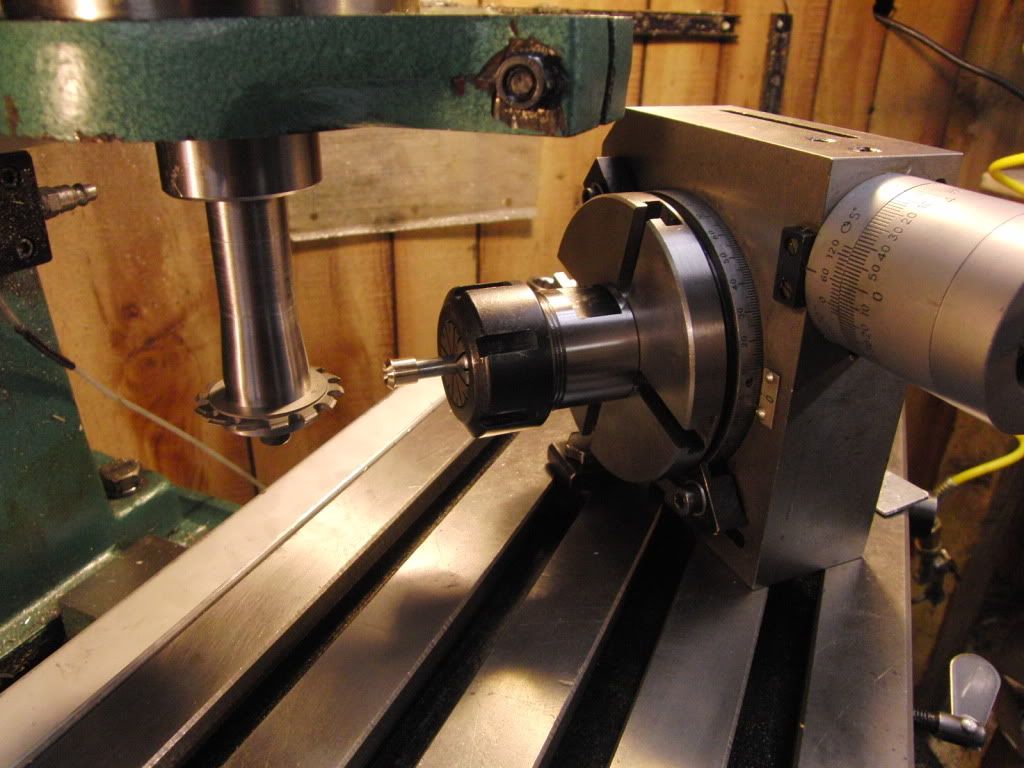
Then off to the R/T to drill the holes for the cap and magnet bracket.
also, I milled out the screw tabs on the outside of the distributer, this way I can get it closer to the engine block.
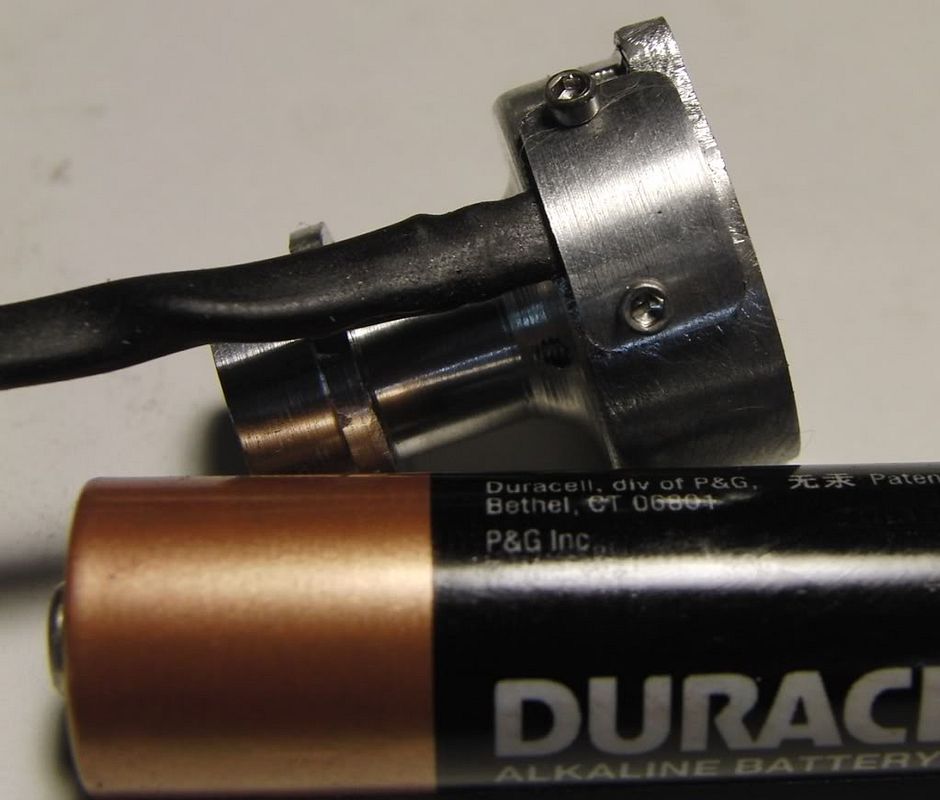
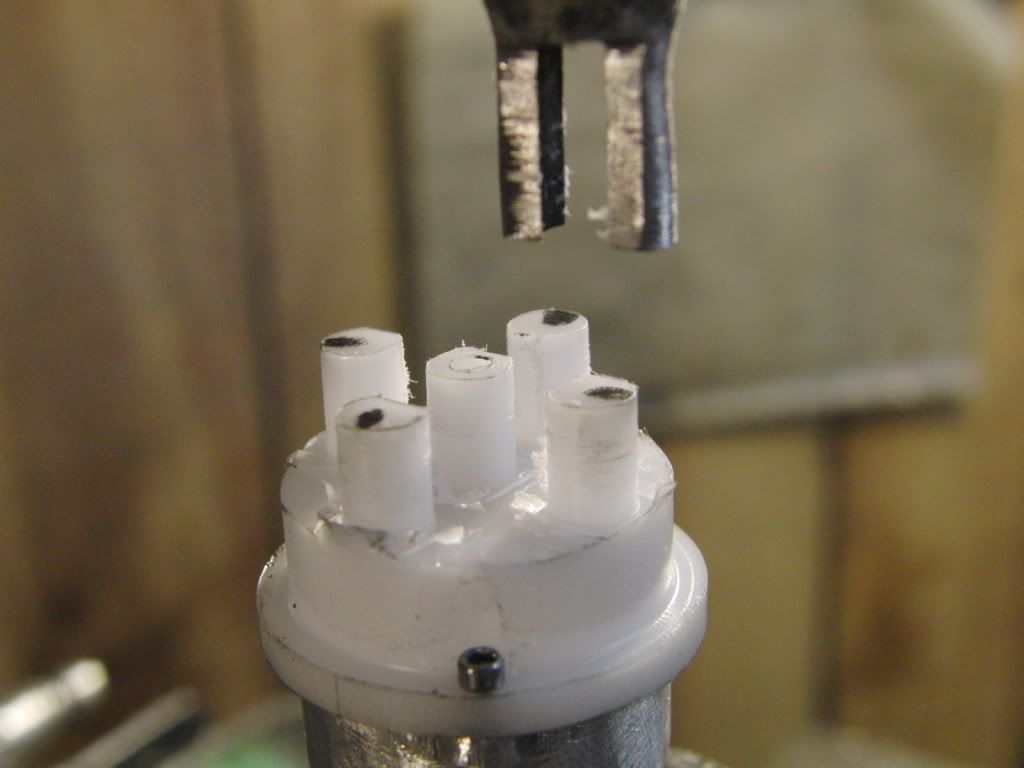
here is the rough distributer.
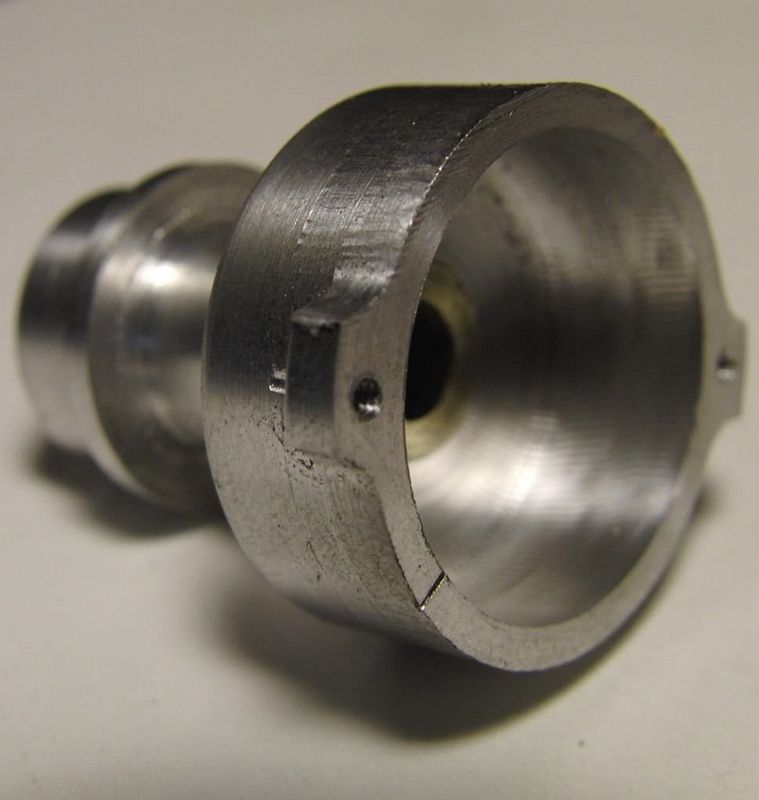
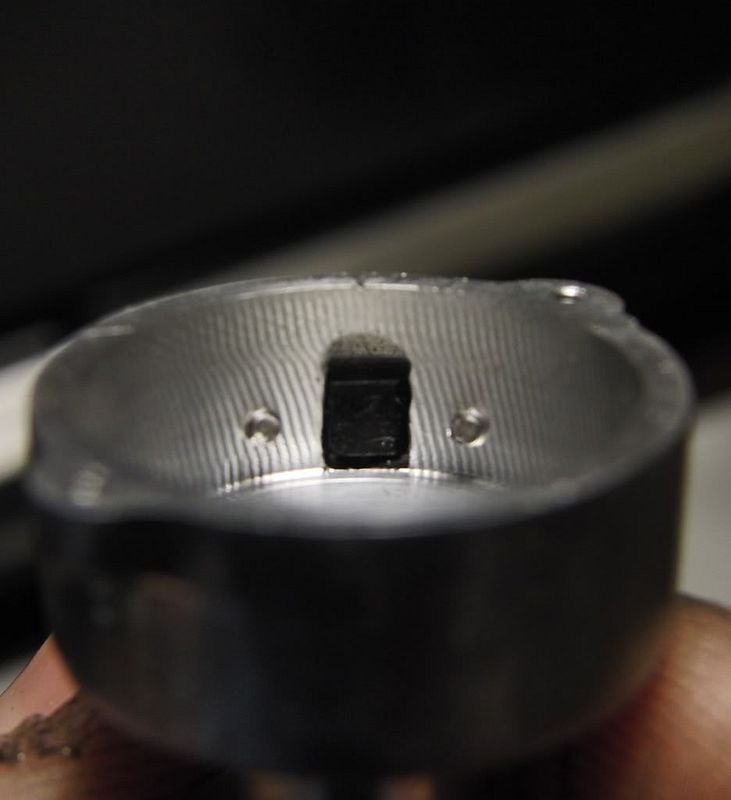
Here is the hole/slot for the hall sensor. along with the screw holes.
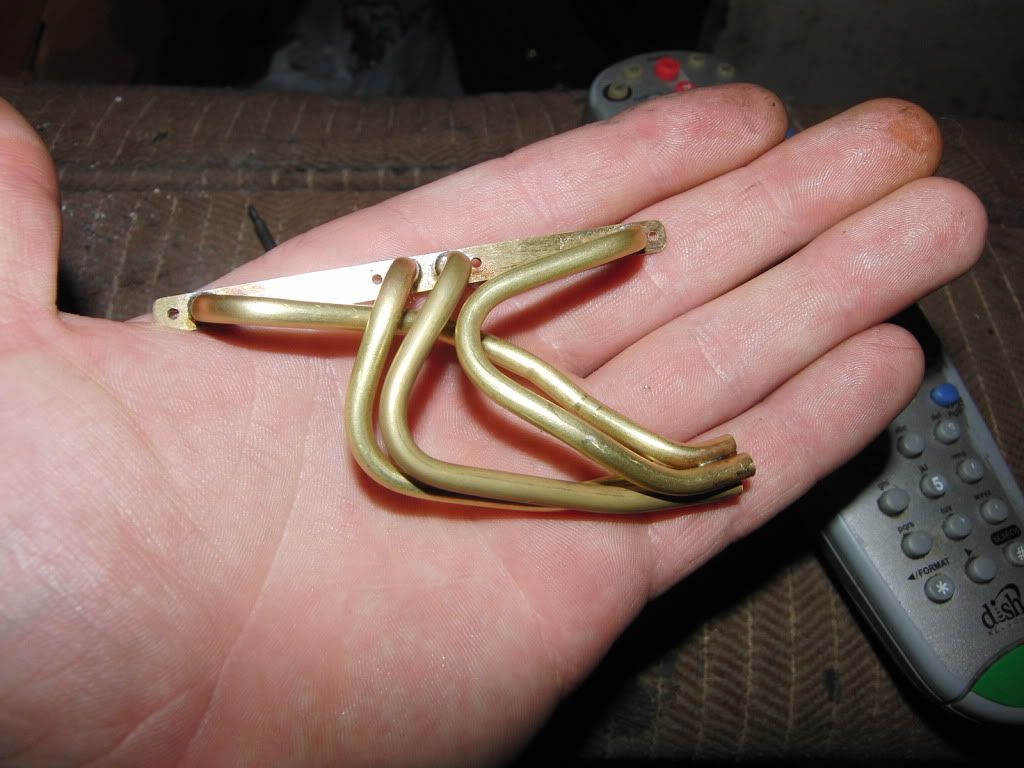
Now I need to make a strap to hold the hall sensor in place.
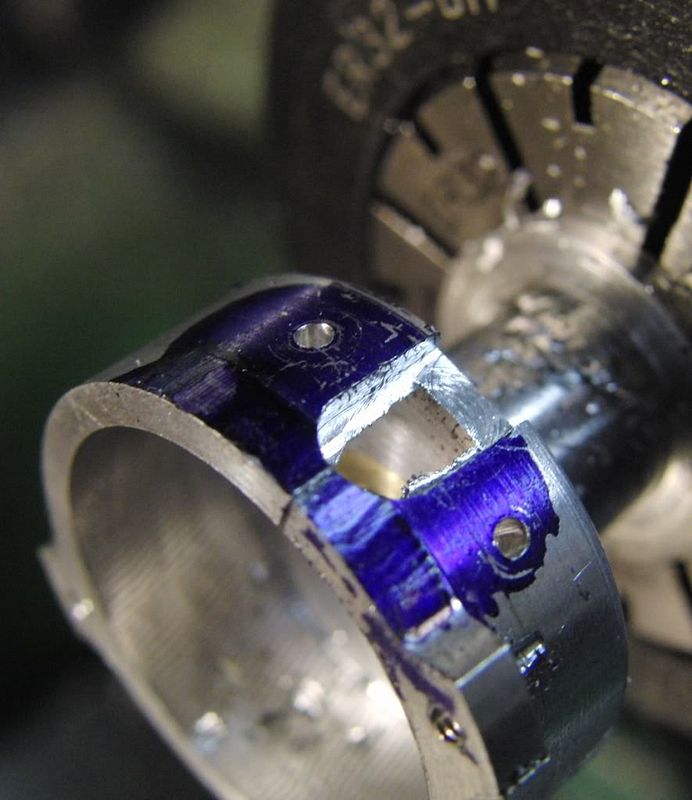
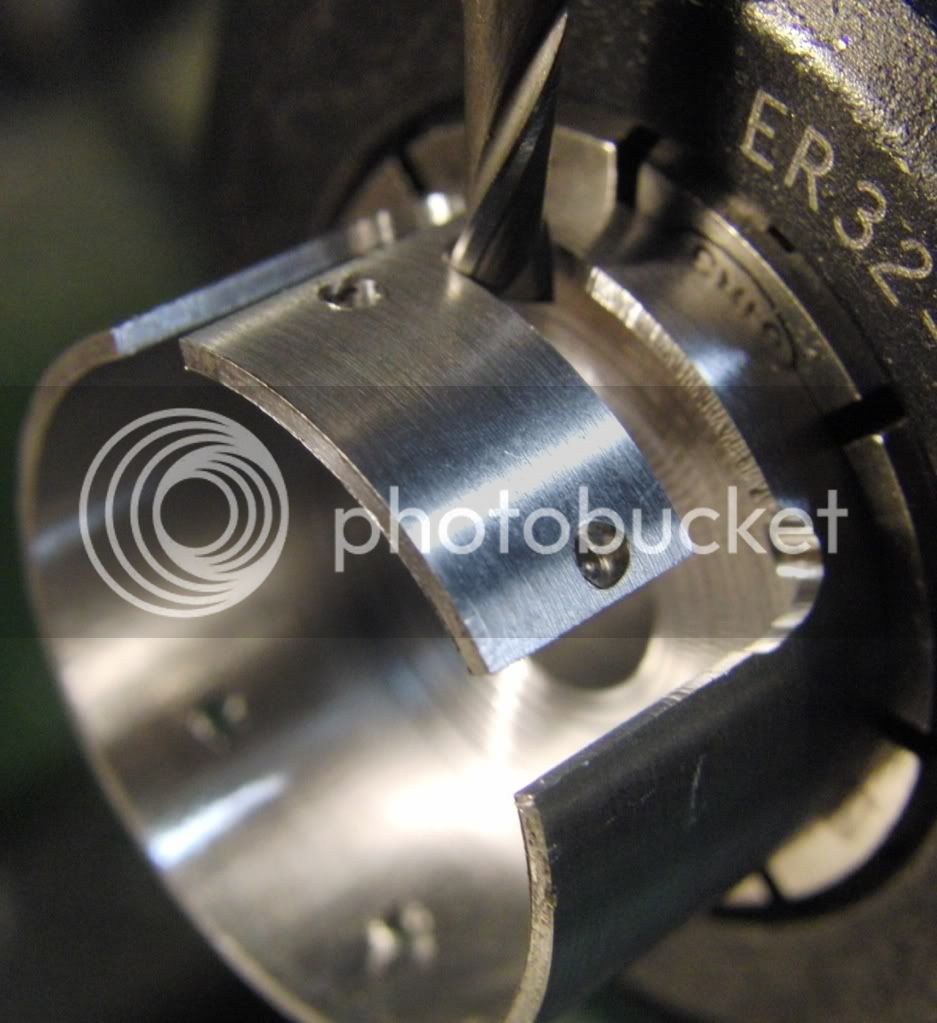
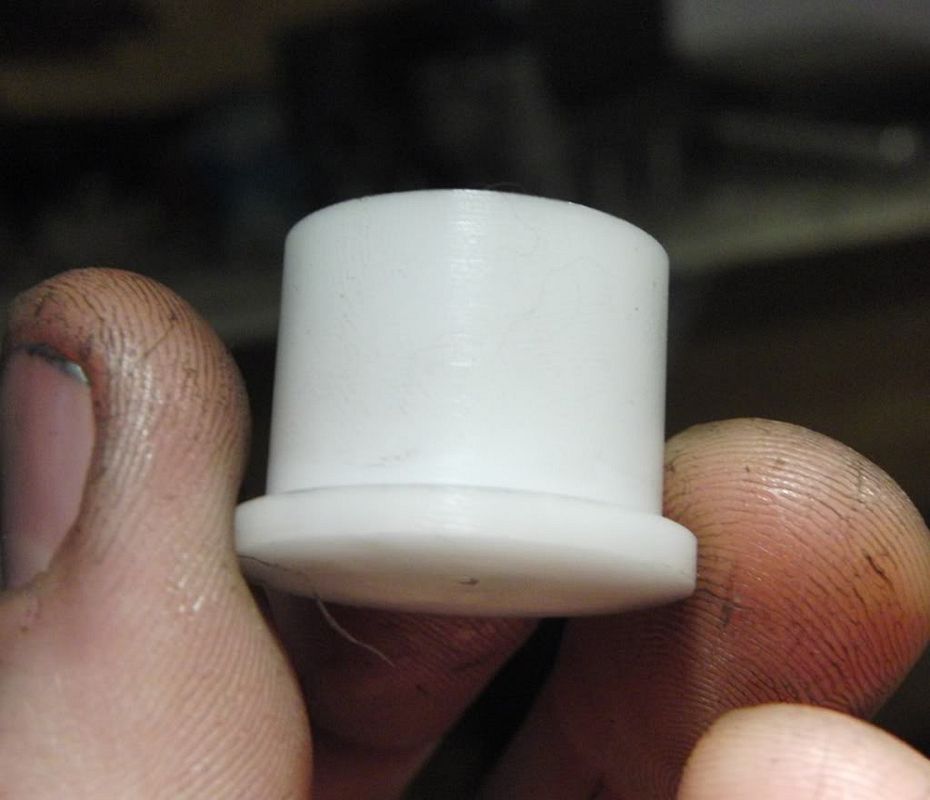
I first made a cup of sorts on the lathe with the ID and the OD to spec.
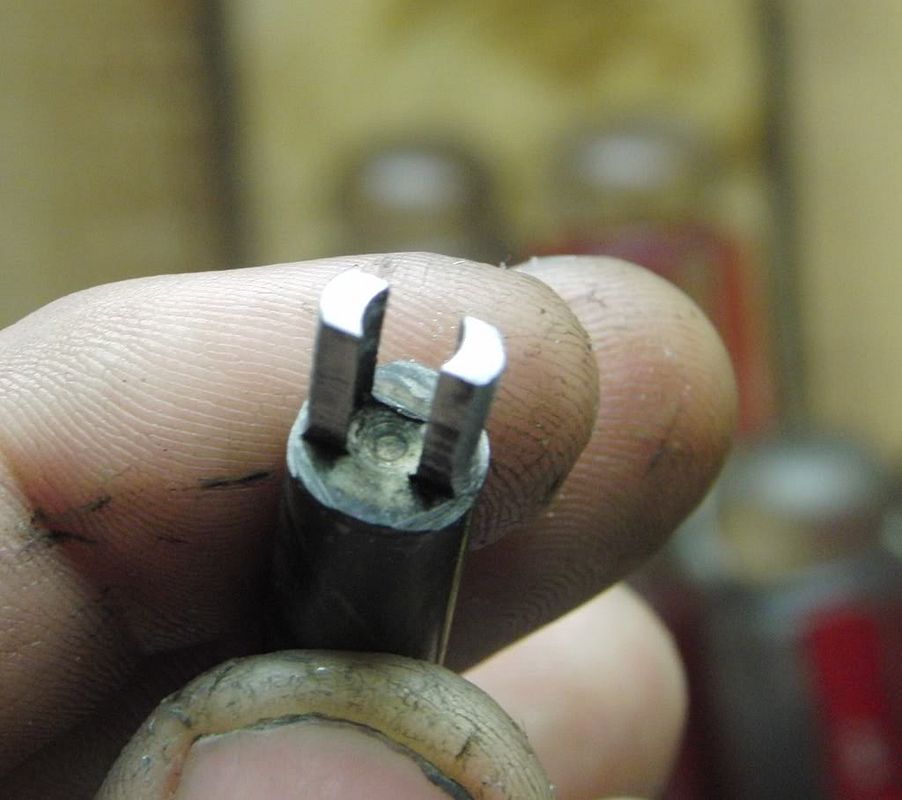
I then put in in the chuck in the R/T and freed the little straps which were hiding in the stock.
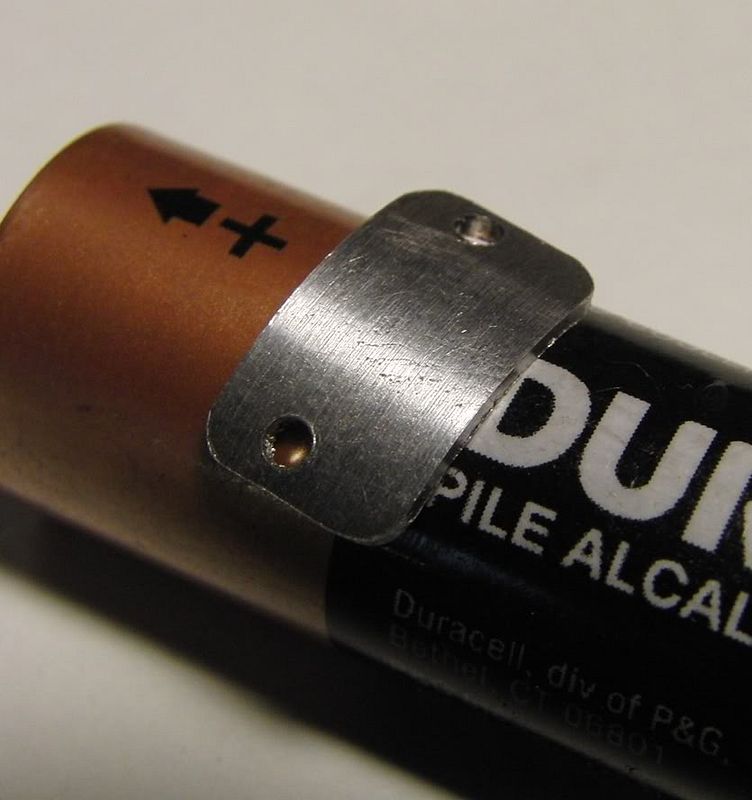
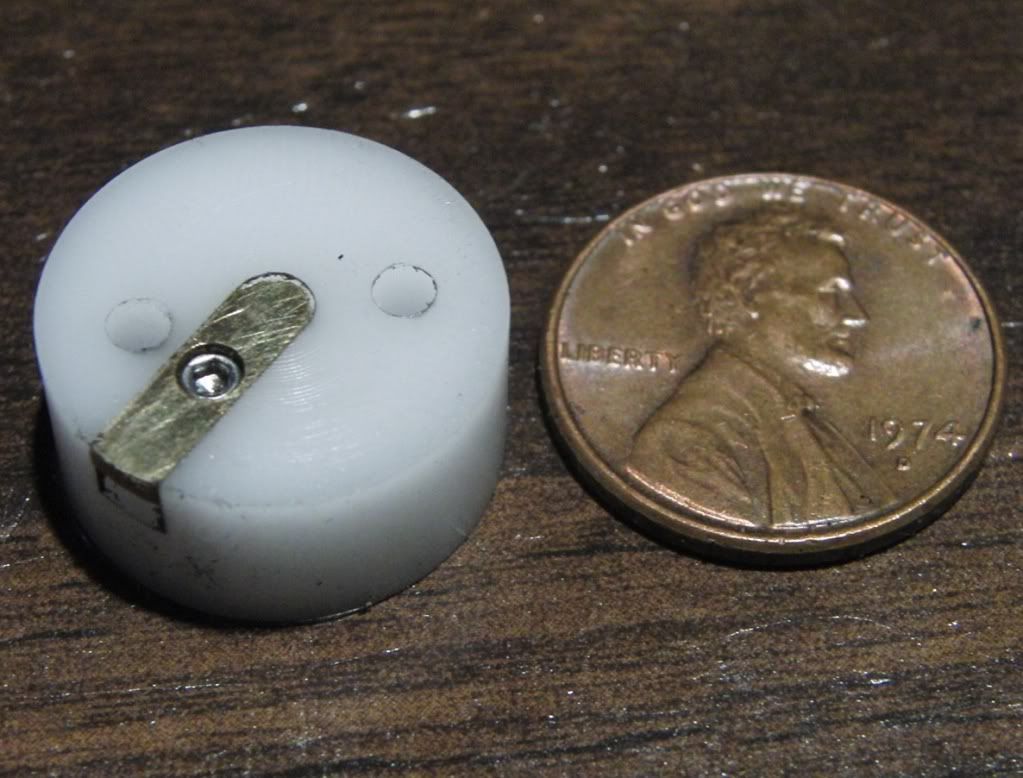
Here it is holding the sensor in place.
and the inside. The sensor just fits snug and wont fall through the hole due to the tiny bit of ally left from the cut.
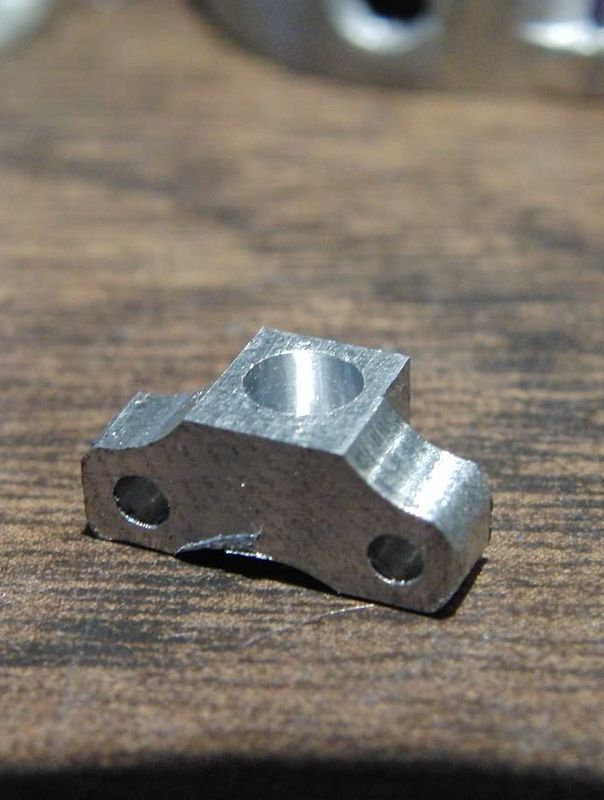
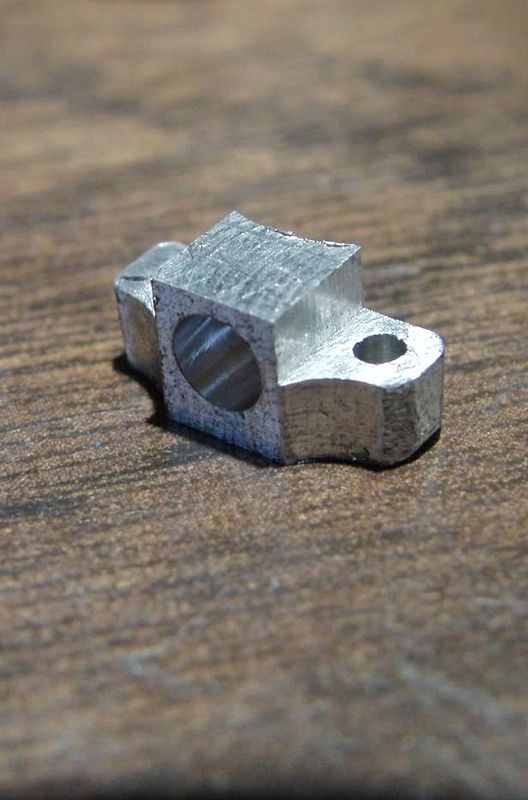
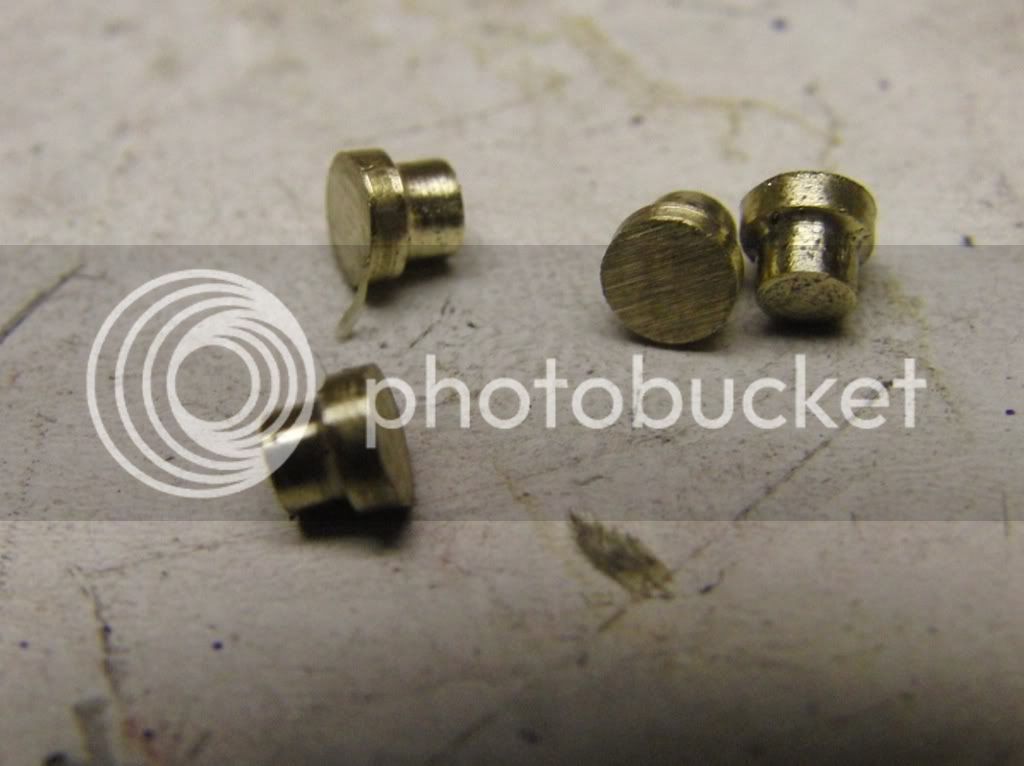
Next I made the brackets which hold the magnets in place.
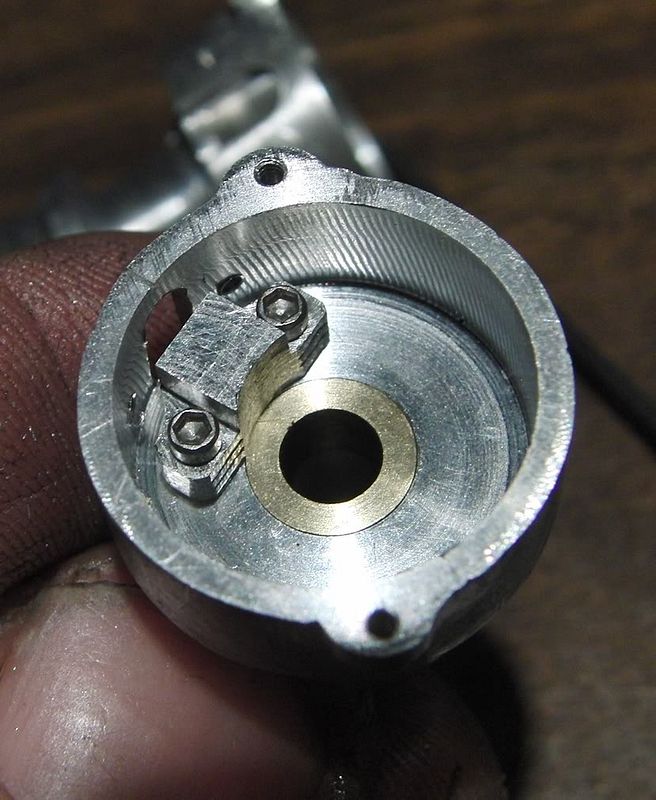
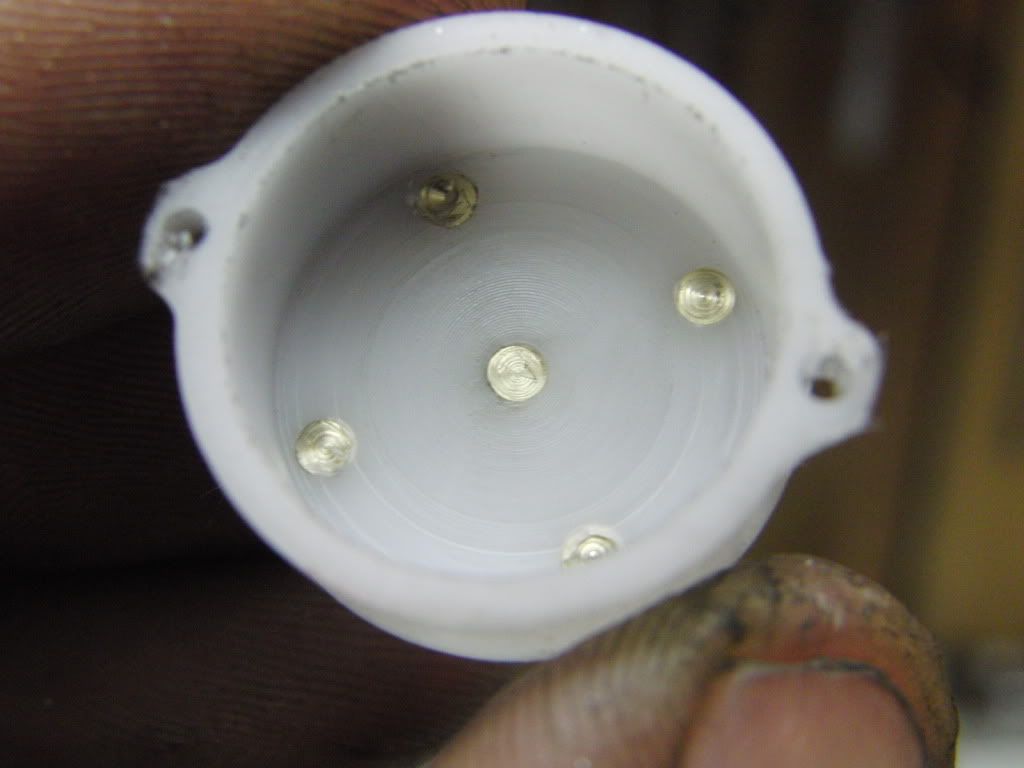
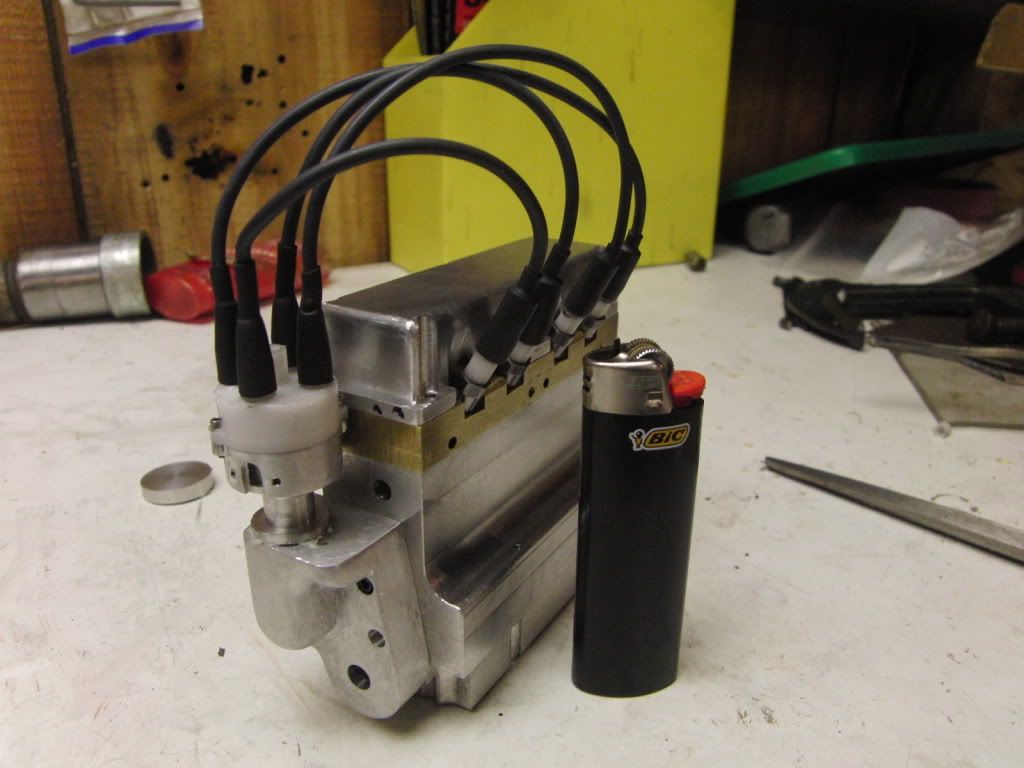
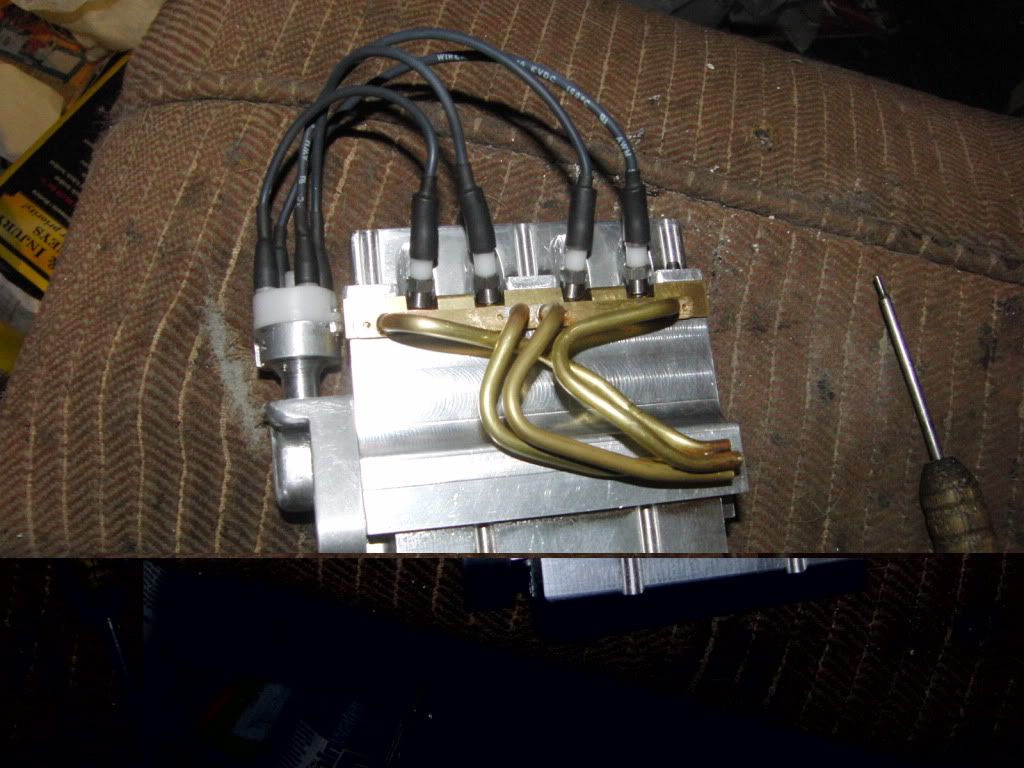
and here it is installed in the distributer.
only 5 more parts for each one and I'm done with the distributors.
Kel
It is for the most part a smaller version of George's inline 4. However I will be using screws to hold the distributer cap on.
I started by getting a basic shape from a 1 inch bar of aluminum.
I left it large on the shaft so I could fit it in the collet all the way to the large end.
I then bored out the inside of the top.
Next I put a 1/2" collet in and turned down the shaft to a more pleasing 3/8"
Then off to the R/T to drill the holes for the cap and magnet bracket.
also, I milled out the screw tabs on the outside of the distributer, this way I can get it closer to the engine block.
here is the rough distributer.
Here is the hole/slot for the hall sensor. along with the screw holes.
Now I need to make a strap to hold the hall sensor in place.
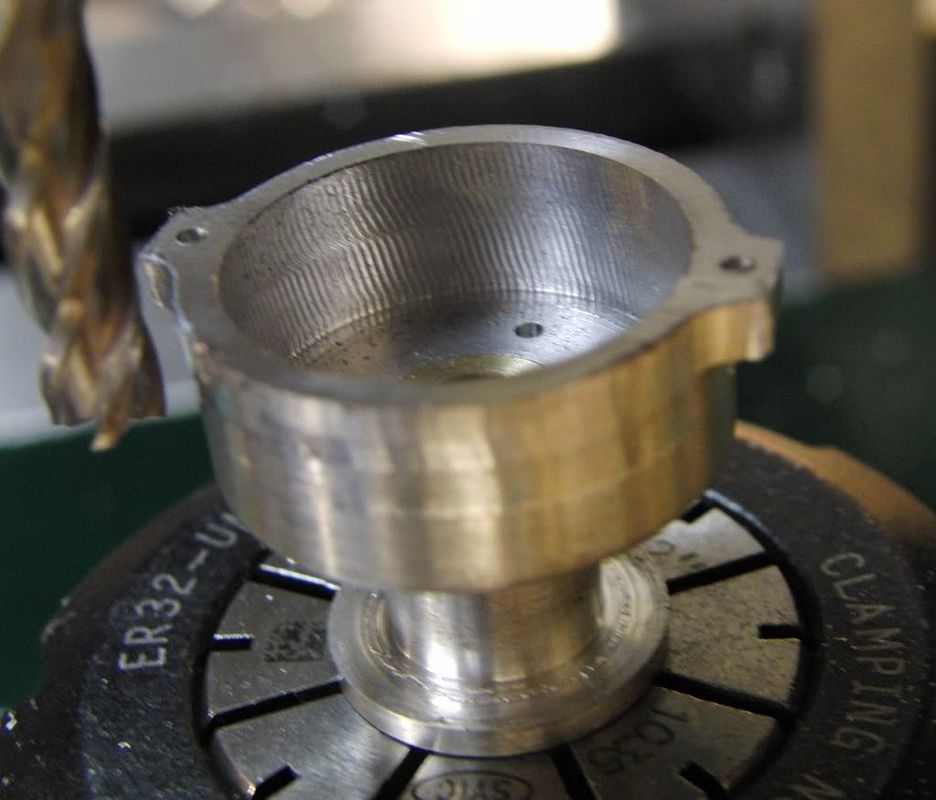
I first made a cup of sorts on the lathe with the ID and the OD to spec.
I then put in in the chuck in the R/T and freed the little straps which were hiding in the stock.
Here it is holding the sensor in place.
and the inside. The sensor just fits snug and wont fall through the hole due to the tiny bit of ally left from the cut.
Next I made the brackets which hold the magnets in place.
and here it is installed in the distributer.
only 5 more parts for each one and I'm done with the distributors.
Kel
")