Sheet Metal Brake

Home Model Engine Machinist Forum

Help Support Home Model Engine Machinist Forum:

This site may earn a commission from merchant affiliate links, including eBay, Amazon, and others.

cfellows

Well-Known Member
Project of the Month Winner
Joined
Aug 25, 2007
Messages
3,890
Reaction score
715
I've wanted a sheet metal brake for as long as I can remember, but they always seemed a bit pricey for what they are and my priority list never seemed to include building one. Well, the time has come.

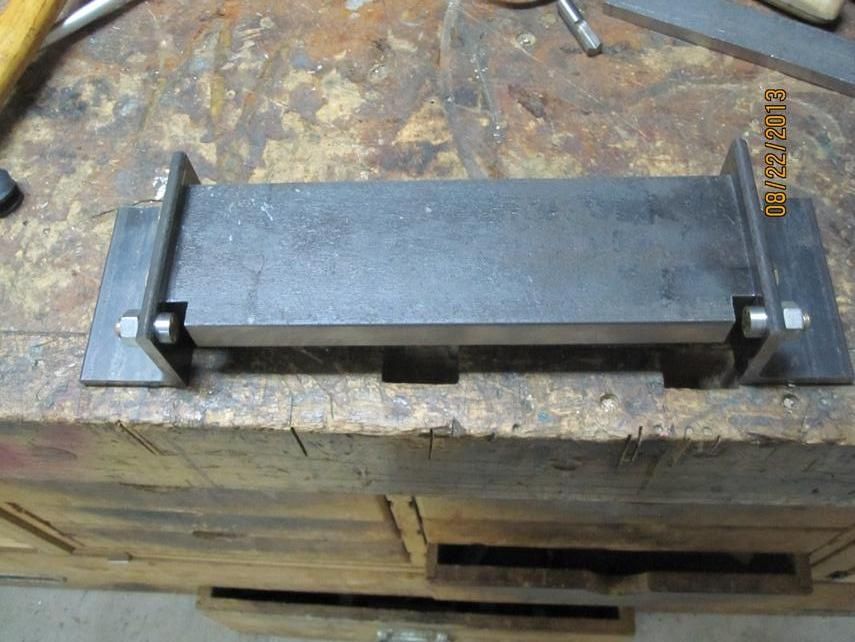
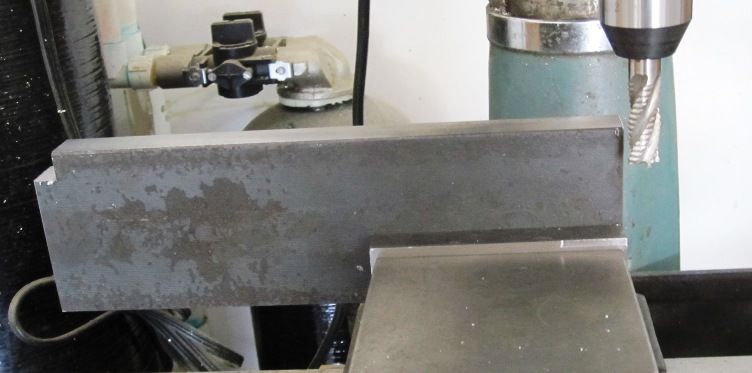
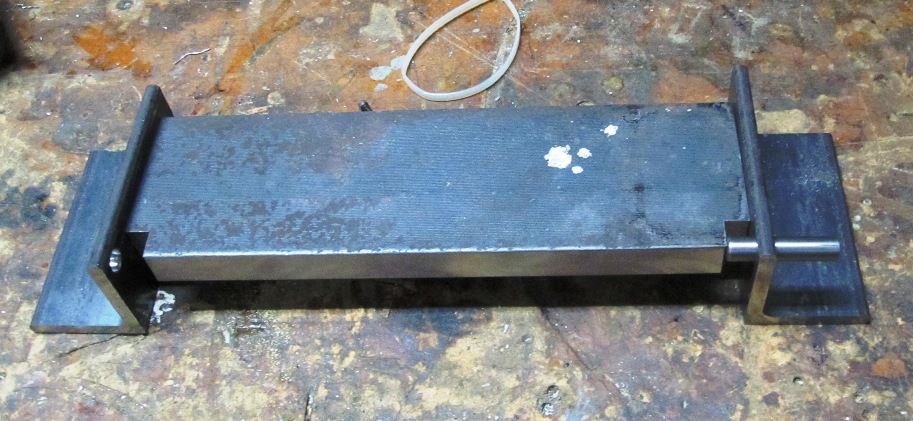
With only a 9" throat, this model won't handle anything very wide, but it will be very stout and should handle pretty thick stuff. The bed is made from a piece of 3" x 10", 3/4" thick hot rolled steel. Here is a picture of the bed mounted in the milling vice so I can mill out the clearance slots for the hinge.

IMG_2932_zps8476368e.jpg


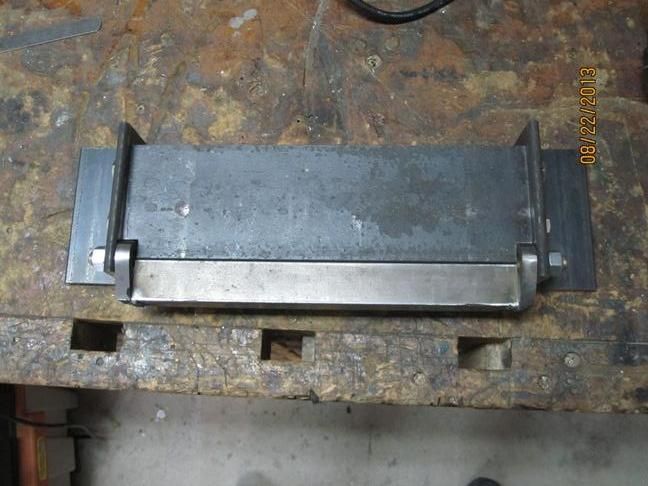
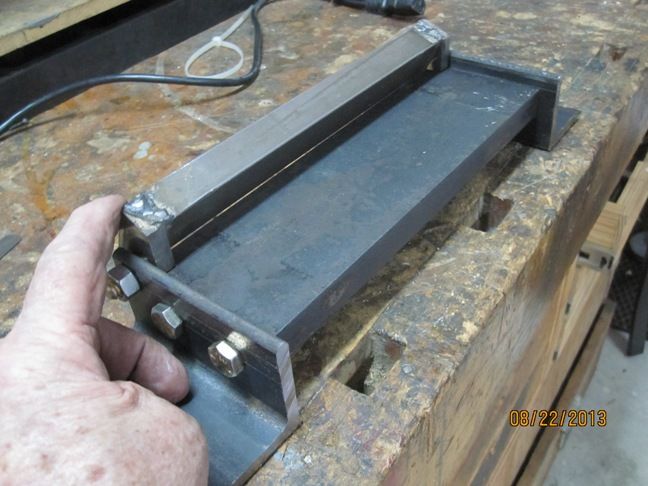
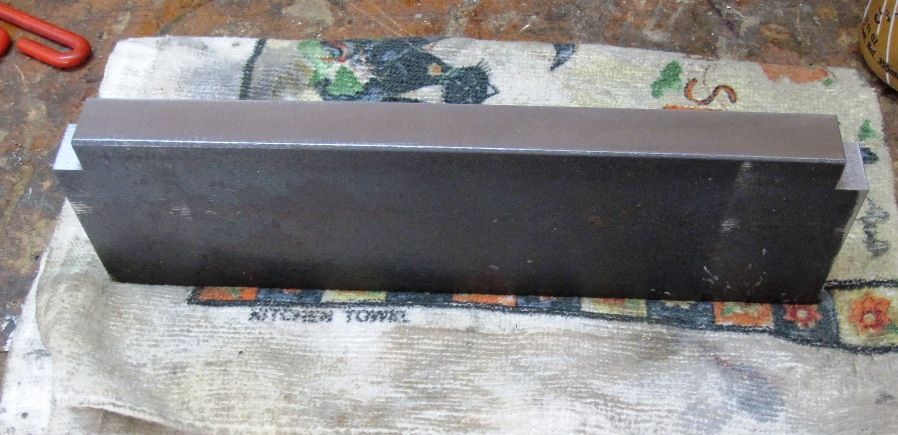
Here I've finished both notches, each .4" wide and .5" deep.

IMG_2933_zps6541f812.jpg


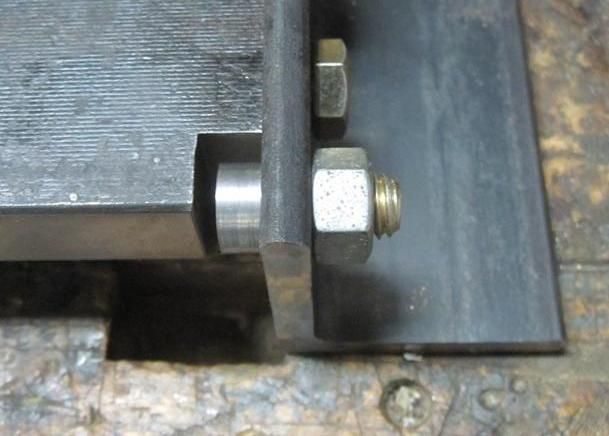
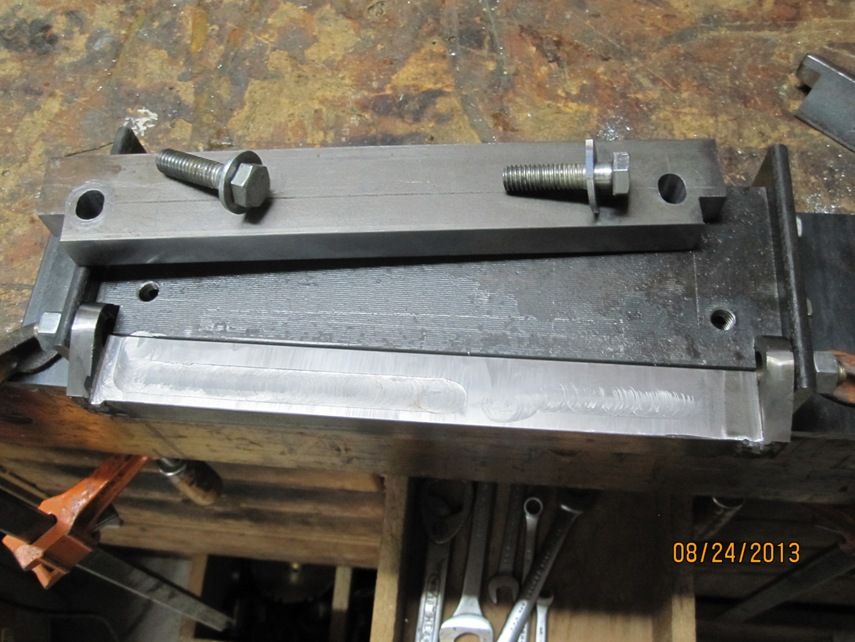
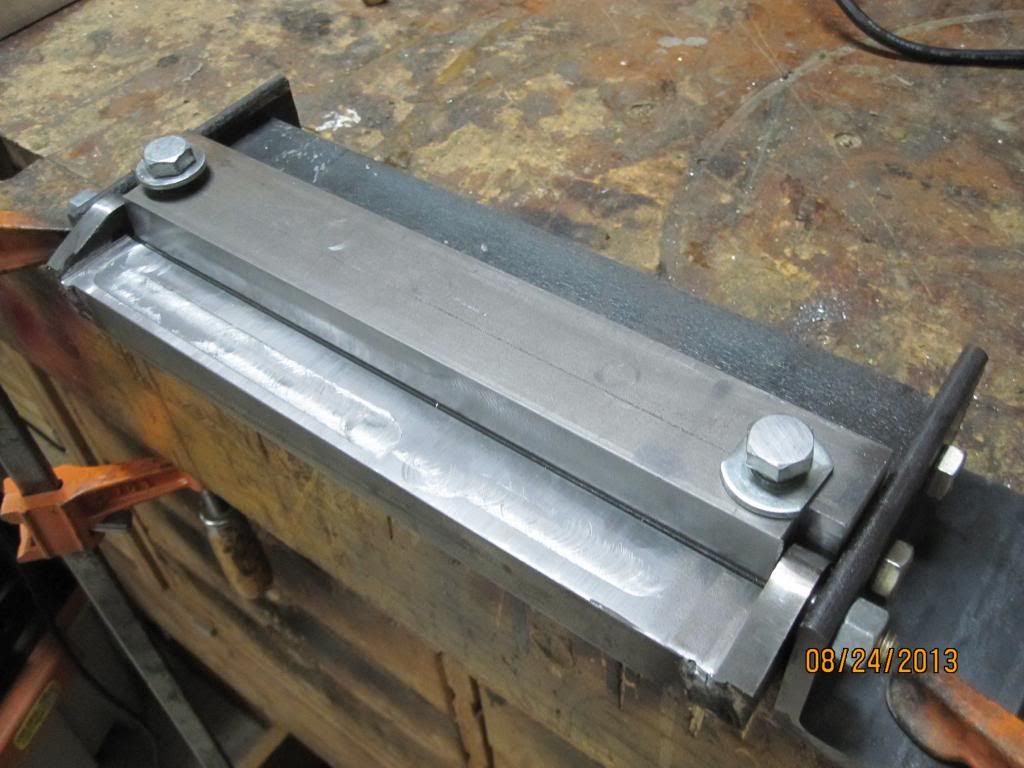
The two side pieces are made from 2" x 2" x 1/4" angle iron. Each piece will be attached to the bed with 3/8" x 16 bolts. The hinge pin will be 3/8" drill rod.

IMG_2934_zps0fbc6b69.jpg


IMG_2935_zps09ae7593.jpg


Chuck
 
Today I drilled and tapped the holes in the ends and bolted on the side pieces. I also made the hinge pins out of hardened 3/8" bolts with the heads turned down to 1/2" diameter.

IMG_2953_zpsb8aede58.jpg


IMG_2954_zpsdb703bdd.jpg


I've started on the hinged piece now and should have some more pictures tomorrow.

Chuck
 
Got the hinged part mostly done. I welded the two hing parts onto a piece of cold rolled steel, 1" x 3/4" thick. The mechanism swings easily and is in good alignment.

IMG_2955_zps1d019026.jpg


IMG_2957_zps0917667f.jpg


Still need to attach a handle and an adjustable angle stop which I haven't designed yet. Then, I'll have make a clamping assembly, also not yet designed.

Chuck
 
Hi Chuck,
Watching with interest, a sheet metal brake has (like so many other things) been on my to do list for a while. I have Dave Gingery's book, which gives good detail on how to build one, although it is somewhat lighter than yours. He goes on to outline simple sheet metal bends and joints to fabricate air conditioning duct work. Great read, but as with everything, I apparently need to do something to make it happen :eek:
Cheers
Terry
 
Got the hinged part mostly done. I welded the two hing parts onto a piece of cold rolled steel, 1" x 3/4" thick. The mechanism swings easily and is in good alignment.

Still need to attach a handle and an adjustable angle stop which I haven't designed yet. Then, I'll have make a clamping assembly, also not yet designed.

Chuck

Looking nice Chuck.

Thankfully you have made me feel better realizing I'm not the only one that starts a project before the plans are finished and in some cases even started. It appears that you have a unique solution here as I've not see this approach before. What is the clamping strategy?
 
Thanks, Terry.

Thanks, Wizard, unfortunately the clamping strategy is still evolving. After some experimenting using heavy c-clamps and a clamping bar made of angle iron, it's becoming apparent that there's more to the clamping mechanism than meets the eye.

Chuck
 
Thanks, Terry.

Thanks, Wizard, unfortunately the clamping strategy is still evolving. After some experimenting using heavy c-clamps and a clamping bar made of angle iron, it's becoming apparent that there's more to the clamping mechanism than meets the eye.

Chuck

You will need a fairly hefty bar. Commercial machines, good ones anyways, have lots of support for the top and bottom plates. Your distance isn't great so a plain bar should do it. Your design has me thinking though. If nothing else a couple of screws could clamp that bar fast fairly well.
 
You will need a fairly hefty bar. Commercial machines, good ones anyways, have lots of support for the top and bottom plates. Your distance isn't great so a plain bar should do it. Your design has me thinking though. If nothing else a couple of screws could clamp that bar fast fairly well.

I guess great minds must think alike! I decided to keep the clamp assembly simple and strong. It's a piece of 3/4" thick steel clamped to the bed with two, 3/8" - 16 bolts. Hard to see in the pictures, but I milled the front face of the clamp back at about a 10 degree angle so I could achieve a full, 90 degree bend.

IMG_2959_zpsc4785638.jpg


IMG_2958_zps9a228d22.jpg


I did have to sacrifice a bit on the maximum width of the work piece, but still exceeded my original goal of 6" by almost 2". And, if I absolutely need to fold a piece up to 9", I also made an angle iron clamp that can be held on with C-Clamps for thin work. Now I have to make a handle and drill holes in the end pieces so I can bolt it to the work bench.

Chuck
 
Your bender is coming along pretty fine. Even though I spent most of the day working on the house for some odd reason this project of yours was on my mind. It occurred to me that you can do the following:
1. Drill a set of holes to the back for the clamp bar.
2. Buy some extra long bolts.
3. Make some pan fingers.
4. Effectively you have both a regular brake and a box brake as needed.

Your clamp bar could be used just as easily to clamp box finders in place. They would have to be one piece fingers to clamp well.
 

Latest posts

Back
Top