Potty Elbow Engine

Home Model Engine Machinist Forum

Help Support Home Model Engine Machinist Forum:

This site may earn a commission from merchant affiliate links, including eBay, Amazon, and others.
Great job...wanted one since the minute I saw it.

Chris
 
Another contradiction in our common language. What we, in North America, call a 'tart' is a small pastry.
 
Great video Stew! :bow: :bow: :bow:

I know from experience what is required to make an Elbow Engine run
effectively at low speeds. That is a very impressive build!

Rick
 
:bow: :bow: :bow:

Very very nice Stew !! Love the video too :)

Mike
 
No the magic powder was just John's skill and knowledge in getting the best out of these little engines we make.

Thanks Stew :)

:-[ I over-complicated things - once again... I know from some personal experience that John does not care much for adulation, but credit where it is due ;D - So Cheers to both John and yourself then! :bow: :bow:


Kind regards, Arnold
 
arnoldb said:
Thanks Stew :)

:-[ I over-complicated things - once again... I know from some personal experience that John does not care much for adulation, but credit where it is due ;D - So Cheers to both John and yourself then! :bow: :bow:


Kind regards, Arnold

Thanks Arnold

You were on the right track when you said graphite in fact the correct lubrication pays an important part in this engine, its very greedy for oil and it likes oil thats of a sticky grande, I think it helps forms a seal and cuts down air loss. One thing John did was to flush the engine through with alternate short runs on engine oil flushed out with a run on WD 40 he did this a couple of times, for the final run, that we videod, he used a different oil I think it was slidway oil.

The other thing he spotted was that I had a little bit too much play on the cylinders they we lifting up and leaking air, we just skimmed a couple of thou of the length of the axle pins, which had a big effect. One of the things I changed on the design was the axle pins, the new design allows easy fine adjustments.

I ran my engines this afternoon to entertain our daughter, she's three days over due to give birth, and feeling a bit fed up, I thought it would cheer her up a bit:- any excuse, the elbow performed great, the only thing that went wrong was that it sprayed my mother in law in oil:- be accident of course

Rof} Rof} Rof} Rof} Rof}

Cheers

Stew
 

I'm going to try and get No1 Elbow running as good as No2 its got a falt with the fly wheel it wobles due to the hub being cracked so thats going to be replaced, I've had a good think and a tinker and I think the reason no 2 runs better is that I made the cylinder using the method outlined in the plans attached.

Now for the plans, I think the plans available over simplyfy the design requirement of the engine, this imay be reason people strugle to get a runner, with the drawing I've tried to capture my own and John's experiences in getting a successful engine built, these plans may have gone the other way and overcomplicated things the optimum design may be between the two.

I hope these plans stimulate some of you guys in having a go and successfully build an engine.

Good luck

Stew


View attachment Potty Elbow Plans[1].pdf
 
Hi Chaps

First an appology to any one whose down loaded the drawing, some of the notes on sht 1 and 2 are very badly writen, I didn't proof read the drawing before I posted because I was tearing my hair out trying to save a good pdf copy of sht 5 on the cad system the drawing is fine but when I safv it to a PDF it misses great chunks out, I was messing arround trying to get it sorted for best part of a day even resorted to completly redoing the drawing, in the end I just posted what I'd got out of frustration, perhaps some of you computer Gorues know what hapening.

I've since sorted out sht 1 and 2 attached but sht 5 is beating me.

Any way as a bit of therapy I've made the new cylinders for the rebuild of No 1 and thought I'd share my method with you so her we go:-

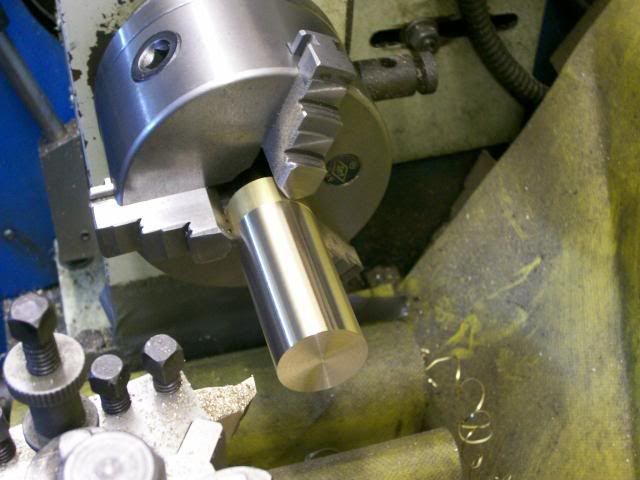
Skim up a 2 1/4" length of brass enough for two cylinders and face and part off.

100_3398.jpg


Grip in the chuck and get running true this is not to critical within a couple of thou will be fine.
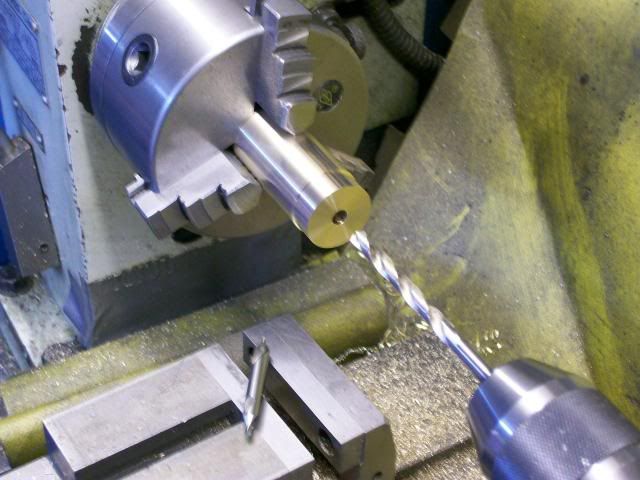
Face up, Turn step for fly wheel, centre drill and drill right through with a letter D drill 0.246 dia.

100_3400.jpg


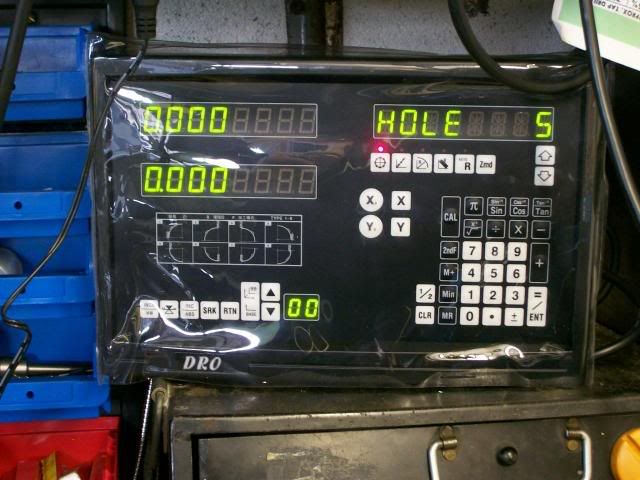
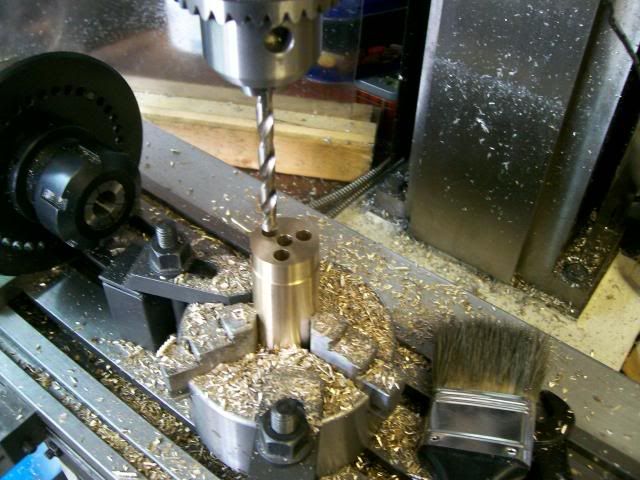
You can do the next bit with a rotary table similar procedure, but I'm going to take advantage of the Pitch Circle Feature on my DRO so:-

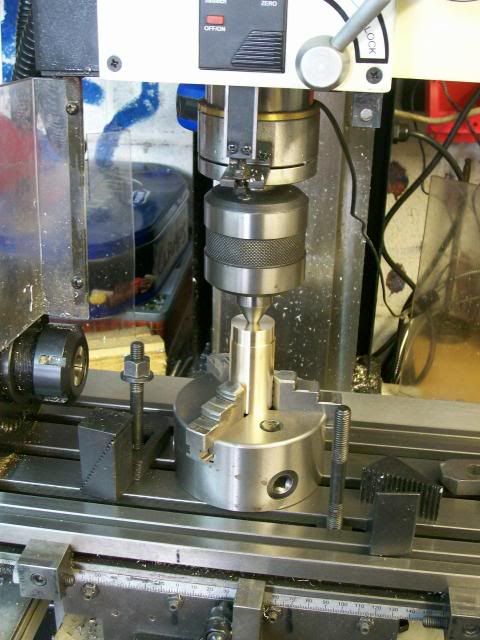
Keeping the job in the chuck transfer over to the mill, centre the hole with the quill using a centre.

100_3403.jpg


Clamp chuck to table.

Set up the PCD feature on DRO

100_3053.jpg


Centre drill then drill letter D right through, the key to drilling long holes straight is having a machine with good bearings, a nice sharp drill, and not forcing the drill through take your time keep clearing the swarf, if you force it the drill will wonder.

100_3408.jpg


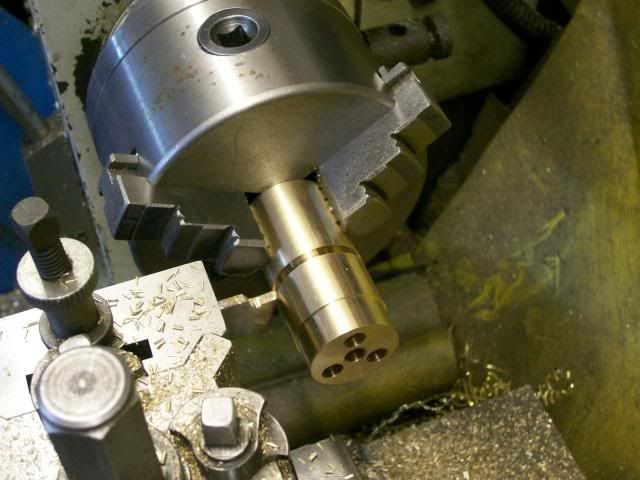
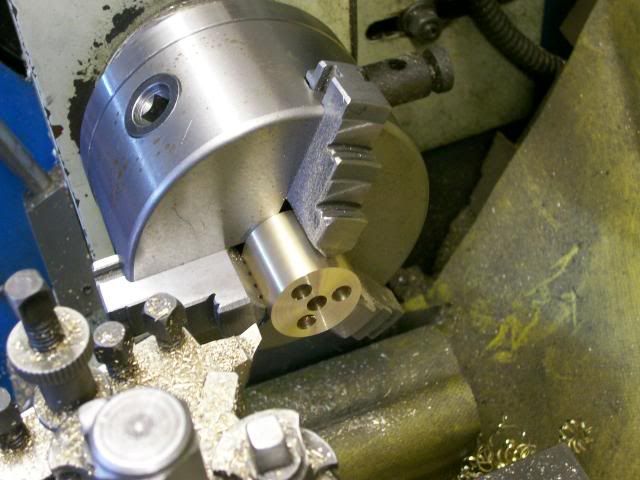
Keeping the job still in the chuck transfer back to the lathe, face and part off:- dont forget to mark the cylinders so you can assemble them in the same orientation as they were drilled.

100_3409.jpg


Face to length and chanfer the out side face.

100_3410.jpg


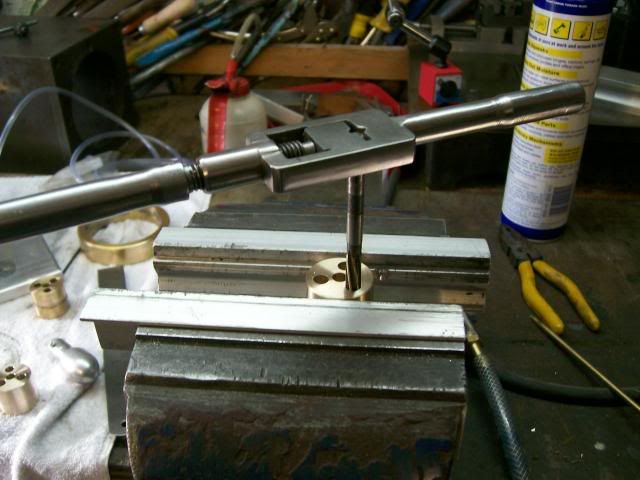
Run a 1/4 hand reamer through to size the bores this will just take a whisper off.
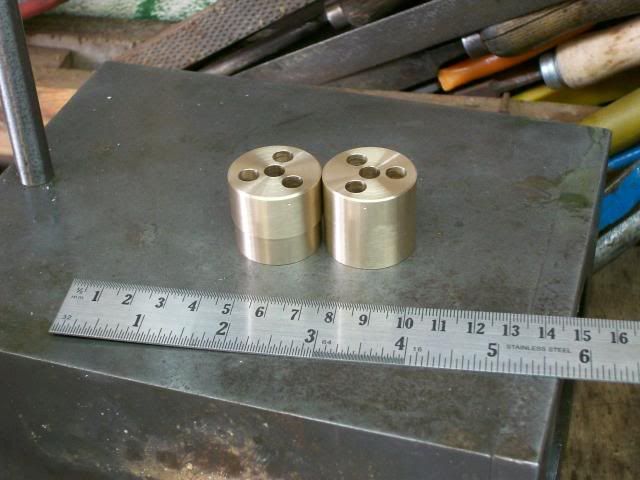
100_3411.jpg


Her they are done

100_3415.jpg


And with the bling I've got no 1/4" balls for the shells.

100_3418.jpg


Cheers

Stew

View attachment Elbow Sht 1-Model.pdf

View attachment Elbow Sht 2-Model.pdf
 
SBWHART said:
I've since sorted out sht 1 and 2 attached but sht 5 is beating me.

Stew,

I use turbocad but I have had a similar problem trying to create a pdf. If I converted the drawing to DXF format the pdf was terrible. If I converted the drawing to Autocad 2000 I had a better result.

In Turbocad the native option is to print to Acrobat pdf from paper space. Another option may be to use Acrobat distiller to capture your page and third print from paper space as a jpg file and convert this to a pdf.

Hope this helps

Best Regards
Bob
 
Bob

I,m using a copy of autocad 2008 don't ask where it came from ::)

Thanks for your advice Tried as you suggested but no joy, even tried copying it to power point which it did fine then saving that as pdf but it wont play.

Any way Rebuilt No1 with new cylinders and fitted a new hub in the flywheel its now wobble free.

And its a nice runner as well, remaking the cylinders did the trick.

Here's the video:-

[ame]http://www.youtube.com/watch?v=Z1IbkYs2KTI[/ame]

I'm going to have to look arround for another project now.

Have fun

Stew
 
Just a quick up date with some experiments I've been doing with lubrication

Its been noticed by quite a few builders that elbows are quite fussy as to type and grade of oil you use, they like quite a thick oil and plenty of it, 3 in 1 oil is no good for them, I've tried quite a few different grades some they like some they don't, just to illustrate how fussy they can be I used a synthetic oil for diesel engines this stuff slowed it right down, one quick squirt of WD 40 and it speeds away, two squirts and it stopped dead.

Any way got hold of some Millway 68 slideway oil from RDG http://www.rdgtools.co.uk/acatalog/Coolants_and_oils.html

I've just ran my engine on this stuff for over an hour none stop, (still going) as far as Elbows are concerned it's better than sliced bread. :thumbup:

Cheers

Stew
 

Latest posts

Back
Top