PM Research No. 1 Build

Home Model Engine Machinist Forum

Help Support Home Model Engine Machinist Forum:

This site may earn a commission from merchant affiliate links, including eBay, Amazon, and others.
Hi Ralph, you have touched on something that took me a long time to come to grips with :)

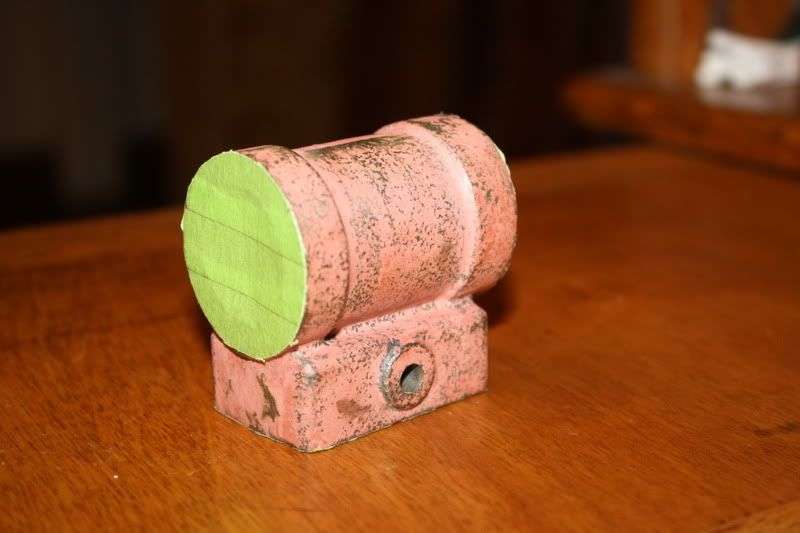
I once though that the beauty of cast iron parts was their naturally rough surface finish. When I did my PM #3, I worked really hard not to disturb that finish with any accidental machining marks because I though it would look great once painted. However, when I was done with the painting, I was incredibly disappointed with the results. It looked like a cheap toy, not a model of a real engine. It took some time, but I finally realized that what I didn't like was that the surface was too rough for the scale of the engine.

If you look at a full scale engine from 20 feet away, the surface does not look very rough, so I don't think a 1/20th scale model should look rough from 1 foot away.

I don't think the cast iron look comes from the rough surface. The recent Waller and Benson builds from bar stock that were shown on this site prove that.
http://www.homemodelenginemachinist.com/index.php?topic=16453.0
http://www.homemodelenginemachinist.com/index.php?topic=18153.0

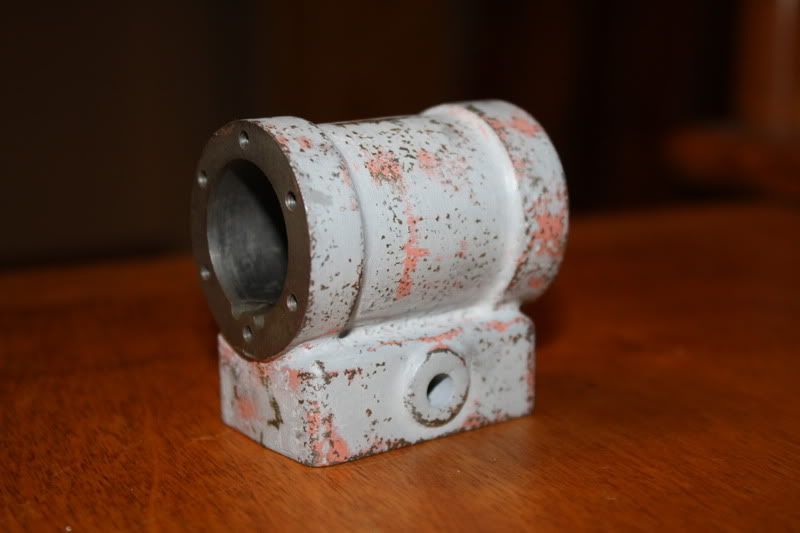
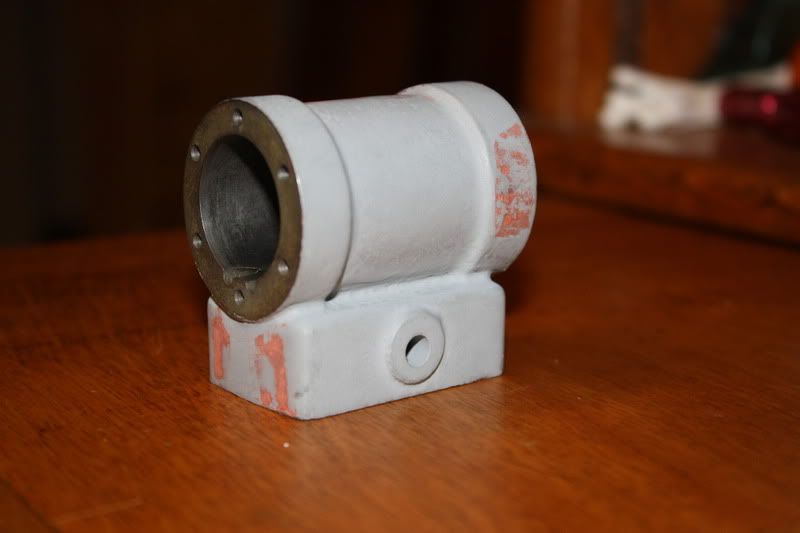
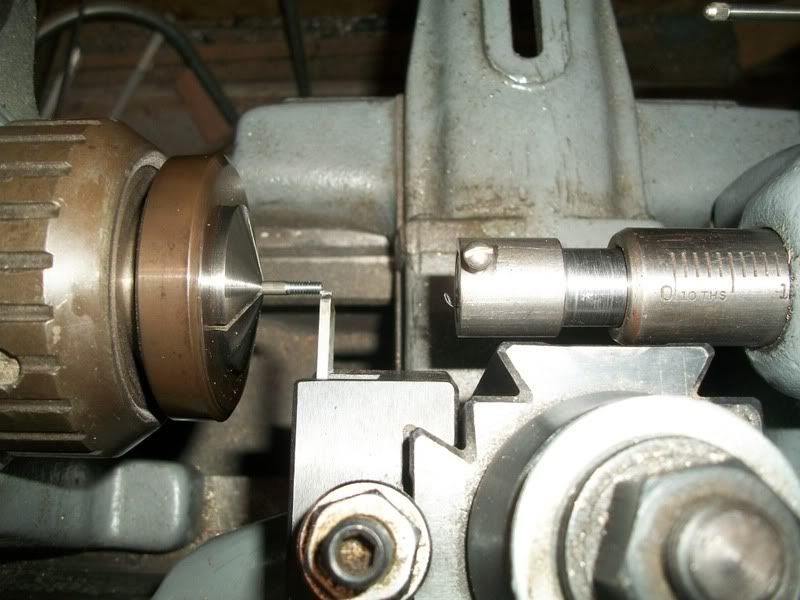
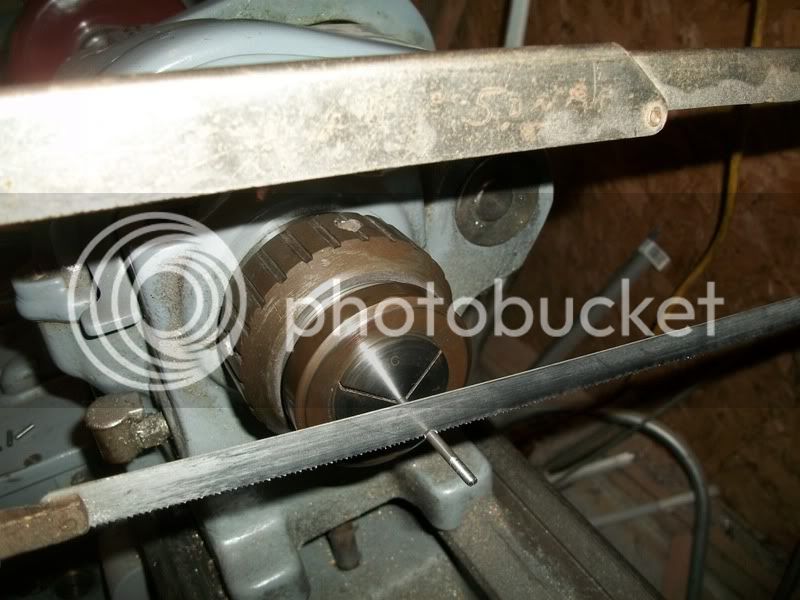
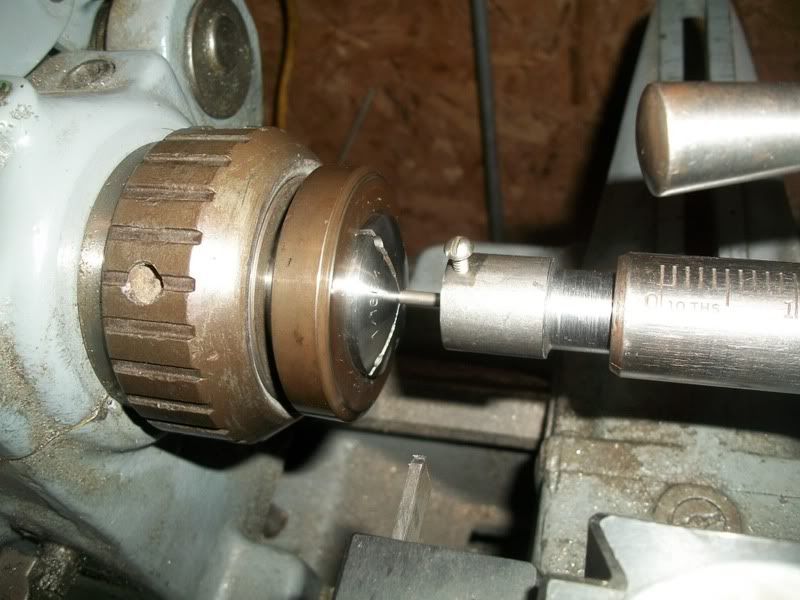
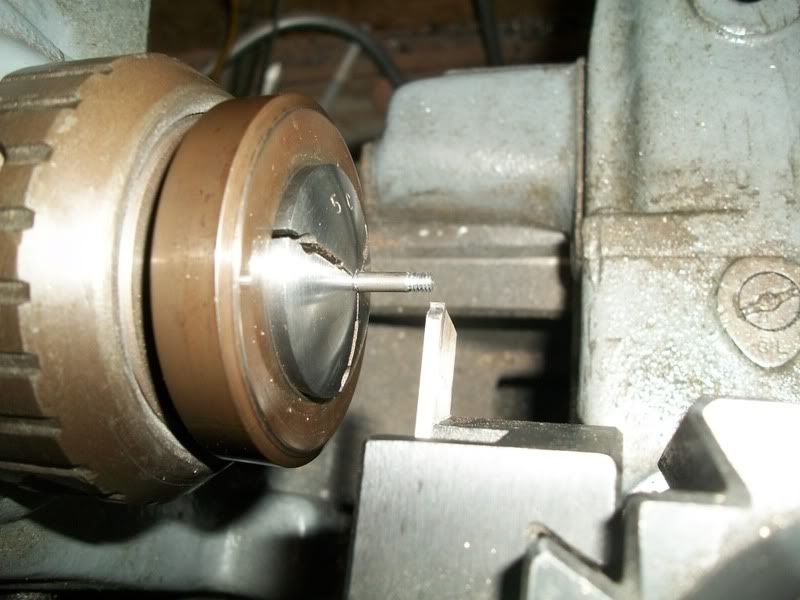
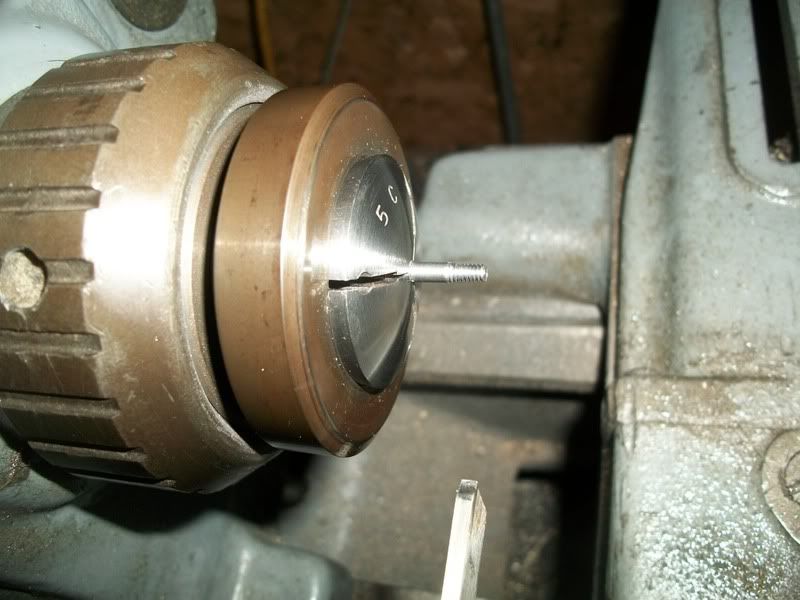
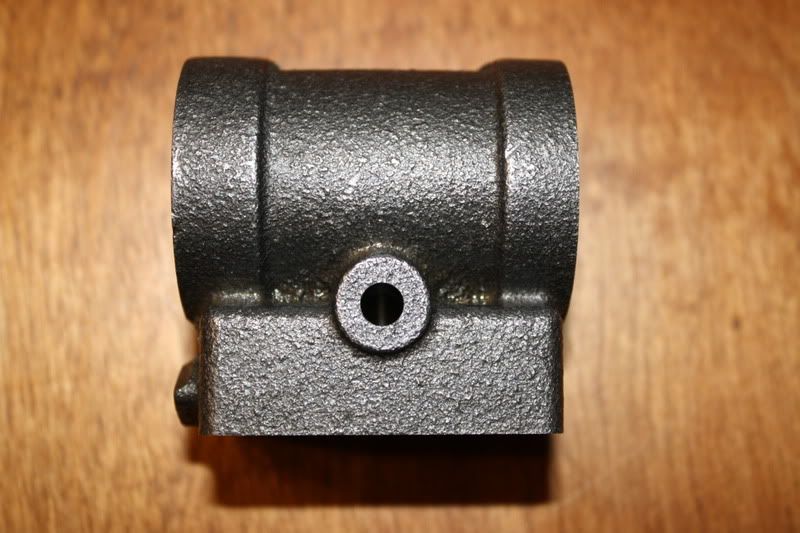
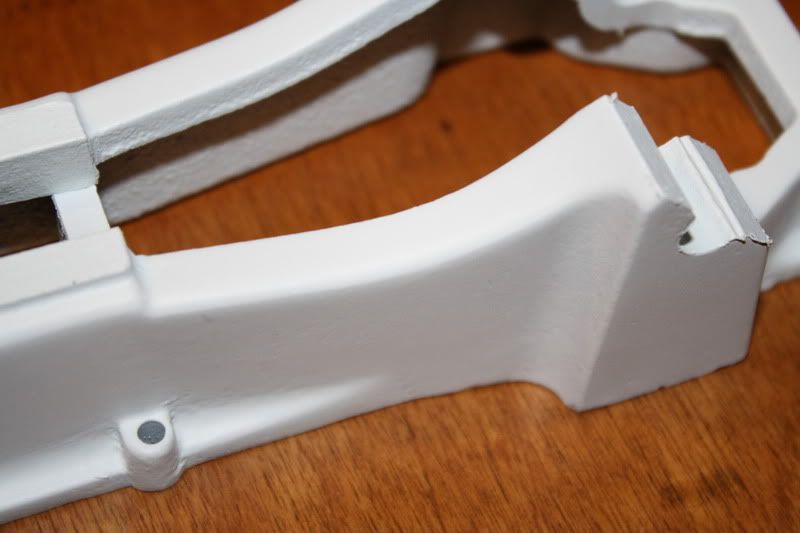
What makes something look cast is the complexity of the shape, the draft, and the natural fillets that occur. If you doubt this, take a look at these two pictures. One is the cylinder which I have not touched yet, and the other is the frame.

How would the cylinder look with a coat of paint? Is there any doubt in your mind that the fame was cast?

IMG_1678.jpg


IMG_1679.jpg
 
Brian,
The two photographs you show absolutely make your point with regards to cast appearance.

--Tim
 
Brian I also agree with you the casting on these model engine need a sandblast finish not rough casting like the bigger engines with the fillets, drafts and curves this makes for a good looking engine.

Don
 
I got a little work done on the cylinder today. Since it was rougher than the frame, I started with the spot glazing, and then went to the high-build primer.

Spot glazing after wet sanding:

IMG_1680.jpg


One coat of primer after wet sanding:

IMG_1681.jpg


The second coat of primer after wet sanding. Then I touched up a couple of rough spots with the glazing and sanded again.

IMG_1682.jpg


I may have to do a little more touch-up on this part before the final coat of white primer. It has been a pain to re-mask this piece after wet sanding every time. Once this is done, the bearing caps and flywheel are the last cast parts to prep for paint.
 
I also agree with the scale surface texture argument, the larger the engine the smoother it would look. Your castings look great in primer, look forward to seeing the whole assembly painted.

Jan
 
Hello,Brian.
Now I've got that point and I totally agree.
Thank you for your reply.
Keep on with your extraordinary work.
Cheers,Ralph
 
It is for this scale effect that you can 'get away' with building major parts from barstock. If you can put the fillets in with a bit of filler, and give the finished part a light grit blast, you shouldn't be able to tell a cast part from a built up one in the scales we use.

In the future, I will be making a 1 to 1 scale engine from castings, and they will be basically untouched except for a little fettling, as that is how they came out of the mould. But as already said, smaller scales really do need those heavy cast surfaces to be highlighted down to almost nothing.

Look at how bad this casting looks, straight out of the foundry. If I had used it like this, as some people do, the engine would look like a bag of rags.

SCOTT44.jpg


And after refinishing, almost ready for paint.

SCOTT150.jpg


Your engine can end up looking like a pair of old boots, or a very good example of the type, and it only takes a little extra work.

John
 
Bogstandard said:
Look at how bad this casting looks, straight out of the foundry. If I had used it like this, as some people do, the engine would look like a bag of rags.

Your engine can end up looking like a pair of old boots, or a very good example of the type, and it only takes a little extra work.

John

Exactly, and well said John
 
Well, I got tired of priming and sanding parts so I decided to work on some studs for a while. I had a few false starts before I came up with a process that would let me create studs with some precision to the overall length and the length of the threaded portion. I thought I would share it here. It looks like a lot of steps, but it really doesn't take too long. I can do make a stud in about 5 minutes.

In this first shot I have about 8 or 9 inches of 1/8" CRS held in a collet. I have filed a bit of a lead chamfer on the end, and have locked the tail stock down to the bed. Those of you who have been following my story with this engine will notice that I finally made myself a die holder :)

100_2041.jpg


My method for starting the threads may be a bit strange. What I prefer to do is use the quill screw on the lathe to help press the die onto the end of the rod. This requires turning the headstock and the quill screw in tandem (by hand, not under power), but it is easy to get the feel for doing it right. Once I have a little less than the required amount of threads on the rod, I release the tail stock and turn the headstock backwards to wind the die all the way off the rod. Then I use a parting tool to take off the chamfered lead portion of the threads.

100_2042.jpg


Then I bring the tail stock back up, but this time I leave it loose on the bed and lock the quill. I press the die up to the newly squared off threads and place a dial indicator behind the tail stock. Next I turn the headstock to cut the threads to the desired length. Here I am using my super secret dial indicator with hidden numbers!

100_2044.jpg


Then I cut the partially formed stud off with a hacksaw and repeat the process until I run out of rod. I chuckled when I looked at this photo. The saw is one I inherited from my dad. He was a sonar operator on a sub in the late 60's. I never noticed "Sonar" scribed into this saw until today, but now I guess I know where he got it. ::)

100_2045.jpg


Here are the partially formed studs. Can you tell which one was the last part of the rod I started with? ;D

100_2047.jpg


I'll show how I finished the studs in the next post.

 
To finish the studs I decided to use the method that Kelper posted in a "Best way to make studs" thread a few days ago. I drilled and tapped an emergency collet, and threaded the partial stud up to the end of the threads. then tightened the collet.

Then is was basically a repeat of the first side. I cut a few threads to start with using the quill to add some feed pressure.

100_2048.jpg


Then I parted off the stud to the correct overall length. I had the saddle locked in the correct position all this time so that I wouldn't have to measure each stud.

100_2050.jpg


Then I wound the die back up onto the stud using the dial indicator to tell me when I had threaded to the correct length. (0.200" for this end)

100_2052.jpg


Here are the 6 studs I finished for the inboard side of the cylinder. One ended up a bit short, but you guys are the only ones who will ever see it. Our little secret, OK? :)

The family and I are heading up to Sheboygan for a few days, so this will be the last bit of work I get to do for a while, but I'll be back soon...

IMG_1683.jpg


OK, I couldn't resist putting a little color on the frame and cylinder and seeing how everything lined up with the new studs. Fortunately, the kids have been helping pack, so I got a little time to play today. I still need to make the proper sized nuts, but i used a couple commercial 5-40 nuts to trial fit the pieces. I have some 3/16" hex rod that should look more to scale.

The color is a burgundy/maroon, but it comes off a bit pink in the photos...

IMG_1692.jpg


Brian I like it, that color is just perfect and can't wait to see it all together.

Don
 
A good paint job makes an engine look far more realistic, well done :bow:

Jan
 
Well, I am back from a week in Sheboygan and all loaded down with beer and sausage. After catching up around the house and job, I have been able to get some time to make nuts. I didn't take many photos as this is has just been drill, tap, part and repeat.

I made the nuts 0.150" long. At first I was afraid that was too long, but I am starting to like them. At that length, and using a 0.020" parting tool, I can only tap deep enough to get 3 nuts before I have to drill and tap again. I find this a bit boring, but I got most of the 5-40 ones done tonight.

One thing I did that I would recommend, was polish the hex stock before I made the parts. Here is a pic of the polished stock next to an off-the-shelf piece of bar stock. The reflection of the standard piece in the polished piece tells the story. This only took about 10 minutes to achieve. I wet sanded from 220 to 440 to 600 and finally 1500 with 10 strokes on each flat. (Using a flat surface to sand against) Then I loaded a piece of heavy paper with Maas metal polish and did about 20 strokes on each flat.

IMG_1819.jpg


Here is a shot of the cylinder with it's covers and the new nuts. What do you think about the scale?

IMG_1820.jpg


Scale looks good, nuts are perfect. If you want the cast look to carry over onto the covers sand blast them on the outside, just won't be able to polish them to a high shine. I think the colour looks great against the brass.

Brock
 
All looks go tome Brian, you have a go. Love the way the paint looks with the brass.

Don
 
Brian,
I like the look of the thicker nuts here. The contrast of the brass and that paint looks great.

--Tim
 
Brian, this looks awesome; I'm inspired by your treatment of the castings, and hope to try it on my Stuart. Up until now, I've been thinking of PM castings as "toy" castings not worthy of a lot of finishing, but your build has changed my mind.

The nuts look great! I wonder if just rounding off the tops a little would make them even better!

Simon
 
Thanks for the nice comments everybody. Doing this project out in the open like this has really pushed me to pay more attention to the details.

smfr said:
The nuts look great! I wonder if just rounding off the tops a little would make them even better!

It is funny you mention that because I am struggling with this idea. I want to round over the top edge a bit, however I know that in the real world, the round edge was supposed to be on the bottom and the flat side was up. I think that if I rounded the top I would always be justifying to myself why I put the nuts on backwards. :)

I have considered tumbling them lightly to create a very small but even radius on all edges...
 
Back
Top