PM Research No. 1 Build

Home Model Engine Machinist Forum

Help Support Home Model Engine Machinist Forum:

This site may earn a commission from merchant affiliate links, including eBay, Amazon, and others.
Thanks for the praise guys. It means a lot comming fr you all.

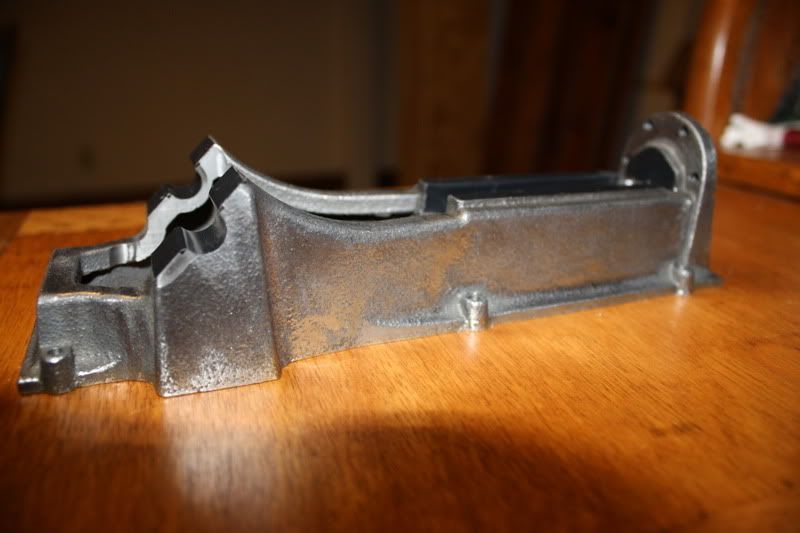
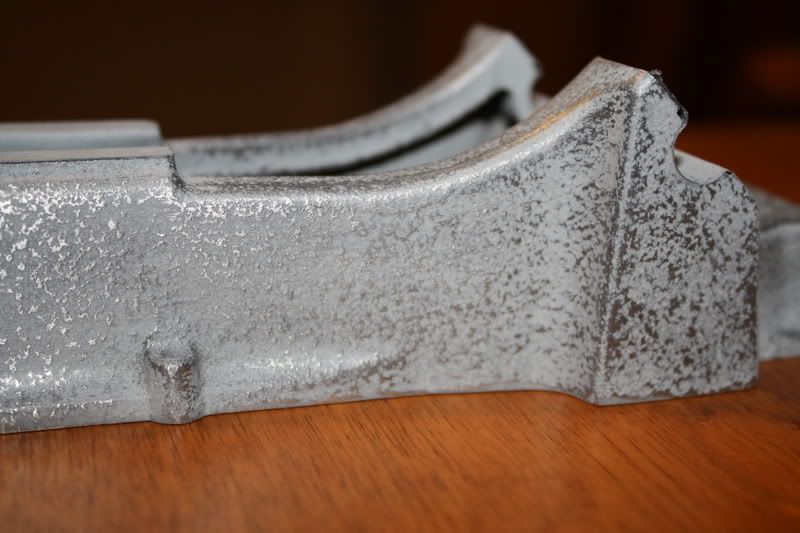
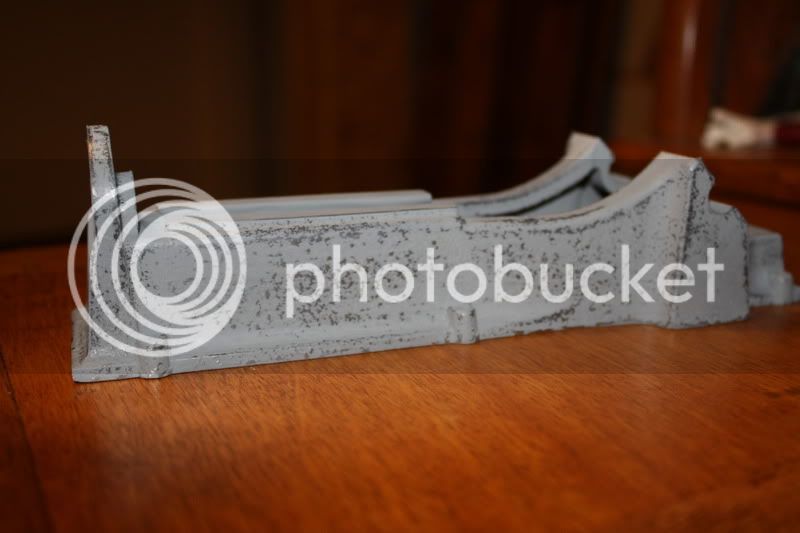
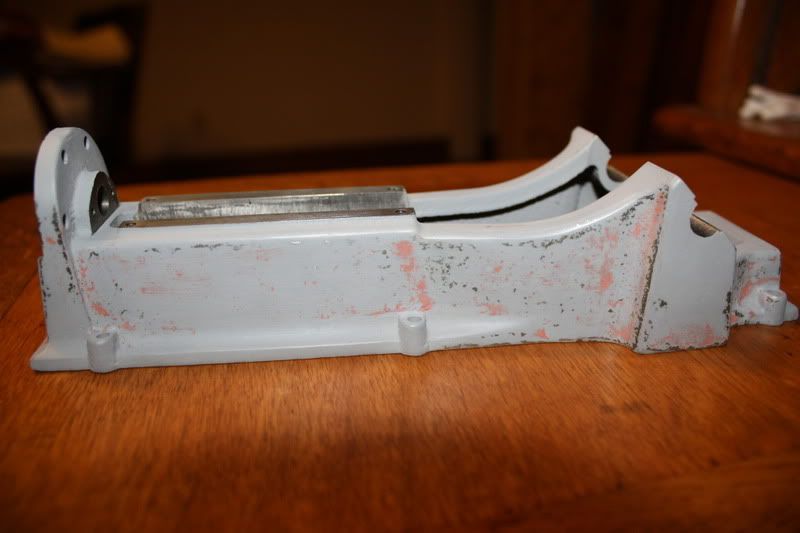
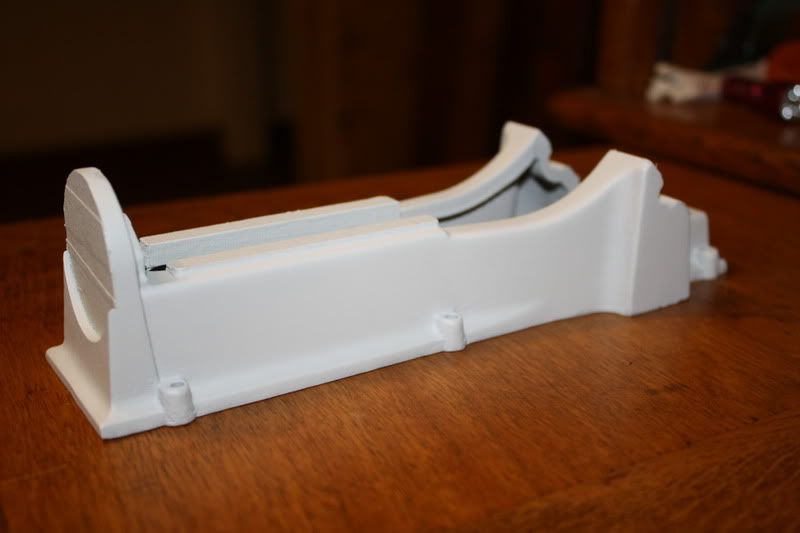
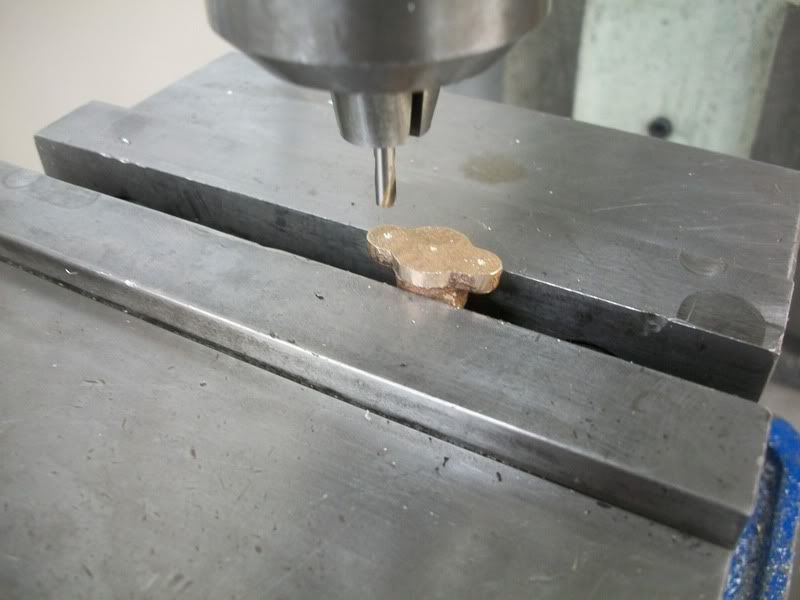
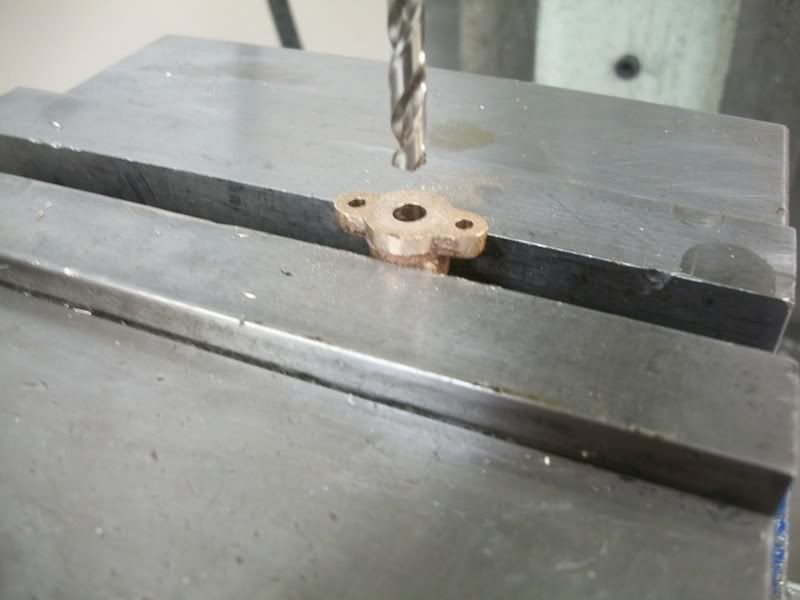
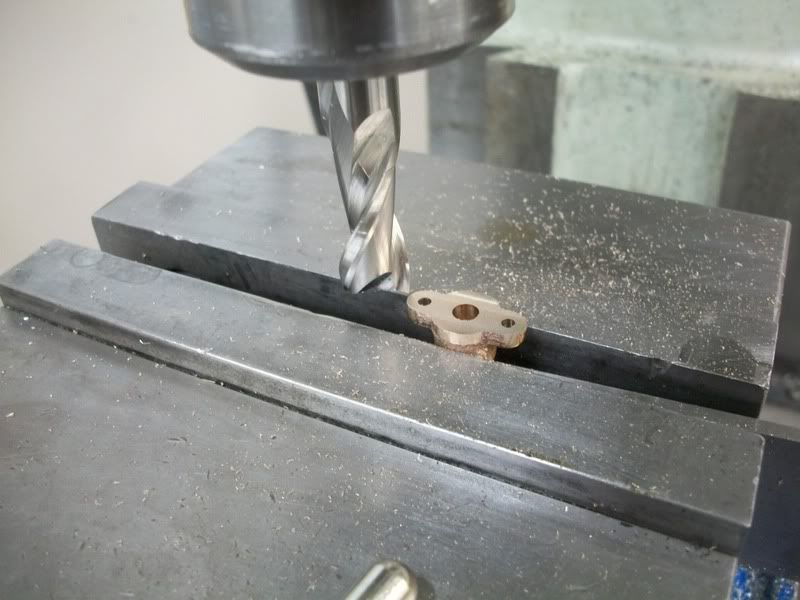
Bill, I'm struggling with finish options. I think I want to smooth castings a bit before painting, but I don't know if I have that sort of skill. Then there is the qestion about whether or not to try to polish the bronze bits or leave them as cast...

...I'm finding this to be the most daunting part so far.
 
You are at a question that bothers me as well. If you try to smooth the castings you wind up with lots of flats with valleys between them. That does not look like a cast surface.

If you dont do anything some castings, and the PMR are among them, have a much to rough texture to be a scale 'as cast' look

I think the best finish is to smooth the castings very smooth, then add a texture by bead blasting. That is a LOT of work.

A very tough question.
 
Well, I got to the piston rod packing gland over the weekend. This is the last major part to machine, but I have lots of studs and nuts to make.

I started on the packing gland by spot drilling and then drilling the holes. I reamed the shaft hole to 0.001" Over the shaft diameter, but didn't upload the picture.

100_2025.jpg


Drilling:

100_2027.jpg


Then I milled the face flat. I should have done this first, but I got all caught up in locating the holes and forgot to do this step.

100_2029.jpg


Then I turned a fixture on the lathe so that I could turn the outside of the gland and face the nut locations. The gland is held to the fixture with a 10-32 screw.

100_2033.jpg


Finally, I drilled and tapped a couple of 2-56 holes to hold the gland on so that I could remove the 10-32 screw and machine the last face.

100_2034.jpg


Here is a shot of the finished part. The flat you can see is not in the plans, but I found it was necessary to clear part of the base casting.

100_2037.jpg
 
Very nice work on the gland Brian...getting close now!!
 
Here is one last video of the (more or less) complete engine before I tear it down for finishing. It is a little tight yet, and it has no packings or gaskets so it leaks like a sieve. However, it does run :)

This is where my progress is going to come to a screeching halt. I have a hard time slowing myself down when it comes to finishing things which usually results in a less than spectacular final product. This time I have myself roped in. I am committed to making all the hardware (studs, nuts, etc) for this engine which will take lots of time, and not be something I care to do for several hours straight. This will make it seem more pleasant to spend the necessary time smoothing out the castings and polishing the bronze bits. (Yeah, right...)

Anyway, here is the video:

[ame=http://www.youtube.com/watch?v=Rh8TVahqUfM]http://www.youtube.com/watch?v=Rh8TVahqUfM[/ame]

 
Nice one Brian Thm: - congratulations!

;D Those fiddly bits - they do take a lot of time...

Kind regards, Arnold
 
Nice runner Brian, Thm: I consider my engines unfinished until all the sanding and polishing is done. stickpoke Just trying to get you motivated bud. Good work and write up.

Don
 
Oooooooh.....I love it Brian...makes me want to get started on mine. Thanks for doing this thread as I am sure I will refer back to it when I do begin. Very nicely done!!!

Bill
 
Don1966 said:
Nice runner Brian, Thm: I consider my engines unfinished until all the sanding and polishing is done. stickpoke Just trying to get you motivated bud. Good work and write up.

Don

You'll notice I said "Complete" and not "Finished" ;D
 
Great job Brian.... Thanks for taking us along on your journey. I totally understand the difference between complete and finished as I have a few projects in the complete or 90% complete or even running that are not finished.

Harold
 
Thanks Harold,

I tore her apart his weekend, and started grinding away on the castings to smooth out the finish.

My plan is to use sanding drums and flappy wheels in a dremel to knock down most of the rough surface. Then to use a high-build primer to fill in the rest. I may resort to some body fairing compound on particularly rough spots. So far I have sanded the base, but not applied any of the primer. I'll post some pics of the progress in a few days...
 
Brian another way to clear up some of your sanding marks on the casting and maintain the cast look is to sandblast the casting after rough cleaning.

Don
 
Hi Don,

I am thinking about doing that with the brass/bronze parts. I'd love to have the parts polished brights, but I don't think I would ever be able to get them "Flat" enough so that I could polish them to a bright finish without having a wavy surface. I think I may polish them down and then hit them with fine glass beads.

The iron parts are another story. Most of them are too rough for me to ever get to a smooth enough surface to even see the sanding marks. I am going to take them down as smooth as I can without messing up the details in the castings, and then try to smooth out the rest with the high build primer.

At least that is the plan for now. I may change my mind once I hit the first part with primer... ::)
 
I'm back again with a little progress. I spent my evenings this week getting the frame ready for paint. The first step was to smooth out the really rough spots with a dremel and a flappy sanding wheel. This is the result:

IMG_1666.jpg


Then I shot it with a coat of high-build primer and sanded most of it off. Here is the result:

IMG_1668.jpg


A second coat of primer and sanding got me to this point:

IMG_1669.jpg


After sanding the 3rd coat of primer, I decided to switch to some automotive spot glazing compound to fill in the last few pits. This time I wet sanded everything to get to this point:

IMG_1675.jpg


Then one final coat of primer:

IMG_1676.jpg


Here is a shot of the frame from back in March to compare the finish to. It isn't baby-bottom smooth, but it is about the limit of my ability and patience.

Firstpass-cleaningupthecrossheadrails.jpg


I am still trying to figure out what color to paint the engine. I am leaning hard toward a burgundy color. I think that would look good with the brass and bronze parts. If not burgundy, then it will probably be a more basic red. Of course I have thought about basic black and hunter green too. Picking out a color for this engine is about as hard as picking out a color to paint a car ::)

 
Hi, Brian looking good bud and I would go with the hunter green for the color. I think that would look cool. Waiting to set it completed.

Don
 
Cream color with Brown accent markings would be nice. The choices are endless for certain.

BC1
Jim
 
Hello,Brian.
Congrats to your very nice engine.
I always thought that one of the advantages of a model engine made from castings is the more authentic look.
Bar stock is more or less smooth by nature and some model engineers I know are spending a good amount of time to bring it to a
cast iron look.
Know that you have this look innately,you are trying to smooth it out.
Just wondering.
Cheers,Ralph
 
I like the finish....I'm partial to green...but that's just me!

If your looking for a scale appearance....don't go glossy on the paint.

Dave
 
Very nice engine indeed. :bow: :bow:

Classic colours to go on or with a brass marine engine are (in order of preference), satin black, gloss maroon or gloss bottle green, and sometimes, gloss midnight blue. These colours show the brass highlights to their best effect.


John
 
Agree John. Gloss doesn't scale well. Depends on the effect desired

If bling look is what you want, glossier the better! ;D

If a "scale" appearance is desired, like for use in a mill building diorama for instance, a slightly less glossy appearance "scales" better. A not uncommon method on scale models I'm sure if you spend some time with google, a thread will show up discussing what I mean.

Look at Stew's Shipton or table top engine builds and you'll see what I mean

The Choices of colors you listed John are very correct and traditional.

Dave
 

Latest posts

Back
Top