My First Clock Project

Home Model Engine Machinist Forum

Help Support Home Model Engine Machinist Forum:

This site may earn a commission from merchant affiliate links, including eBay, Amazon, and others.
Fascinating build thread. I've always wanted to build a clock.

Chuck
 
This thread is taking me back to 1995.
Don
 
So far, so good, Tmuir. Watching with interest.

Dean
 
A little bit more progress.

I only took this photo as I was very proud of this hole I drilled.
I little trick I read in one of my clock making books is to scribe several circles of increasing size around the hole you plan to drill and it makes it very easy to see if you hole is going off centre to allow you to correct this.

You can see a faint line right on the edge of the hole drilled, this isn't from the drilling.
Its one of my marking circles, so for once I got the holes exactly spot on where I wanted to drill it.
This is something rare for me. :big:
clock10.jpg


Same part after turning to size, boring, marking out and lots of sawing and filing.
clock11.jpg


clock12.jpg


The screws I've ordered to screw this together haven't arrived yet so I can't finish it until they do.
Although I can give it its final clean out.
 
Verry nice hand work on that ratchet gear. Verry Nice.

Kel
 
The ratchet looks good, Tmuir. Thanks for the pics!

Dean
 
Finally tonight I managed to get back into the workshop.
I was away for 1 1/2 weeks for work and then once I got back I had a stack of other jobs to do before I could get back into the workshop.
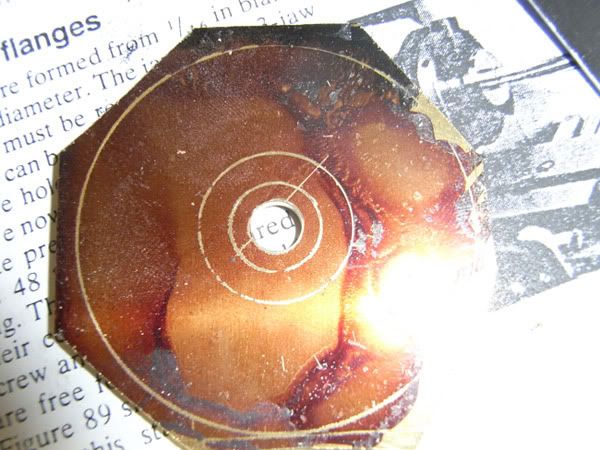
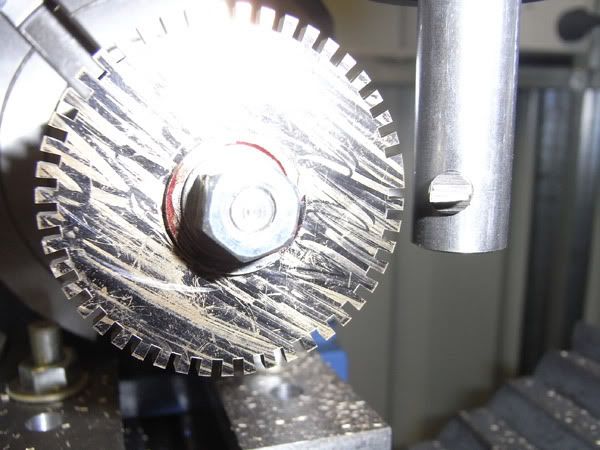
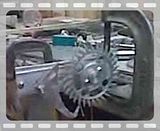
The first thing I needed to do was burnish the teeth on the ratchet.
I didn't own a burnisher small enough and yes I could of got some 1/16 silver steel hardened and tempered it and then polished it up but I took the easy approach.
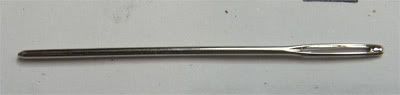
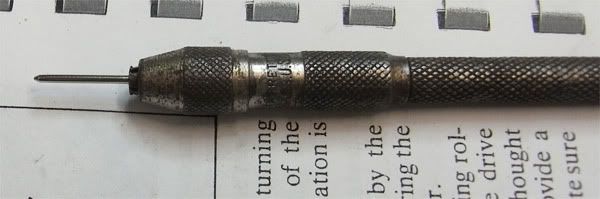
On the way home dropped by Spotlight which is a shop in Australia that sells all the stuff you need for sewing, knitting etc and got myself a medium size wool needle (the wool needle was chosen as it doesn't have a sharp point.
burnisher1.jpg


A quick trip to the grinder to take off the eye of the needle and I had a perfectly sized hardened and polished burnisher which I held in my pin vice.

burnisher2.jpg


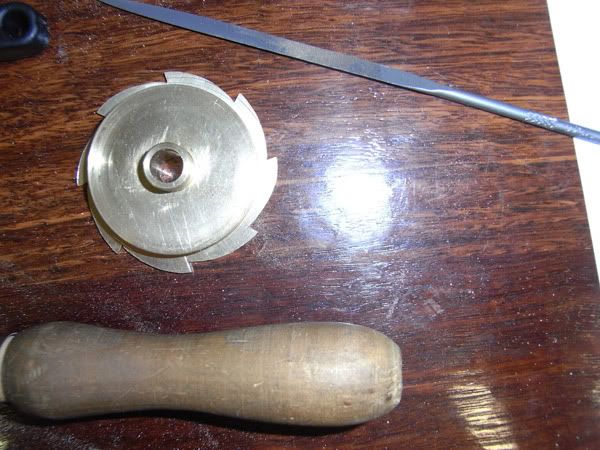
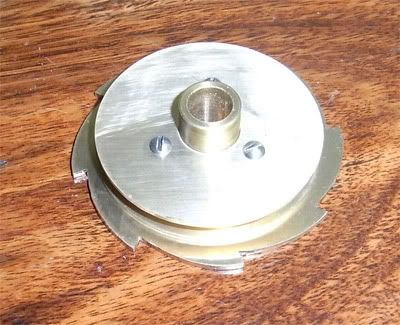
After burnishing the holes for the 8BA roundhead screws were marked out, drilled, counter drilled and tapped.
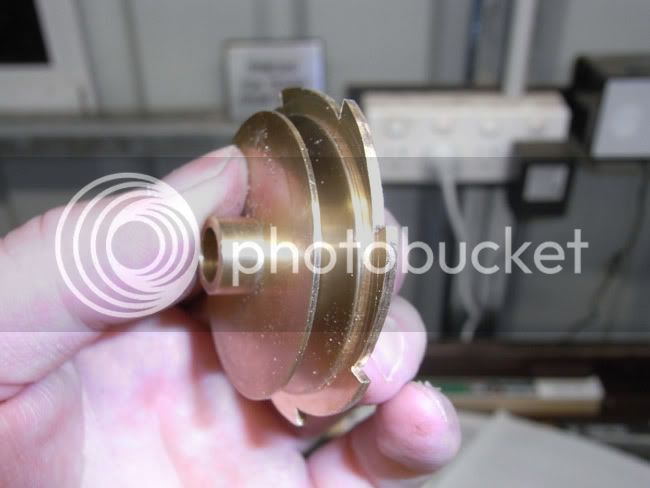
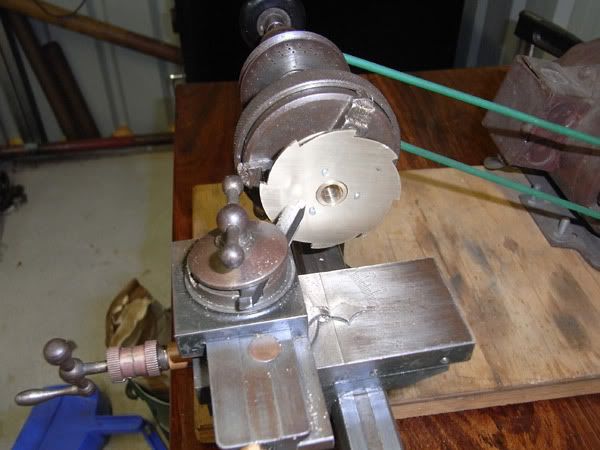
Here it is in the lathe to trim the screws to size and put an undercut to strop friction when the ratchet turns against the main wheel when resetting the weight.
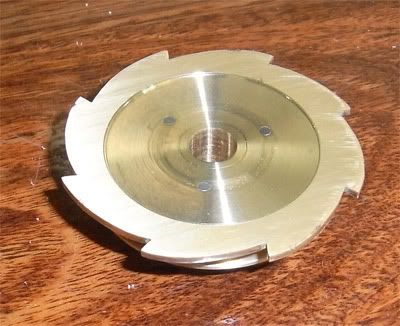
clock13.jpg


All finished.
clock14.jpg


clock15.jpg


Its not perfect but it is good enough for what is really a learning project.
One part finished, many to go.
 
I got a dumb question.

What is burnishing?

kel
 
A basic description of burnishing would be feeding a blunt, non-cutting tool that is
harder than the base material over it to create a highly polished compressed surface.

In industrial applications, a burnishing tool is a diamond tip mounted in a spring
set tool, or a set of hardened rollers that can be adjusted to suit the diameter of
material to be burnished.

Does that make any sense?

Rick

 
tmuir, your ratchet wheel came out nice!
Good idea for the burnisher, too. Fat sewing needles are good for more than sewing.

Anxiously awaiting your next installment of "As the clock turns".
; )

Dean

 
kcmillin said:
I got a dumb question.

What is burnishing?

kel

Rake pretty muched covered it.
What I'm using it for is the edge of the ratchet.
Once it was shaped the edge was still covered with fine marks from my 4th cut files.
The needle is hard and highly polished so if I rub it up and down the edge of the brass whilst putting pressure on it, it will compress the metal, get rid of the file marks and work harden the edge so making it tougher against wear.

Once I make the wheels (gears) and cross them out (cut out the extra material between the hub and the outer edge to make them lighter) the burnisher will be used again to polish these up too.
 
Had a long night in the workshop last night and I'm quite proud of the results.
I cut my first wheels (gears).

I marked out the wheels on the brass sheet and drilled and reamed the centre holes then cut out from the sheet.
Next I made an aluminium disk 1/8inch thick to fit on my mandrel to give some extra support to the wheels when I cut the teeth.
Then the wheels were fitted to the mandrel and turned to size.
Next the mandrel was transferred to my rotary table set up on my X2 mill.

Here are the blanks (I cut 2 blanks at the same time) ready for cutting on my mill.
I had made the fly cutter holder and the flycutter a few weeks back ready for this day.
clock16.jpg


clock17.jpg


First tooth cut.
clock18.jpg


Just one more to do.
clock19.jpg


Finished.
clock20.jpg


Next the wheels need to be crossed out (Cut out the brass to make it have spokes) and then the addendum curves will be filed onto the teeth. I will be using lantern pinions so the addendum curve isn't that important other than to provide clearance which is why I can get away filing the curves. This also simplifies cutting the gears which is what I want for my first clock build.

These will be second and hour wheel.
 
Tmuir,

Nice wheels. :bow:

Just to show my complete ignorance, why are the second and hour wheels the same size. ???
Am I correct in that they have 48 teeth. ???
Why not 60 teeth which is a number basic to time and 360 deg. ???

Thanks for putting up with this - a clock is on my tudu list but time is getting away from me.

Best Regards
Bob
 
Hi Maryak,

Yes they are both 48 teeth.
When I said second wheel I didn't mean the seconds as in 60 to a minute but the second wheel in the train.
The main wheel has 72 teeth and this revolves once an hour.
It has a 4 tooth pinion on the front of it that connects to the hour wheel which has 48 teeth. This means the hour wheel does one revolution every 12 hours.
The second wheel is driven by an 8 tooth pinion off the main wheel this in turn drives the crown wheel via another 8 tooth pinion.
The crown wheel has 20 teeth which gives 36 vibrations a minute.
 
Tmuir,

Thanks for your explanation. :bow:

Best Regards
Bob
 
Not made huge progress and probably won't this month either as my PC died and cost $800 to fix which pretty much killed my budget for buying the tools and material I still needed to get.
I'm also going away again for another week for work so quickly nipped out to the workshop today and made a couple of simple parts.


These are the foliot weights. In the photo one has been chemically blackened and the other hasn't.
All mild steel parts of the clock will be blackened to help stop rust.
For those that don't know what the foliot is, it's the bit at the top of this clock that will swing back and forwards to regulate the clock.
This clock is based on a design from before the modern escapement was invented.

clock21.jpg


Small progress is better than no progress.....
 
Clocks coming on great Tmuir,tell you what I found,when the clock was in it's case,it kept stopping after about an hour,it was the fact that it wasn't screwed to the wall.It appears the pendulum sets up harmonics and the case moves with it,and so cancels the swing.
A useless bit of info but intersting.
Don
 
don-tucker said:
Clocks coming on great Tmuir,tell you what I found,when the clock was in it's case,it kept stopping after about an hour,it was the fact that it wasn't screwed to the wall.It appears the pendulum sets up harmonics and the case moves with it,and so cancels the swing.
A useless bit of info but intersting.
Don

I've got a couple of old 8 hour longcase movements coming from the UK at the moment so I've been reading my books on repairing them and have just read about exactly what was happening to you.
My books suggest putting a couple of wedges under the front to push it back hard up against the wall to stop it.
Mine won't have a pendulum so I don't have that problem.
Mine also won't be going in a case but left hanging naked on the wall.
It's not being made to be a precision clock, just something that keeps reasonable time and to give me some 'hands on' experience working with clocks.
I'm only half way through reading about pendulum theory and didn't realise there was so much to something that I always thought was the simple part.
 
Tmuir, I know what your saying about pendulum theroy, there is more info on that than I could possibly read.

awhile back I had an attempt at a clock, read up and looked at pictures and I came up with this.

I thought this would be a good spot to post this.


kel
 
Back
Top