Lathe tool Grinding

Home Model Engine Machinist Forum

Help Support Home Model Engine Machinist Forum:

This site may earn a commission from merchant affiliate links, including eBay, Amazon, and others.
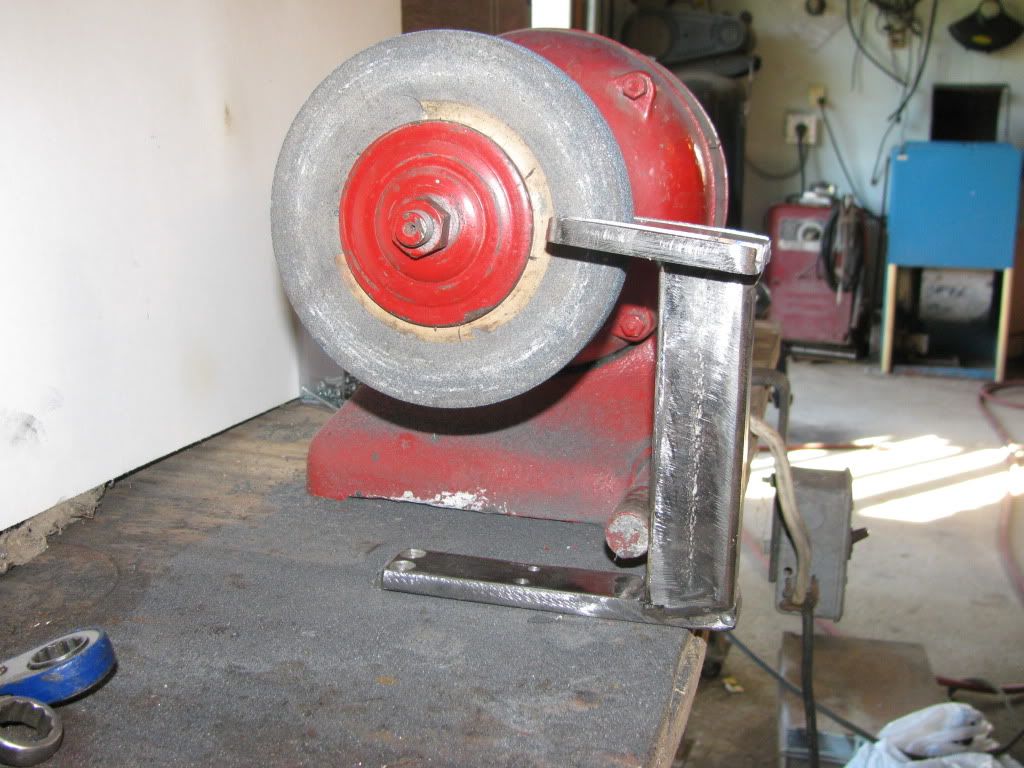
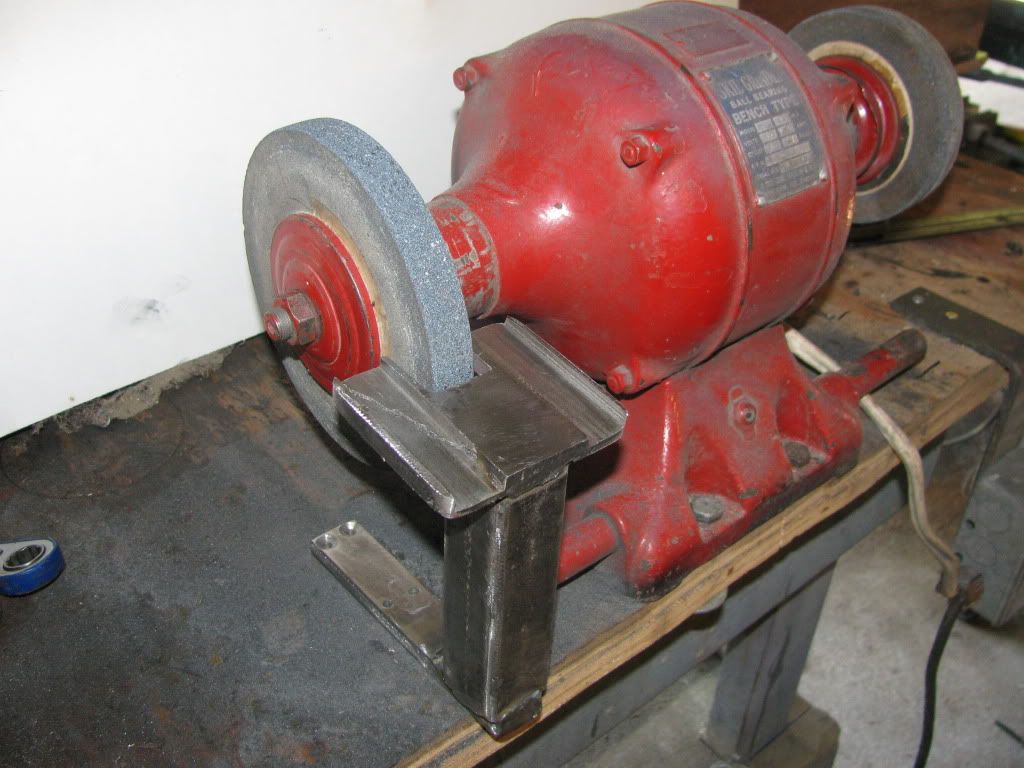
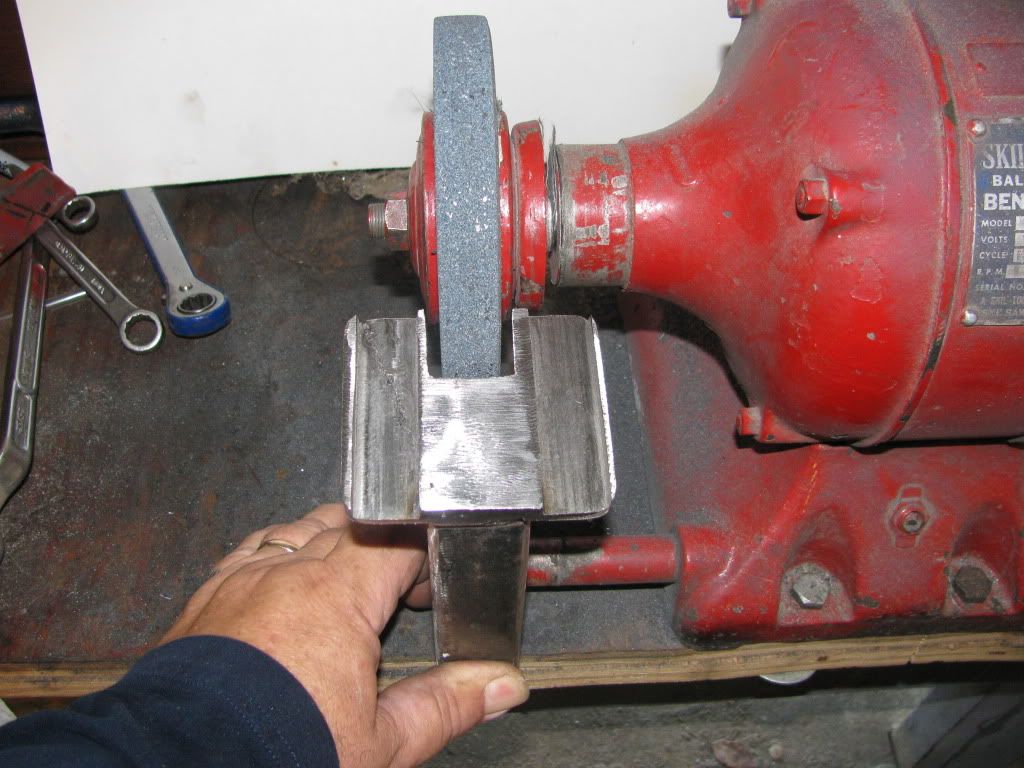
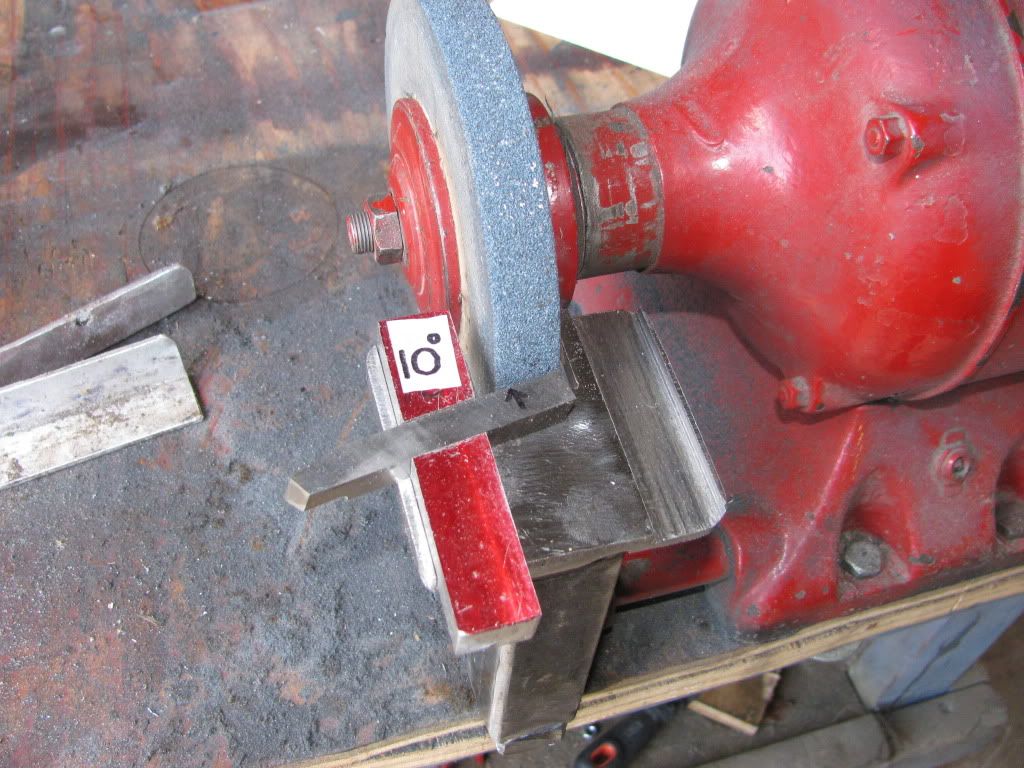
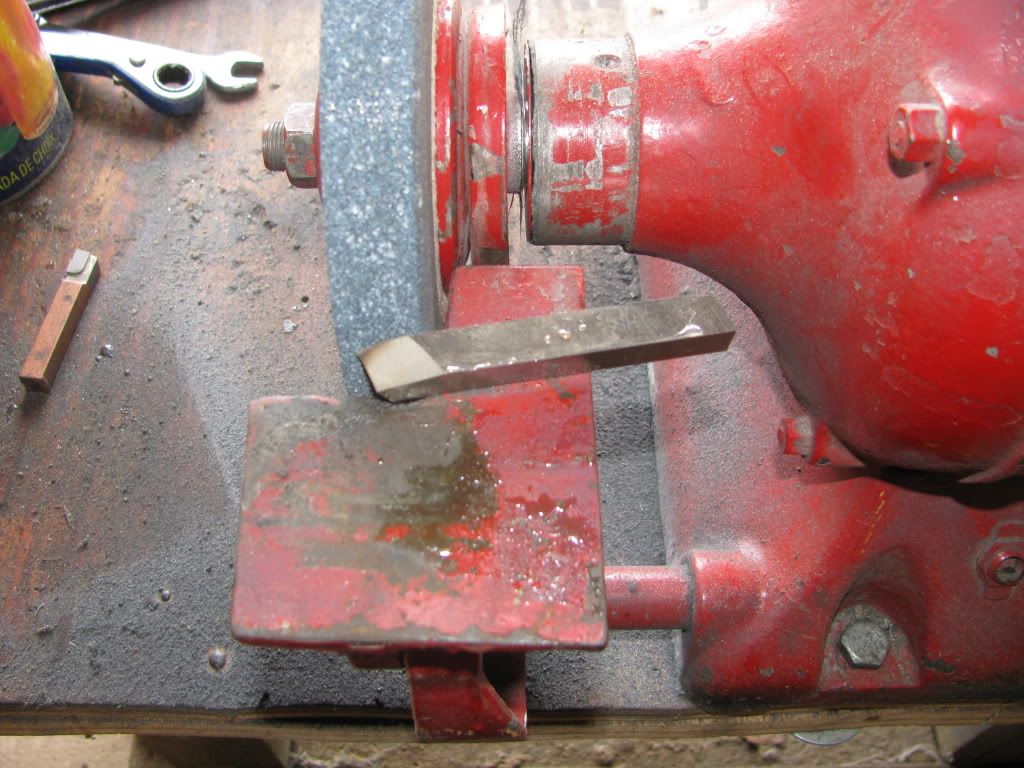
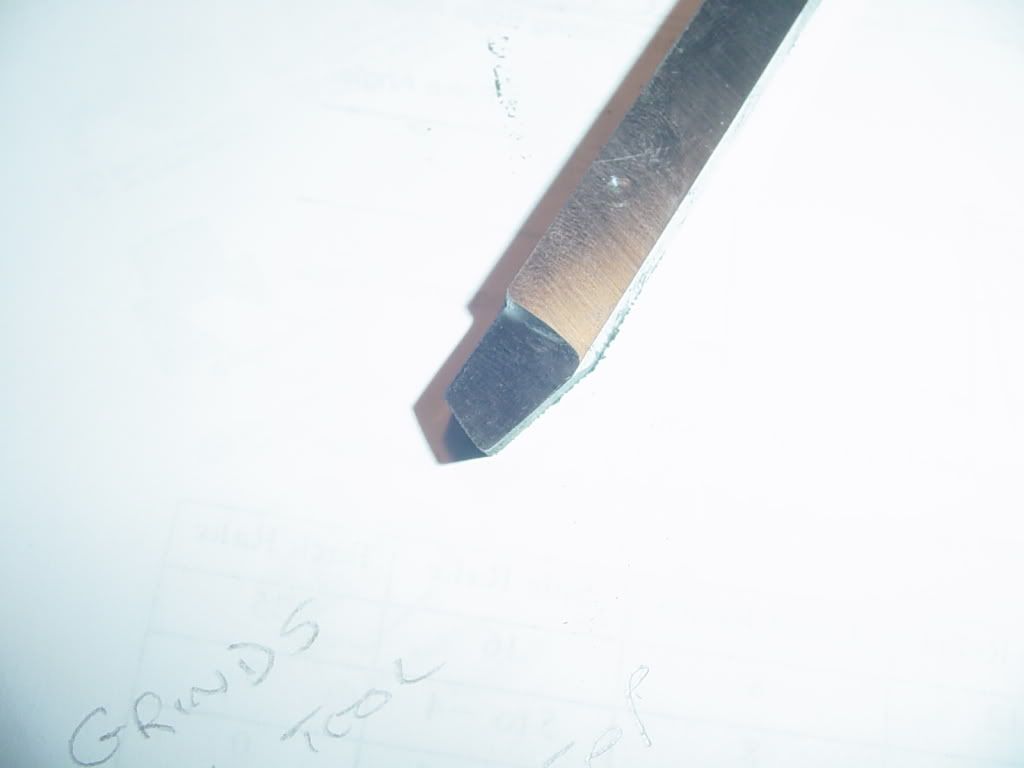
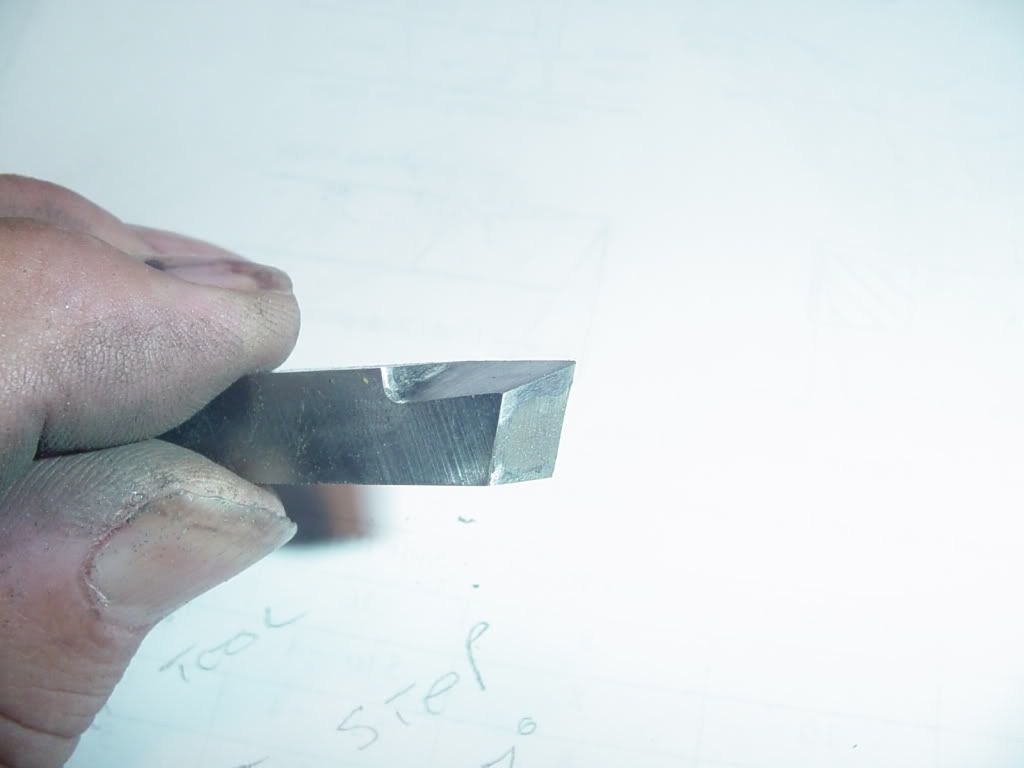
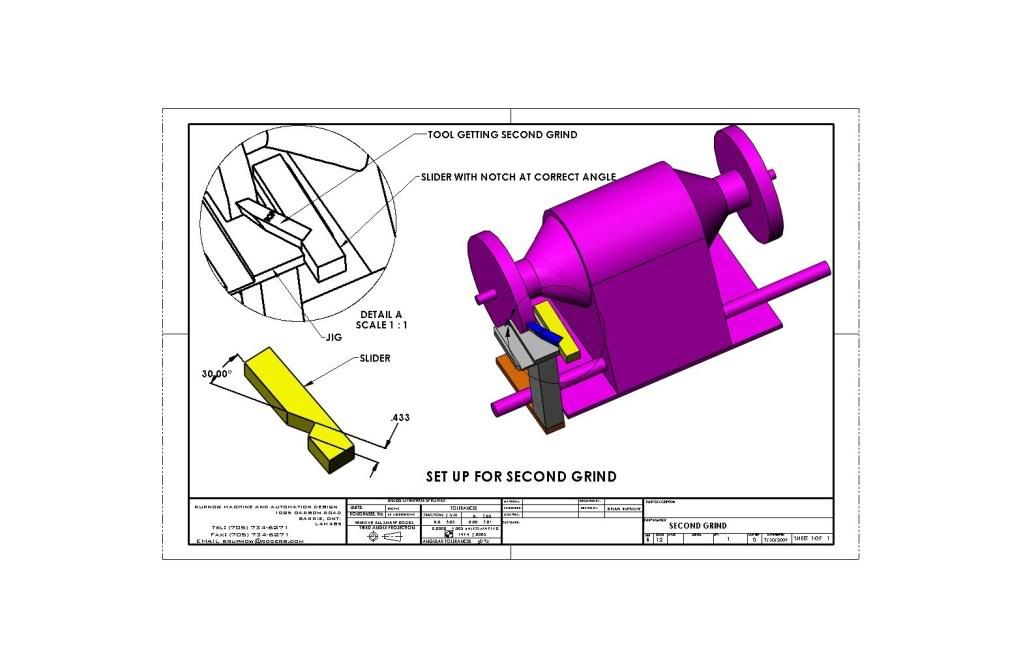
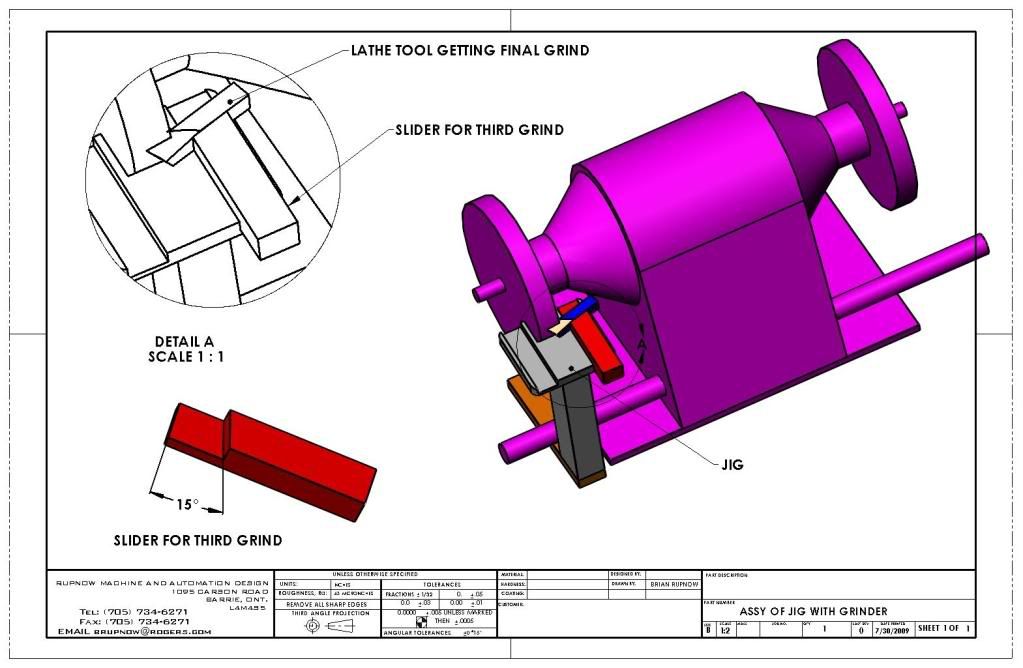
Moving on to the third and almost final grind, I layed the side of the tool which would be opposite the cutting side against the toolrest, and held the tool at approximately 15 degrees to the centerline of the grinding wheel (Same as the picture I posted), and more or less held the visible line which resulted from the second grind on the tool in line with the side of the grinding wheel. Then I kept grinding and checking untill the resulting flat surface just touched the sharp corner at the end of the tool which had resulted from the first two grinds.
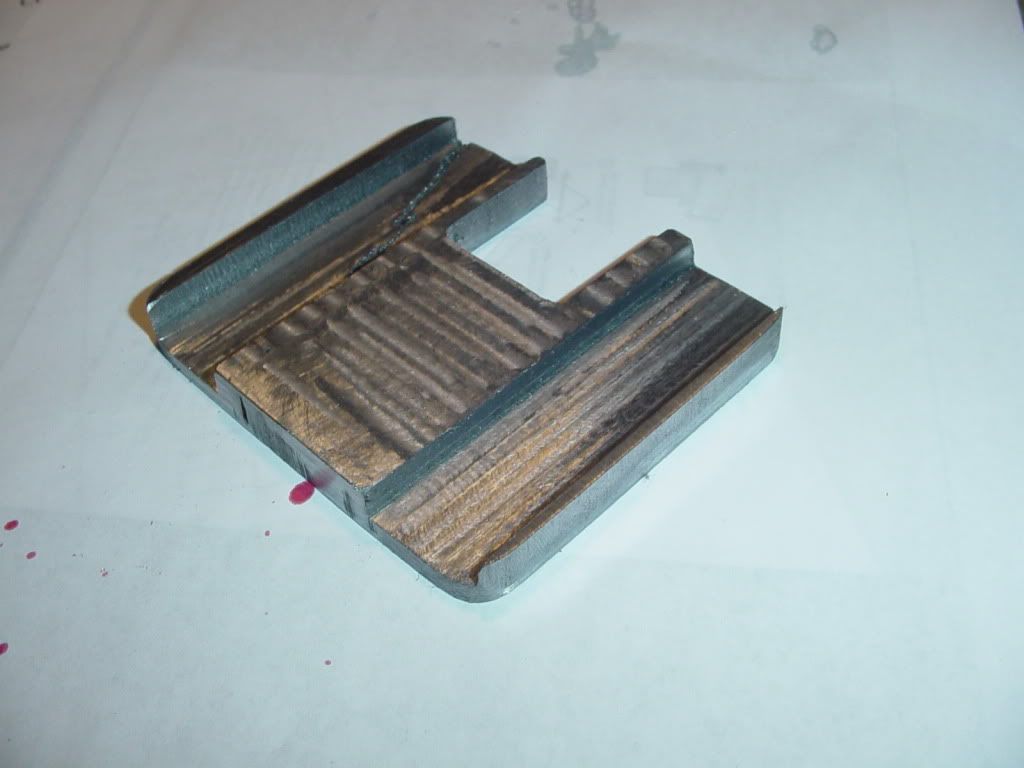
FIRSTGROUNDLATHETOOL009.jpg
 
Now when I look at the end of the tool it looked like this. I freehand ground a VERY small radius along the apex of the two first grinds at the end of the tool.
MORETOOLGRINDING004.jpg

MORETOOLGRINDING005.jpg
 
Now, I'm not going to say if I did that tool right or wrong, but does that sucker ever cut!!!--and smooth as a babies bum!!! I don't think I will be buying any more carbide tooling.----Brian
MORETOOLGRINDING002.jpg
 
Nicely demonstrated Brian, a textbook example of how to grind a very usable cutter. DyiM, If HSS cutters dull that quickly for you than there is something wrong, either your spindle/feed rate is too fast or the rake angles on your cutters are way off. (or a very cheap grade of cutter is being used) HSS cutters should cut well for long periods of time with only an occasional dressing with a stone being required. Personally I find that carbide cutters, for my tastes are too brittle, but they do have their applications. Whatever you feel most comfortable using is fine I'm sure. ;D


BC1
Jim
 
good job brian tool looks great adn seems to be working well.
 
Brian, you made that look way to easy!!!
your in ontario right?

just thinking out loud, can a camera tripod head be used for grinding?
wouldnt it provide the swivel to get the angles.
 
Beautifully documented tutorial Brian!

Rick
 
Brian;
Nice work. Like you I reached the point of reading material where I too said "enough, lets just destroy some metal". I'd found info on jigs but after freehanding lots of toolbits I'm in no rush to build more tooling - I need to build engines...

One comment - I found that as soon as the wheel is not cutting quickly anymore (1/4" bits) and seemed to be heating up quicker - it's time to redress the wheel. Amazing difference. If the wheel isn't making a nice sizzling sound and staying cool - redress. Not sure how long my wheel will last; but life's too short.

When you fall back in research mode try the FILES section here;

http://groups.yahoo.com/group/ToolGrinding/?yguid=204436884

And thanks for all the effort you've put into adding to this website, making it a great resource for learners like me.

Cheers
Garry
 
Tool looks very good!

Carbide needs higher speeds than HSS, so if your lathe is not capable of those speeds than HSS will work better.
 
Really good idea on the jig. Free handing the grinds gives one that multi faceted look :) may look like a diamond in the rough but usually ends up cutting squat.

Getting that nice radius on the tip still eludes me, but for sure a good sharp HSS bit cuts like a new razor. When they start acting like a razor the bride has used for "who knows what," getting it back to the wheel in a jig like you've created is just what the doctor ordered.


Now if you can solve the Rat Nest issue. Here's taking 0.050 cuts off AL with fast hand feed, Just peels right off into one long piece of rat nest :)


Robert

rat nest.jpg
 
Excellent idea, and drawings, Brian! :bow: Looks like a good way for me to come close to the quality of the stuff the tool-grinder guys at work turn out, BEFORE I have their 40+ years of experience. Feels like cheating. ;D


Foozer said:
Now if you can solve the Rat Nest issue. Here's taking 0.050 cuts off AL with fast hand feed, Just peels right off into one long piece of rat nest.
Geez, Fooz, break a chip! ;D I'm not sure what the tool-grind solution is, but I'd use more feed, or less spindle speed, or pause every few seconds while cranking that wheel.
That's too big of a pile of razor ribbon. :eek: ;D
 
Vernon said:
Geez, Fooz, break a chip! ;D I'm not sure what the tool-grind solution is, but I'd use more feed, or less spindle speed, or pause every few seconds while cranking that wheel.
That's too big of a pile of razor ribbon. :eek: ;D


I know, just had to do it. Roughing down to size. I was well to the right. Even on light cuts, fine feed, a good sharp bit will leave that long string of curly cues. Read about employing a chip breaker grove into the bit but I cant get the hang of it. Though when first turning metal it was cool, Oh! lookie lookie at the long curlys being taken off, now there just pesky critters ;)

Robert
 
So---I got up early this morning and did a bit of welding and grinding and "Voila'"--a welded assembly. This looks like it may work alright. I will make up the "Sliders" this weekend sometime and give this thing a test run.---Brian (If you were wondering about that line that appears to be a crack in the jig----It isn't. The peice of plate that I reclaimed from my scrap bin to make the jig had been cut thru with an acetylene torch, then welded up in one of its previous lives. I uncovered the cut when I was machining. It doesn't go all the way though, so it doesn't hurt anything, it just looks kinda ugly.)
weldedfixtureatgrinder001.jpg

weldedfixtureatgrinder002.jpg

weldedfixtureatgrinder003.jpg
 
For aluminum "chip breaking" I normally just stop/restart the carriage feed when turning down to size when the curlies get too long.

The jig looks like it will make grinding easier. Does it work for bits that cut left to right?

 
Kvom---I think it will work for almost any kind of tool. The secret will all be in how you grind the angle on the "sliders".
 
Hey---This works really slick!!! In this picture you see Number 1 slider with the 10 degree angle for the first grind. At the last minute as I was making it I decided to leave the entire length of the slider full height, with just a slot to set the tool in---it holds better that way. The slider still has red layout die on it. The mark on the tool is 1/2" back from the end.
FIRSTSTEPGRINDINGWITHJIG001.jpg
 

Latest posts

Back
Top