Lathe tool Grinding

Home Model Engine Machinist Forum

Help Support Home Model Engine Machinist Forum:

This site may earn a commission from merchant affiliate links, including eBay, Amazon, and others.
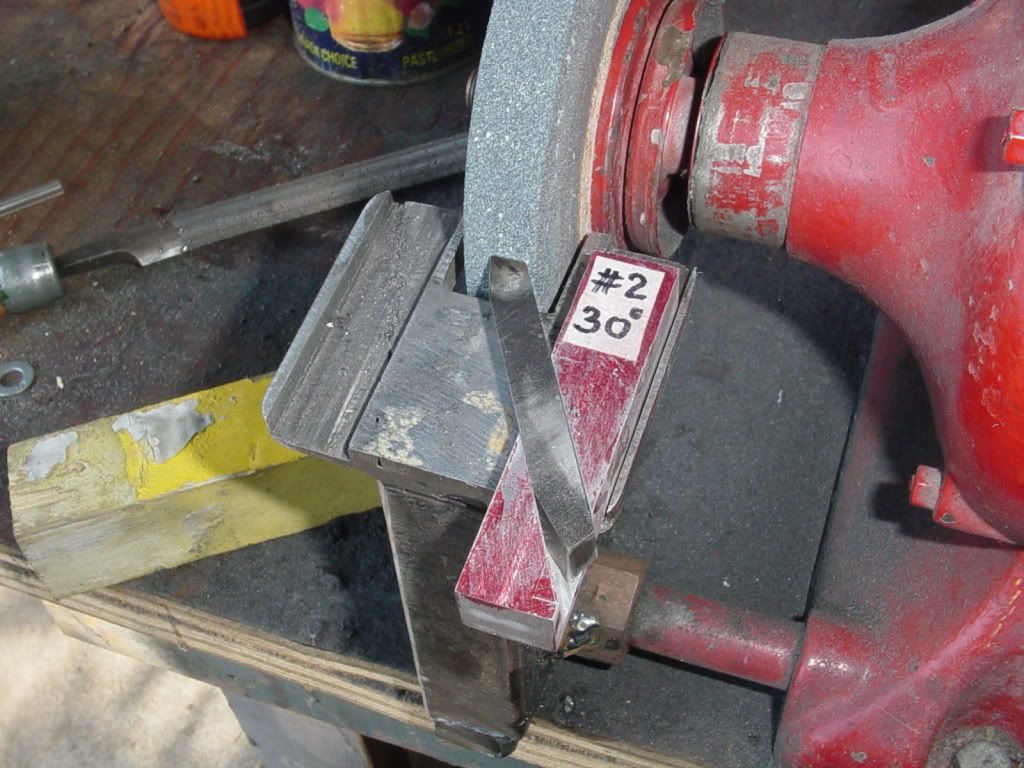
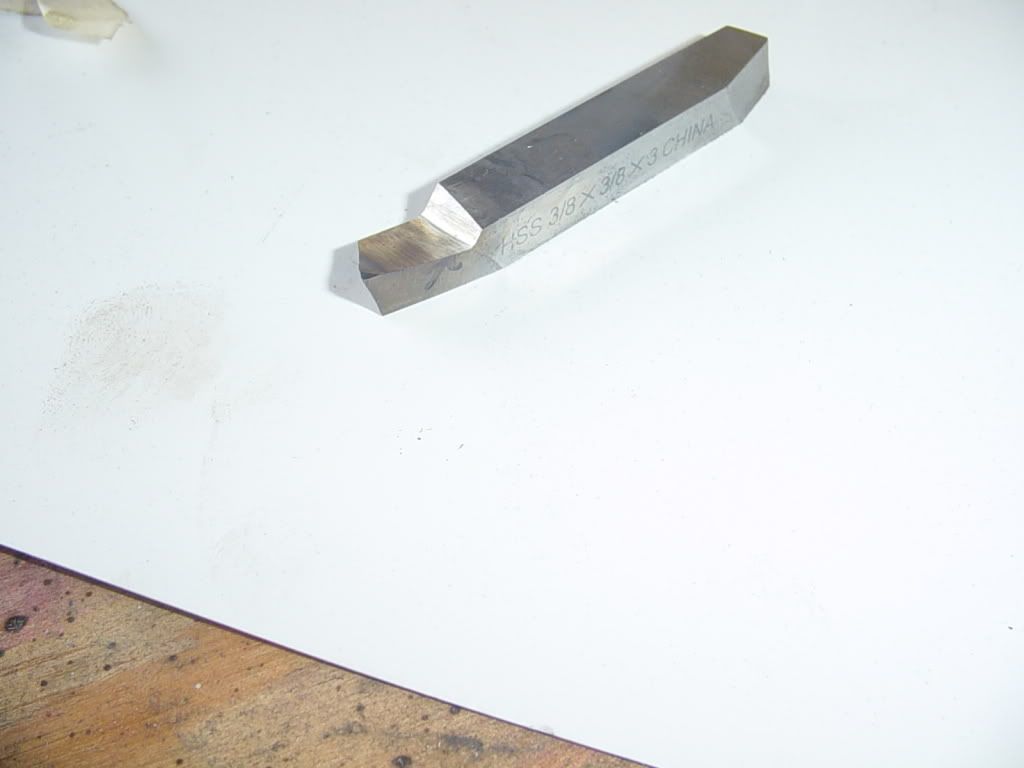
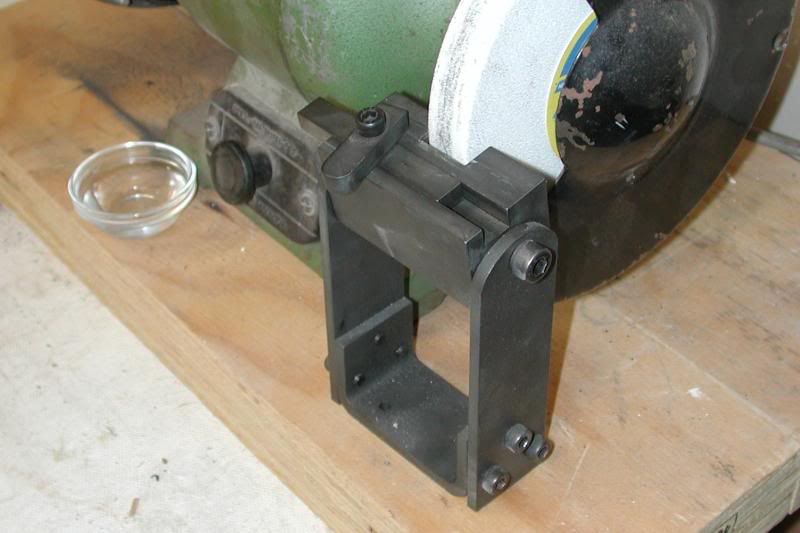
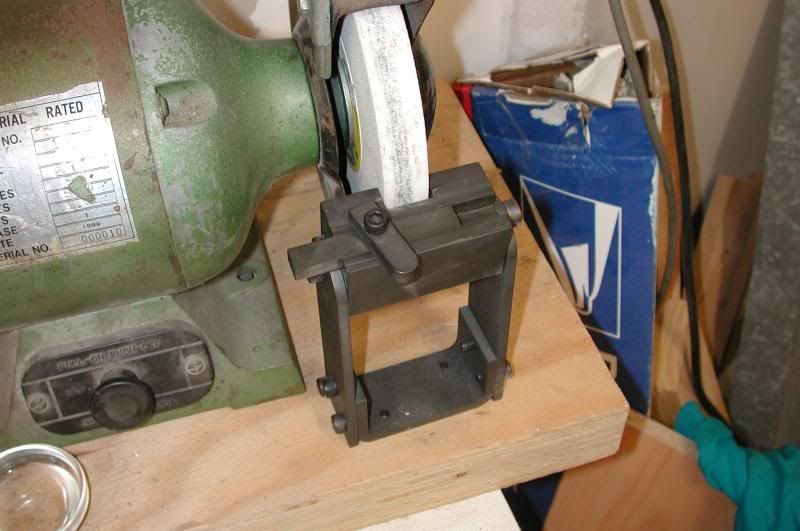
Here you see it after the first grind is completed. The grind ends at the mark 1/2" back from the end of the tool. It is really easy to use, and as I slide the tool back and forth on the face of the grinding wheel, the Slider moves ahead and back in the jig slot, holding the angle correctly.
FIRSTSTEPGRINDINGWITHJIG002-1.jpg
 
And this is what the tool looks like after the first jig grind---the left end in the picture.. (I only have one tool, so I am sharpening the other end.)
TOOLAFTERFIRSTGRINDWITHJIG001.jpg
 
Brian Rupnow said:
And this is what the tool looks like after the first jig grind---the left end in the picture.. (I only have one tool, so I am sharpening the other end.)

Am watching with interest. I've started on a few versions of a jig like that, all failures. Sometimes the simplest things elude me. I like what you got going. HSS bits cut like a dream when sharp. Getting them resharpened while maintaining the same profile is tricky by hand. Ruined more bits with the old just touch it up task.

Like your jig goes. Angles are not that critical for the hobby use, Means to sharpen and resharpen with repeatable is more important. Thanks for the time your taking to do the How To

Robert
 
Here we are with the second slider in place and the second surface ground on the tool. Very easy to use, and very repeatable----So far so good---
secondgrindusingjig001.jpg

secondgrindusingjig004.jpg
 
And now--Slider #3 and the final grind. This worked okay, but I think I may make a new #3 slider with an angle of about 8 degrees rather than the 15 on this one, so it doesn't cut quite so deep at the heel of the cut. The arrow on the tool was supposed to be in line with the edge of the grinding wheel, but as you can see I managed to cut beyond the arrow. That doesn't hurt anything, but it SHOULD have been in line. I have also posted a picture of what the tool looks like with the third cut finished, before any "stoning" was done on the cutting edges, and before I "hand bombed" the 1/64 radius on the tip.

THIRDGRINDUSINGJIG003.jpg

THIRDGRINDUSINGJIG006.jpg
 
And this is a cut in 1018 (mild steel) using the tool I just ground on the jig. You can see that the cut has a good finish. The lathe was running at 970 RPM. You can also see that the tool has a shiny area around the perimeter of the top ground face. That shiny area results from "stoning" the ground faces on a flat oilstone. Since the grinding wheel is a diameter, all the faces it cuts are in effect "hollow ground", so stoning flattens the perimeter and leaves a bit of a "cup" in the center of the ground area. I "stone" all 3 cut faces by rubbing them on an oilstone, as it makes the tool sharper.
THIRDGRINDUSINGJIG008.jpg
 
Diymania said:
To rid of the diameter problem, the flat sides of the wheel could be used.
Diymania--You are probably right BUT----Back about a hundred years ago in my apprenticeship, I was taught to NEVER grind on the side of a grinding wheel. Apparently some grinding wheels are made to take grinding on their sides, but many are not. And the ones that are not are prone to EXPLODE when they are used that way. And I ain't sure which kind I have!!!
 
OK Safety Notice!

As Brian has already stated:
NEVER grind on the side of a standard grinding wheel!


Grinding wheels are a cemented composite material.
They are not designed to accept a radial load.
I happened to be on the shift when a grinding wheel failed
due to operator error. I was sure we were going to lose him
that night. He looked like he'd been shot point blank with a
shotgun. He did survive but lost his right eye to the incident.

OK I'll kick my soap box back under the couch now...

Rick


Brian,

Very neat grinding jig :bow: :bow:

To follow up on Rick's SAFETY MESSAGE wheel guards might be a good idea for your, (any), grinder.

Best Regards
Bob
 
Maryak said:
Brian,

Very neat grinding jig :bow: :bow:

To follow up on Rick's SAFETY MESSAGE wheel guards might be a good idea for your, (any), grinder.

Best Regards
Bob

Maryak--That was covered in one of my very first posts

AWRIGHT!!! enough of this dickin around!!! Its time to grind a tool. The picture shows my first set-up. (Just a disclaimer here--guards are removed only to show what I'm doing.)
This first shot is somewhat staged. When you buy these HSS blanks, they already have an angle of about 13 degrees on the end. I set the toolrest at an angle of 7 degrees, in a position that sets the heel of the part I am grinding level with the center of the grinding wheel.--It is somewhat coincidental that with the toolrest set this way and using a 6" diameter grinding wheel, the angle on the end of the tool almost matches the angle of the grinding wheel face.---AND--all the grinding that follows is done without changing the angle or position of the toolrest.
 
Well just reviewed the "Safety Rule" sticky thread somehow I did not cover grinder safety That has been corrected.
Tin
 
Been following this thread with interest. I just finished my tool grinding jig, to the design of Rudy Kouhoupt from his second "Shop Wisdom of" book.

grindjig2.jpg

grindjig1.jpg


Had it parkerized at work. It will eventually be mounted to the grinder base as well - I've since cut slots in the base to allow for wheel wear. I brainlocked when making it and rounded the wrong end of the slide bevel. I'm sure the grinding wheel will take care of the other end in short order! I'll be getting a coarse wheel for the other end of the grinder; I realise the white ones are a bit soft to make a tool from square.

What's the best way of dressing one of these? We use diamond dressers at work, but they're a bit out of my league.

Guy at work had a grinder wheel blow up on him when he was an apprentice - still has nasty scars around his mouth. Wear the gear, ALWAYS use the paper washers on the wheel, ensure you're not exceeding rated RPMs, yadda yadda. Rules are there to make your life more difficult. But not as difficult as eating grinding wheels!

Matt
(shop H&S rep)
 
Brian,

I really like your jig, but, I keep having this recurring thought that if the "slider" were square stock it might be possible to cut all three angle slots in various sides of a single slider.

Fewer pieces to mislay if it works. Also, If there is need for others, perhaps for threading, cutting brass, Left/right hand, etc., they could be stamp marked for ease of identity and use.

Alan
 
AlanHaisley said:
Brian,

I really like your jig, but, I keep having this recurring thought that if the "slider" were square stock it might be possible to cut all three angle slots in various sides of a single slider.

Fewer pieces to mislay if it works. Also, If there is need for others, perhaps for threading, cutting brass, Left/right hand, etc., they could be stamp marked for ease of identity and use.

Alan

Alan---you are probably right. Remember--I was figuring it out as I went along. I went from not knowing how to grind a lathe tool to making a jig over the span of about 72 hours. ;D ;D
 
I have been using my tool grinding jig since I built it, and I must say I am very pleased with it.--BUT--Since the grinder wheels are round, (6" diameter), I get a real "hollow ground" effect on the flat surfaces of the tool I grind---so they aren't really "flat"--They are concave. This requires a lot of stoning on a hand held stone, which is kind of a pain in the ---uh----fingers!!! I am thinking about keeping my current set-up for roughing in the shape I require on new tool bits, but perhaps building or buying a small stationary belt sander to finish things off so that I do get true "flat" surfaces on the tools, thus avoiding a lot of hand stoning. Any suggestions on what width and grade of belt to look for to do this with?---Brian
 
Brian;

I have done this with a disc rather than belt. Nice thing about discs is that you can get them for automotive work at 800 or 1000 grit. Don't know if belts come in that fine of a grit. Also they are adhesive so you can change them out quickly.
 
Hey Brian I had a question about your tool grinding- why do you grind the top of the tool so much all it needs is just enough relief to get the chips away from the material? I had a grinding wheel blow up on me once I was doing some tool post grinding and through lack of experience I had to heavy of a load on the grinder even with the coolant running it got hot and blew up and got me on my left shoulder I was lucky I just had to set down for a while it scared me that bad also had to change my shorts the next day I was running it again and the cooling fan on the motor blew up and hit me on the right shoulder again it scared the crap out of me I didn't run the tool post grinder for a while but I considered my self very lucky. Cliff
 
brian, i read in the army machining manual on the net that a chipbreaker (groove after the cutting edge) avoids the rats nest... but have never seen a tool with a chipbreaker ground on...

tom
 
Cliff said:
Hey Brian I had a question about your tool grinding- why do you grind the top of the tool so much all it needs is just enough relief to get the chips away from the material? I had a grinding wheel blow up on me once I was doing some tool post grinding and through lack of experience I had to heavy of a load on the grinder even with the coolant running it got hot and blew up and got me on my left shoulder I was lucky I just had to set down for a while it scared me that bad also had to change my shorts the next day I was running it again and the cooling fan on the motor blew up and hit me on the right shoulder again it scared the crap out of me I didn't run the tool post grinder for a while but I considered my self very lucky. Cliff

Cliff---If you read post #46 you will see that I said I was going to regrind the slot in jig #3 to 8 degrees instead of 15 degrees. I did, and that works much better, without such a deep heel on that last cut.---Brian
 
brian, i read in the army machining manual on the net that a chipbreaker (groove after the cutting edge) avoids the rats nest... but have never seen a tool with a chipbreaker ground on...

Tom:
I do not think I have ever seen a chip breaker ground on either. I have seen some pretty funky angles on hand ground tools these may have a bit of a chip breaking effect.
I have seen chip breakers in indexable inserts. This makes sense because the carbide inserts are designed for max production. in the home sop you can always break the chip on roughing cuts by feeding by hand.
If you want to grind a chip breaker the little dremel wheels would likely work well on HSS or a Harbor Freight diamond wheel for carbide.

Tin
 

Latest posts

Back
Top