Lathe tool Grinding

Home Model Engine Machinist Forum

Help Support Home Model Engine Machinist Forum:

This site may earn a commission from merchant affiliate links, including eBay, Amazon, and others.

Brian Rupnow

Design Engineer
Project of the Month Winner
Joined
May 23, 2008
Messages
14,976
Reaction score
8,268
Location
Barrie, Ontario, Canada
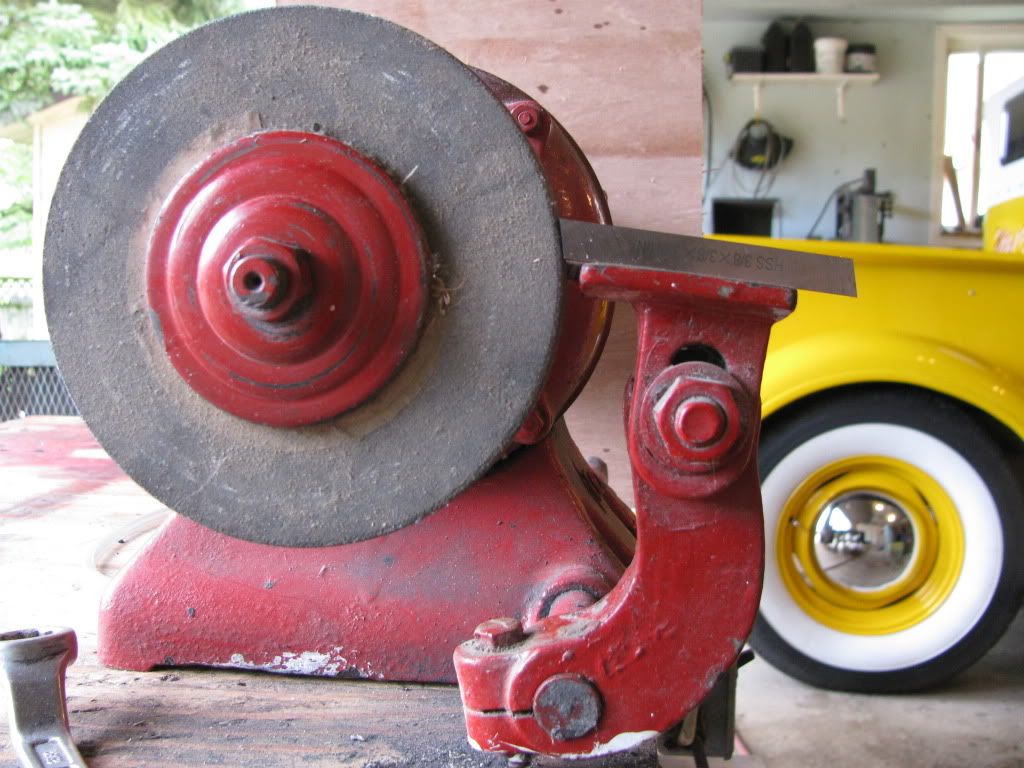
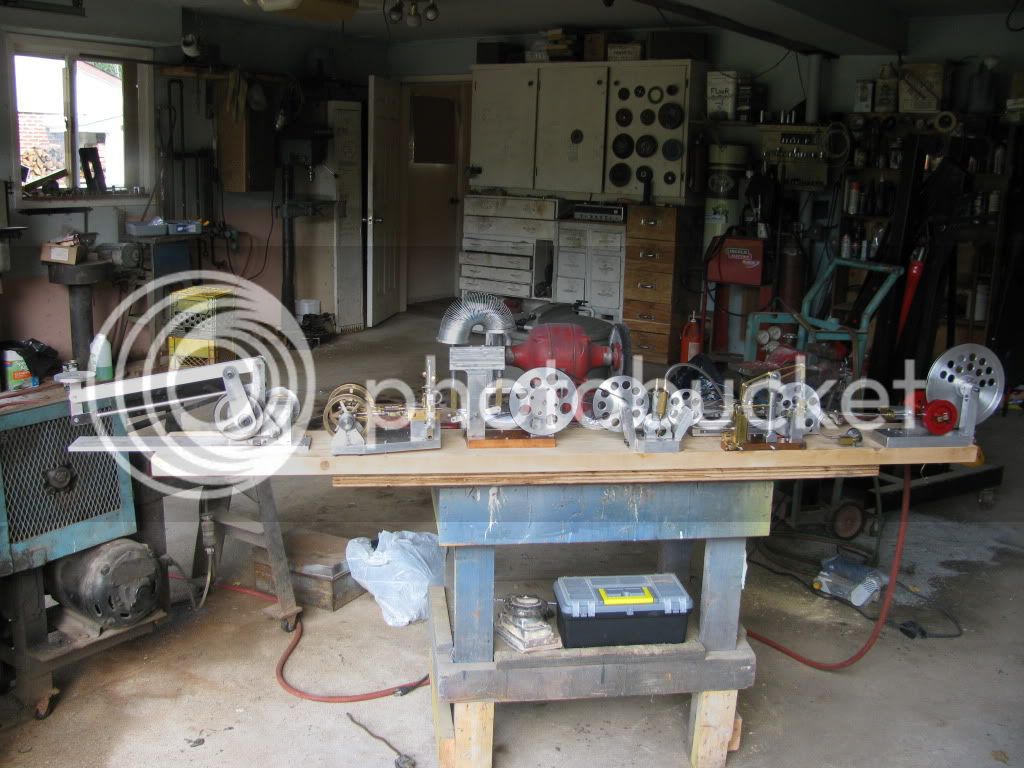
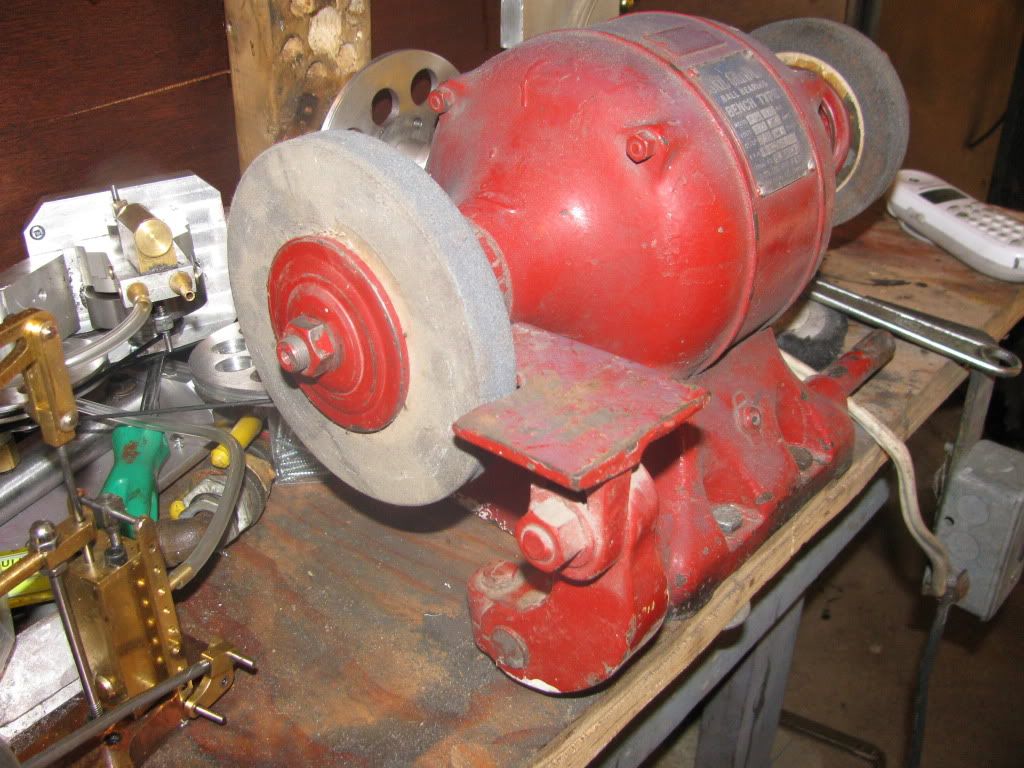
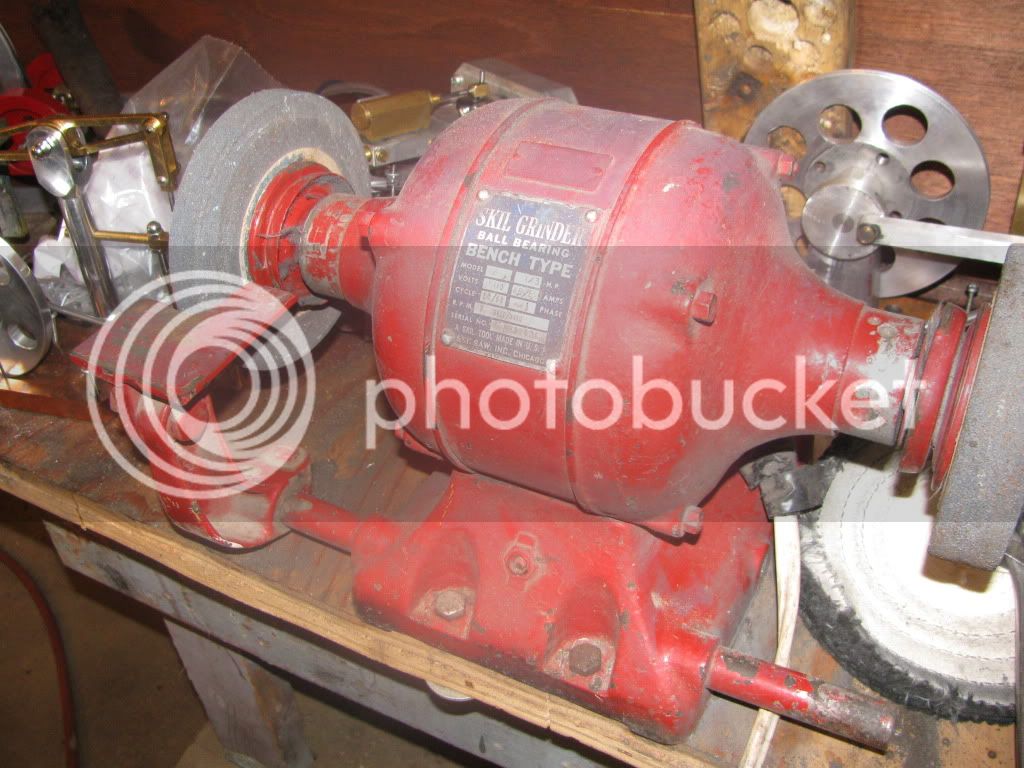
I may be opening a can of worms here, but---I am tired of the horrible finish I get with my cheap Chinese carbide lathe bits. I an beginning to do a bit of research on grinding my own lathe cutting tools from HSS. I have an old 3400 RPM dual end grinder that my father bought when the local blacksmith finally closed up shop.--You can see it in the attached picture, behind all the small engines (Its red). This grinder is a bit like me---its pretty damned old, but it still works good. In the picture it is set up with 8" diameter polishing buffs.
I am wondering about tool grinding jigs to ensure that I get the correct angles on the tools I grind, and sources of good information on grinding my own tools from HSS.----Brian
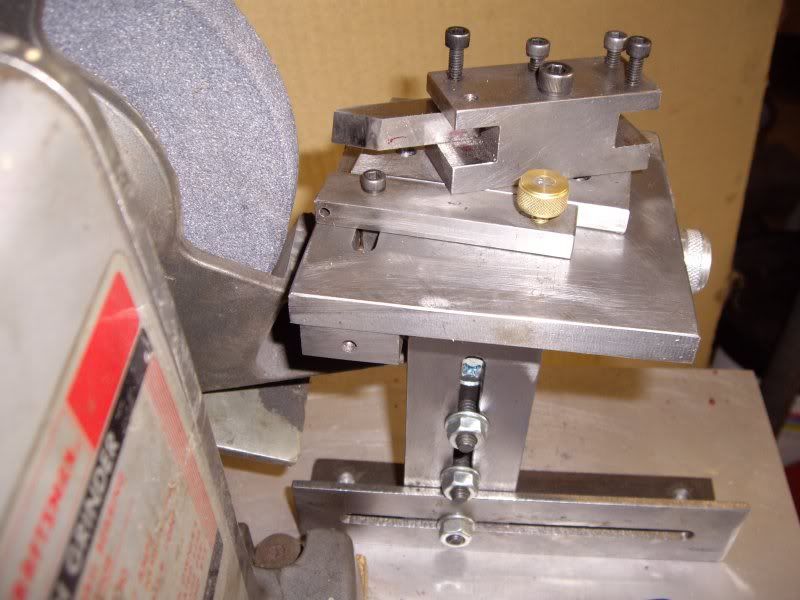
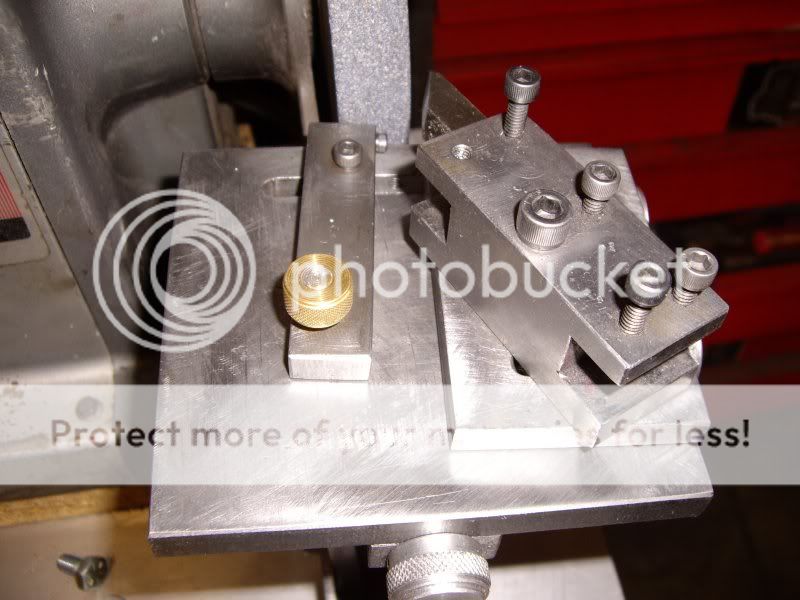
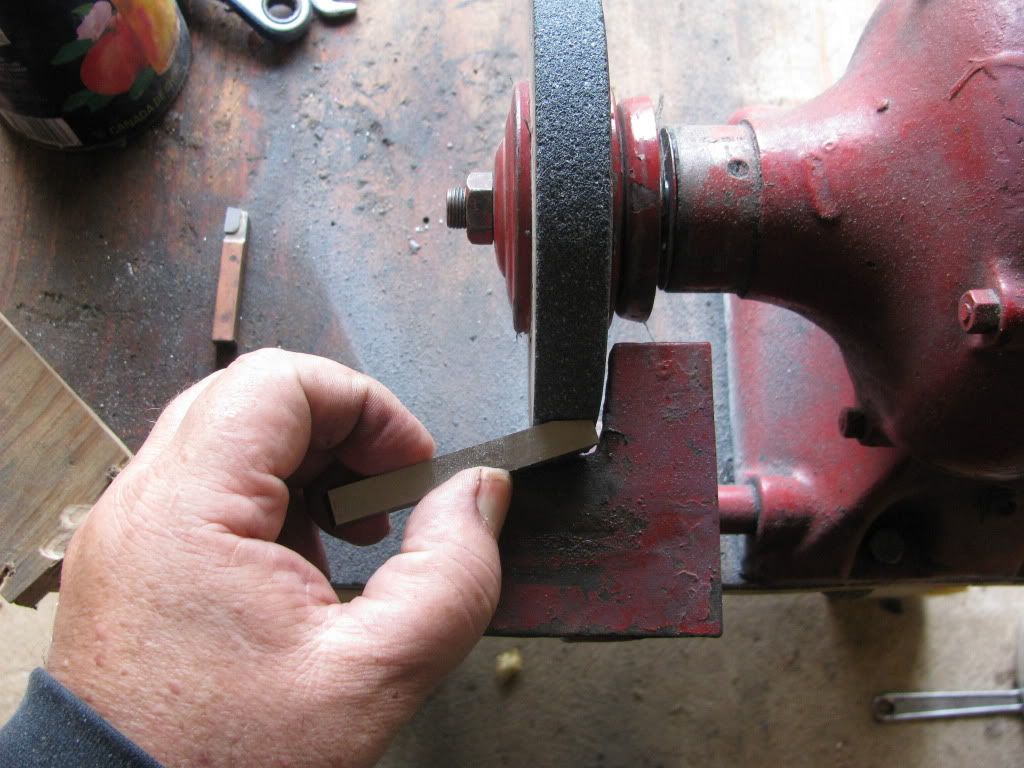
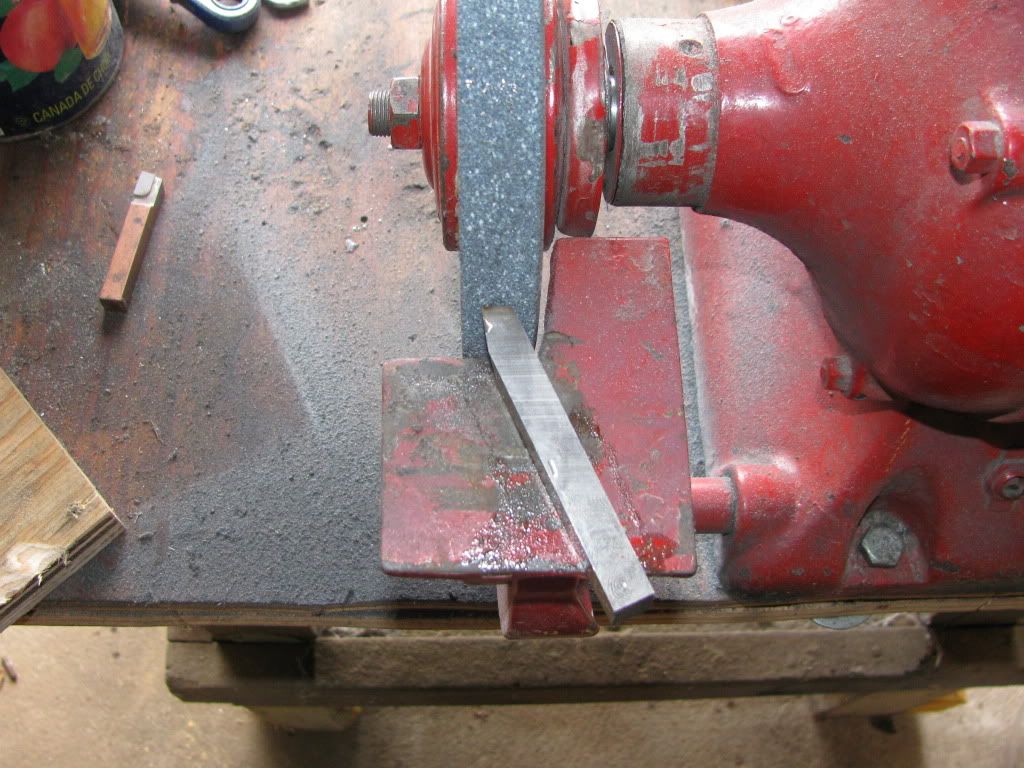
SHOWDISPLAY-1002.jpg
 
Here are a couple of better pictures of the grinder.--(Ignore the little engines---I'm running out of flat places to set things.) As you can see in the pictures, there are "rests" that I can attach a ginding jig to. These "rests" give me the ability to set one of the "approach" angles of the peice I am going to grind, but that is all.
GRINDER001.jpg

GRINDER002.jpg
 
I have been taught to grind the HSS bits freehand, and just use the rests to support my hands. If you use 3/8" HSS blanks it takes only a few minutes to get a nice turning/facing tool. Thereafter sharpening takes mere seconds. For me the hardest part is rounding off the sharp tip; it's easier to do with a honing stone than with the grinder.

In school they had us grind the first "tool" using CRS blanks; easier to cut and no big deal if you mess up. Once you have one with angles that look good you can replicate it with the HSS.

If you still have the guards for the wheels it might be a good idea to put them on. There are numerous horor stories about grinding wheels shattering and throwing shards at high velocity.

Finally, you need a fairly soft wheel for HSS, and also a means of dressing the wheel.
 
I have to agree with kvom; though still pretty new to machining, nearly all the toolbits I use I free-hand grind from HSS on the bench grinder; no jigs or anything - then you can "feel" the surfaces as you're grinding them. Once done, a couple of passes over an oil stone to clean up burrs/rough edges left by the bench grinder and they work well. Some more passes over the oil stone, and you can get much sharper cutting edges than carbide tips can have, making for nice finishes and very fine cuts.

I even started using broken carbide tipped tools as "holders" for HSS; Doing smaller work, I buy a couple of 4mm round HSS blanks at a time, and split each into 3 sections. I drilled a 4mm longitudinal hole in the "blank" end of one of the broken carbide tipped tools, with a couple of 3mm grub screws - this then takes the HSS "inserts" - each of which can be made to have 2 different tips.
I keep the "holder" in one of my QCTP holders, and if I grind new HSS tips, I just grind the tip to center line and then profile like I want it for different materials - makes one quick change holder into a very versatile "slower change" holder, but still quick to use ;D
I can post a pic later on if you'd like to see the scruffy, but effective, arrangement.
Regards, Arnold
 
So... I figure this is the wrong way to do things, but I 'll show my ignorance one more time today. ;D

I have gotten great finishes on 1018 by using a very small fine grained diamond emery file on a carbide insert(triangle style) as a sort of honing stone... Albeit, the shiny surface finish it made slowly became coarse and grooved looking over the course of ab out five minutes of cutting time. But it worked wonderfully for a short time.

:-\ eh, whatever. Still lots to learn,
Kermit
 
Kermit said:
So... I figure this is the wrong way to do things, but I 'll show my ignorance one more time today. ;D

I have gotten great finishes on 1018 by using a very small fine grained diamond emery file on a carbide insert(triangle style) as a sort of honing stone... Albeit, the shiny surface finish it made slowly became coarse and grooved looking over the course of ab out five minutes of cutting time. But it worked wonderfully for a short time.

:-\ eh, whatever. Still lots to learn,
Kermit
Kermit, that is most likely because the carbide inserts are so very hard, but brittle; if you try to make a really sharp cutting edge on it, the edge just "crumbles" away fairly quickly in use. Personally I find carbide OK for non-intermittent and fairly aggressive cuts if you can use lots of speed - but in general I prefer the HSS because it keeps cutting edges longer on fine cuts.
Regards, Arnold
 
Brian,
In my opinion, freehand grinding is fine for preparing a basic HSS lathe tool. However to prepare grooving tools , cut off blades, form cutters, and threading tools, a fixture such as this would be beneficial

tollrest_b.jpg

this fixture was described in

T & C Sharpening, by Harold Hull , Work Shop Practice Series #38 , www.specialinterestmodelbooks.co.uk

Toolrest_s.jpg


also Guy Lautard has a plans and a kit for a similar device called the:
Tinker and Mini Tinker http://lautard.com/tinker.htm

Nice engines!
 
Brian:
That old grinder should do fine. I just use a jet 6" I picked up 10 plus years ago. There have been several jig designs published over the years. There are probably at least a couple in the old popular mechanics archives. I was taught to grind by hand in trade school. I suggest you get one of the T style protractors to check your angle but unless you are doing a threading tool the angles are not critical. I will say that my bits have a lot less facets than years of yore.
What type of info are you looking for?

May 1947
Tin
 
I've been messing about with this issue all afternoon, and after perusing the Sherline website about grinding lathe tooling, I have come up with the following. I'm not certain that its right, but its my interpretation---Brian (My lathe uses 3/8" square tooling.)

TOOLGRIND-STEP-1.jpg
 
Brian you drawing are great but me thinks your math / logic is wrong.
machineries handbook cord height formula on a 6" wheel with a cord of .750 (2 x 3/8) you get a height of .023. plug that in to basic trig Tan (Theta) = opposite/adjacent I come up with 3.5 degrees. that is if you hold the base of the tool at center height and zero degrees to the wheel ie level you will be grinding a 3.5 degree hollow ground angle. by placing the top of the tool at center height to the wheel this gives a canceling effect. so in your first drawing you are in effect only grinding a 3.5 degree angle. if you put the heel at center line the angle will be added giving an effective anlgle of 10.5 degrees. Me thinks you want the base of the tool at center height then add angle as needed.
Brian this may help.
http://www.metalartspress.com/PDFs/Sharpening_Steel_Lathe_Tools.pdf

What metal ar you intending that for ?? the end radius is a bit large except for fine finishing with a light cut. .015 -030 would be more in order for general work.
I see Sherline shows the center of the tool at centerline of the wheel this would make sece as it cancels out the angle imparted by wheel diameter.

Tin
 
That's a nice set of rests on that grinder.

On mine, a Palmgren 8", the aluminum rests are plenty solid enough, but the mountings are kind of flimsy. There were also some casting flaws on the edges (stubs of gates and sprues), that I shaved off manually by sliding the blank HSS blank over it. The edges on the blank were sharp enough to peel off the aluminum from the rest and plane it down flat. (Not the whole surface, just the bumps and burrs around the edges.)

Your grinding plan looks exactly like what I did the first time I ground an HSS tool bit. I had the same source as you, the Sherline page on grinding tool bits. I was pleased at how well my tool worked on 1018 CRS.

I used a bevel protractor to set the tilt on the rest to 7 degrees.

One trick I came up with (but it's probably something everybody else already knows ;)), was to paint the grinding rest with some layout fluid, and then scribe sets of parallel lines at the correct angles. That helped me keep things at the correct angle (or at least close enough).

I found that 2 sets of parallel lines, one set oriented for the third grind, 15 degrees to rim of the wheel, and another set scribed at 11 degrees to the edge of the wheel, were easy to follow since one set was at nearly right angles to the other. Two sets nearly parallel would probably be confusing.

I used an EZ-lap diamond hone to dress the cutting edges, and to put a small radius on the nose.

With some cutting fluid (Lowe's Kobalt thread cutting fluid), and a very fine manual feed, and an RPM higher than what I used for roughing, I achieved an excellent nearly mirror like finish. Much better than what my commercially made carbide inserts gave me.


Of course, I then strained my elbow patting myself on the back. ;D
 
AWRIGHT!!! enough of this dickin around!!! Its time to grind a tool. The picture shows my first set-up. (Just a disclaimer here--guards are removed only to show what I'm doing.)
This first shot is somewhat staged. When you buy these HSS blanks, they already have an angle of about 13 degrees on the end. I set the toolrest at an angle of 7 degrees, in a position that sets the heel of the part I am grinding level with the center of the grinding wheel.--It is somewhat coincidental that with the toolrest set this way and using a 6" diameter grinding wheel, the angle on the end of the tool almost matches the angle of the grinding wheel face.---AND--all the grinding that follows is done without changing the angle or position of the toolrest.
FIRSTGROUNDLATHETOOL003.jpg

 
The first actual grinding I done is shown in this picture. I held the bottom of the tool against the toolrest and angled the tool away from the centerline of the grinding wheel by about 10 degrees as shown. (Same as the drawing I posted). I ground untill I had 1/4" of flat (again like the drawing), but it didn't look like enough on a 3/8" square tool, so I kept on grinding untill I had a flat about 1/2" long. I have a can of water setting by the grinder for frequently cooling the tool as I grind it.
FIRSTGROUNDLATHETOOL004.jpg
 
Once I had the first grind finished to my satisfaction, I proceeded to the second grind. Again, the bottom side of the tool is resting flat against the toolrest, and the angle I'm holding the tool at was at "about" 60 degrees to the center of the grinding wheel. This ends up giving an angle of 60 degrees between the two ground cutting edges when viewed from the top of the tool. I figured that would be all right, as the Sherline "how to" article only says 'Less than 90 degrees".
FIRSTGROUNDLATHETOOL006.jpg
 
Back
Top