Time to do the bolts. I want to shave off 0.045 from either side leaving a head about 0.25 wide and .34 long.
Took a block of aluminum, drilled and tapped for 10-32 towards one end. (Thinking I'm smart and didn't want to put it in the center of the block.) Used the bandsaw to cut a slit down the length of the hole. (Thinking I'm smart and wanted to cut the longer side.) Set it up on the vise. (Thinking I'm smart and put a couple of shims on either side so the vise would force the slit to close...thus trapping the bolt. Used double sided tape.)
(Can you see where this is going yet? I bet not.)
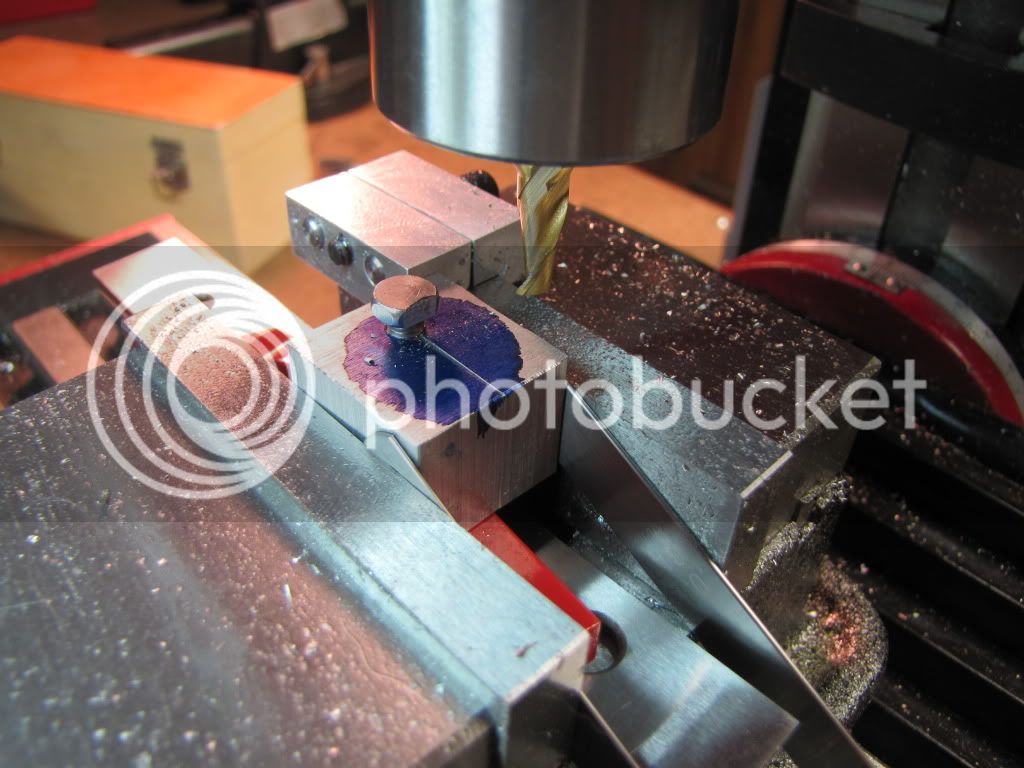
Set up the mill to take off 0.045 from one side. (Thinking I'm smart and all I had to do was turn the screw 180 degree and do the same thing to the other side).
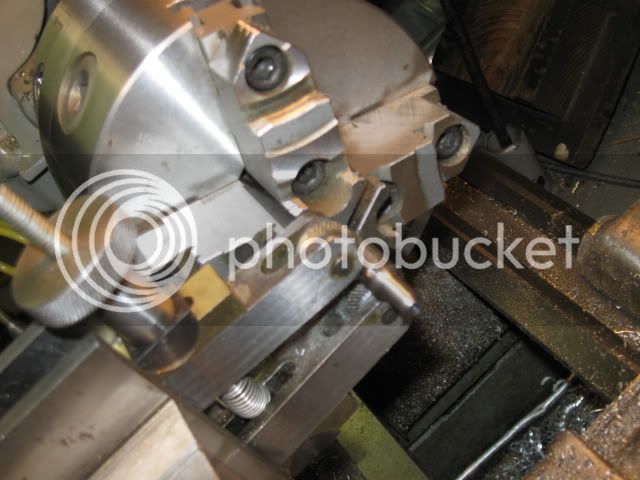
Here's the setup...
(Thinking I'm smart and could eyeball the bolts.)
Boots for the soldiers!
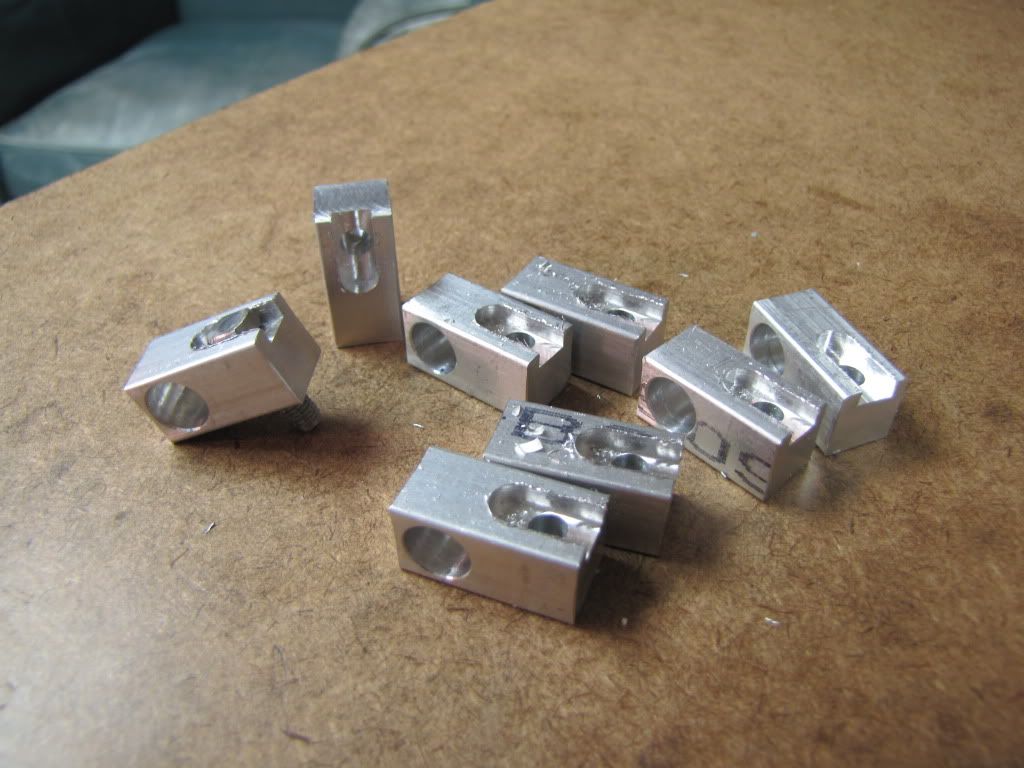
Then took each half joint and milled the slot for the bolt's head to sit in. (Thinking I'm smart and used the stop again.)
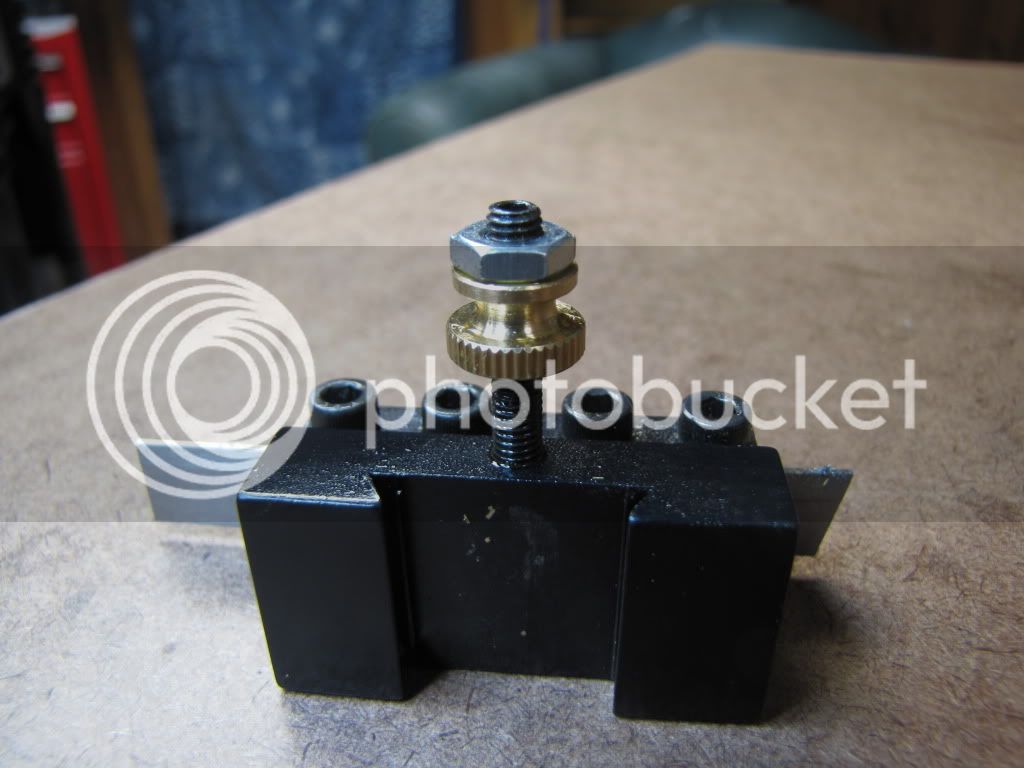
Here they are...just need the slits now. Bandsaw or slitting blade?
Do you see it? No wail from the basement...but a bit of a groan followed by...'you idiot...you 'dumb stupid...'.

oh:
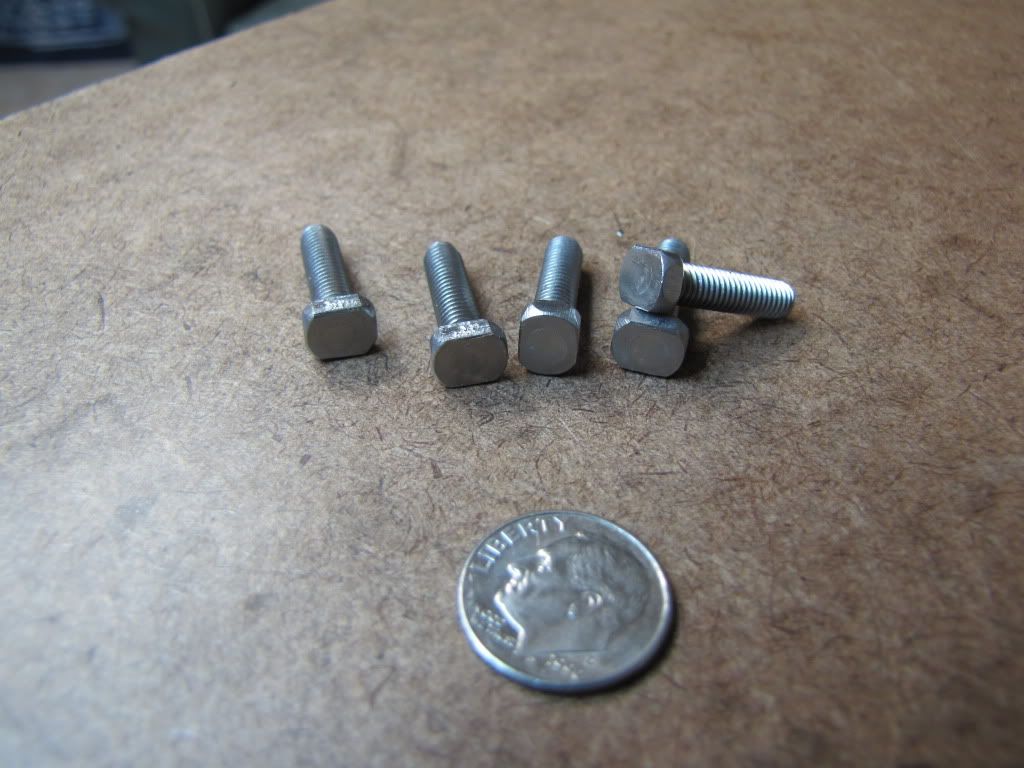
The bolts are 3/4" long. They need to be 1 1/4" Fooey.
Ah well..only need 4. If I'm lucky...the local hardware store might have some.
I probably didn't need to mill the slot in all eight either but that's okay.
In the meantime I can do the nuts. Steel 5/8" diameter. Knurled would be nice. Shoulders would be nice too. Well...we'll see.
Hm. Hardware store might still be open....
[EDIT: They weren't. Fooey again.]