Elbow Engine

Home Model Engine Machinist Forum

Help Support Home Model Engine Machinist Forum:

This site may earn a commission from merchant affiliate links, including eBay, Amazon, and others.
PhiberOptix said:
I am from a country that was writing dates before other country's were even discovered

I thought you were from the UK. :big:
 
Hi Andy

At this rate of production you'll have a runner by the weekend, I noticed you've got an RT under your mill that will make production of the cylinders and ports a doddle.

Interesting that your using a 3 in 1 my machine is the Chesters version of the same machine, you can do a surprising amount of good work on them the biggest draw back is the rigidity of the mill and keeping swapping over, I managed to shoehorn an X3 into my shop, so the 3 in 1 is relegated to turning work know.

Looking forward to your progress.

Have fun

Stew
 
Quote from: craynerd on August 24, 2009, 06:18:22 PM

If you look at Stews design, he has also added an additional valve port block on the vertical support and this seems to work well yet is not shown in the original plans.


The other valve port is built into the flywheel post in the plans I have

Andy, yes that is correct but if you look at few working engines they have also included an addition port block attached to the vertical flywheel support. I don`t know how this would improve the design but it seems to...I mean it makes you wonder, if one has a port block and the other doesn`t, is there a need for the one on the base or could it simply be milled into the base plate as per the plans for the flywheel support. They do seem to work better with a port block on both frames. Stews drawing that he posted earlier in your thread also shows this.

Just something to think about.... I know I have seen quite a few working without.

Chris
 
Hi Andy

You can see the second port block her

100_1381.jpg


I can't remember now why I went this way I could have just misread the drawing however I've seen engines running with it and without it, so you pays your money and take you chance. I'm shure you'll get a runner either way.

Have fun

Stew
 
I`ll be honest, does make you think why if you need one at the bottom you wouldn`t need one at the top. Likewise, there are running engines without the vertical port block, therefore is there a need for the one at the bottom and could this not be cut directly in the base.

Anyway, good luck either way.

Chris
 
SBWHART said:
Hi Andy

I noticed you've got an RT under your mill that will make production of the cylinders and ports a doddle.

LOL I am banking on that, however, I will be using a rapid indexer for the cylinders, and the rotary table for the ports on the flywheel column and the port block, I thank you Chris and Stew for the heads up on the second port block, however, I am already geared up to doing the engine without one, this said I can always add one and remake a column should the engine be a paperweight in the first place

I cannot make the cylinders today as my friend is getting me some drill rod and i don't know what diameter it is yet could be metric or imperial, if he cant get any then its prob going to be some 6mm stainless, so today its concentrating on finishing the flywheels web and drilling all the air ways and bolt holes and time permitting the port block

SBWHART said:
Interesting that your using a 3 in 1 my machine is the Chesters version of the same machine, you can do a surprising amount of good work on them the biggest draw back is the rigidity of the mill and keeping swapping over,

I Couldn't agree more with you here, taking larger cuts while milling can throw the head, so i changed the locking lever and replaced it now i can get a spanner on the job and really lock it down, not really been a problem since, mind you I don't take excessive cuts on this machine, I don't think its designed for it, and like you have already done, I am saving and hunting for a desktop CNC

Thanks again for the heads up
regards
Andy
 
A closer shot of the shelf mentioned earlier
000_0450.jpg


Drilling the airways in the base of the flywheel column
000_0452.jpg


Pfffffft the base does not fit in vice, Ill borrow a bigger one tomorrow ;)
000_0453.jpg


starting to drill the web pattern
000_0454.jpg


web pattern completed
000_0455.jpg


web pattern de-burred
000_0456.jpg


started the cylinder drilled out to 5.5mm so I can ream out the rest once I know what
size of bar is located
000_0457.jpg


I did not get anywhere as much done as I had planned my front door has been like
like grand central station all day :( anyway tomorrow is another day ;)

so this is what is done so far :-

000_0460.jpg
 
Very nice work Andy Thm: flywheel looks great. :bow:
Looks like your well tool'd up ;D
 
Ha, I like that flywheel, very original. Great work so far, thanks for sharing! ;D
 
Thank you Rob and Vernon

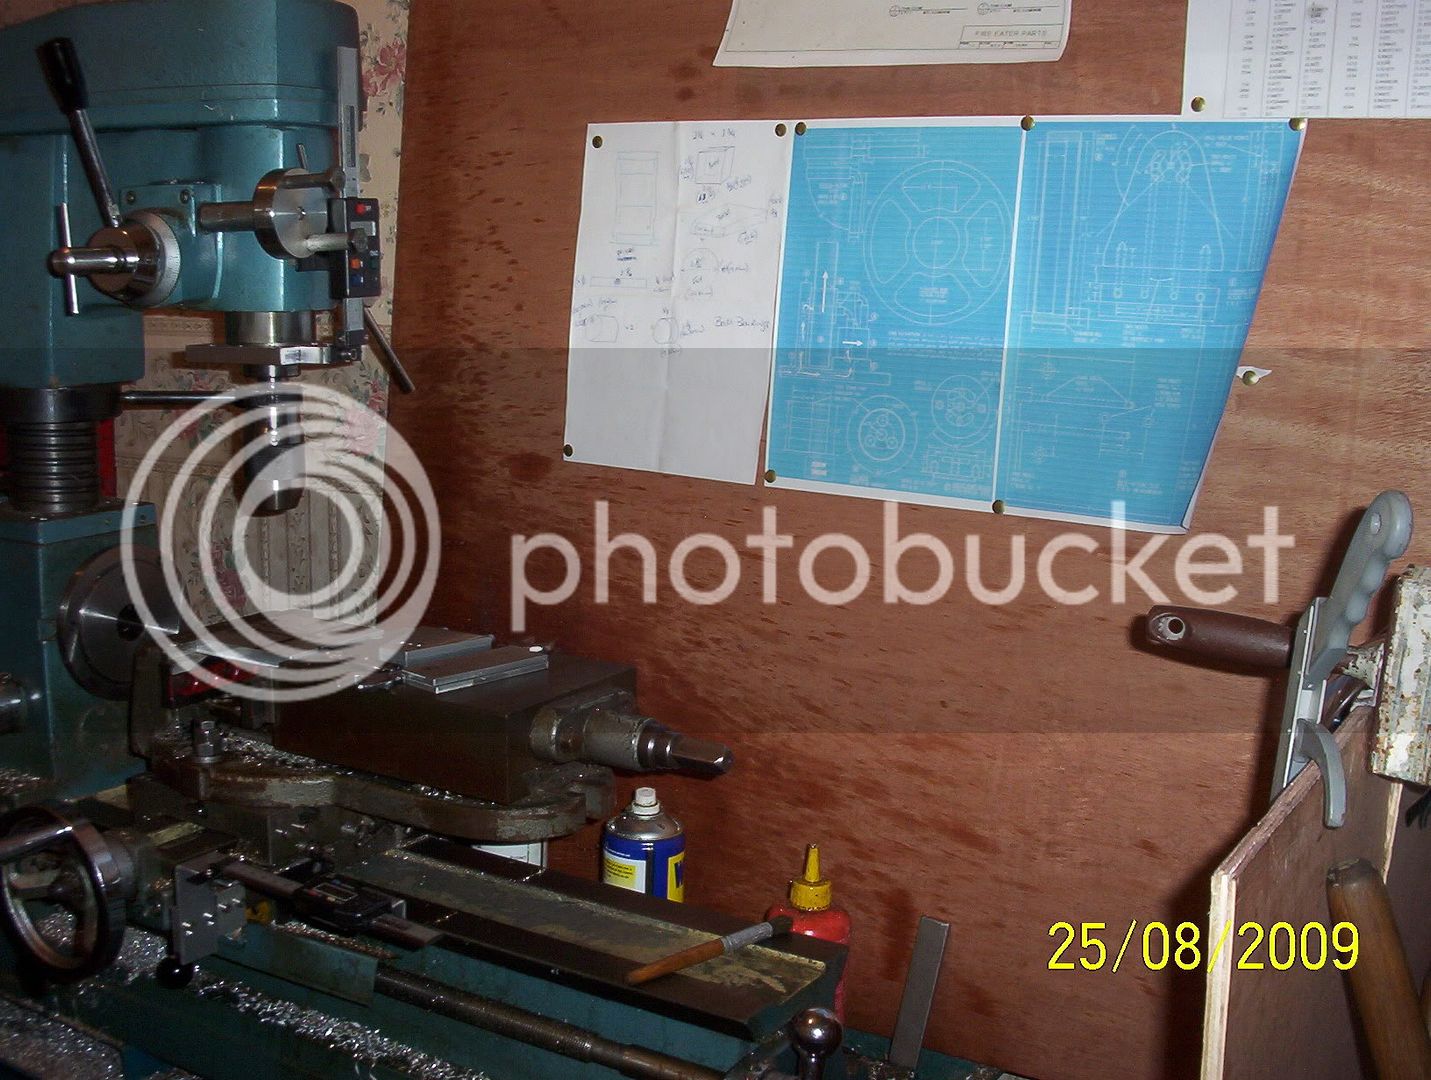
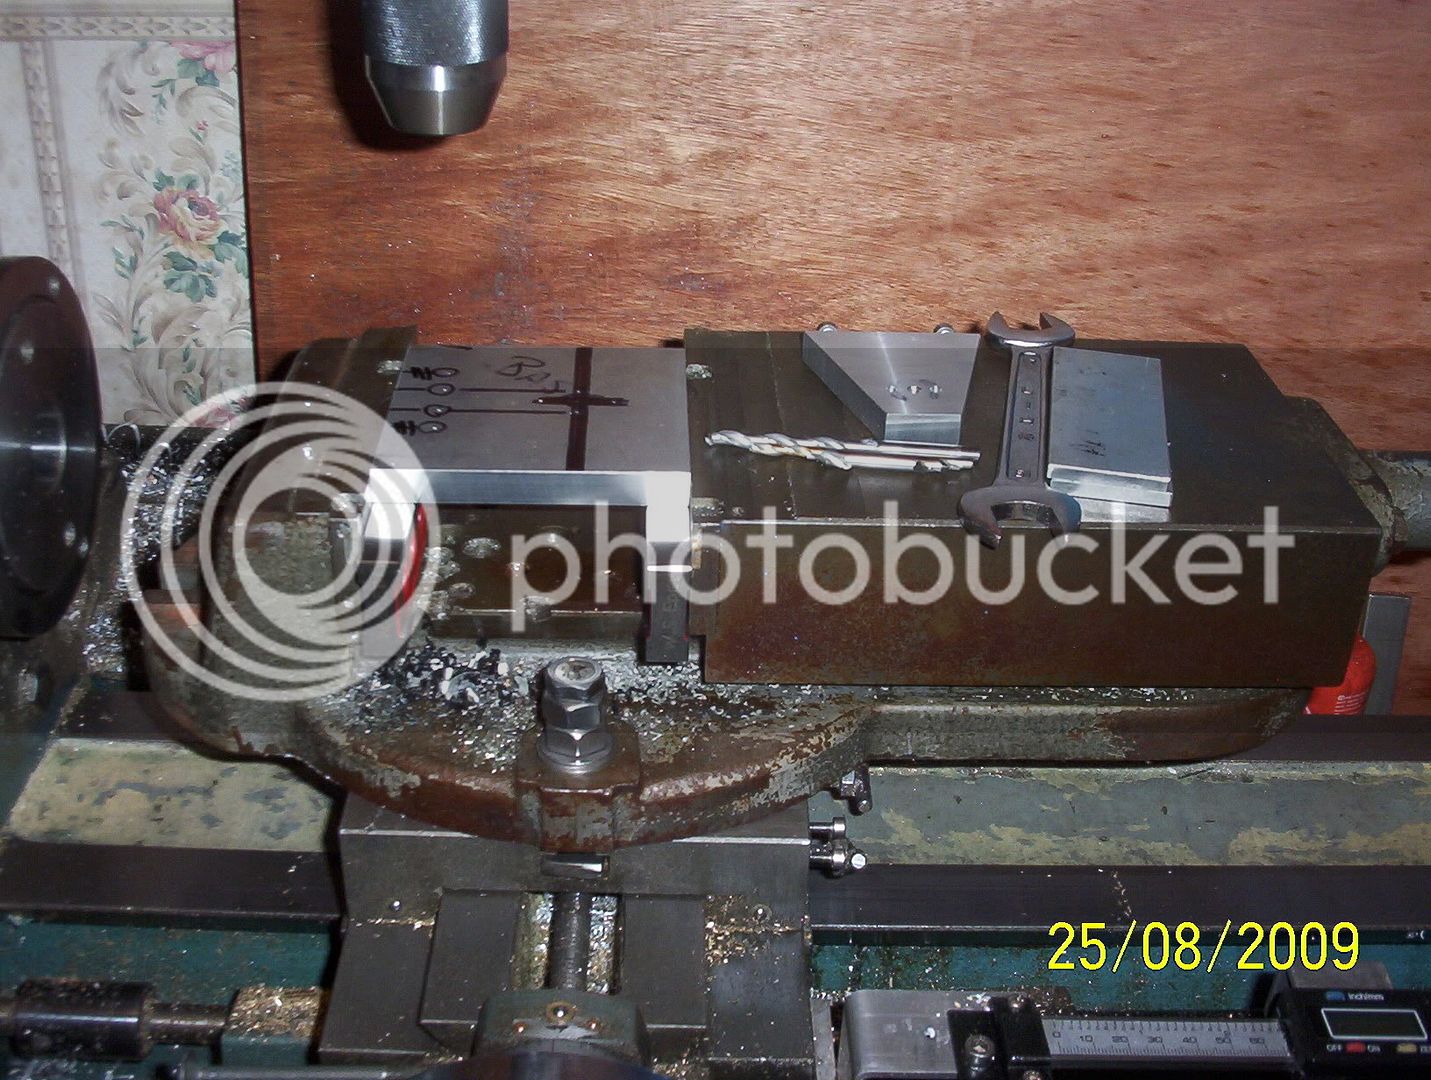
Ask and ye shall receive, I asked my friend if I could borrow a vice for a few hours tomorrow, 20 minutes later he is at my door with a beast of a vice, "here you go m8 you can have this one" they upgraded to hydraulic ones a while ago and this one was due to be weighed in as scrap, its been well hammered in its life but will do the job quite nicely

its that big i have had to remove the tailstock, lathe chuck & the 'Y' axis dro just to get it on the bed
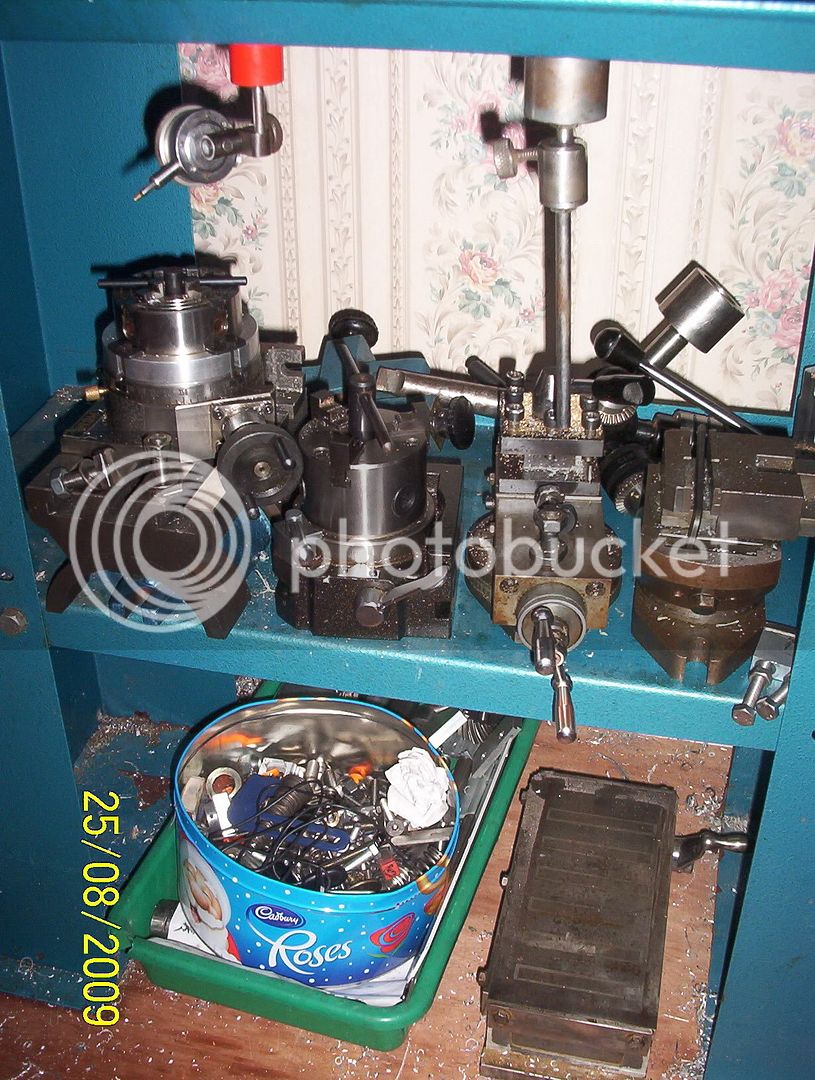
Note the 'battle board' in the background

000_0462.jpg


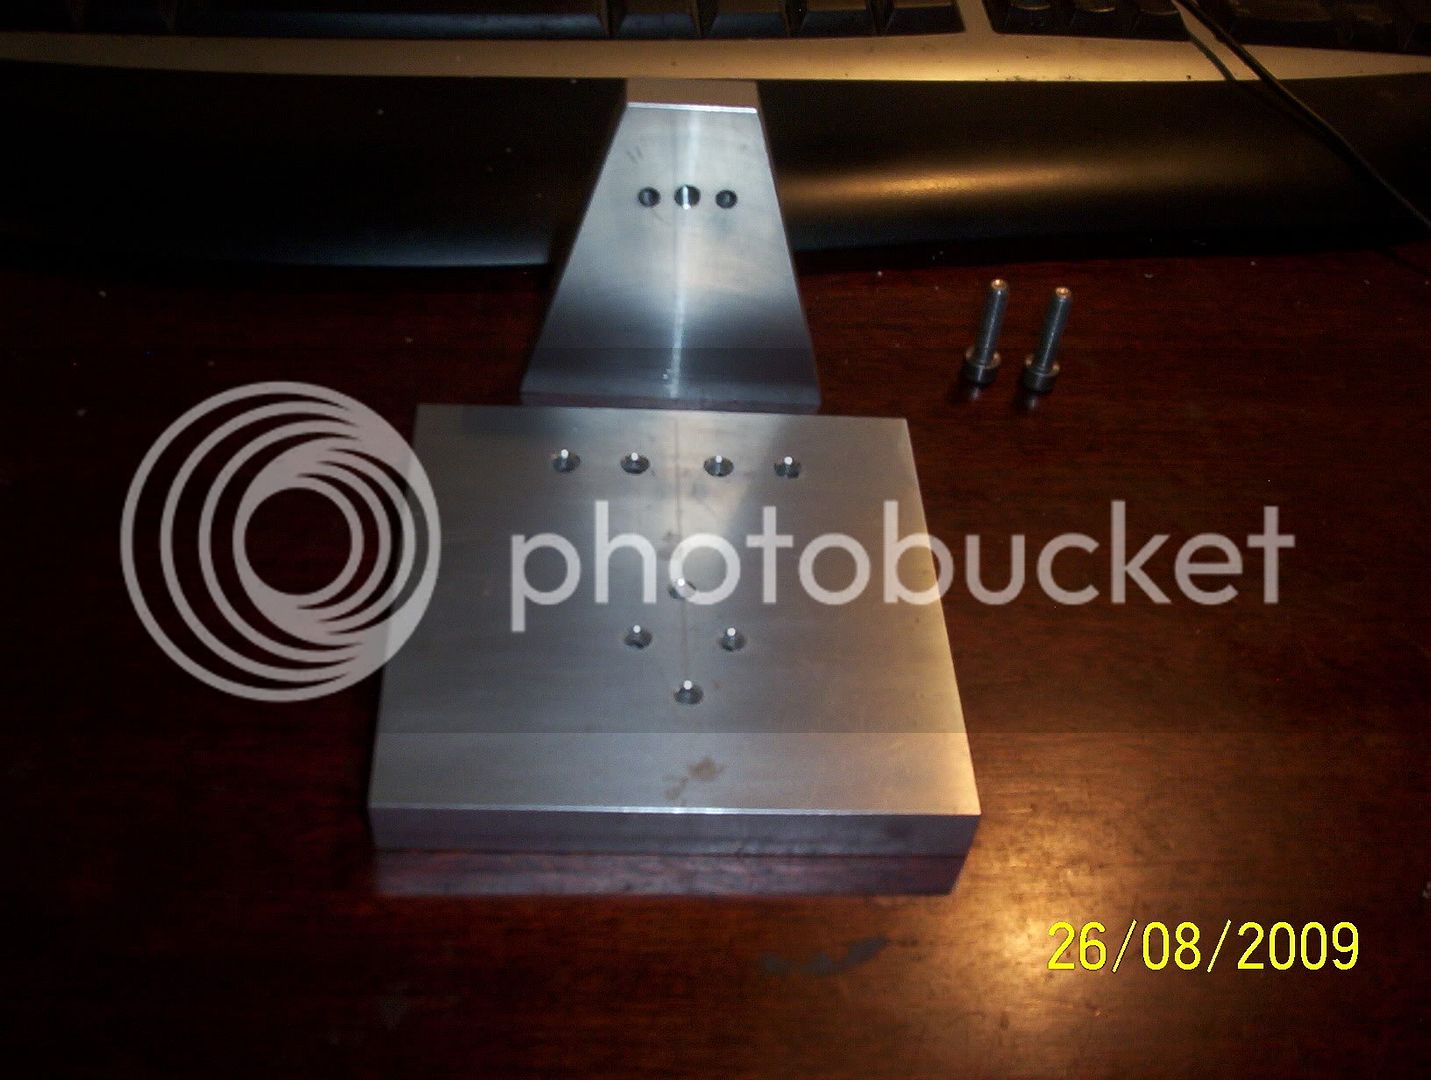
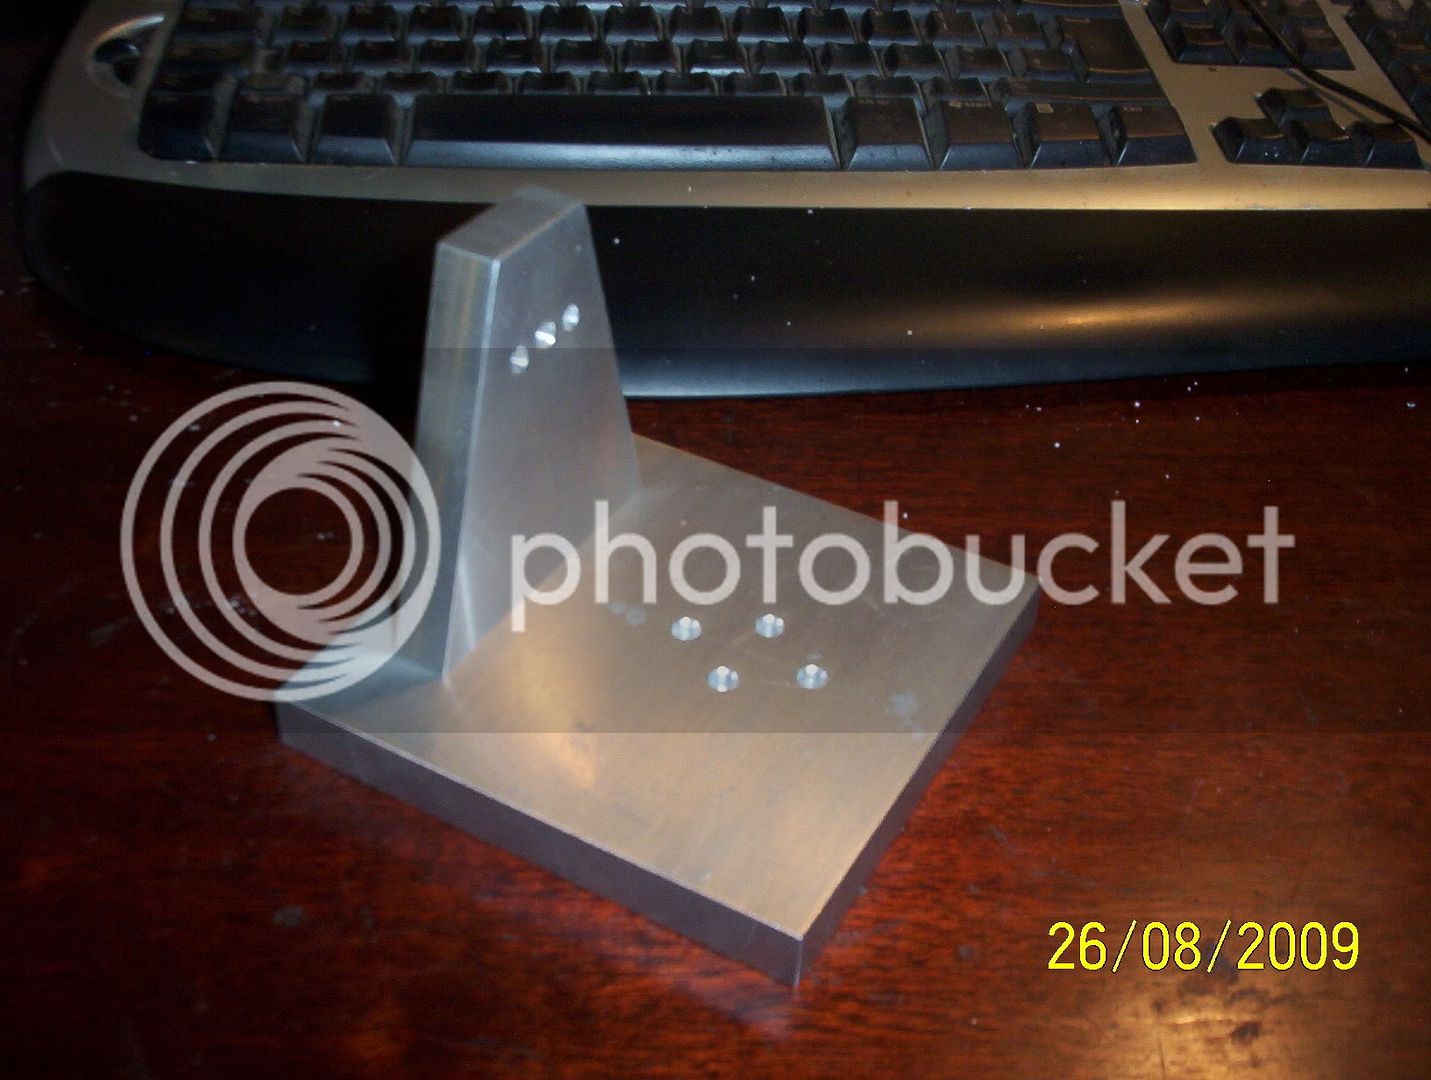
so I am now all set up to do the airways in the base tomorrow, I would be up there now but my workshop is
adjacent to nextdoors kids bedroom and its 22:46hrs GMT :(

here it is closer all ready -
see all the drill holes OMG I guess they had the apprentice using this one
000_0463.jpg


Anyway I am very happy and grateful to him for this, he also said he had forgot to order
the drill rod today and promised to order it tomorrow, so hopefully it should be here by the weekend
 
RobWilson said:
Very nice work Andy Thm: flywheel looks great. :bow:
Looks like your well tool'd up ;D

Andy,

I'm with Rob. Where did you latch onto the magnetic table ???

Best Regards
Bob
 
PhiberOptix said:
...see all the drill holes OMG I guess they had the apprentice using this one...

Excellent vise, with lots of character! Ok, there ARE a few holes, think of them as "lightening holes", and all will be well. ;D

 
Maryak said:
Andy,

I'm with Rob. Where did you latch onto the magnetic table ???

Best Regards
Bob

Hi Bob,

I believe it was sniped from Ebay ;) I sold an old 12inch rotary table on there and that
in turn paid for my vice and magnetic table and a few other odds and sods

regards
Andy
 
Today I did not get too much done had visitors again
the airways are now drilled
000_0468.jpg

the base and column bolted together - although it needs dismantling again to go onto the rotary table for the valve port to be milled - tomorrow
..
000_0470.jpg


..
 
PhiberOptix said:
Today I did not get too much done had visitors again

That's what doors and locks are for. I've been working at getting my 'visitors' out for over twenty years but someone keeps giving them a key.

Looking good Andy. You're making more progress than I am...I've only had time to look in my shop and sigh.
 
I don't know much about the 3-1 machines, but I'm wondering why the new vise is along the ways rather than across. Engine is coming along nicely.
 
kvom said:
I don't know much about the 3-1 machines, but I'm wondering why the new vise is along the ways rather than across. Engine is coming along nicely.

Hello Kvom,

Basically because the rim of the handle for the 'Y' axis is actually higher than the saddle so if the vise was turned across the ways then the handle and the vise would be trying to occupy the same space, so the only option i had was go along the ways, I could have raised it up on blocks to clear the 'y' axis handle, however then I would not have had the clearance between the head and material, I had thought of jigs and clamping but this was the easier option for me, and as it turned out I got a freebie vise out of it ;)

regards
Andy
 
Hello Andy,

Just wanted to say that I like the design of the flywheel too. I have a vertical port block on my elbow also, it helped me get the cylinders in sync. Plus the hex on the vertical was too narrow to cover the top cylinders due to me not following the plans.

Kenny
 
Looking good, Andy. Just love those "blueprints" :)

Regards, Arnold
 

Latest posts

Back
Top