Elbow Engine

Home Model Engine Machinist Forum

Help Support Home Model Engine Machinist Forum:

This site may earn a commission from merchant affiliate links, including eBay, Amazon, and others.
I did not have any CRS for the valve port block so used stainless steel instead
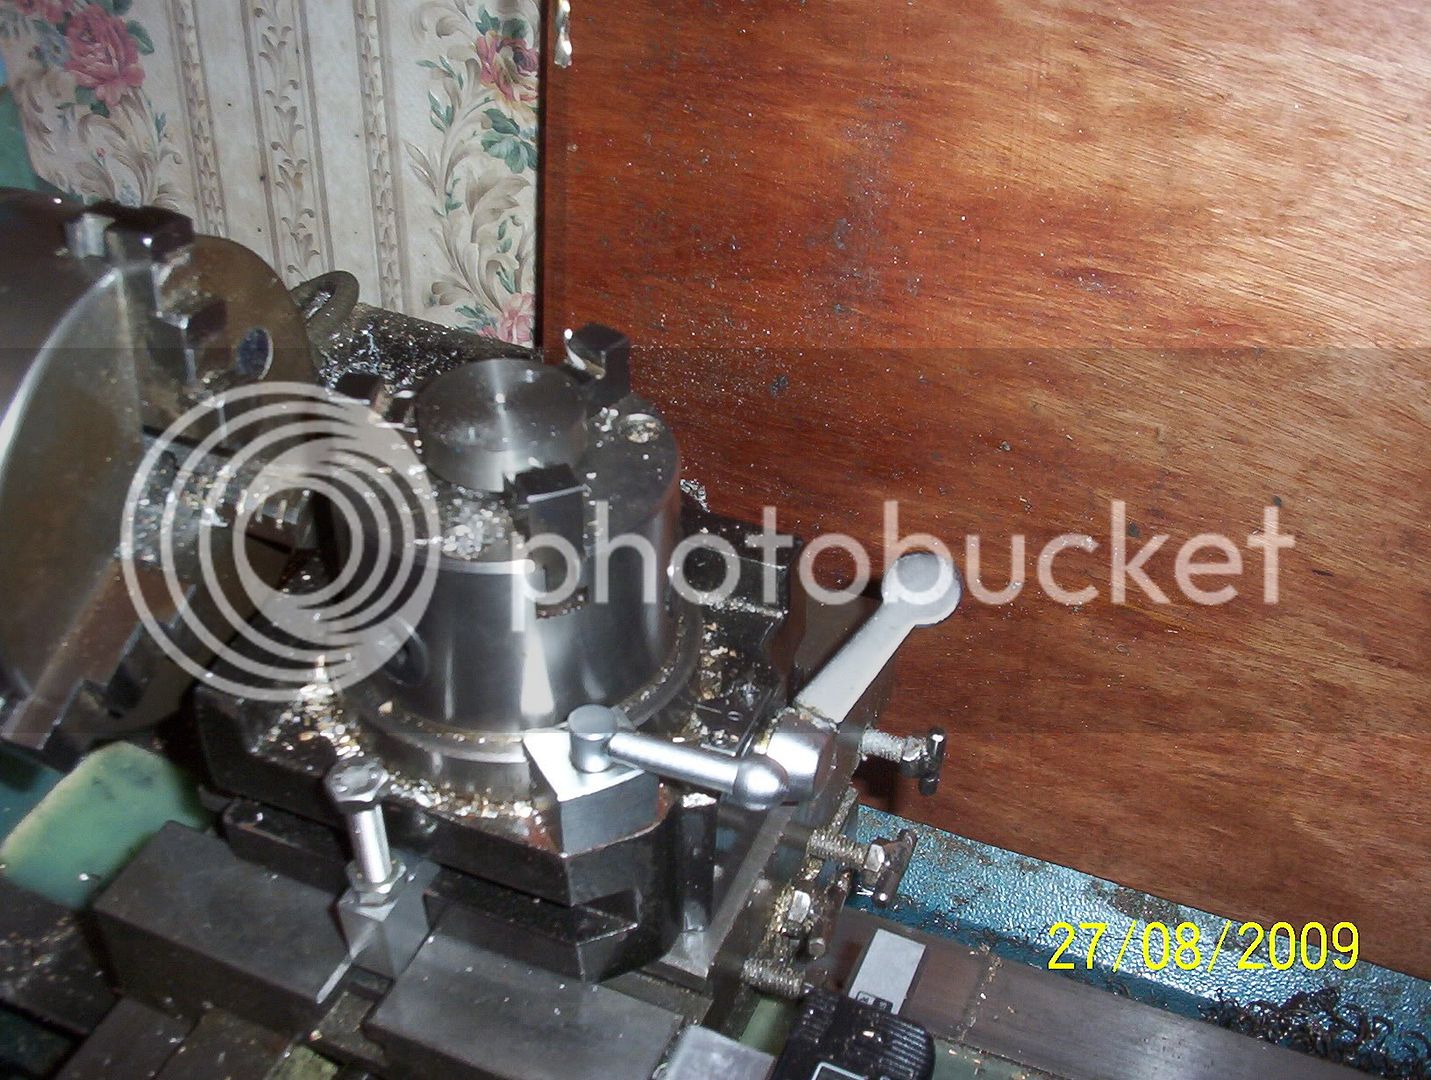
here is the valve port block been turned down to size
000_0471.jpg


then drilling the mounting holes and center hole
000_0472.jpg

 
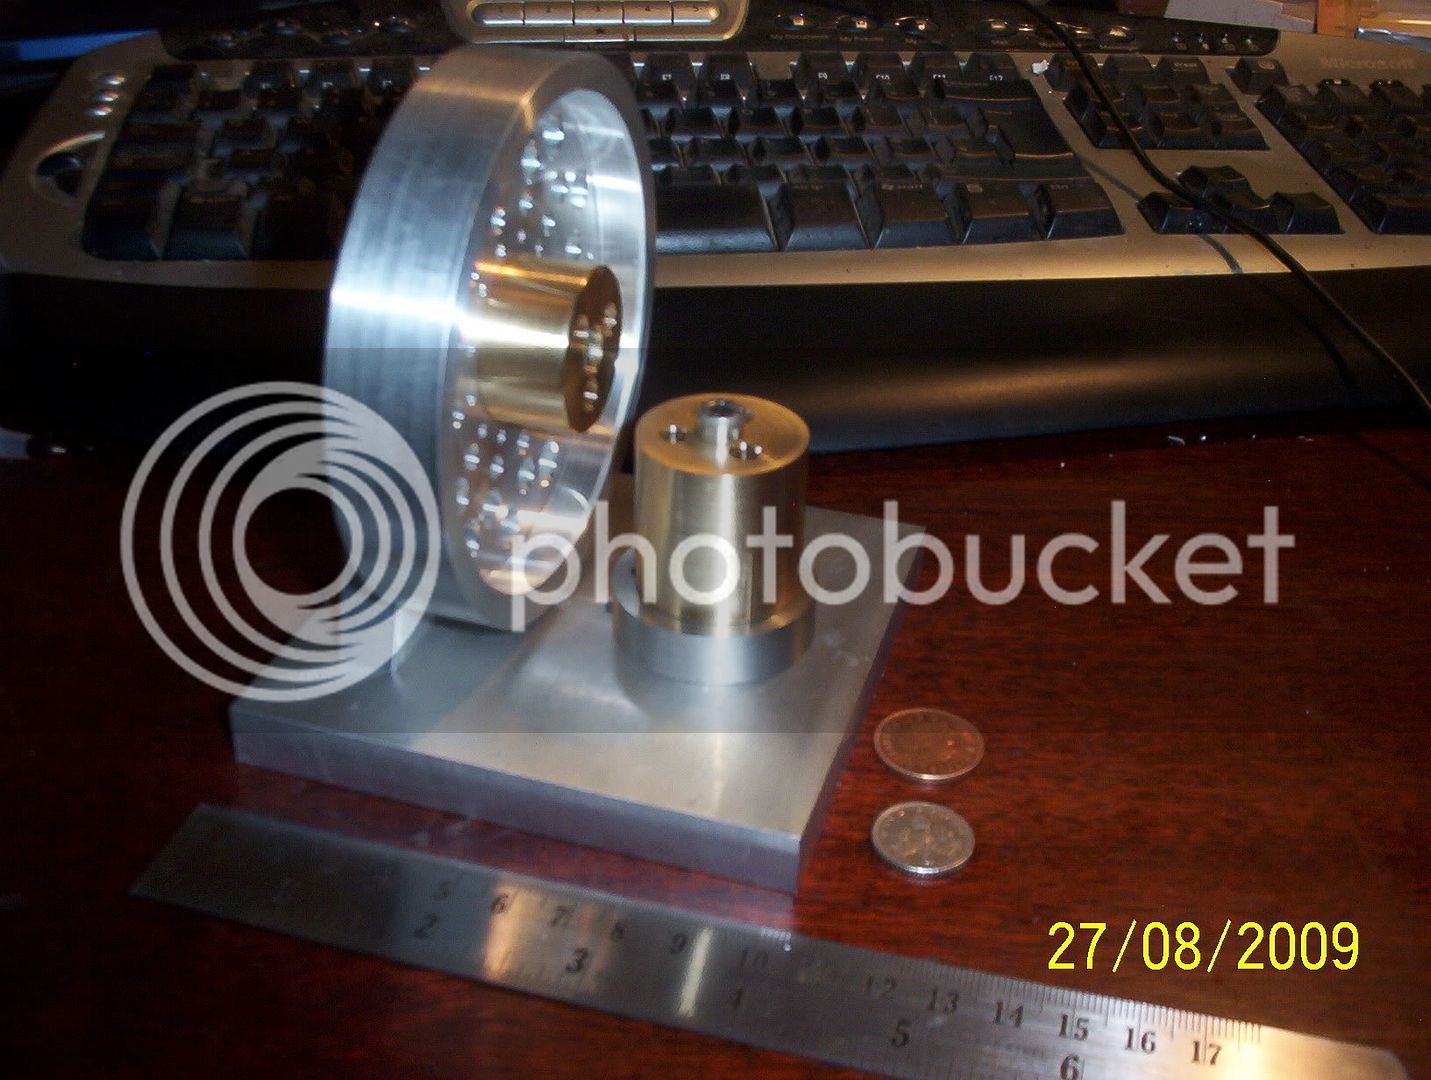
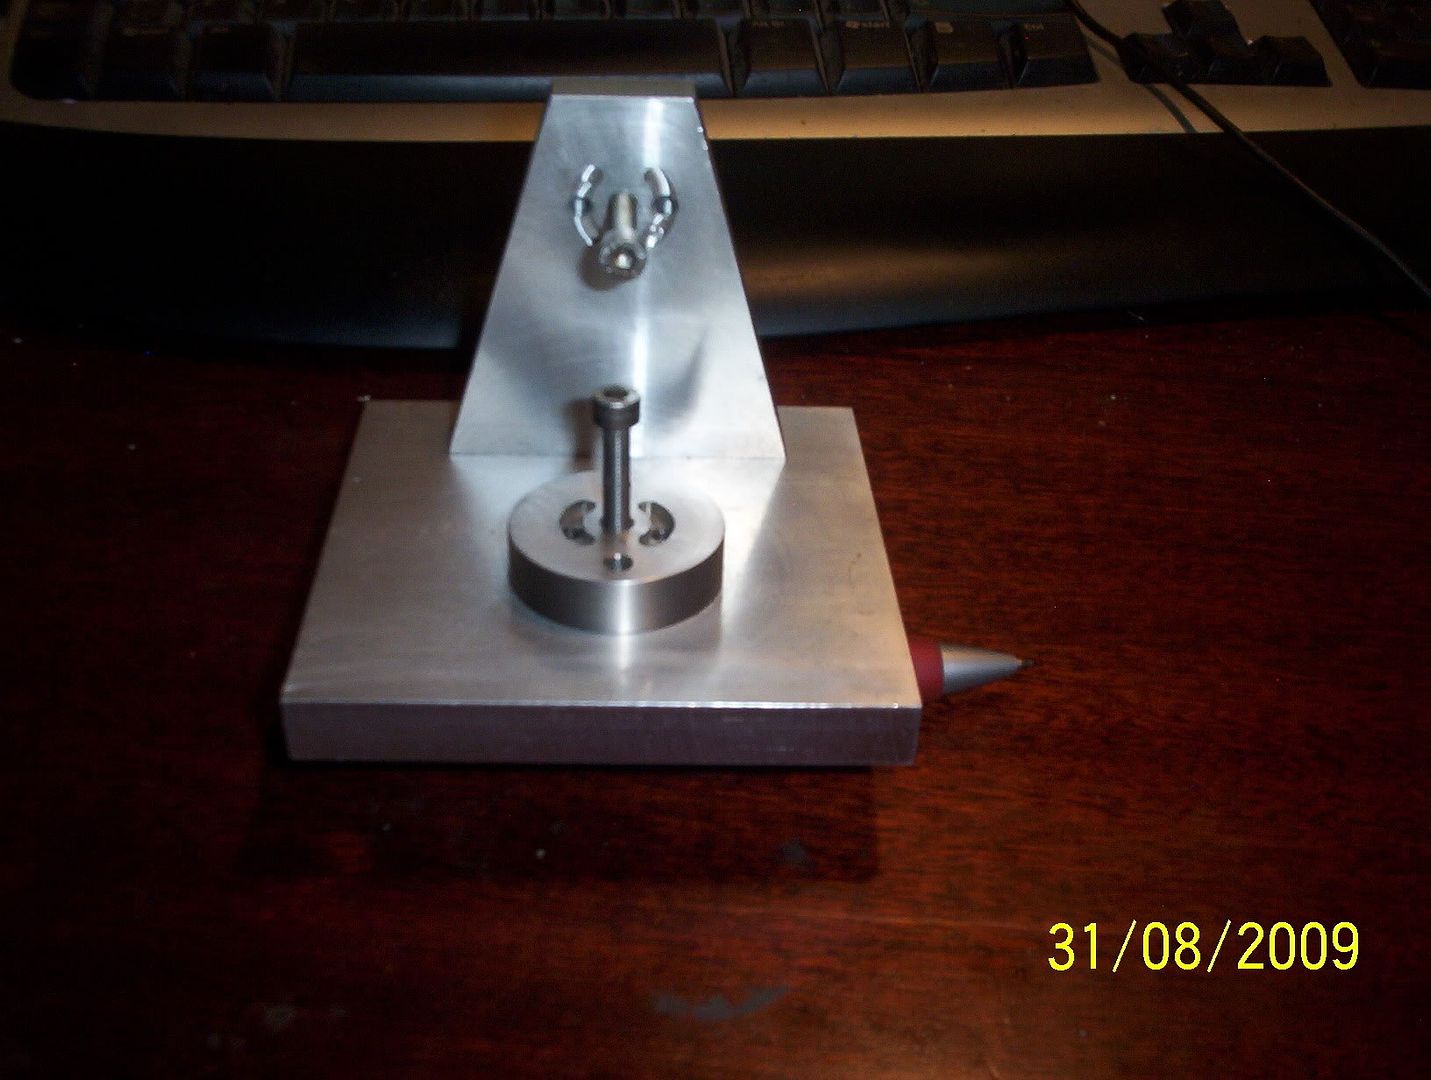
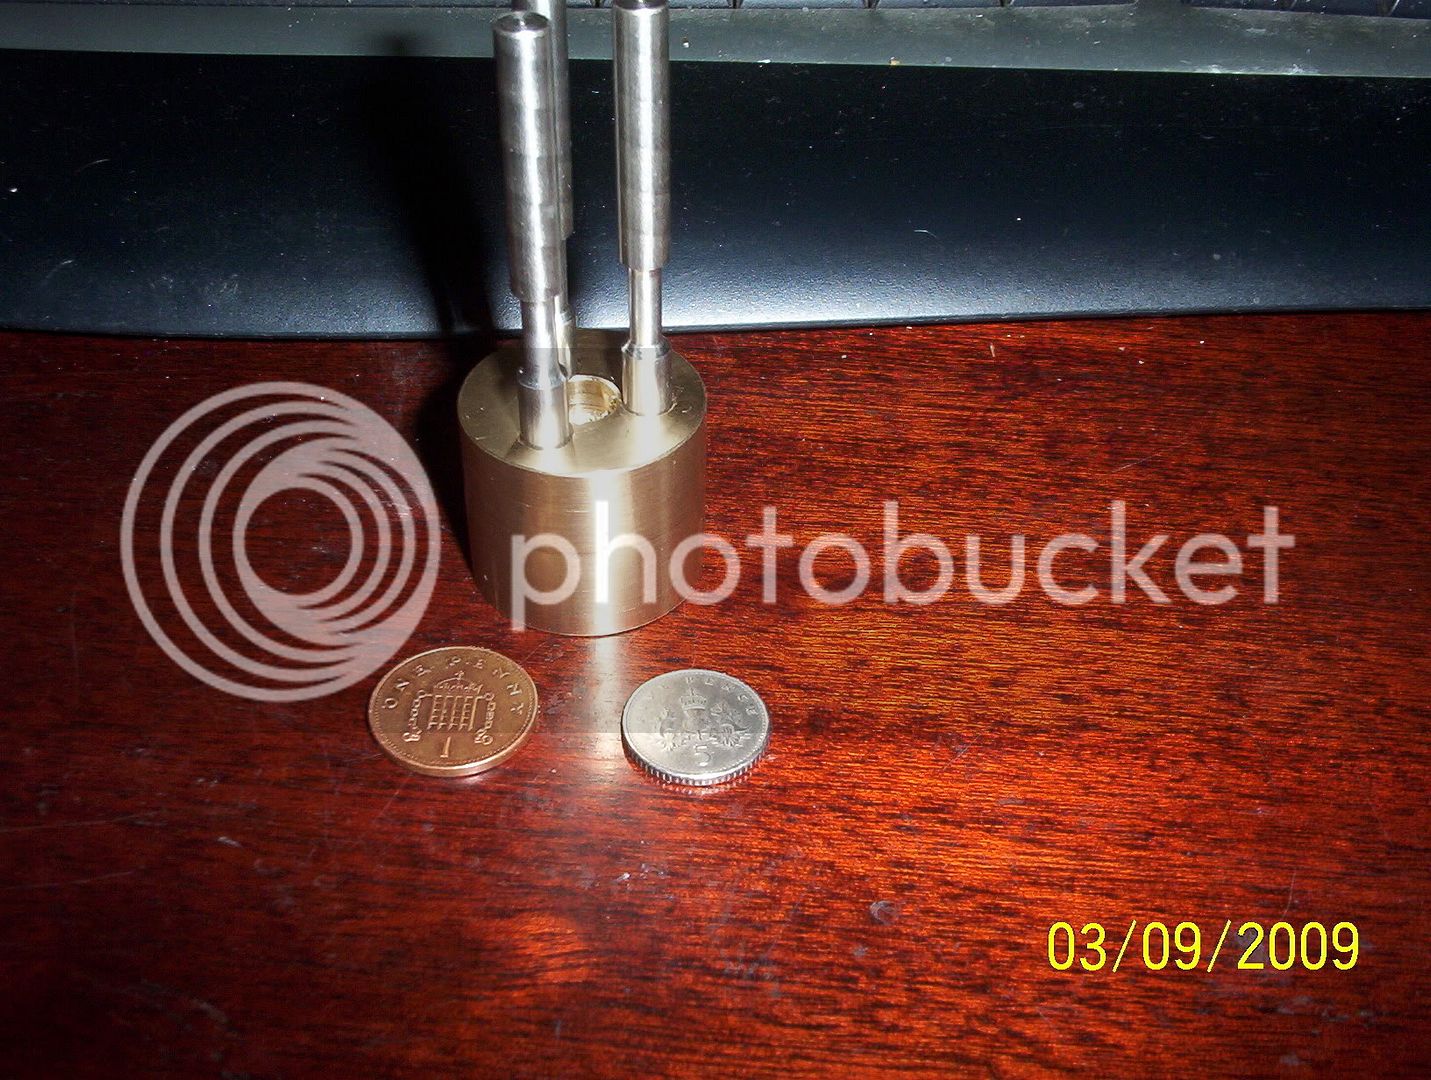
this is the stage we are at so far just waiting now for the drill rod for the pistons
a couple of holes to tap, and the arc's on the valve ports to mill ooh and i have about
a quarter of an inch to turn off the second cylinder then fingers crossed it will be testing time

000_0476.jpg
 
Finally got the 4 arc's milled
000_0478.jpg


and the 6mm round bar Stainless Steel has arrived (on a bank holiday) whoooohooooo
so I can now start reaming out the cylinders and start on the pistons

 
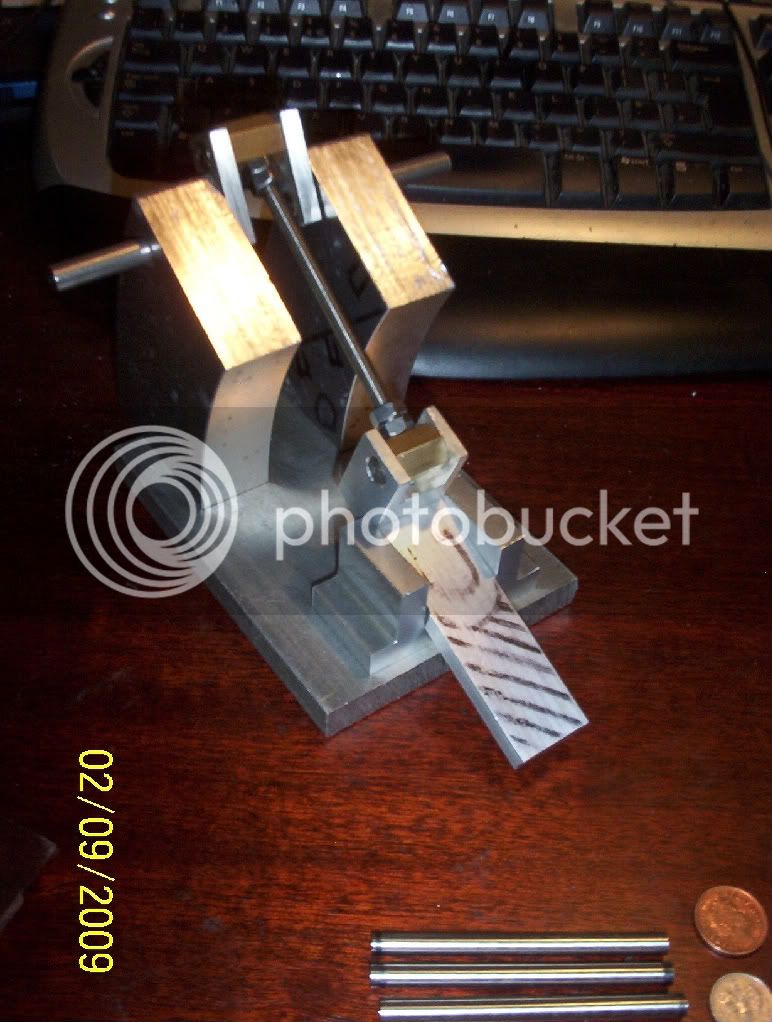
this is my latest experiment a finger engine,
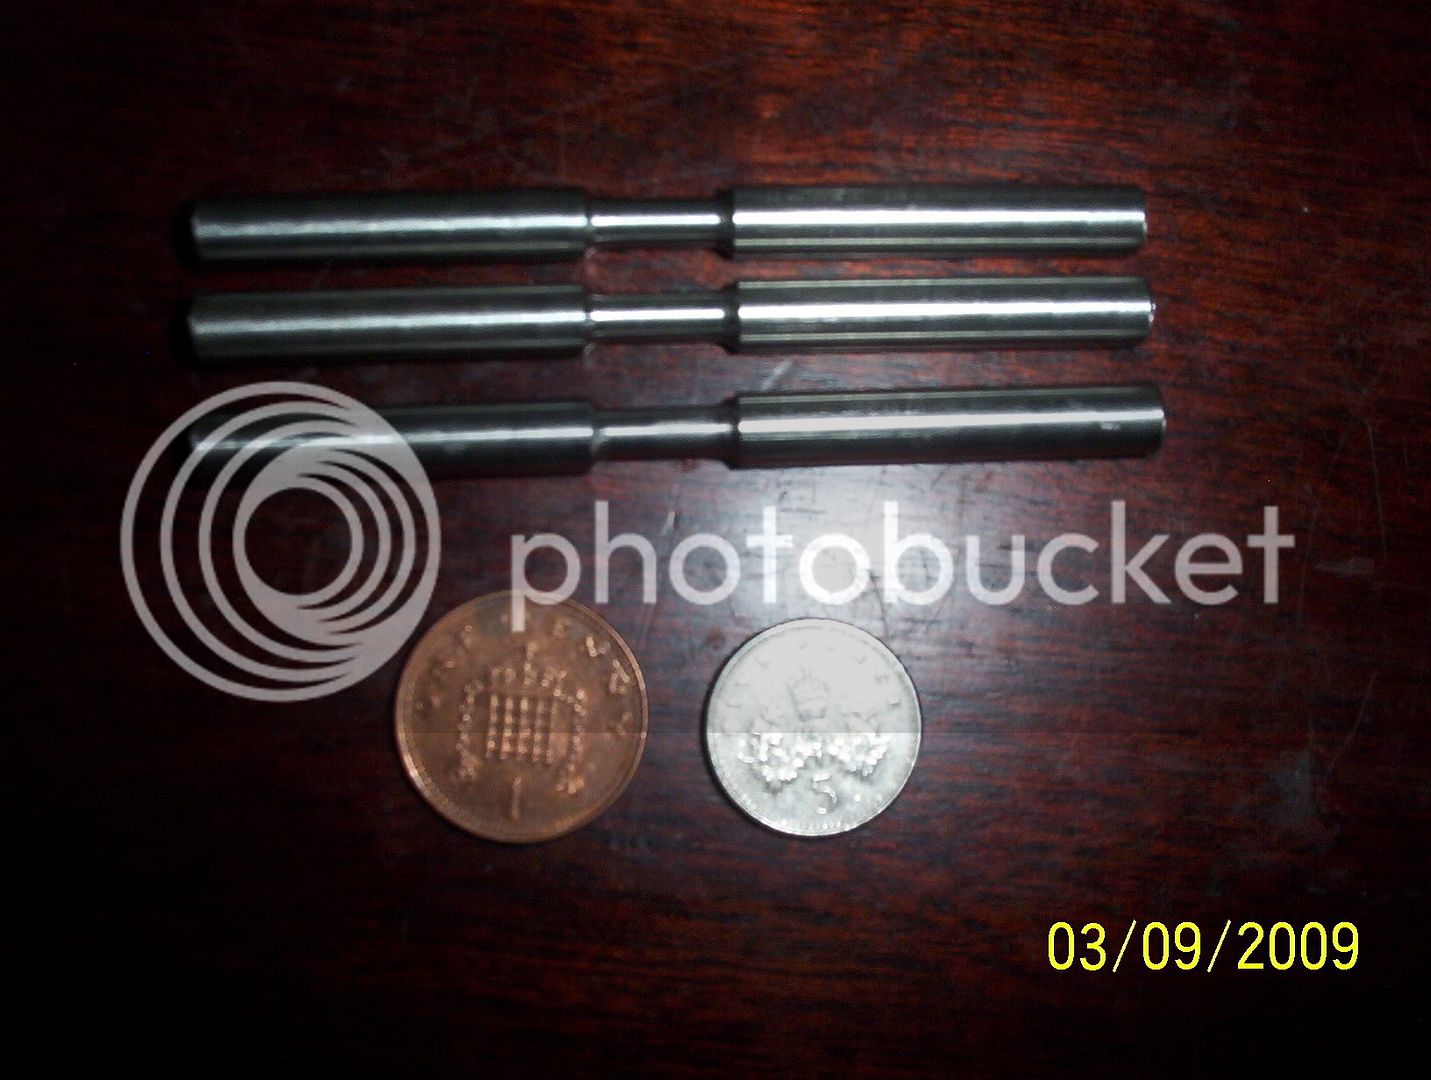
and at the bottom are the three pistons for the elbow engine,
I will not be able to get any further today as my Brother has arrived and we are off hunting ;)

000_0481.jpg
 
Pistons with the turning all done, now ready for heating and bending to 90 degrees
000_0486.jpg


pistons in their cylinder a nice fit
000_0487.jpg


Boo Boo this one hole is way way out :( Ill have to make a new cylinder this one is scrap
just cant fathom how this one is out and not the other two, each hole was center drilled,
then piloted, then main drill, then reamed, you would think if one was out they all would be ??? ???
ooh well if at first........
000_0490.jpg
 
Looking good, sorry to hear about the cylinder. You didn't turn up any spare pistons?
 
Vernon said:
You didn't turn up any spare pistons?

No m8, I havent yet, I have more material left over so when I screw up the bending of the pistons I can make more and try again ;)

regards
Andy
 
Hi Andy

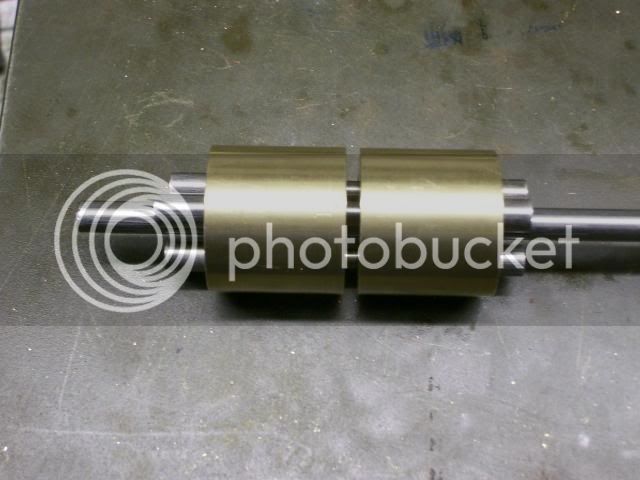
It may be a good idea to hold off bending the pistons until you get all the cylinders done, you can use the pistons to check that the cylinders line up.

Like this

100_1323.jpg


Have fun

Stew

 
SBWHART said:
Hi Andy

It may be a good idea to hold off bending the pistons until you get all the cylinders done, you can use the pistons to check that the cylinders line up.


Have fun

Stew

Thank you Stew,

I couldn't agree with you more Stew,

that was the method I was using when I discovered the 'Dodgy' hole in the first instance,

I can only assume that while I was pecking the drill must have pushed off on some swarfe, tho I was fully retracting the drill and cleaning the swarfe off and adding a little cutting fluid for every 3mm or so of depth drilled, in the end its my mistake I will ensure I clean the drill far more often next time even if I have to do it every 1mm

Thanks again
Andy
 
Andy if you need spare pistons I have about 8 of them in my
recycle box that can be reworked. :D

Bend them one at a time to be sure they will rotate freely in a
cylinder position. Match mark that piston to it's corresponding holes
in the cylinders. Then bend the 2ed piston. Same process.
When they will all three turn easily in either direction with a slight
finger flick on the flywheel you are half way home. ;)

Rick
 
Have any of you successful elbow engine builders tried the ten cylinder version? It will just make me feel worse with my non working six cylinder :(
 
rake60 said:
Andy if you need spare pistons I have about 8 of them in my
recycle box that can be reworked. :D

LOL thanks m8, but I have enough spare material to make another set or two ;)
how come there is 8 in the recycle box?, :eek:
are these really so hard to bend correctly ???
I guess I will find out shortly
but first i have to make the jig and that replacement cylinder :(

Regards
Andy


Blimey Andy, I go on holiday for a couple of weeks and when I get back you have almost completed another engine th_wav

The elbow engine is on my list to do so will be interesting to see how this goes 8)
 
Andy,

The way I bent mine was just to put a bit of round bar in the vice, heated the central portion up to bright red and just bent it around to near enough a right angle. I think I used 3/16 diameter bar in the vice.
Forget about bending jigs and all that lot. They will only get you as close as freehand bending.

After they have been bent, you should then spend a couple of hours trying to get them square enough to run.

You will also most probably find that the pistons will be too long. Once you have got the engine rough assembled, you will soon find if they are. It is better to have them slightly short (say 1/16th) rather than spot on length.

It is the getting the pistons EXACTLY square and to length that is the secret to getting the engine running. If you drop a piston onto say your bench, expect to have to square it up again, it really is that critical.

It took me about three days or so to make the bits, but four days to get it adjusted to run.


Blogs
 
eskimobob said:
Blimey Andy, I go on holiday for a couple of weeks and when I get back you have almost completed another engine th_wav

The elbow engine is on my list to do so will be interesting to see how this goes 8)

Thanks Bob,

tho maybe a little premature on the Mexican wave, all indications from fellow site members tend to show this model is a B***H to get to work,

I was hoping to have her all done by now, but at the moment I am waiting on a brass offcut to make another cylinder up with, then I can bend the pistons, oil her up an pray LOL.

Seriously tho, to be honnest even if she doesn't run, it doesn't matter to me I have had fun making her, far more so than been given a drawing at work and told to make x30 of them, the only repetitive bit in this model is making 3 pistons, so I'm finding this more fun and less repetitive than work (and I love work)

I am confident she will be a runner, now that I have said that and jinxed it...... ;)

regards
Andy

 
Blogwitch said:
It took me about three days or so to make the bits, but four days to get it adjusted to run.

Thanks Blogs

Four days..:( ooh well she may be finished some time next week then... if i am lucky LOL

regards
Andy
 
Back
Top