Elbow Engine

Home Model Engine Machinist Forum

Help Support Home Model Engine Machinist Forum:

This site may earn a commission from merchant affiliate links, including eBay, Amazon, and others.
WhoooHooooo look what arrived last night


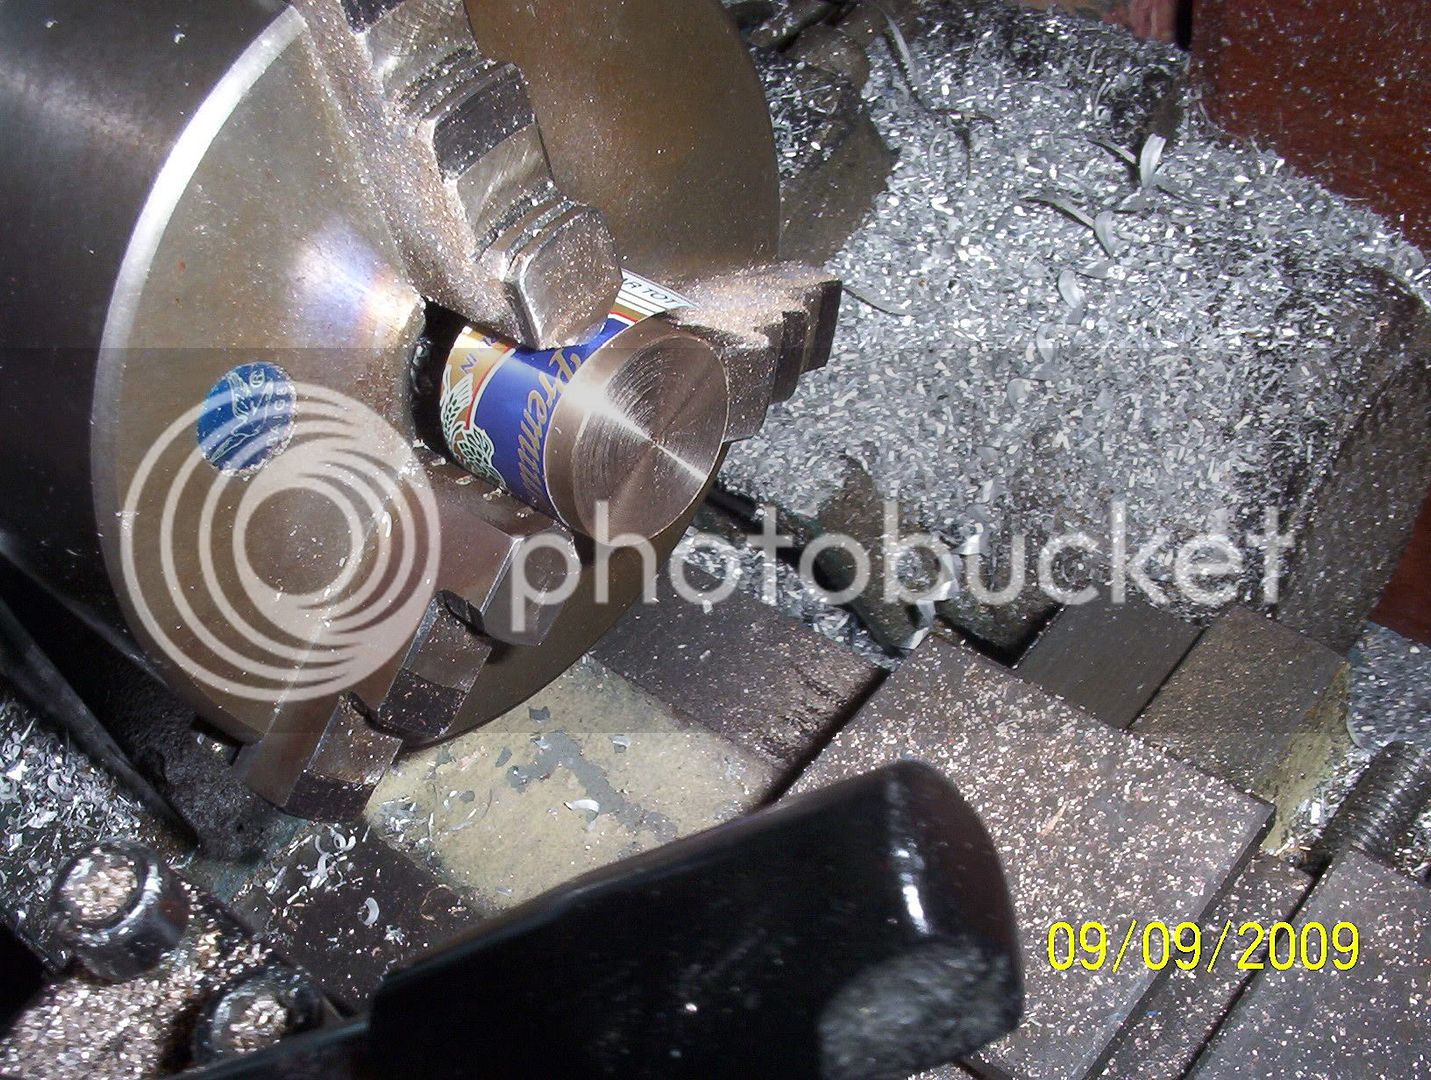
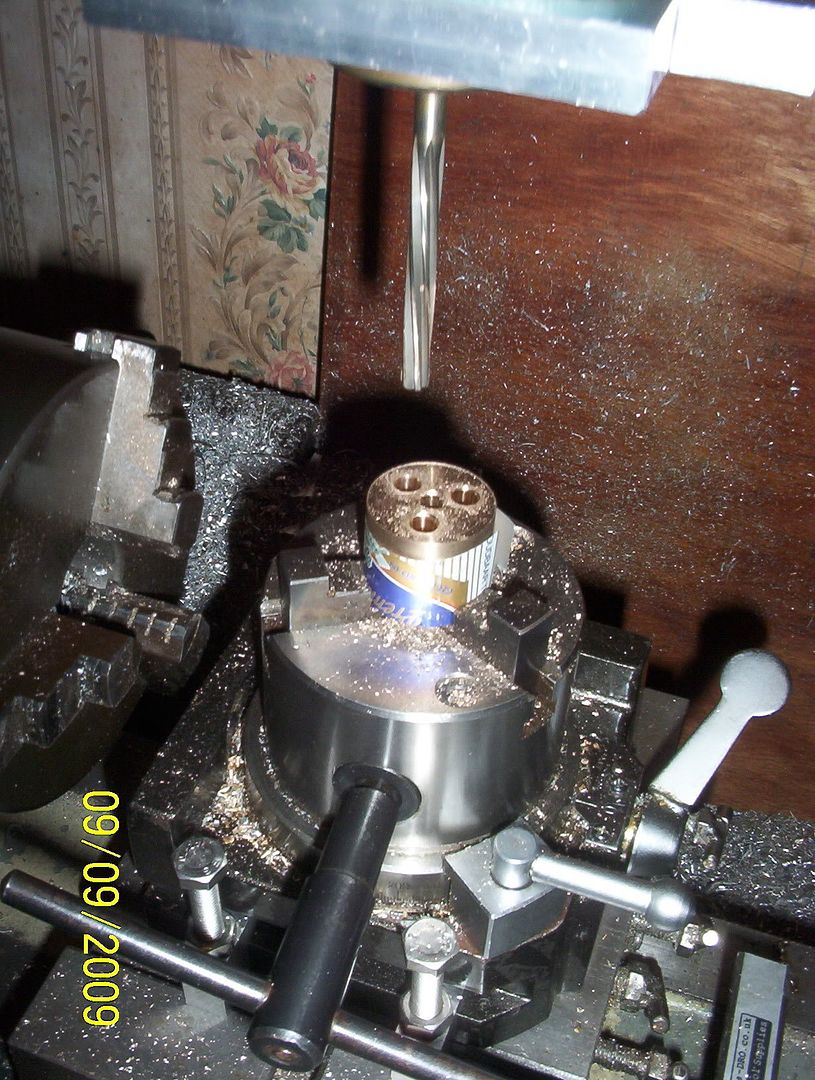
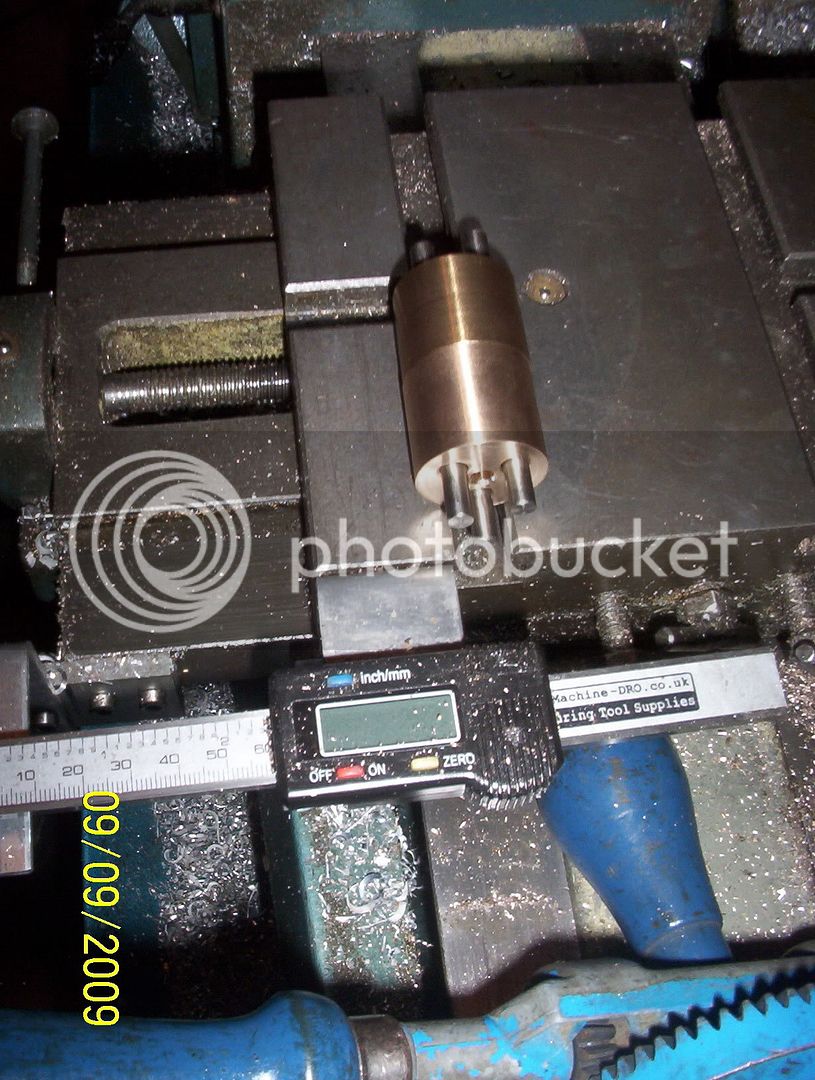
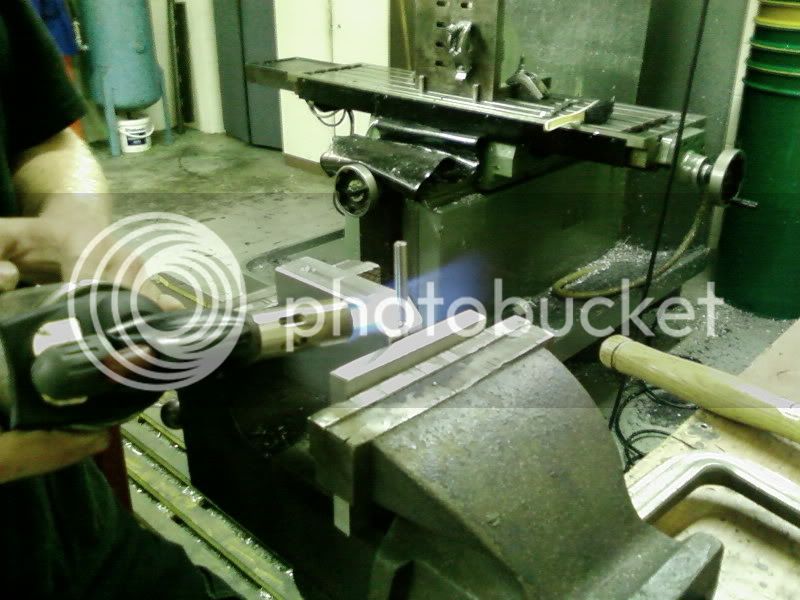
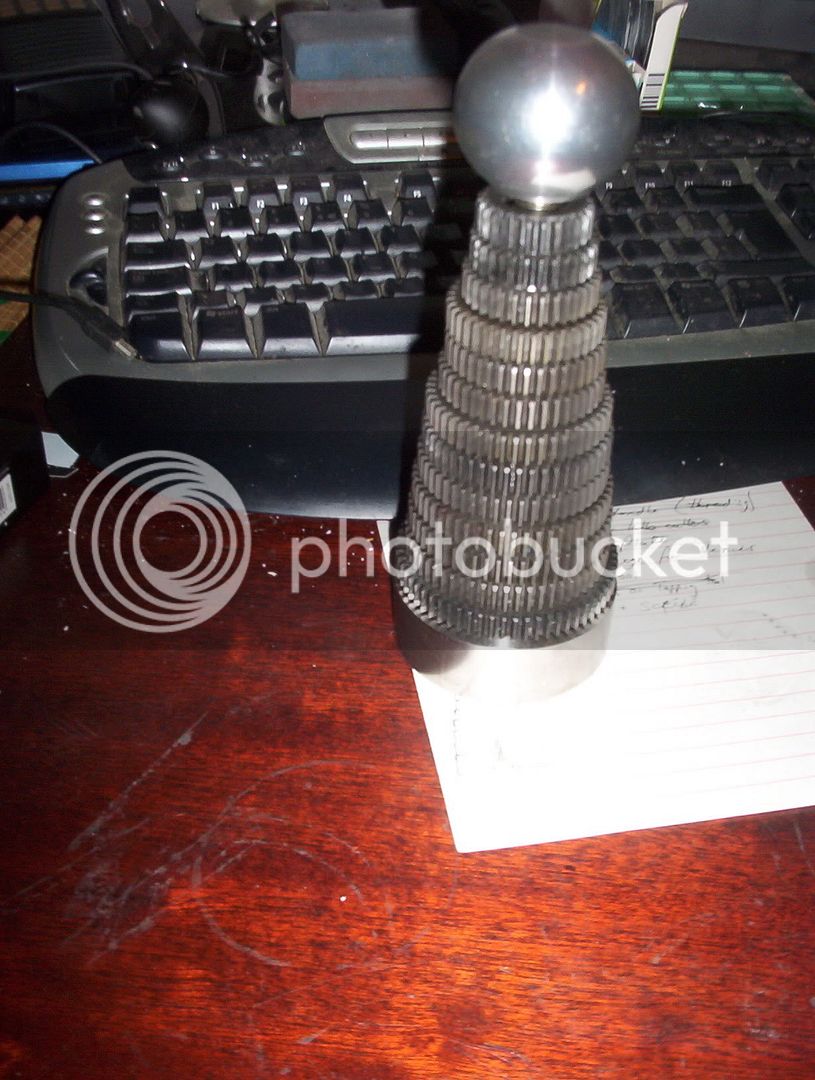
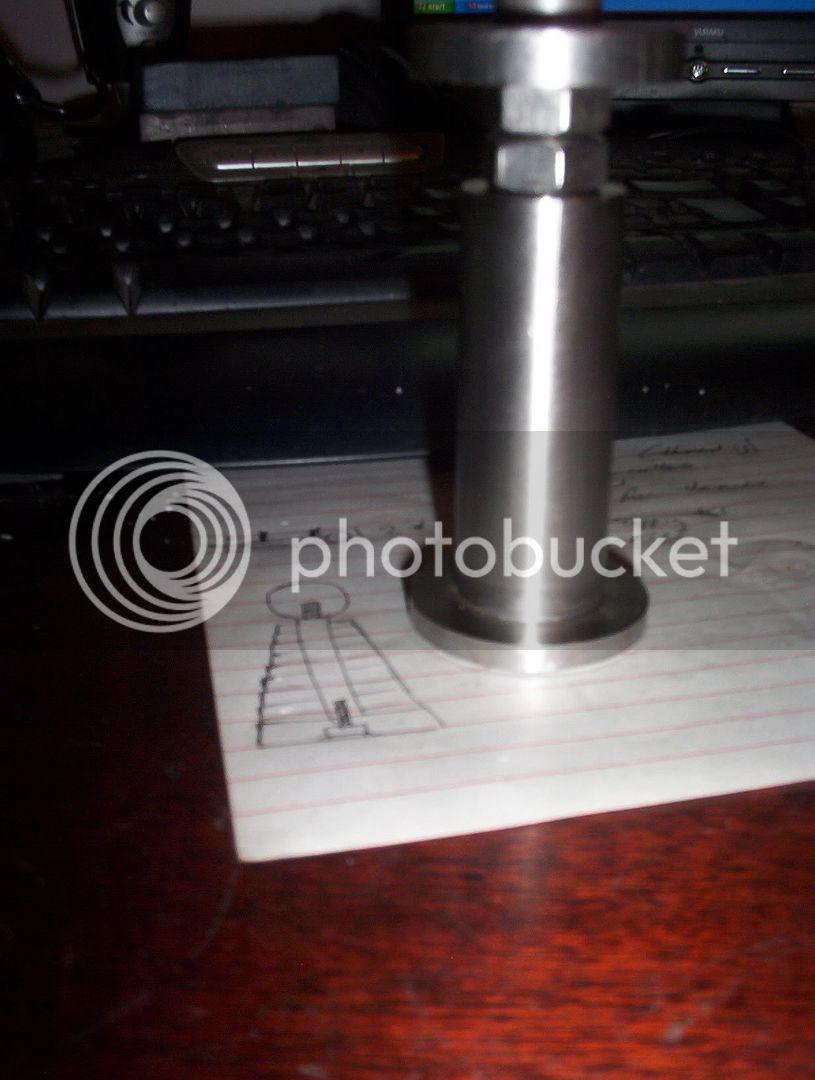
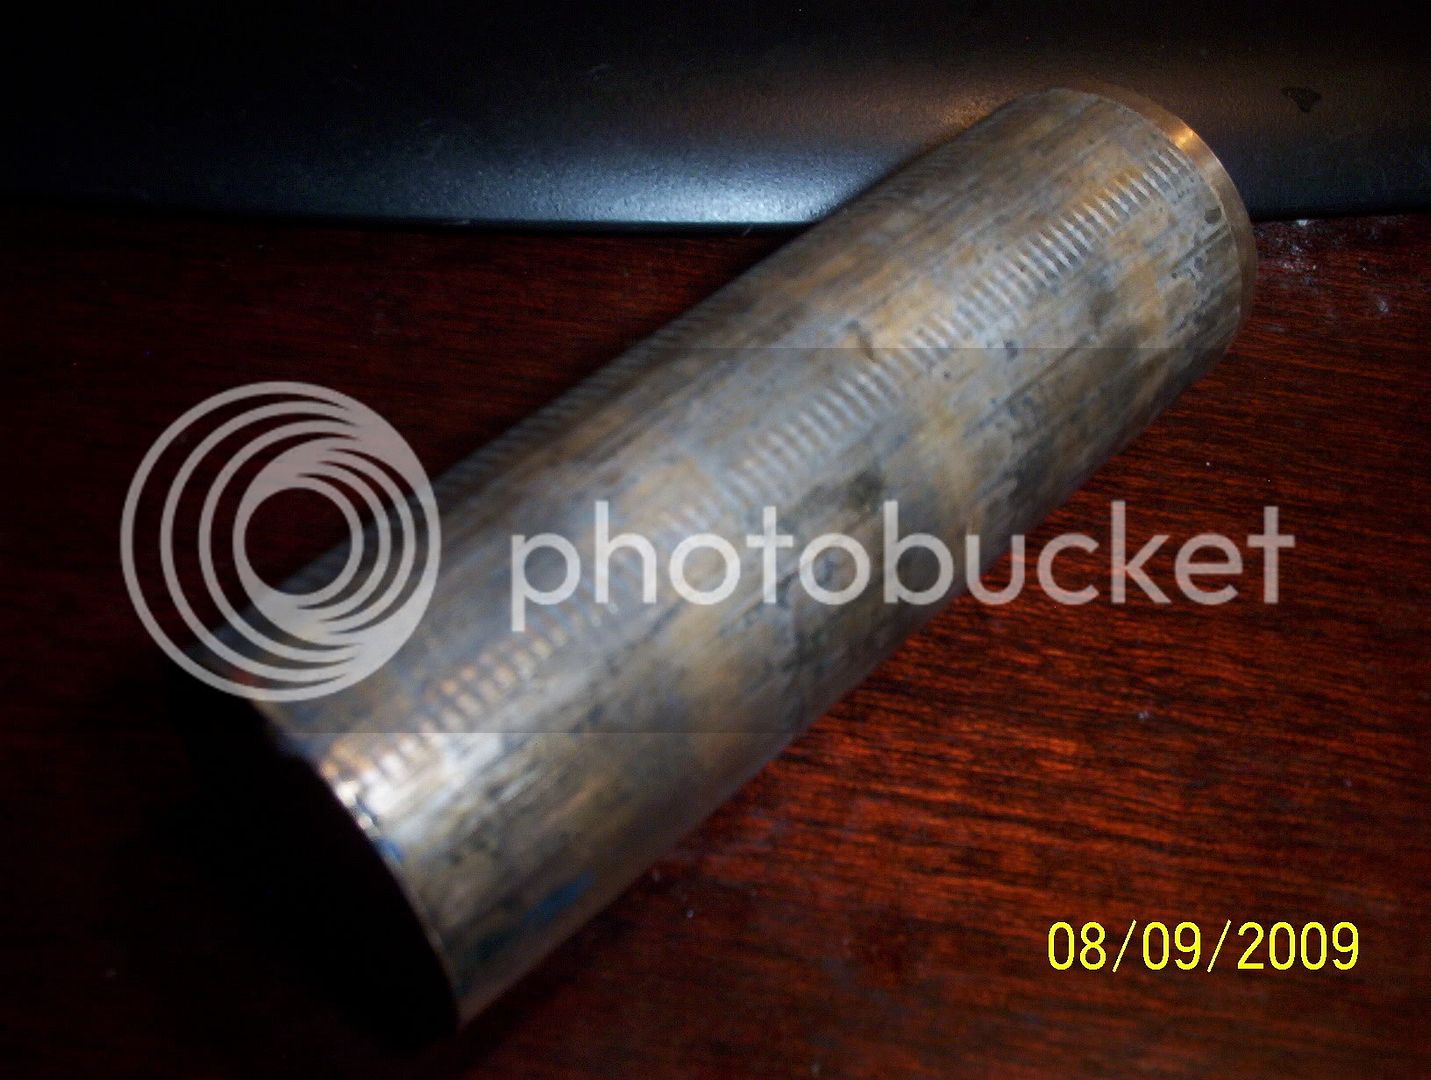
the bronze offcut to make the replacement cylinder
000_0499.jpg


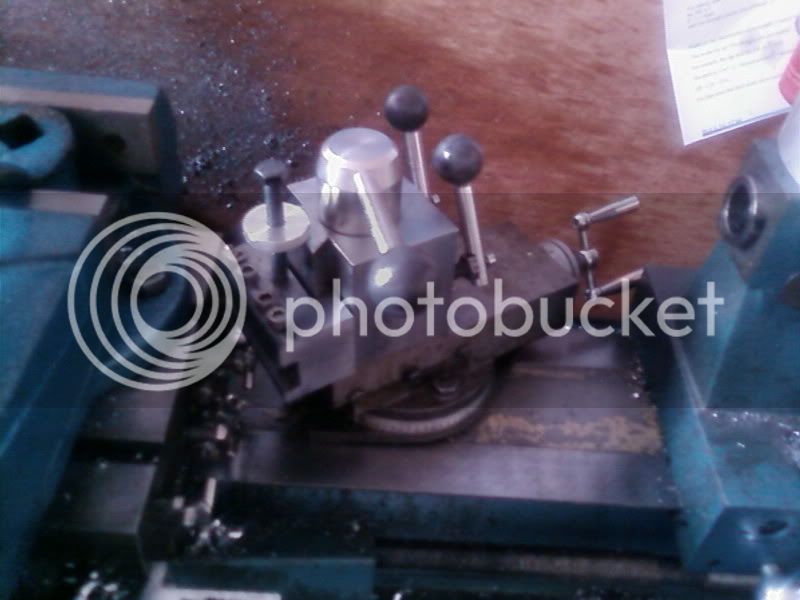
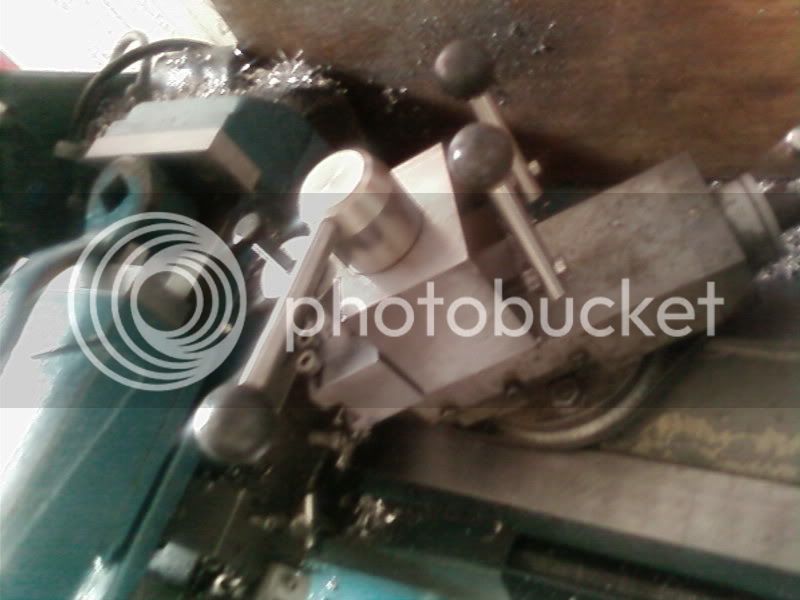
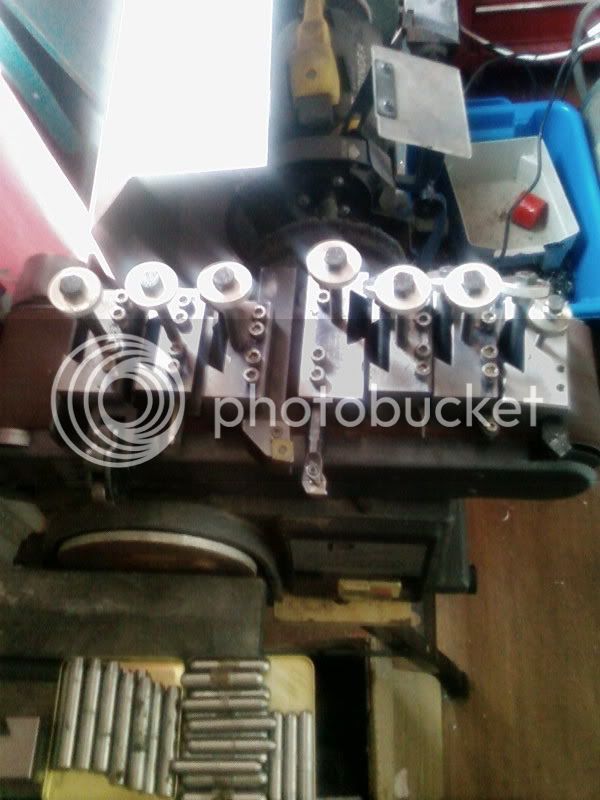
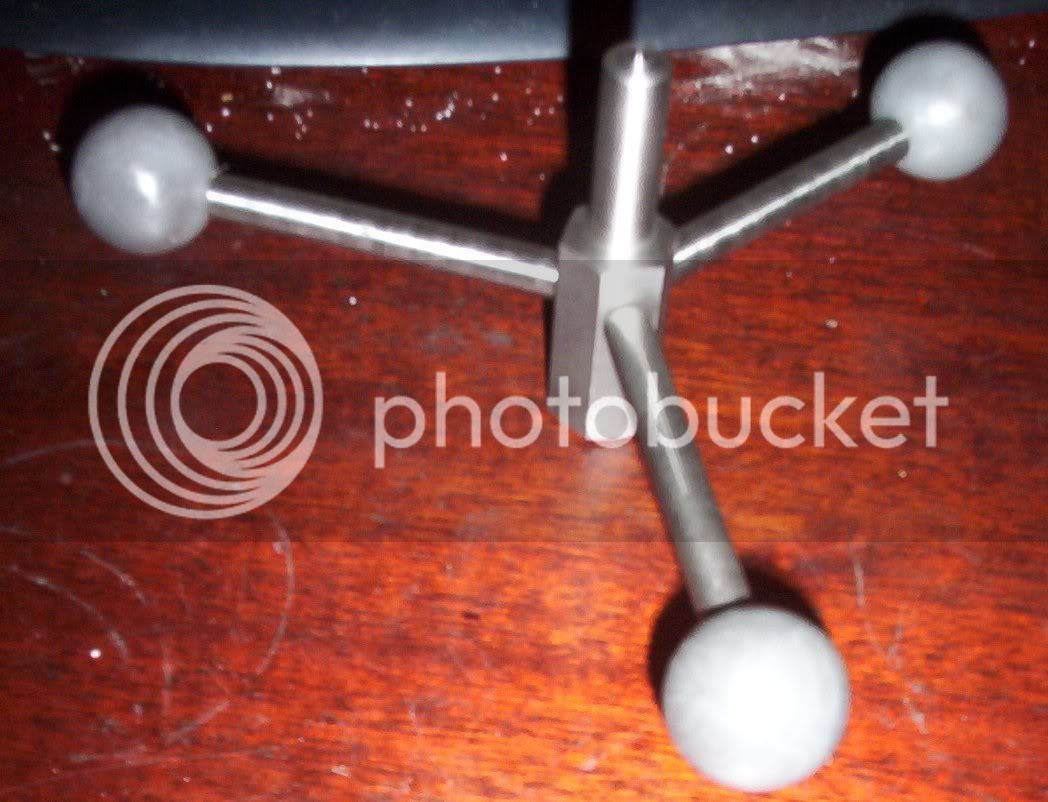
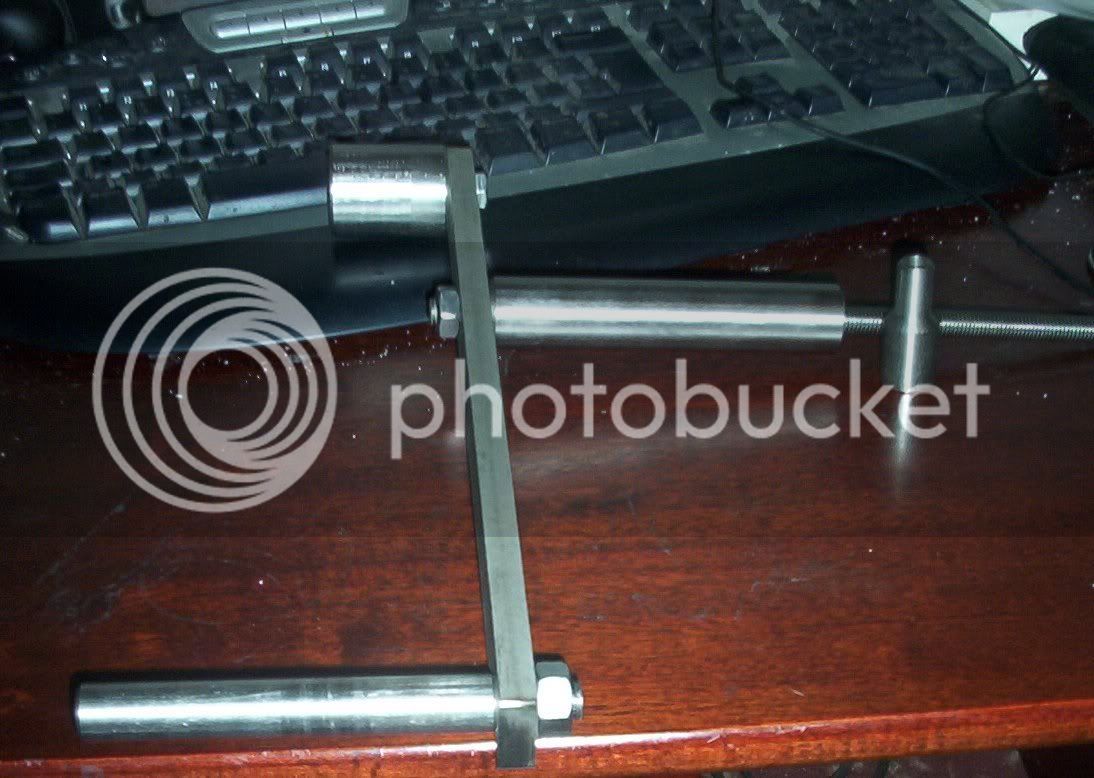
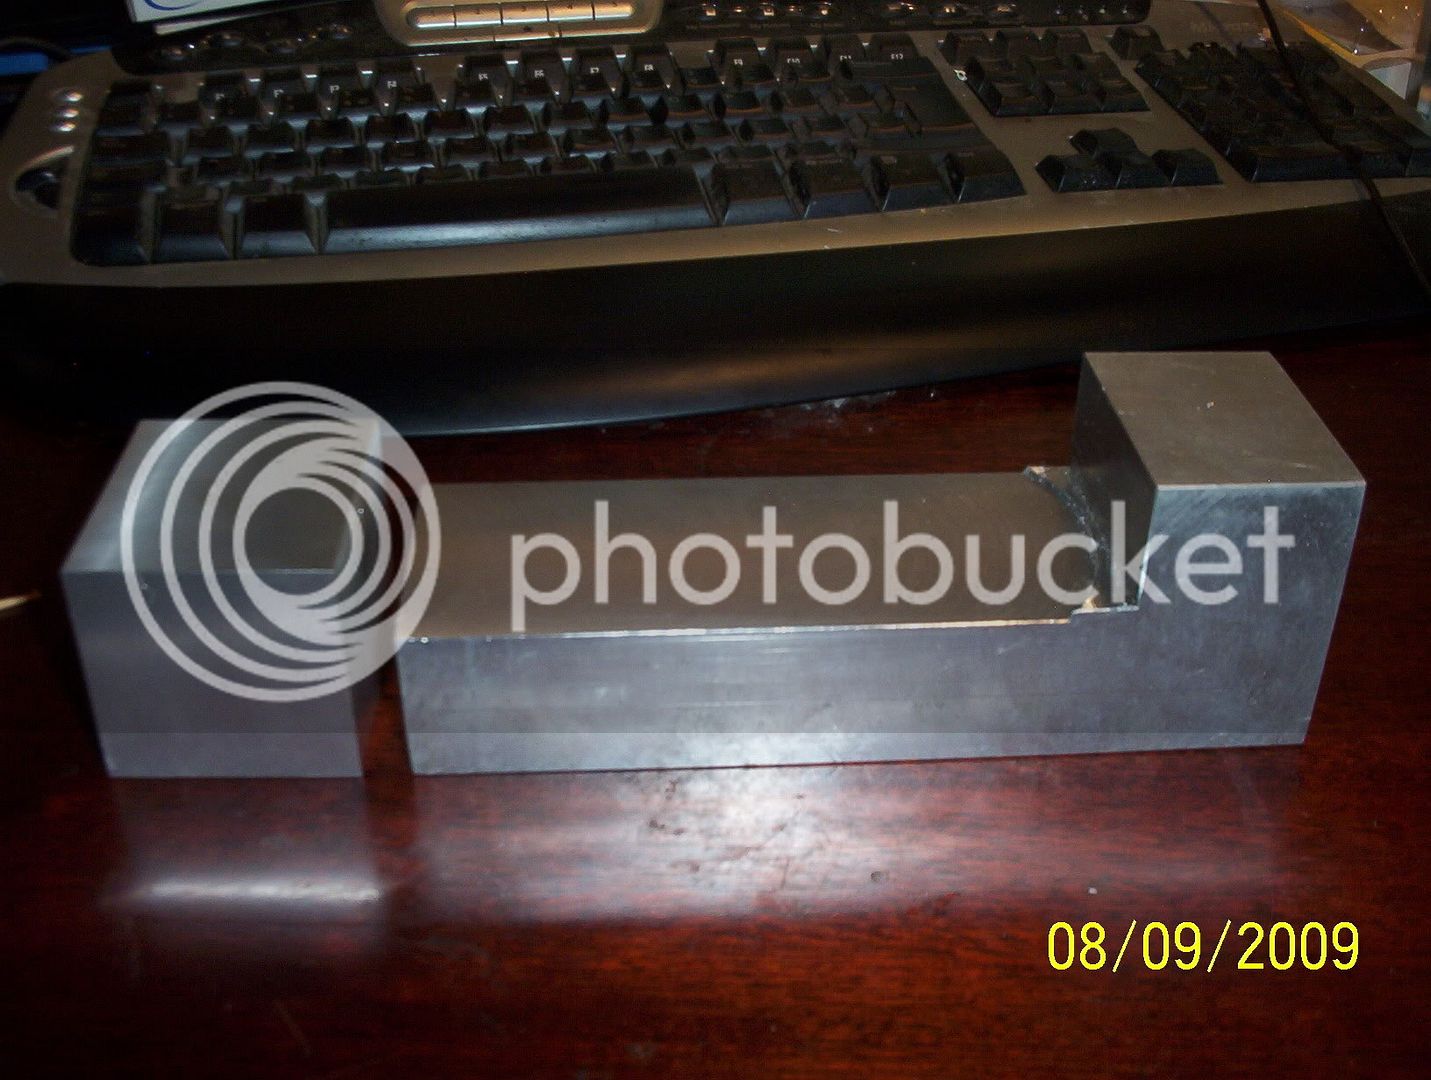
also working on a saddle stop/mount for an X axis dro
000_0501.jpg


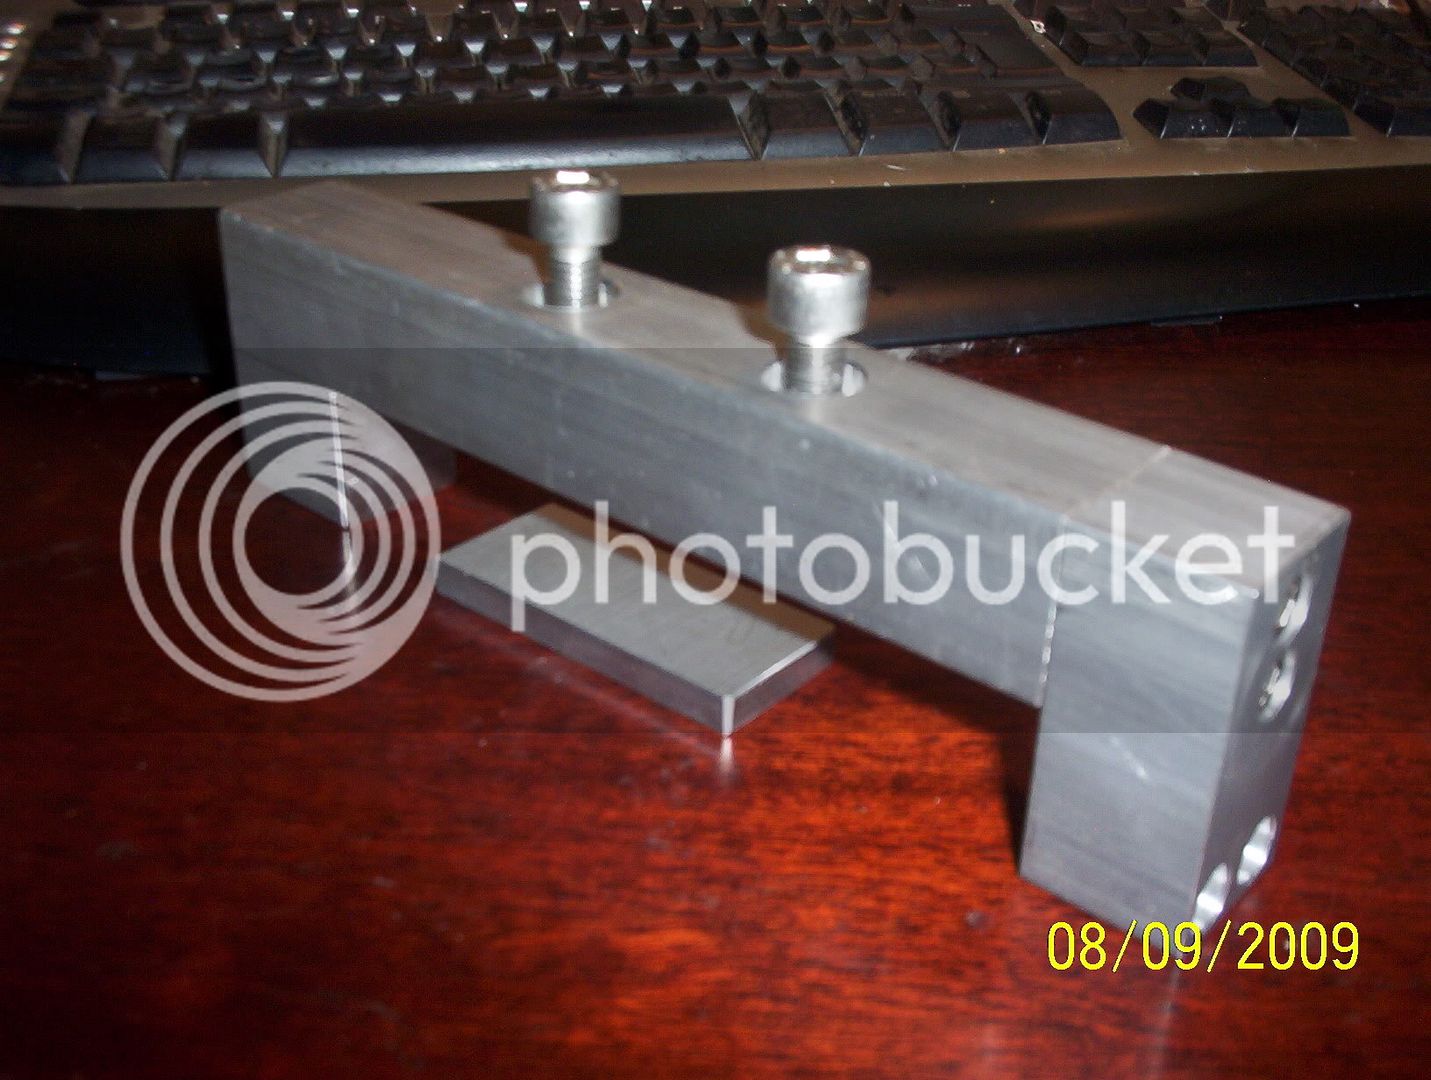
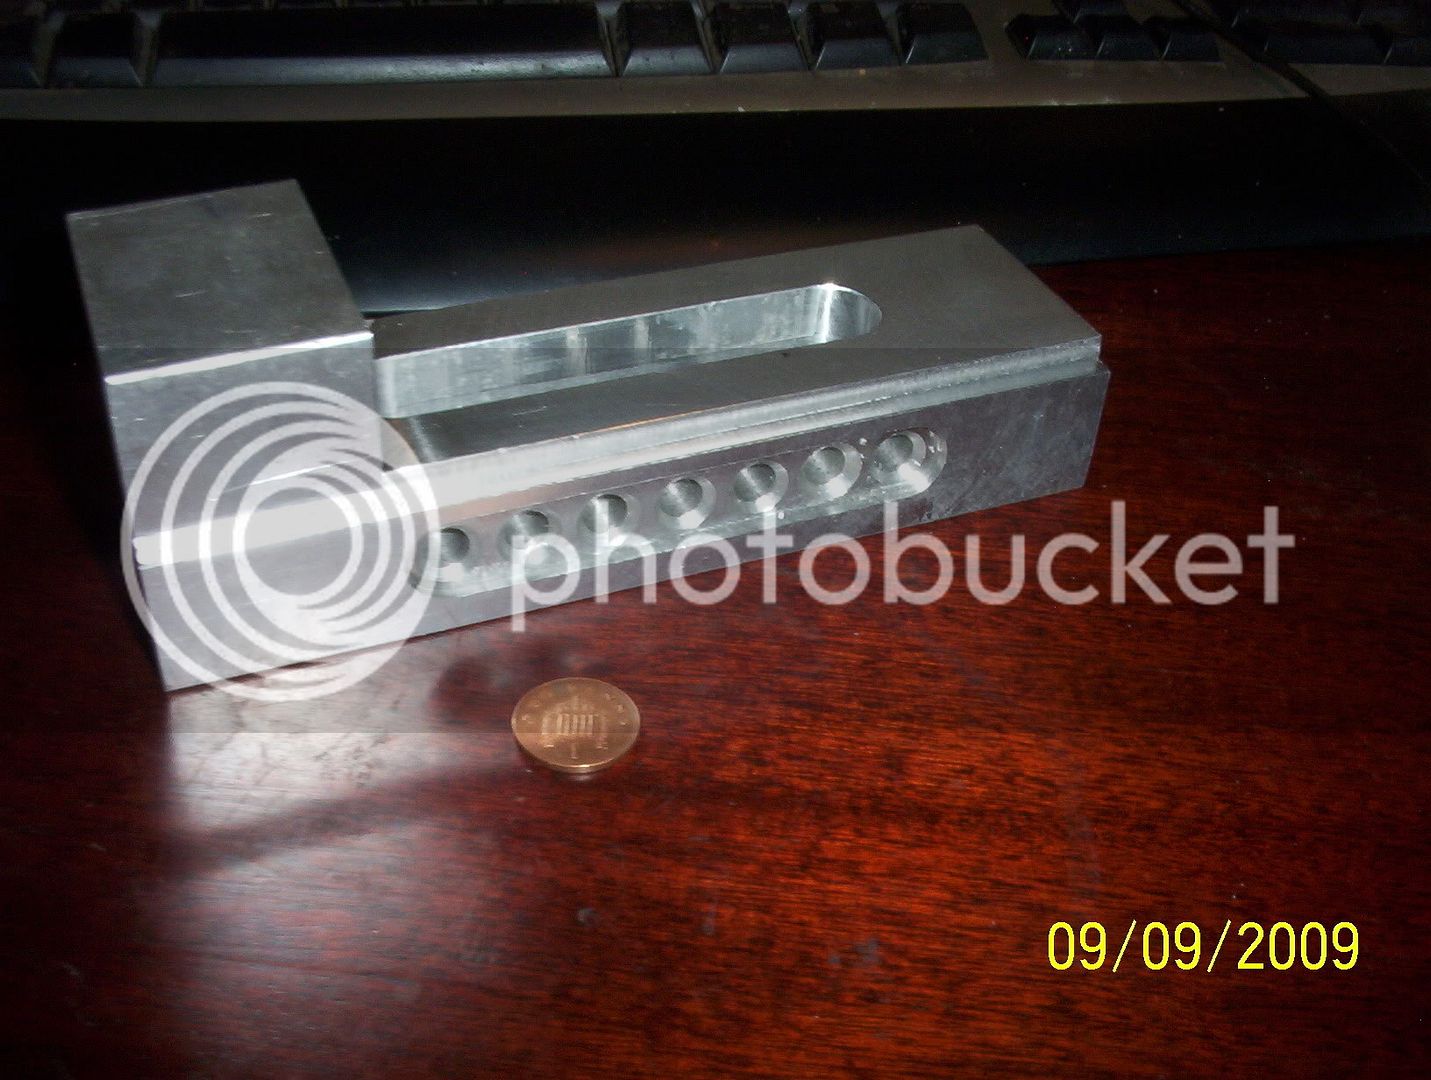
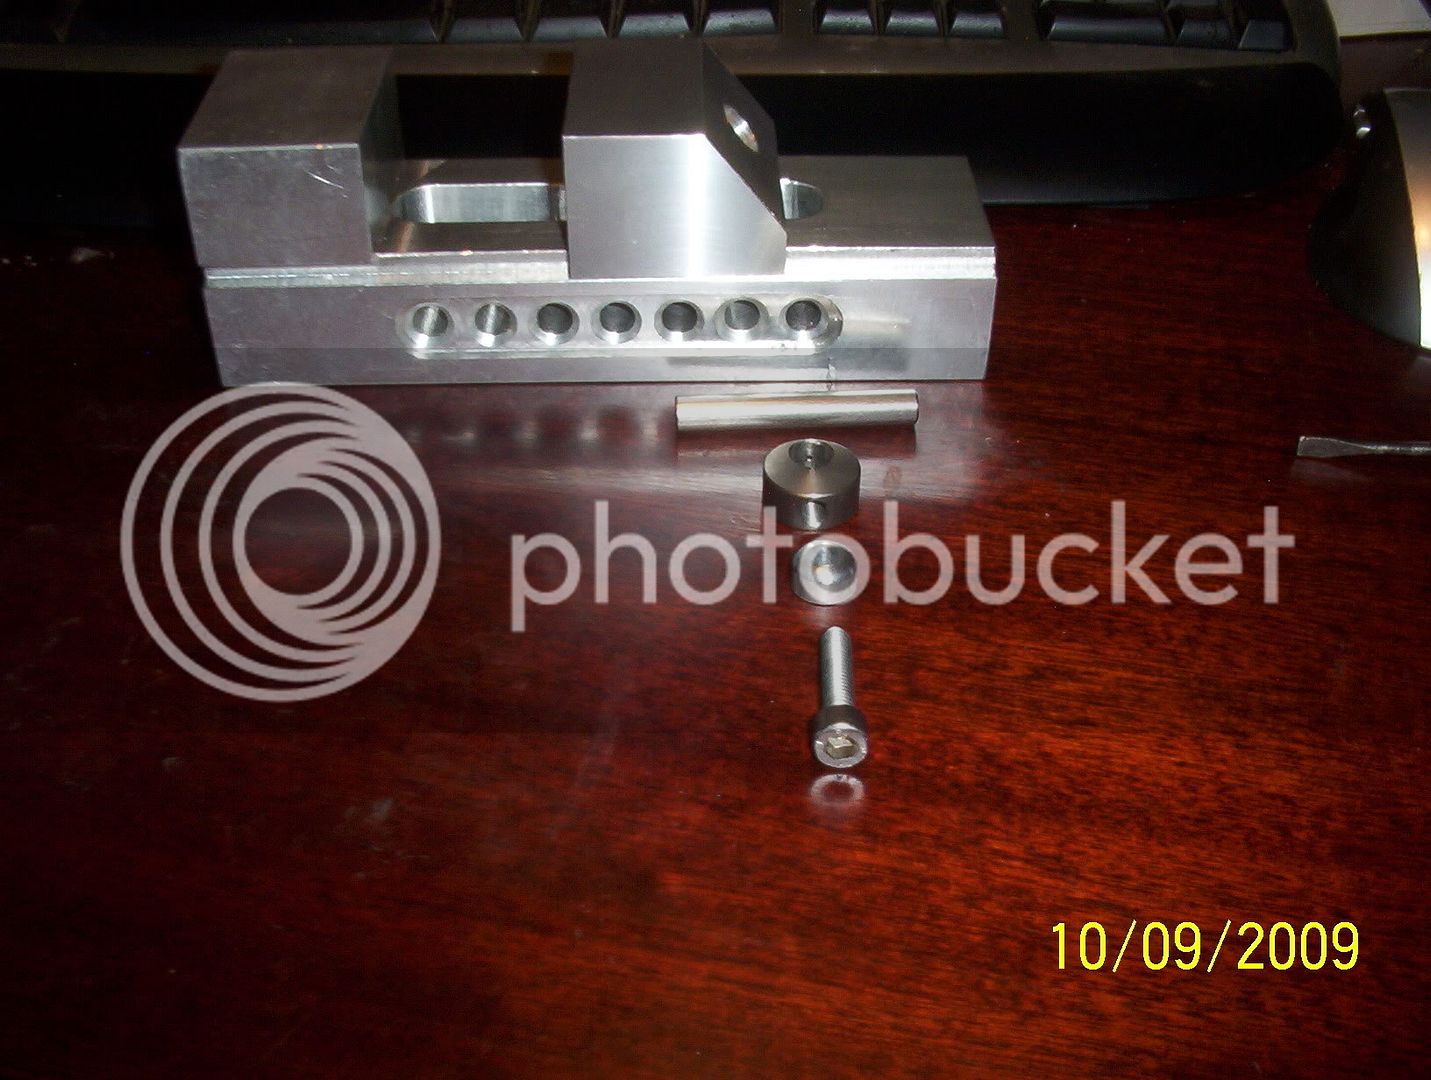
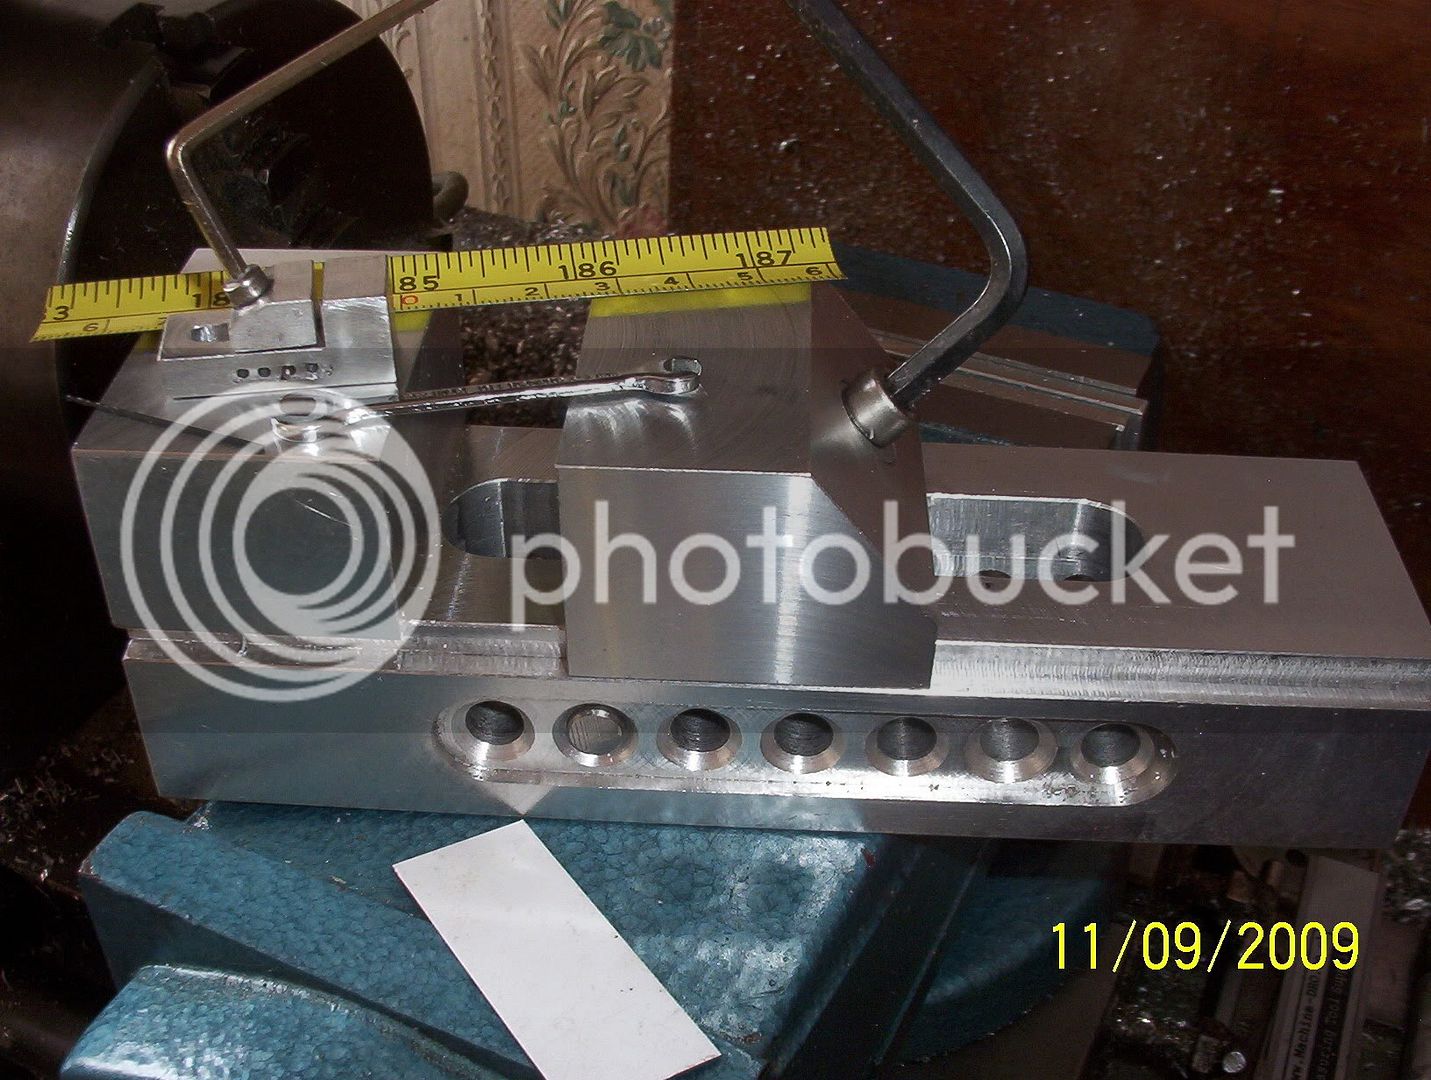
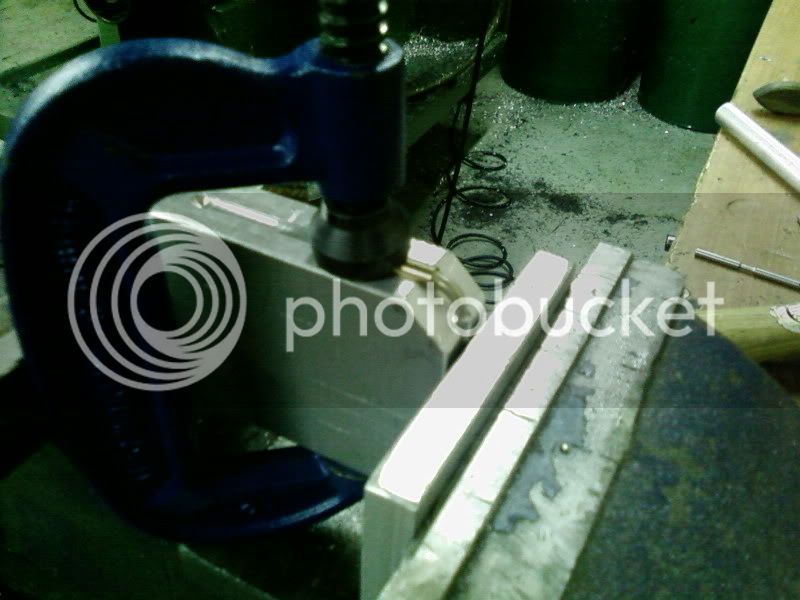
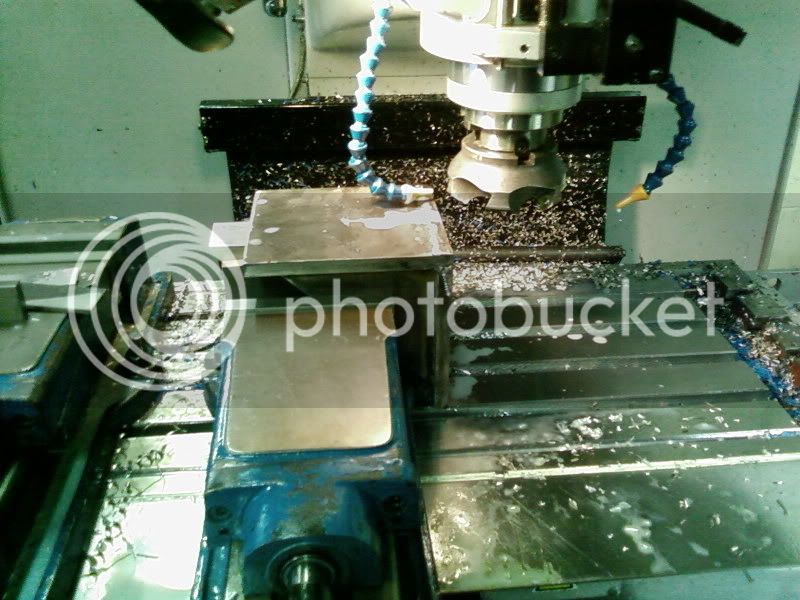
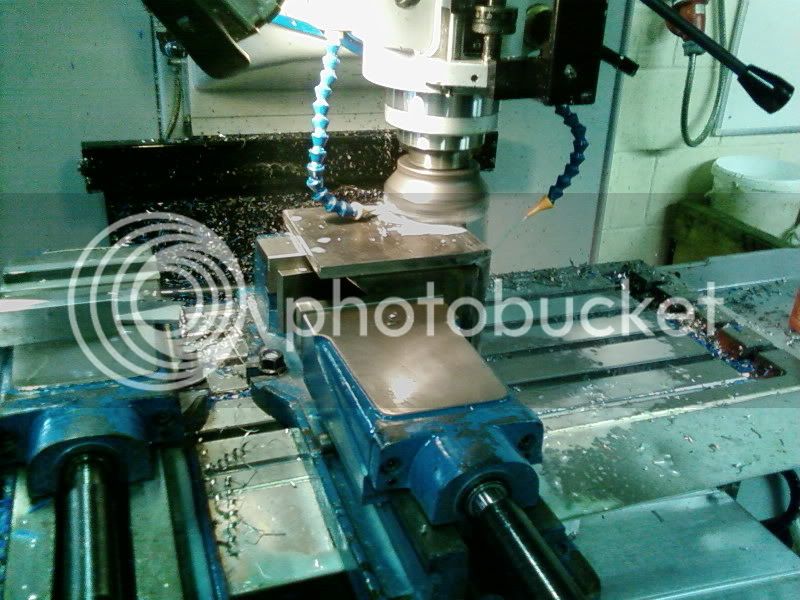
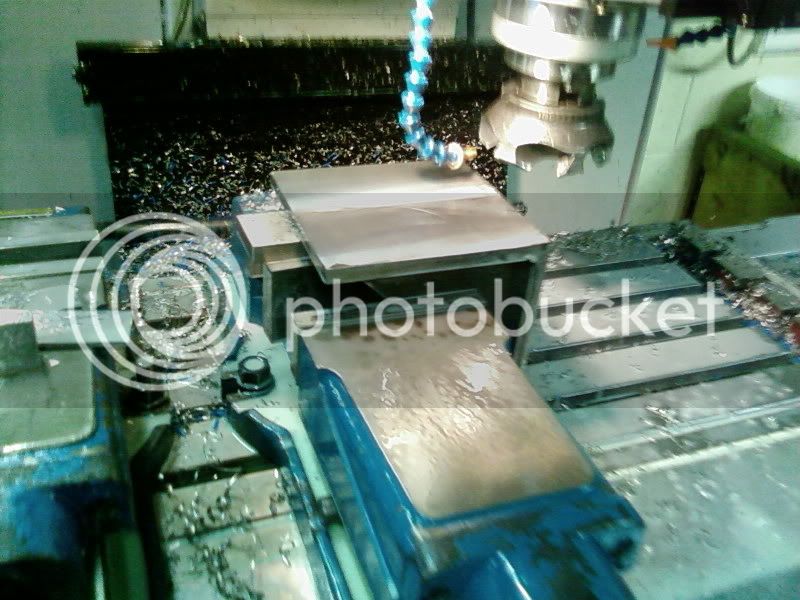
and the start of a machine vice
000_0500.jpg


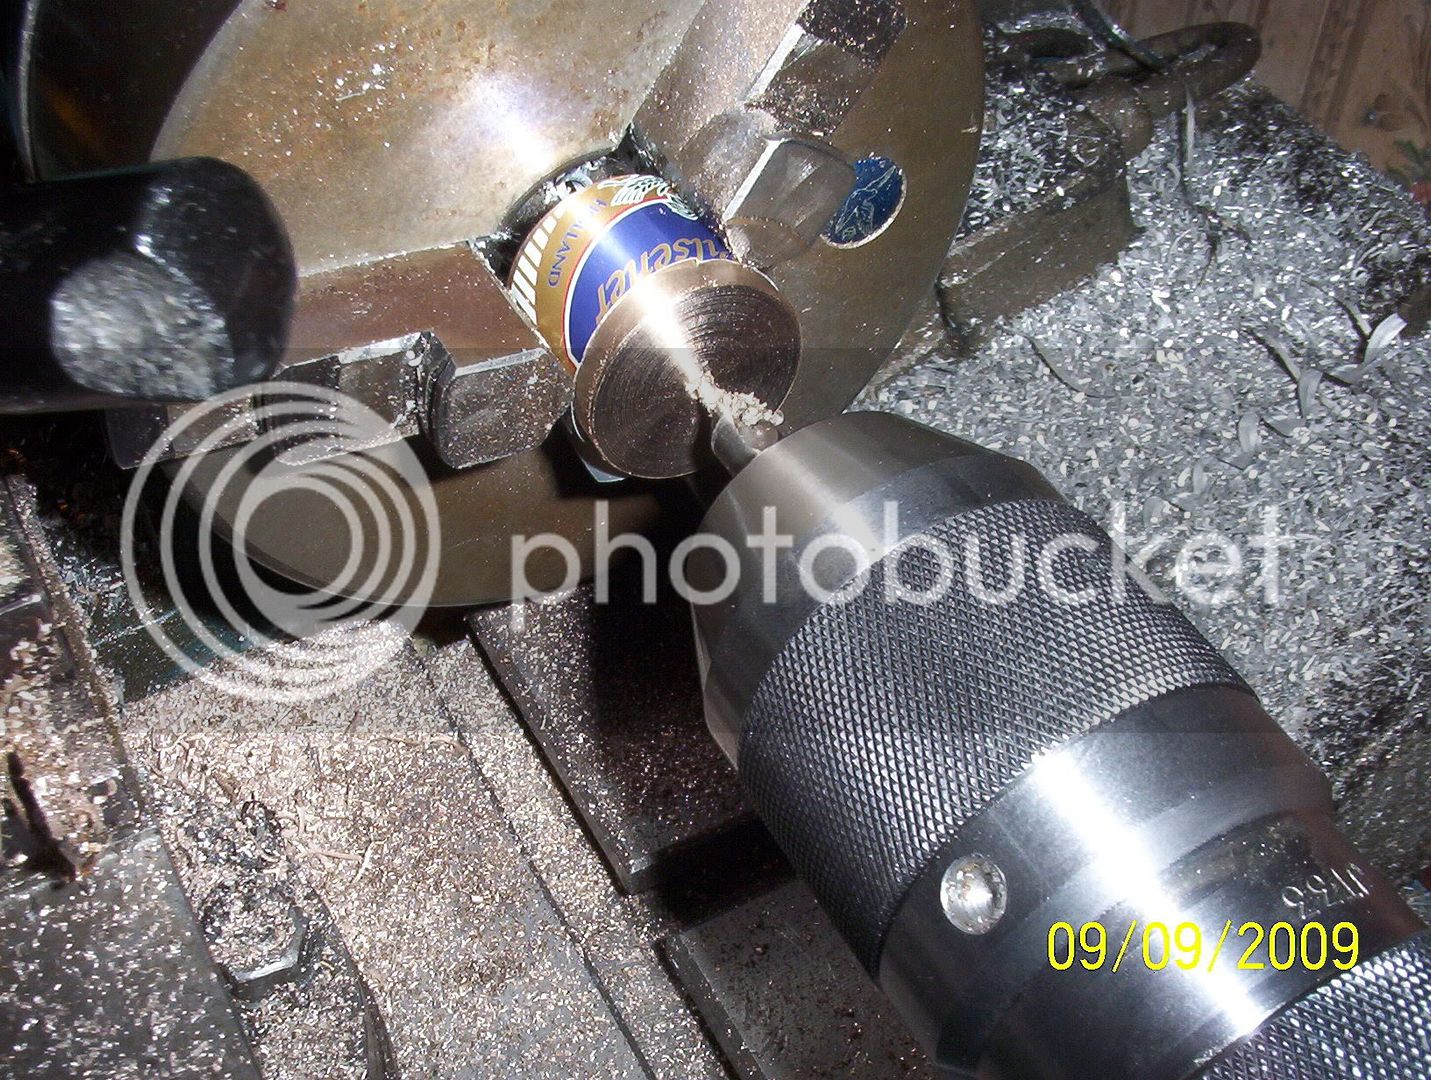
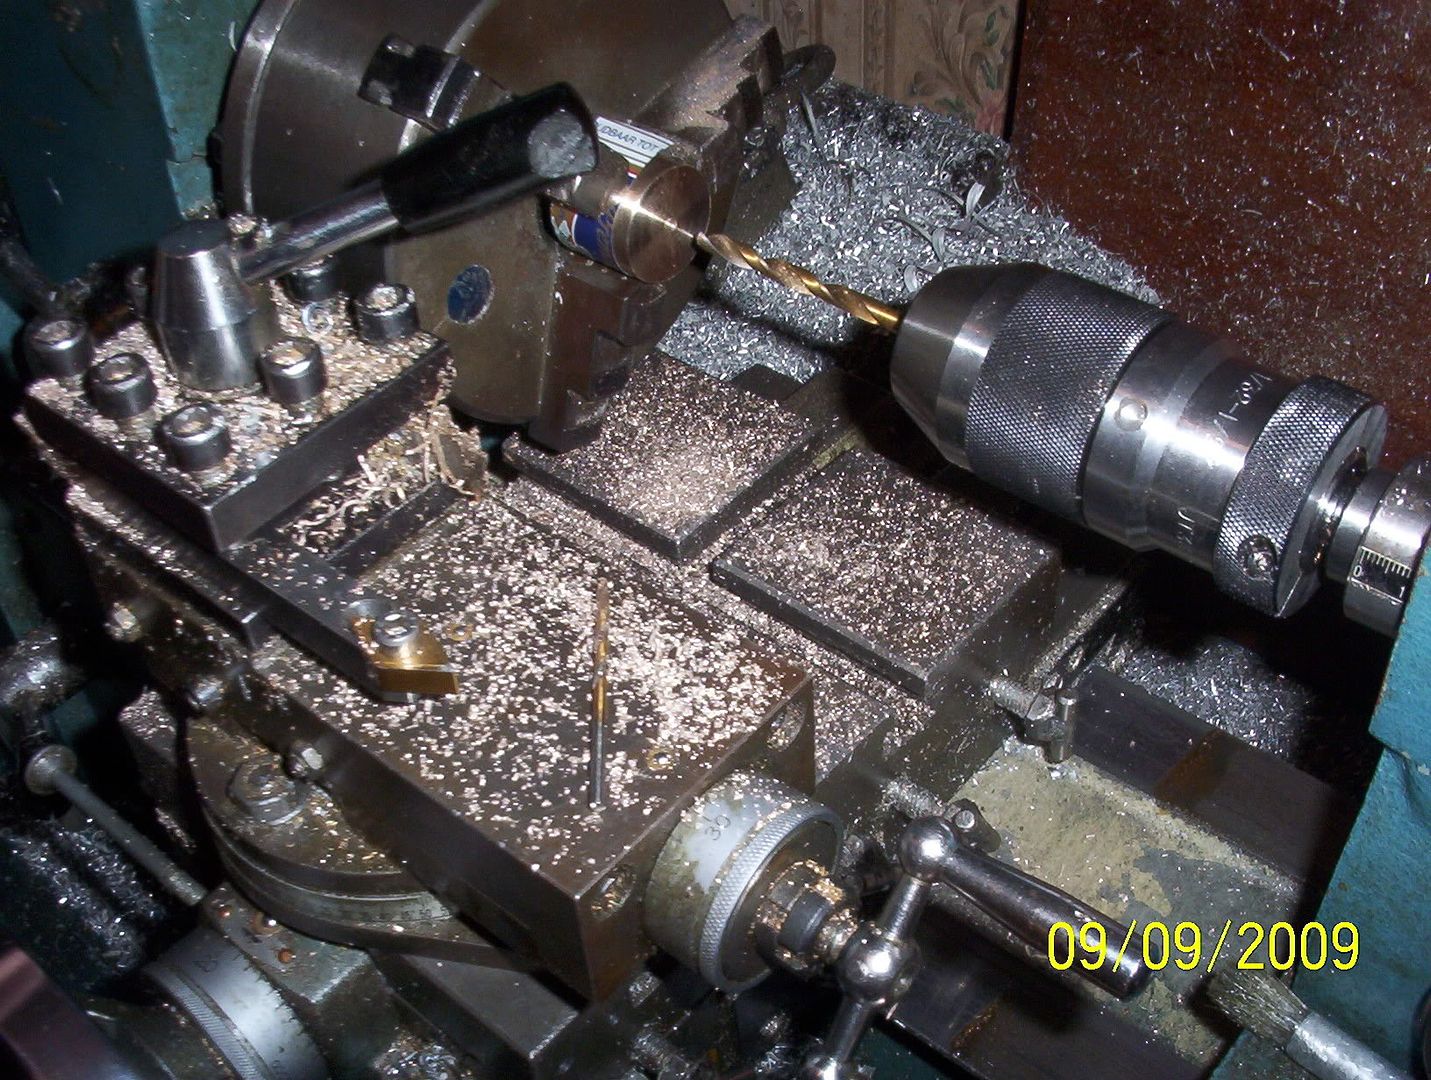
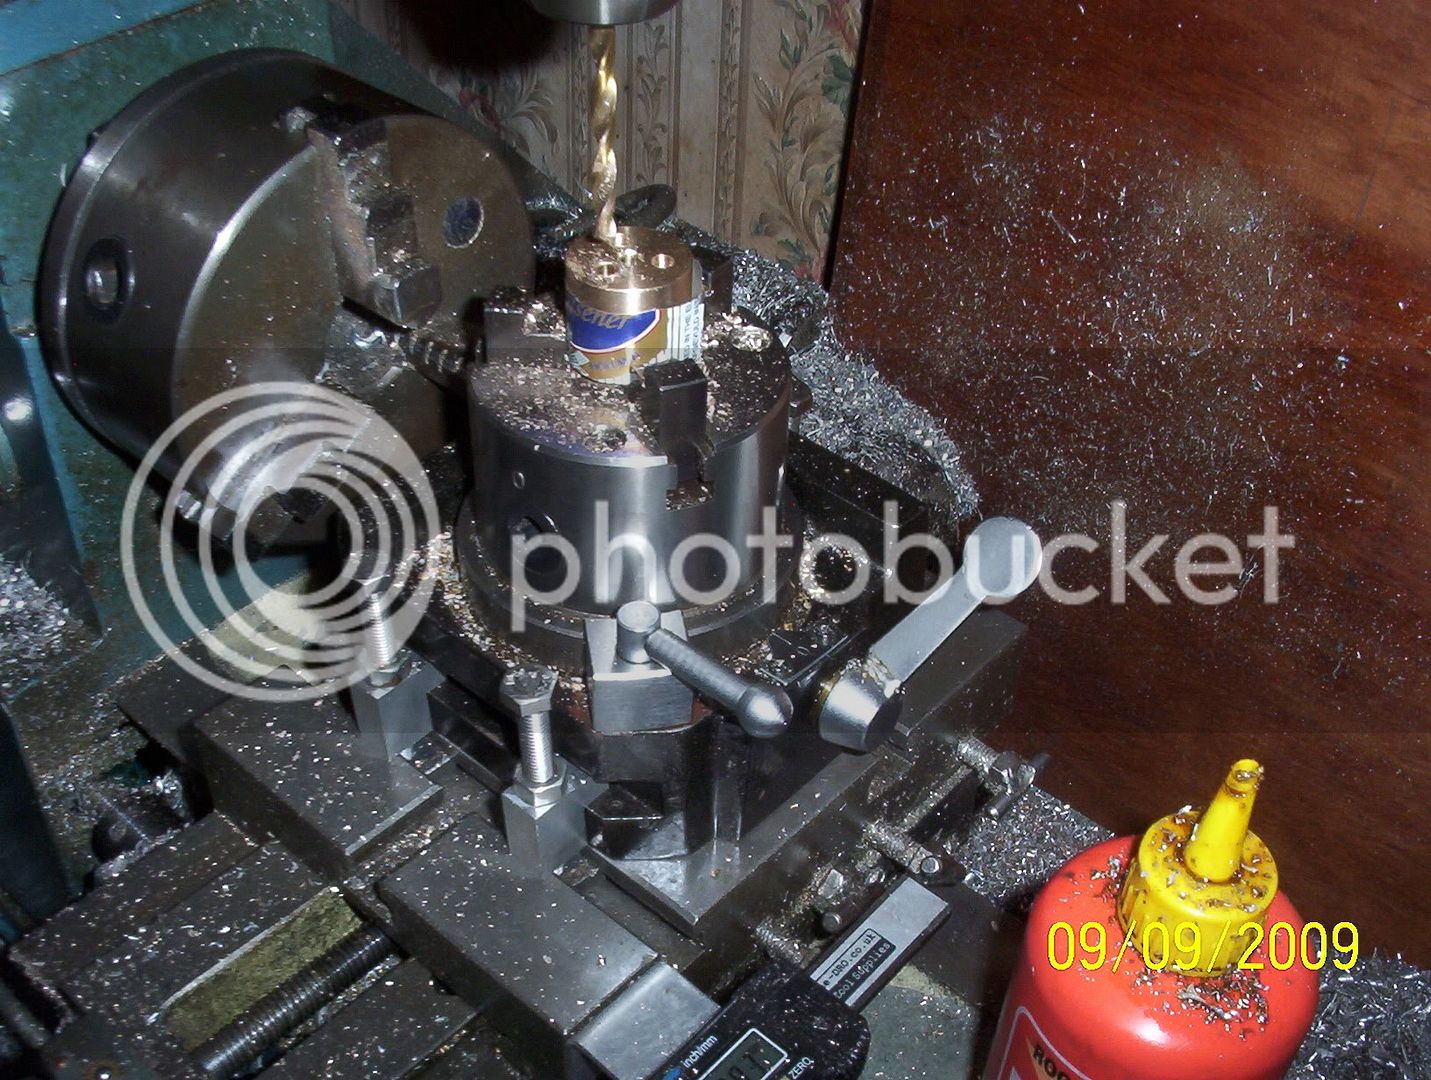
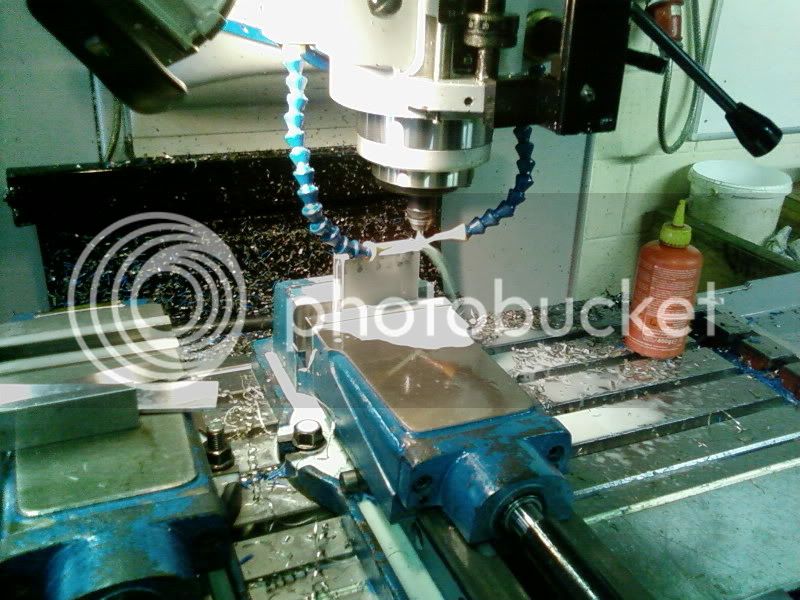
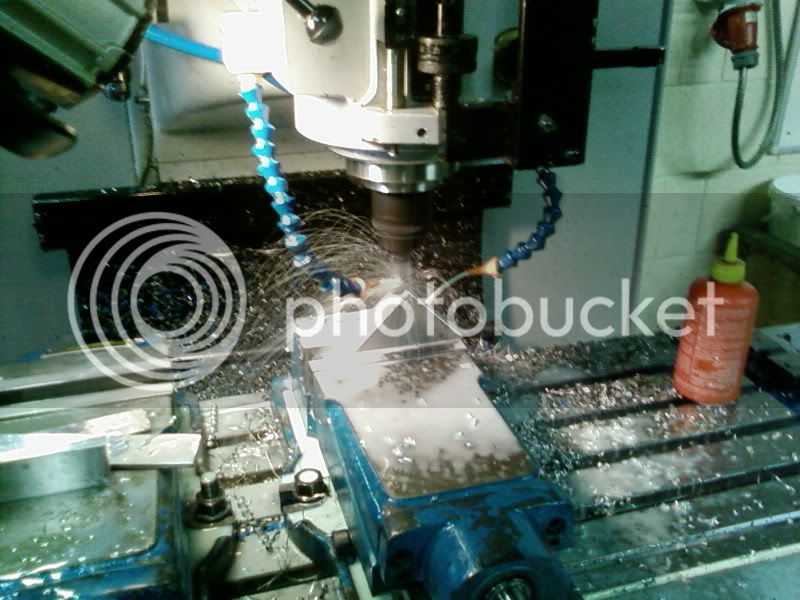
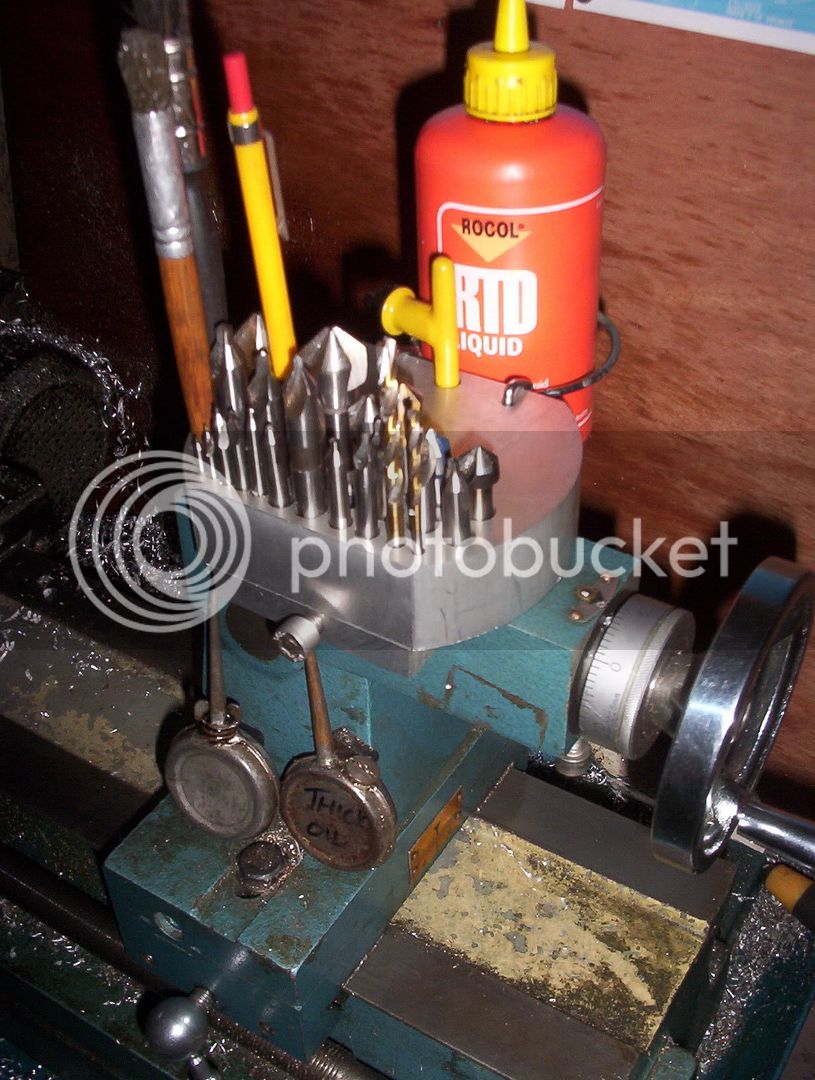
as I am already set up for milling i will do some more on the vice first then change over to turning mode do the cylinder and pins for the vice and I want to use round bar on the stop in place of Chamffers then put the rapid indexer on and over into drill mode finish the cylinder

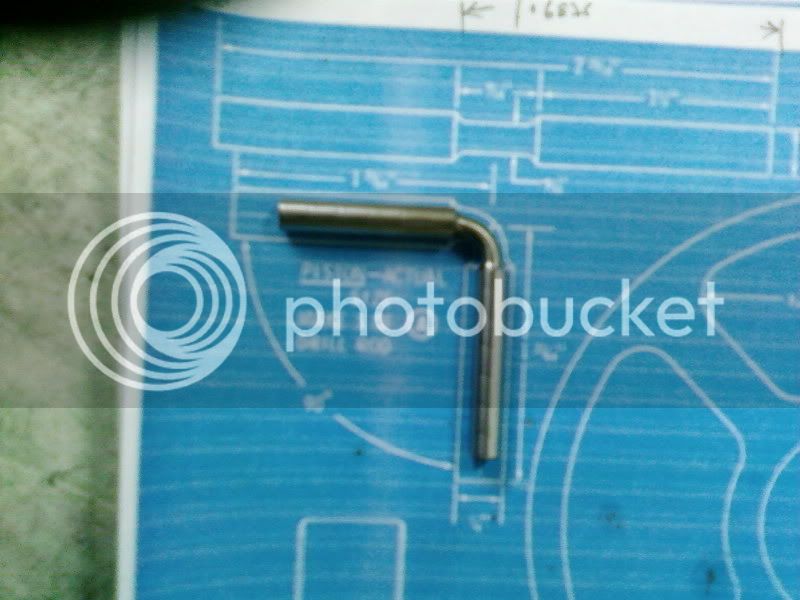
tomorrow I want to make a jig by cutting a 45 degree vee along two edges of a right angle block of aluminium
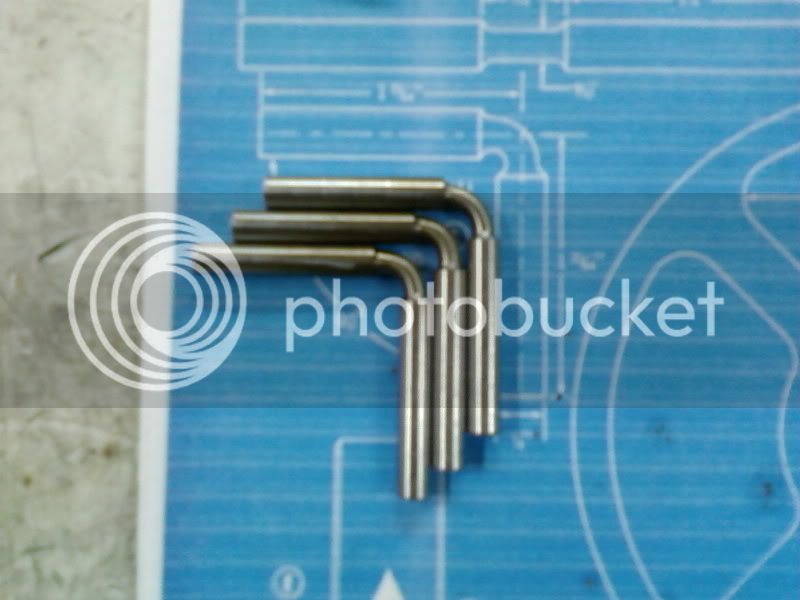
I plan to use the block by clamping one end o a piston in one vee heat up the middle of the piston bend it into the second vee and clamp in situ til cool and see if that gives me the required 90 degree angle on the piston
 
looking good, I see im not the only one with a dozen half finished projects.
-B-
I have a just barely started elbow engine as well thanks to you. ;D
 
Its looking great Andy, despite the small glitch with the one cylinder. I am looking forward to the final stages of construction and seeing it run.

Bill
 
wlindiii said:
Its looking great Andy, despite the small glitch with the one cylinder. I am looking forward to the final stages of construction and seeing it run.
Me and you both m8 and theres plenty enough bronze to get 3 cylinders (IF NEED BE) lol

Krown Kustoms said:
looking good, I see im not the only one with a dozen half finished projects.

I have a just barely started elbow engine as well thanks to you. ;D
I cant wait till my project list gets down to only half a dozen

Great stuff I trust you will be posting your progress too ;)

right here we go

the vice Base is done - just stopping for a munch and a coffee
000_0506.jpg


Now to start on the new cylinder ;)

ill be back with pics
 
Very nice vice Andy , It will be a handy addition to the workshop :bow: :bow:

Regards Rob

Good luck with the cylinder ;D
 
turned down OD to size, parted off, and faced off (wrapped in aluminium from a beer can)
000_0507.jpg


piloting the center hole
000_0508.jpg


main drill after pilot drilling
(pilot drill still visible on the compound slide behind the toolpost)

000_0509.jpg

holes already center drilled and piloted and main drilled

000_0510.jpg


Reamed the cylinders out

000_0511.jpg


And the pistons in the cylinders proving alignment with the holes of both cylinders is a match

000_0512.jpg
 
Ah...the beer can wrap...Robert (Foozer) put me onto that.
I'm interested in that vise/vice too. Keep the pics coming.
 
glad to see the second one came out ok, I would have made 4 or 5 before a good one.
-B-
 
Nice recovery Andy,

Getting everything lined up shows you've got everything square:- well done.

Stew
 
zeeprogrammer said:
I'm interested in that vise/vice too. Keep the pics coming.

just for you Zee ;)

000_0518.jpg


sorry no coins in this one lol
but you can use the caphead for scale its an M6
 
Are you using plans or one off?
it looks good, what are you using for finish I dont see any tooling marks.
-B-
 
Krown Kustoms said:
Are you using plans or one off?
it looks good, what are you using for finish I dont see any tooling marks.
-B-

Its a one of a kind m8, done from memory of ones I've seen before,
I am thinking of making a 2 and 1 inch version and also a real small one

The finish is with a fly cutter and a quick burst spray of wd40
and a very slow feed rate (by hand)
 
I made a vice as a joke one day, someone asked me if I could make him a small one for his dremmel mill.
I made one 1" x .5" It was tiny, it took about 6 hours to build, half way through I was wondering who the joke was on.
I ended up drilling a hole in the corner of it and making it into a keychain, one day I picked up my keys and it was gone only the ring was there. I will try to find a pic, after my last accidental file deletion I think I lost all of those pics.
-B-
 
big brother and little one born today, just needs a polish
I will not be using this one its just an ornament for mantle piece
tho I am toying with this idea of having a model engines flywheel powering a
model workshop complere with lathe mill grinder power saw tool chests etc etc
all driven via a belt like in 'Fred Dibnars' workshop
the new baby vice could be used in that senario

000_0526.jpg


tomorrow its making the jig time for the bending of the pistons
then Sunday its over to my m8s workshop and on his oxy acetylene
wish me luck
 
Nice job Andy, And - Good Luck !
Regards, Arnold
 
Hi Andy , very nice, great idea about building a steam powered workshop

Regards Rob
 
bending the pistons and making the jig
Milling in a slot with a ball nose cutter the same size as the pistons
SP_A0427.jpg

My m8 got hold of my phone and photographed me, here i am milling on his XYZ 4000 CNC machine
SP_A0428.jpg

MIlling out the corner of the jig
SP_A0429.jpg

First Piston in the jig and held in place in a vice ready for heating
SP_A0430.jpg

Heating up the piston ready for bending
SP_A0431.jpg

piston bent and clamped while it cooled
SP_A0432.jpg

the finished piston
SP_A0433.jpg

three finished pistons
SP_A0437.jpg


Sorry its been a while but ive been busy with a serious case of projectitus
Angle plate
2 plates welded together with webs (Thank You Rob)
milling the faces true
SP_A0434.jpg

SP_A0435.jpg

SP_A0436.jpg

QCTP
Made this a couple of days ago works a treat
SP_A0440.jpg

SP_A0441.jpg

tool holders
made these after the QCTP
SP_A0439.jpg

Gear holder (got sick of finding the right cog in the box, this way they are kept in order)
000_0583.jpg

cutting tool height set tool/guage
000_0584.jpg

tap wrench (copied from some one elses idea)
000_0585.jpg

mandrill handle
000_0586.jpg

tail stock tool tidy
000_0572.jpg

000_0568.jpg

 
Back
Top