Building the Economy engine

Home Model Engine Machinist Forum

Help Support Home Model Engine Machinist Forum:

This site may earn a commission from merchant affiliate links, including eBay, Amazon, and others.

Lawijt

Well-Known Member
Joined
Dec 17, 2012
Messages
269
Reaction score
79
Hello,

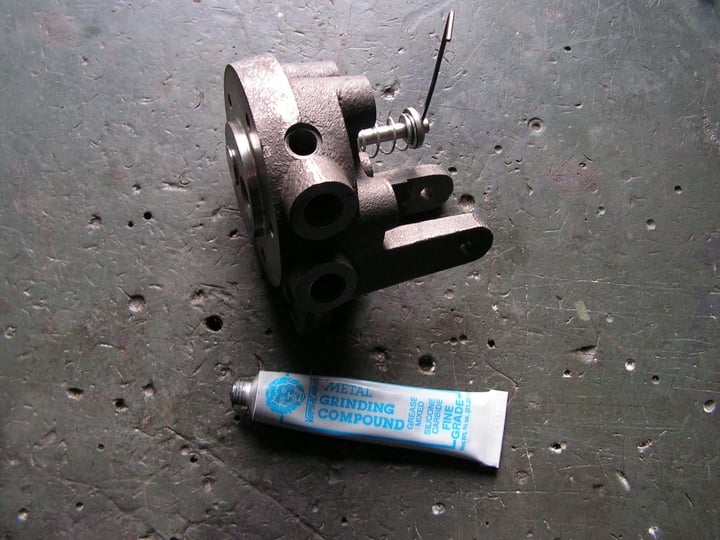
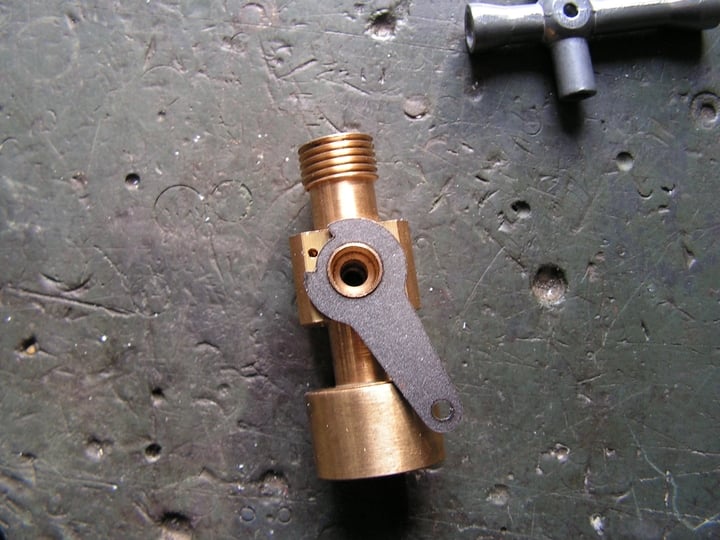
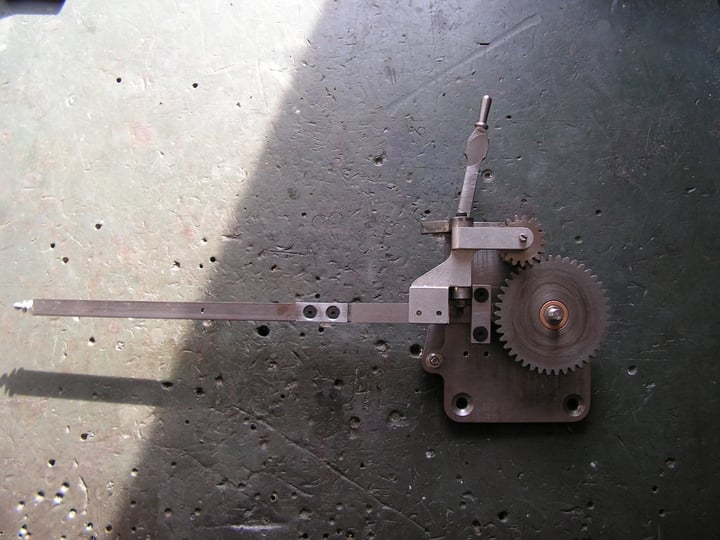
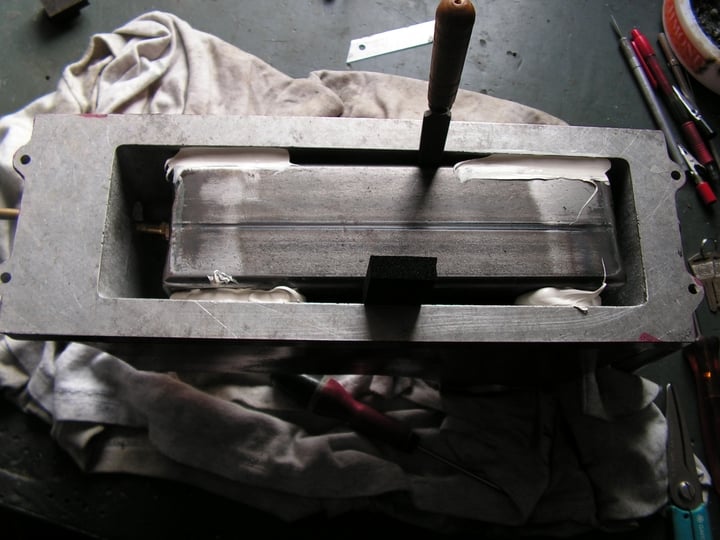
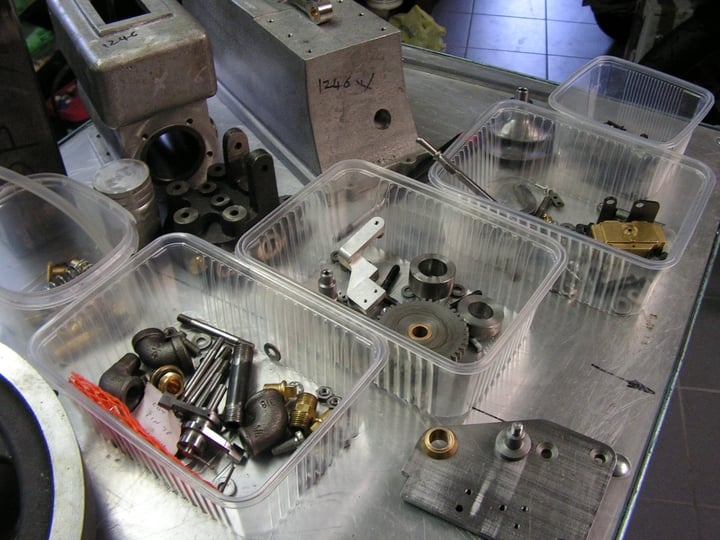
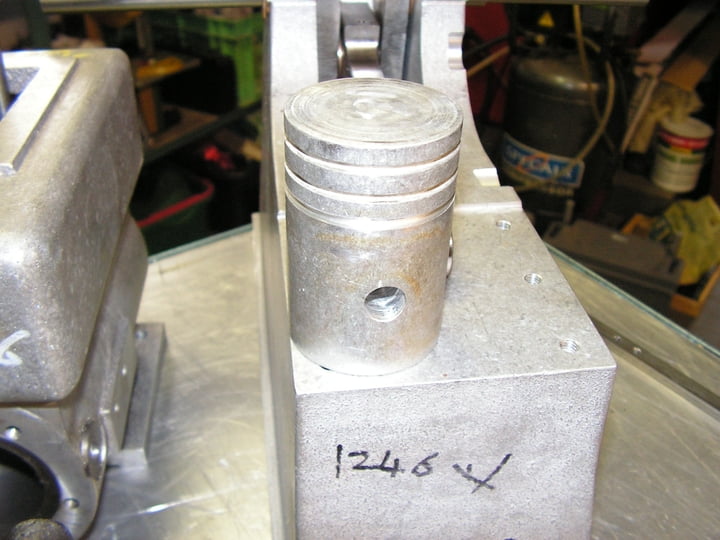
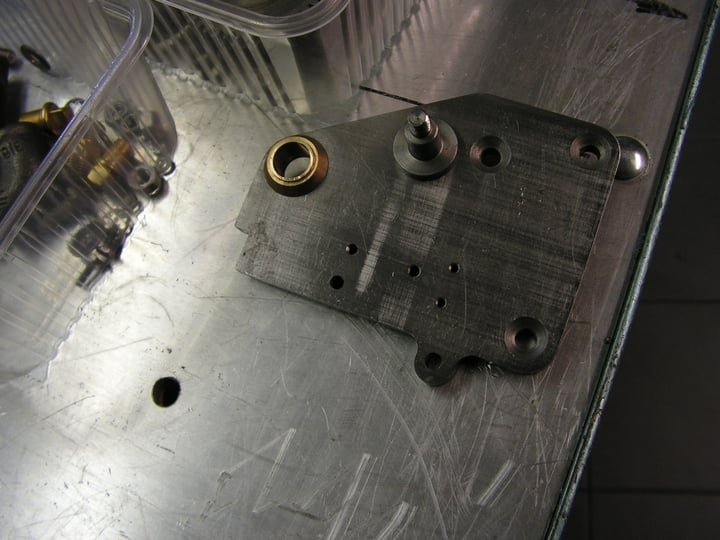
I am not such a good machinist , so I order a premachined kit by the "engineers emporium" from the ECONOMY hit & miss engine. The kit arrived in a very heavy box. After unpacking I see beautifull machined parts. All those parts where covered with something that stinks like heavy fuell. So I cleaned everything with aceton.
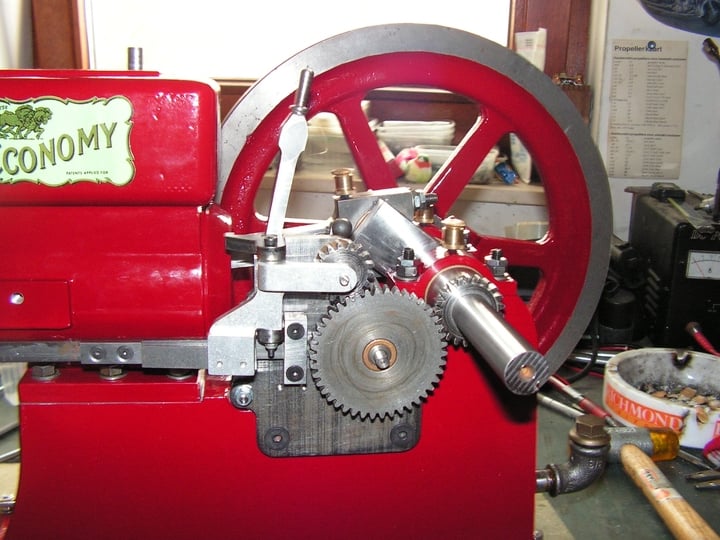
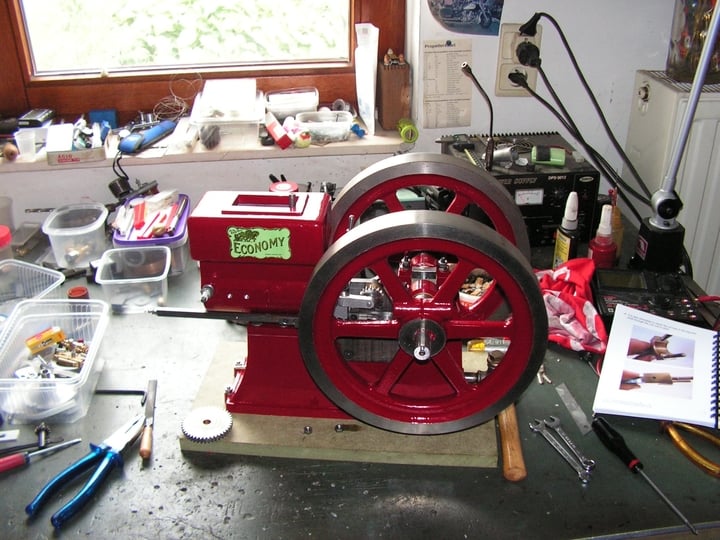
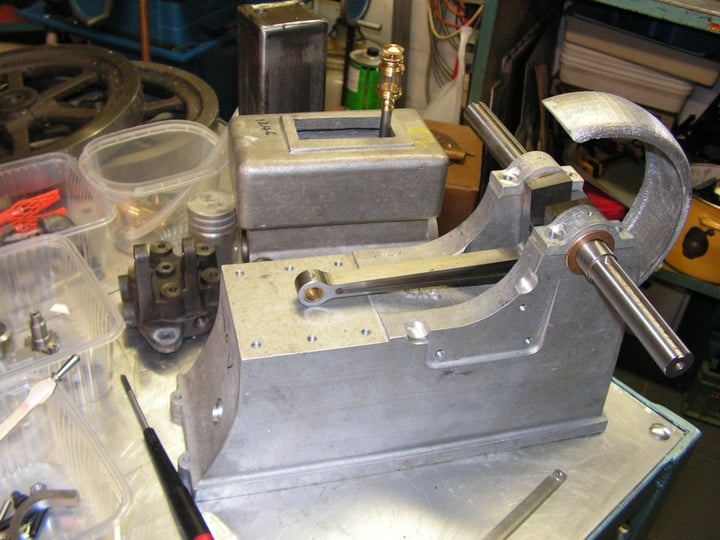
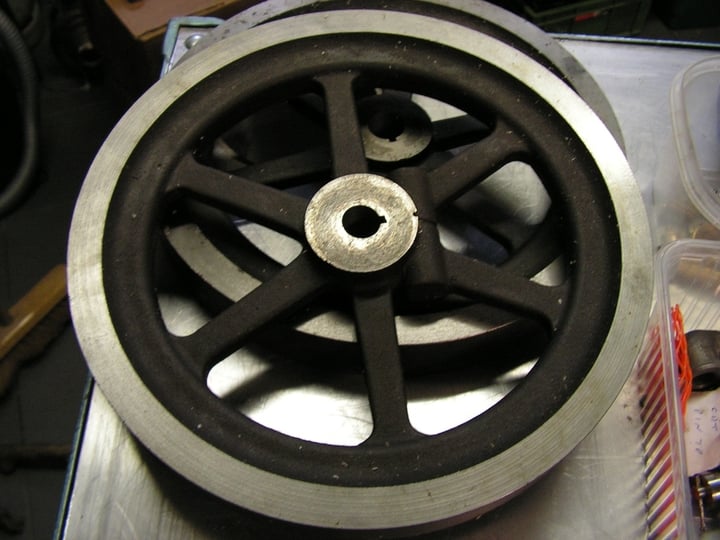
Here some pictures from the kit:

Foto550-FLJGET4Z.jpg


Foto550-MV7WBOLD.jpg


Foto550-SHE8EBJE.jpg


Foto550-M8KISE3T.jpg


Foto550-E78V8SAX.jpg


Foto550-GFAVATVK.jpg


Foto550-EM4MNLJ7.jpg


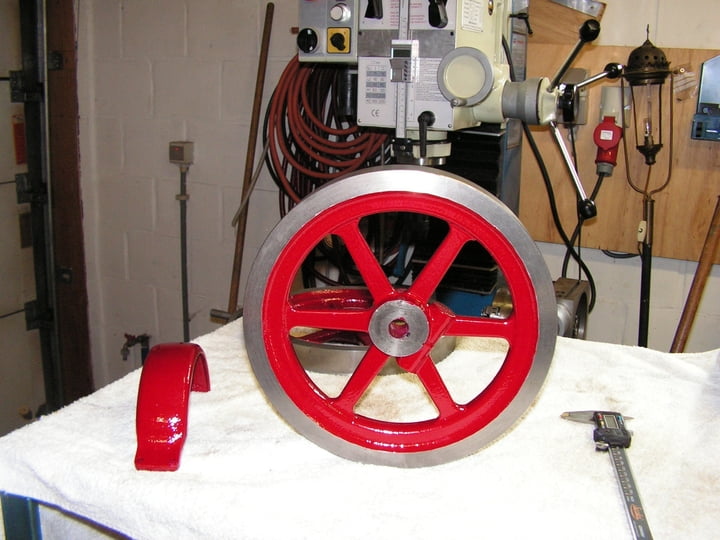
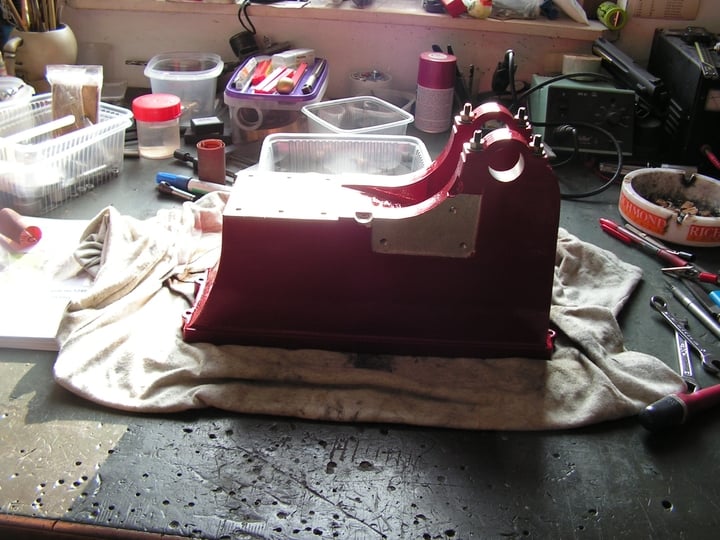
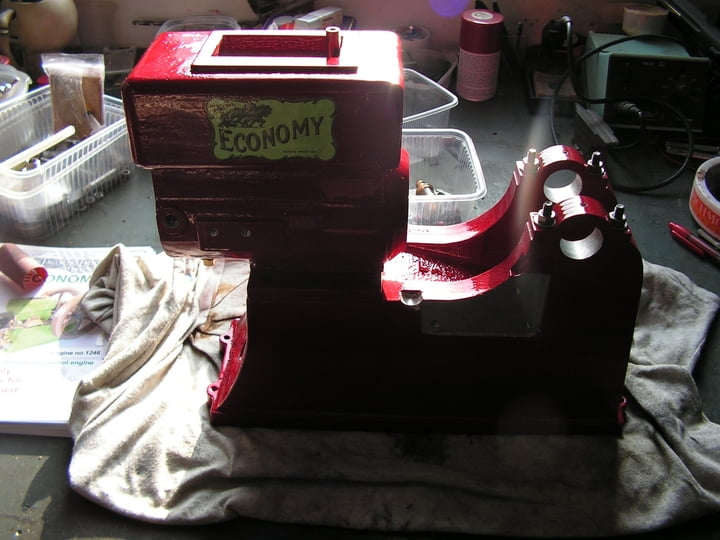
The pieces that have to be painted , I give it to a professionel painter. With the operation in my shoulder , I can not move my right arm , so that is why I do not the paint this time.

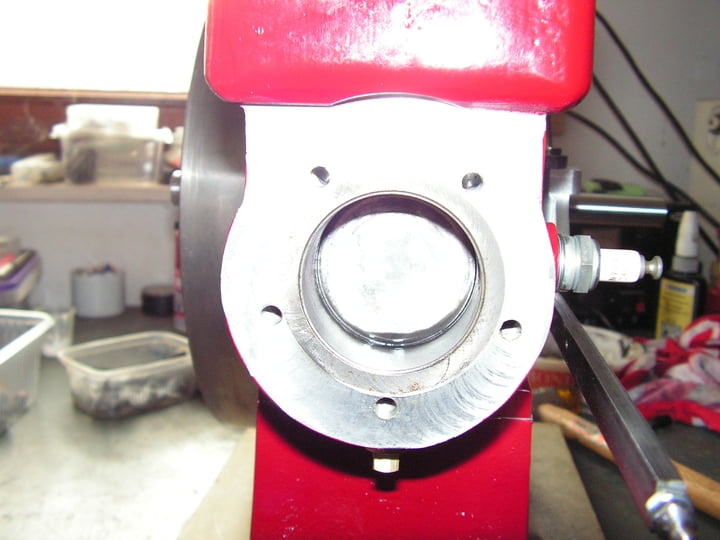
I can grind already the valves & I have coarse and fine paste here. But a question......How long I have to grind & how far I need to go. Also , how can I test that they are not leaking.
By my Little Wonder engine , the exhaust valve leaks a little bit.

Barry
 
Thanks Luc.
No , it isn't cheap , but very high quality.

Somebody a tip for lapping the valves??

Barry
 
Somebody a tip for lapping the valves??

some people use a small drill and lapping compound
at a very slow RPM

you can also buy the manual valve lapping attachement
 
Barry, is that the "mechanic's" kit or did you do all the machining?
 
This is the pre-machined kit.
Thanks , I find something out to lap the valves.
 
Lapping the valves was easy. I put the paste on the valve & mount it with a spring. Than I put a hex key in the hole & turn right-left. Sometimes turning the valve 180°.
After 1 hour I have a very nice grey ring. No leaks after blowing in the ports.

Foto550-O8IBEIQL.jpg


I build also the carburettor togheter. I need to finish it with some fine emery paper and goes very smooth now.

Foto550-U4HK8O8D.jpg


Also Already some building on the timing plate , but I wait for the painted pieces:

Foto550-USHBWMPP.jpg


So far for now.

But a question. The assembly book tells the the gap for the piston rings have to be 4 THOU..... What is that please?? I tried some translators , but it tells me nothing.
So how much is that in metric please??

Barry
 
Barry, this is a measurement of 0.004in. Or four thousandths of an inch. Most people shorten it when speaking to "thou" .
 
You put the ring in the bore use the top of the piston to make sure the ring is sitting square in the bore.
Then use feeler gauge to check the gap of the ends.
If the gap is too tight lightly file the end and recheck the gap.

4 thousandths is 0.1016 mm.
 
Thanks a lot guys. Now it is clear for me.
So if I take a feeler gauge from 0.10mm it will be ok??

Barry
 
Yep, a 0.10mm feeler gauge will be fine. It doesn't matter all that much if you go a little bigger than recommended on the ring gap, but don't go too much smaller or the ring ends may bind on each other when they heat up and expand.
 
I don't know the bore of this puppy but 4thou sound like a mile
standard is about 1.2 thou per inch
 
It worked good Gus. I did it manual & spend more than 2 hours. They are fine & no leaking.

Dear Luc , the diameter of the piston is 42mm. The gap was perfect 0.10mm. So I am very happy that I don't have too grind those. Always scared too breake those fragile piston rings.

Barry
 
So , here some pictures from the painted pieces. Sorry for the bad pics , but the sun is there & I have a old Minolta here.

Foto550-W8EBJYZU.jpg


Foto550-MU4KK3QA.jpg


Foto550-6WIMJXKB.jpg


And here the placement off the fuell tank:

Foto550-ZIWN7Y8R.jpg


Now waiting to dry the silicone & than I can work more.

Barry
 
A little bit more done. Lot of deburring , filing & sandpaper. But all ok for the moment. Now I have too wait , because they forgot to give the updates......
I hope you guys like the follow pictures:

Foto550-NVZEQTMQ.jpg


Foto550-VIWWRCLV.jpg


Foto550-STXU3OFR.jpg


Barry
 

Latest posts

Back
Top