A Ringbom Engine

Home Model Engine Machinist Forum

Help Support Home Model Engine Machinist Forum:

This site may earn a commission from merchant affiliate links, including eBay, Amazon, and others.

doc1955

Gone
Joined
Aug 26, 2009
Messages
1,261
Reaction score
164
Well I've decided to start my next build. It is a Ringbom Stirling engine that I modeled and drafted up.
I've decided to build 4 this time. One for me one for my father-in-law and the other 2 may be sold for some funds for our local Humane Society. I'm a bit of an animal person and they could always use some funds.
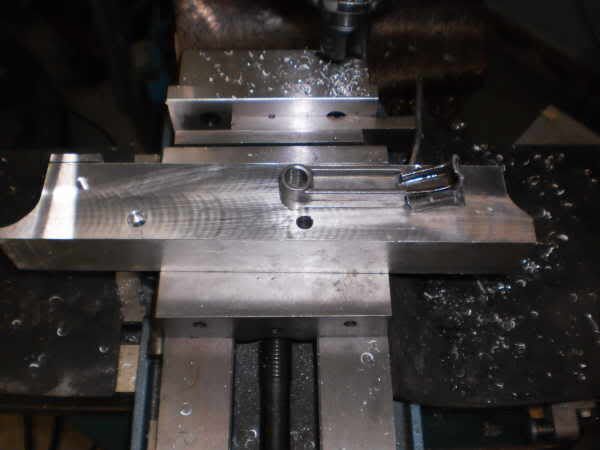
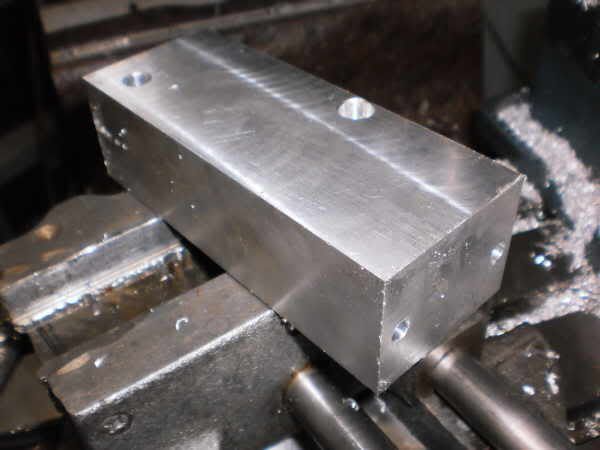
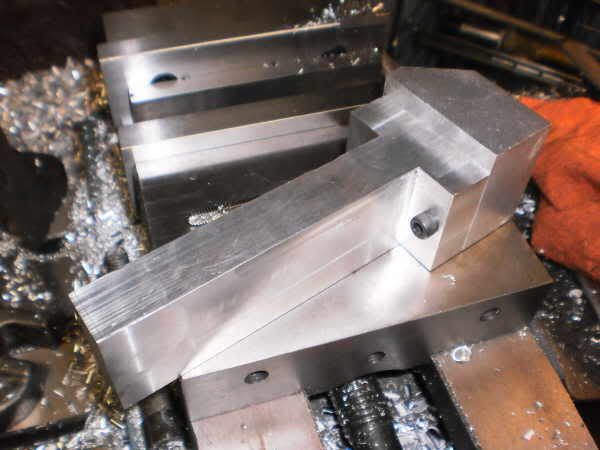
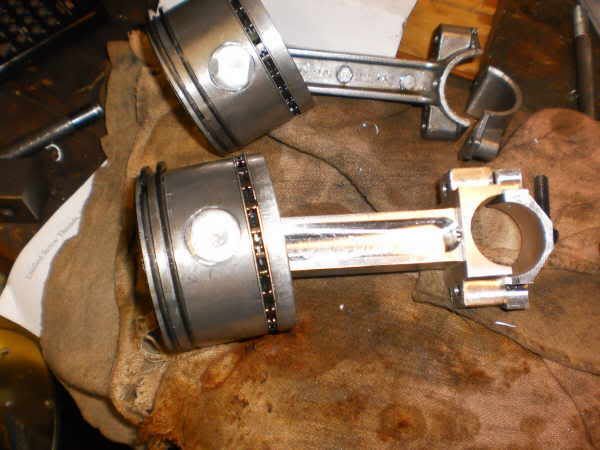
Anyway here is what I started with.
First thing to go is the flywheels. I started with some 1018 steel just slightly longer that 2 flywheels and a saw blade width.

PC080015.jpg

Turned hub and inside half of the under cut.

PC080017.jpg

Trepanned rest of material to finish undercut.
Did this on both ends.

PC080019.jpg

Both ends done ready to be cut into to pieces.

PC090020.jpg

Here they are separated and ready to turn back side.

PC110008.jpg

Loaded in a 5c collet and back side turned same process as used on front side.

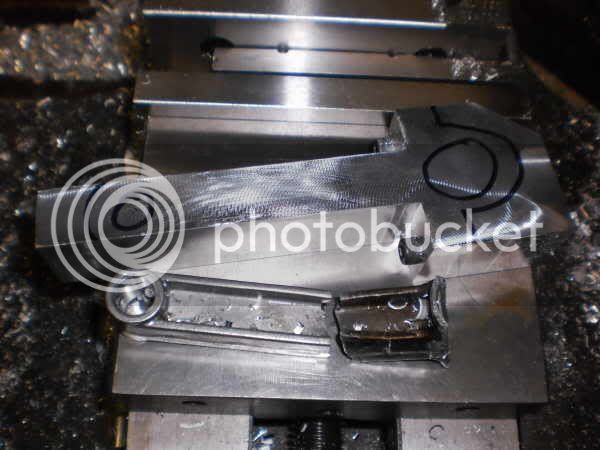
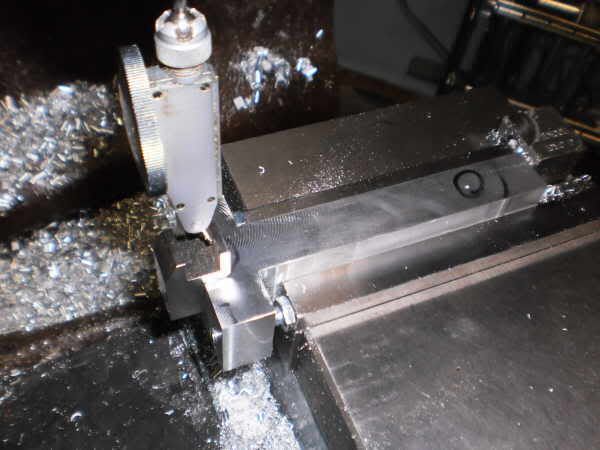
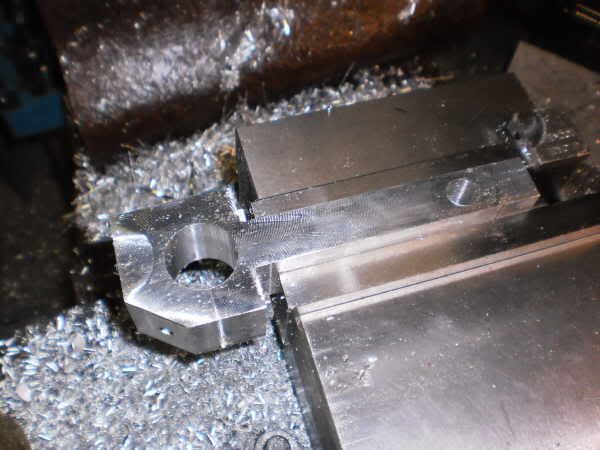
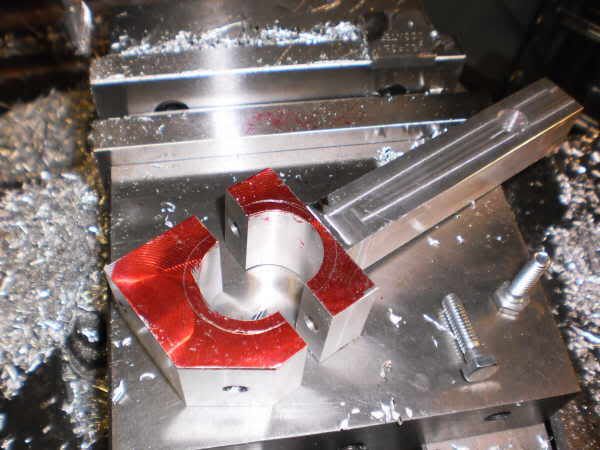
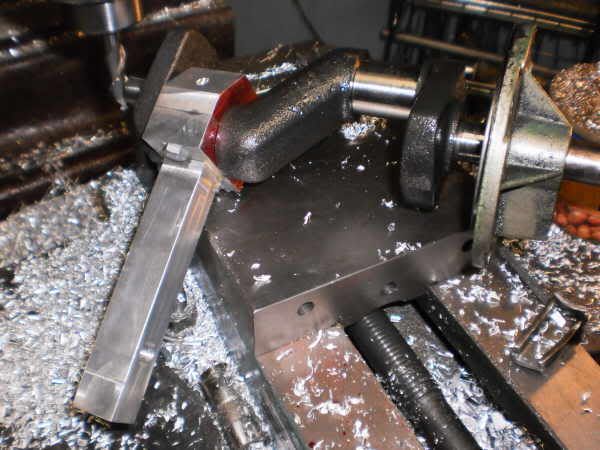
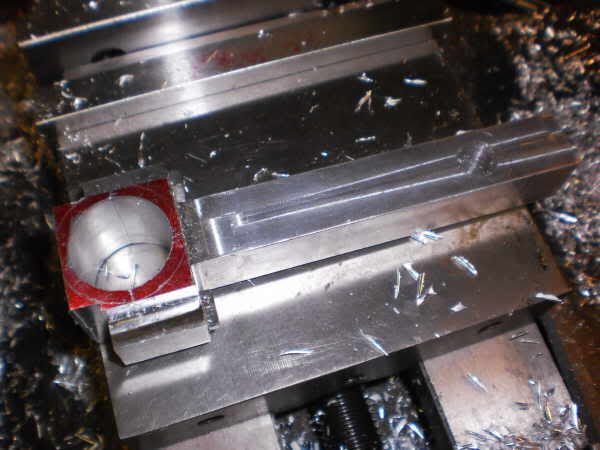
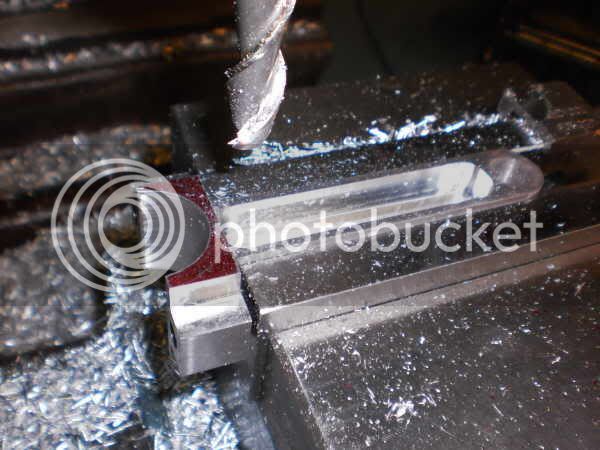
Next I'll build a little holding jig to help mill out the spokes they will be 5 spoke fly wheels.
Until then.

Tomorrow last day of real work then I hope to concentrate a little more on fun stuff.
I do still need to wrap up my father-in-laws fan I built for him for Christmas.
If I don't make any more posts before Christmas heres wishing everyone a Merry Christmas and hope santa brings you lots of goodies!


I will follow this project as I have an intrest in these engines I think their time is yet to come.

Paul
 
Got to work some out in the shop today worked the fly wheels'
rb1.jpg

Use a little jig to drill holes in all corners and used same jig for milling out the spokes.

rb100.jpg


rb103.jpg

Jig is mounted to a sub plate with a stripper bolt on center of flywheel hub. Allowing me to swing radius between spokes. I use 2 clamps to set stops at radial distance to swing between spokes.

rb102.jpg


rb101.jpg


rb104.jpg

Ready for deburing and mount back in lathe after cleanup and puy crank hole into hub.

rb105.jpg


Started turning up the cold cylinder. Bored the ID and single pointed threads and parted off
PC110005.jpg

PC110006.jpg


Turned up a mandrel to turn outside
PC110002.jpg


Turn shoulder on back side.
PC110003.jpg


Turn radius with a corner round.
PC110007.jpg

I'll be using the same mandrel to cut cooling fins next.


Looks like you are making some good progress Doc. Do you have an overall view of what the finished model will look like that you can show?

Bill
 
Here is a PDF of what it looks like as of today. It is a evolving model as to say continuing to change until completion. I seem to find things I want to change as I'm building so the design I would say isn't complete until I have declared the build completed.


View attachment Ringbom.12.27.2010.pdf
 
Thanks, that helps a lot.

Bill
 
You might want to think about putting a heat shield around the hot cap to deflect the rising heat away from the cold end.
 
Thanks Mav!
I was kind of planning some type of shield just haven't incorporated it into the design yet.
The pdf I posted as I said is a evolving process I usually make changes as I go along on a build. Some due to errors some due to what tools I have on hand and stock and some just due to my own ignorance. But as go along on the build the drawings will be changed. Been working the cold cylinders this morning needed to take a break and get some other stuff done. I'll post my progress this evening.
 
Well set up my spin fixture with mandrel and commence cutting cooling slots into cold cylinder.
rbcoldcy3.jpg


rbcoldcy1.jpg


rbcoldcy2.jpg

Started by taking .050 depth of cut.
rbcoldcy4.jpg


Ahhh one down only 3 to go!
rbcoldcy5.jpg

And only one mistake darn it any way I'll have to turn down the od to get rid of it its only about .01 deep.
rbcoldcy6.jpg


Ahh 2 down increased depth of cut to .100 per pass.
rbcoldcy7.jpg


Ahh slots done went full depth on last 2 worked fine 3/16 port hole next.
rbcoldcy9.jpg

rbcoldcy8.jpg


Ok hole done cylinders complete.
rbcoldcy10.jpg


Next I think I'll work on the displacer piston.


Well yesterday before I left the shop the compressor was making some strange noise.
This morning when it kicked in for the first time there was a loud snap and about 2 or 3 time a minuet it repeated. The best way I could describe this sound was it sounded like a mouse trap being set off only a lot louder so I shut it down. I pulled it apart and here is what I found.

compresser.jpg

Now thats a fine howdy doo!!!!

Looks like I'll be in the market for a new compressor pump.
A comparable Ingersoll Rand is about $900 if I had a backup I'd attempt making a new connecting rod (I may anyway)

Not what I had in plan but oh well.

 
Well I spent the afternoon machining up a c rod.
Here is my progress on that so far.
compressor2.jpg

Grabbed a piece of 7075 t6 to start.

compressor3.jpg

Drilled and 2 hole for rod cap.

compressor4.jpg

compressor5jpg.jpg


compressor6jpg.jpg

mount block for rod cap.

compressor7jpg.jpg

ready to bore holes.

compressor8jpg.jpg

removed rod cap block and find edge for hole center

compressor9.jpg

bored holes
compressor10.jpg


compressor11.jpg

jusy checking fit before proceeding

compressor12.jpg

remove some weight
compressor13.jpg


compressor14.jpg

ready assembled.


I forgot to purchase some oil for it when I was down looking at new compressors so didn't get it put back together. I'll get some oil in the morning and clean out the lower case and fingers crossed put thing back together and see if I did good or not keep your fingers crossed for me. I'm hoping it won't be to far out of balance with my cobbled out rod.

I was really hoping to work on the Rinboms but didn't get any thing done on them.
If things happen to not work out I do have a new unit picked out.
.
 
Well got things cleaned up and all the fragments from the old rod removed and put back together.
Let me tell you it took me almost as long getting the thing put back together then it did to make the new rod for it. I filled her up with some non-detergent oil and it was kind of a rush flipping the breaker and watching it run for the first time. But run she did she does have a little tremble now because of the weight difference between the rods but nothing to bad. I ran the air out and had it go through 3 cycles it worked fine. It sure is a good feeling watching it run with a rod I made in it.
Now back to build at hand.
 
Well I tweaked a few things in the model and drawing and added a heat shield thanks for reminding me Marv I had thought about it and spaced it out until the the reminder thanks again. Hope to get back on track tomorrow.
Sounds like we are in fore another 6 to 10 inches of snow staring tomorrow. Good day to spend inside in the shop.

[ame]http://www.youtube.com/watch?v=LLAGlpjbGN8[/ame]
 
doc1955 said:
Well got things cleaned up and all the fragments from the old rod removed and put back together.
Let me tell you it took me almost as long getting the thing put back together then it did to make the new rod for it. I filled her up with some non-detergent oil and it was kind of a rush flipping the breaker and watching it run for the first time. But run she did she does have a little tremble now because of the weight difference between the rods but nothing to bad. I ran the air out and had it go through 3 cycles it worked fine. It sure is a good feeling watching it run with a rod I made in it.
Now back to build at hand.

Doc thats Awesome Man! Thm:

Whatcha going to do with the $900 you saved? :big:

Matt
 
Thanks Matt !
I've been wanting to add an NC to my shop but that is still a ways away but eventually I'd like to have a small vertical NC machining center. ( I can dream can't I). So I hope this repair will last so I don't have to raid my shop funds.
 
Nice Job Doc! Keep those funds where they'll create the most fun!

A karma for you
Dave
 
Nice save on that con rod Doc...I hope it works out well and for a long time! Looking forward to more on the Ringbom too.

Bill
 
Thanks Bill!
I hope to work on the Ringbom to day it's blowin snow outside today so it is turning out to be a good day to stay in the shop. ;D ;D


Thanks Dave!
I am hoping to have a small NC machine by this fall thanks again for the Karma and the comment!


I'm sure there are a lot of us here that rather than buy something we can fix or make there is only one choice for us ;) I figured what would I be out if it doesn't work? Some time and a little material. But what do I gain whether it works or not. First if it works you get the pride of yes I did that. If it fails you gain a bit more knowledge and you still get the satisfaction of you tried anyway.

There are a lot of talented people on this board that totally leave me speechless with some of the work they do!
 
Hi Doc,

Trying to Fix something that is useless as is, is never time wasted. You have nothing to loose by trying...it will probably outlive all of us! :big:


Dave
 
Thanks Dave!

Well this morning between looking at the snow fly and smelling turkey in the oven I turned up the displacer pistons.

displacer1.jpg

started by drill ID under sized just riffed in and then finishing the OD

displacer2.jpg

Then applied masking tape to the OD to help in finishing the ID.

displacer3.jpg

Parts completed.

Next the caps back out to the shop need to wear of some of this turkey.
Even though it feels like nap time. :big: :big:
 
Back
Top