A "Poppin" for Christmas

Home Model Engine Machinist Forum

Help Support Home Model Engine Machinist Forum:

This site may earn a commission from merchant affiliate links, including eBay, Amazon, and others.

JLeatherman

Well-Known Member
Joined
Nov 12, 2012
Messages
93
Reaction score
44
Seems to be a popular theme, judging by some old threads, but I'm thinking of diving into my first engine project. I never finish anything if I don't set a deadline, so here's the deal. I want to make my Dad a model engine for Christmas.

This is my first post, so for a bit of background I am familiar with old engines having restored several hit-n-miss, and I am a hobby machinist. My uncle gave me a half-finished Little Brother kit that my grandfather started and then passed away, but I don't feel up to that challenge just yet and I don't want to mess up any irreplaceable castings. So I want to make something bar-stock based. Christmas is coming and I figure I owe my Dad something for all the free lessons I got as a kid on building things.

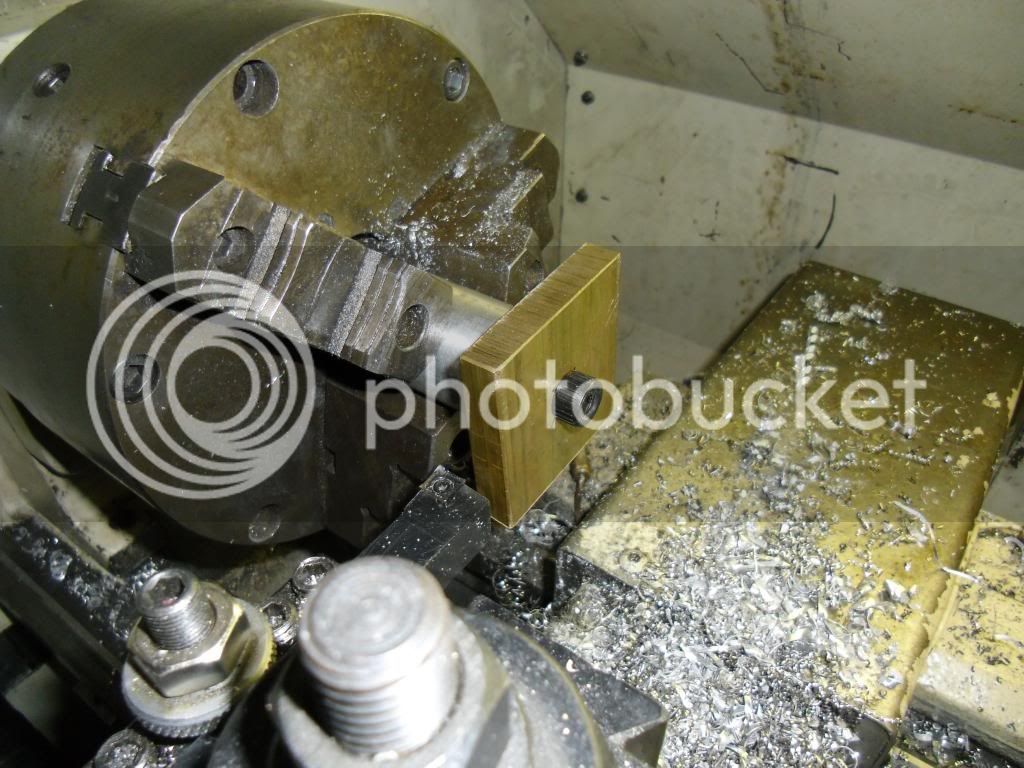
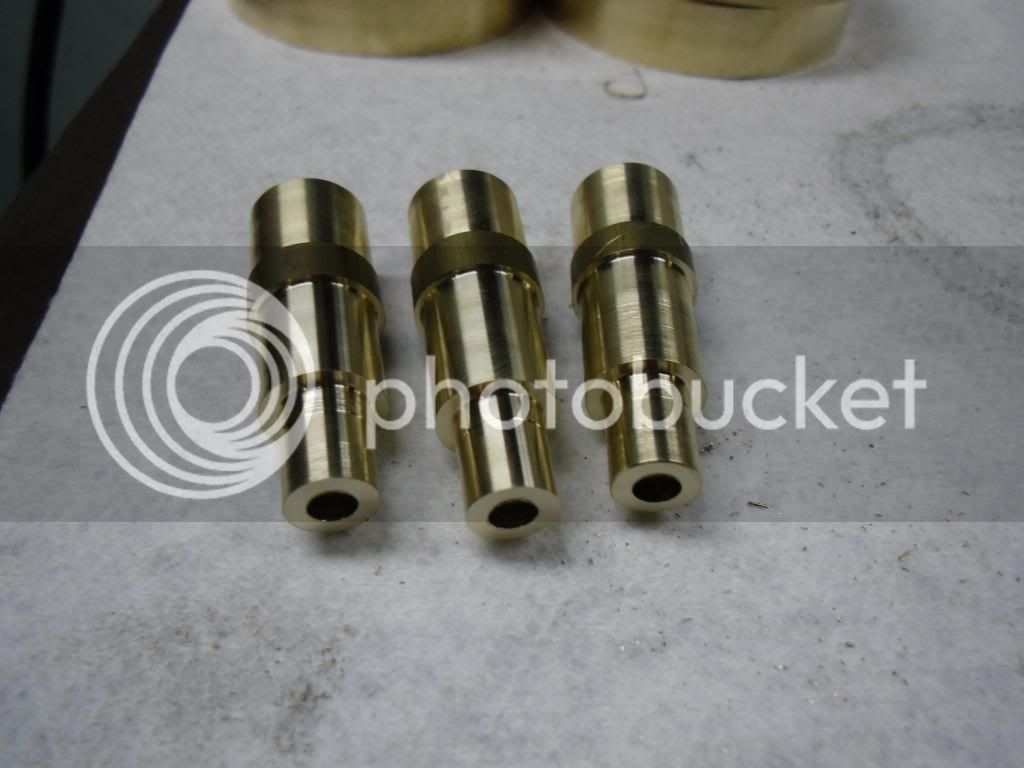
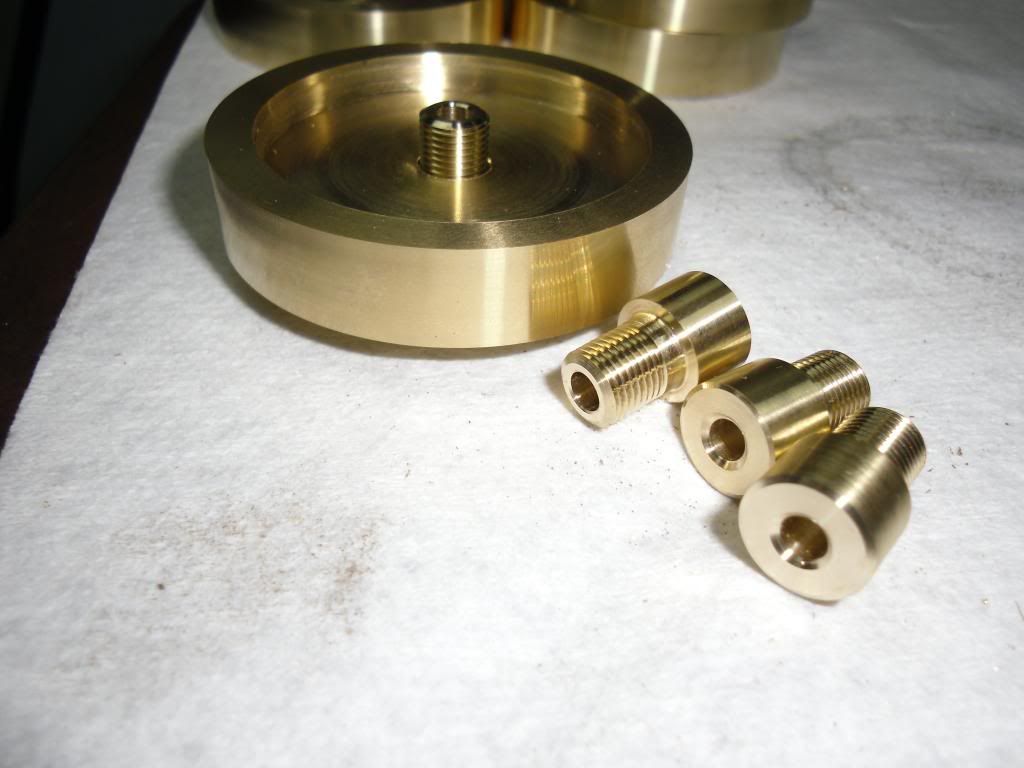
Also, I recently sold my South Bend 10L (Heavy 10) lathe and made room for a 14"x40" CNC. I need a project to cut my teeth on conversational CNC with (MachIII) without too much pressure, so this seems like a good idea (for now anyway). I've got about 6 weeks, although the last few will be pretty cold in my unheated shop, so I'd better get started.

The "Poppin" plans look pretty nice, although they're old and a bit tricky to read/grasp at first glance. I was also considering the 4-in-1 from J.E. Howell or the plans from Jans Ridders. Can anyone comment on these, and which one I might be better off tackling on a somewhat abbreviated timeframe? I really liked the simplicity of the engine from Jan Ridders, particularly the valve arrangement with no spring or cam. How thorough and understandable are the plans, and are they tricky to convert to SAE units (perhaps they are dual-dimensioned)?

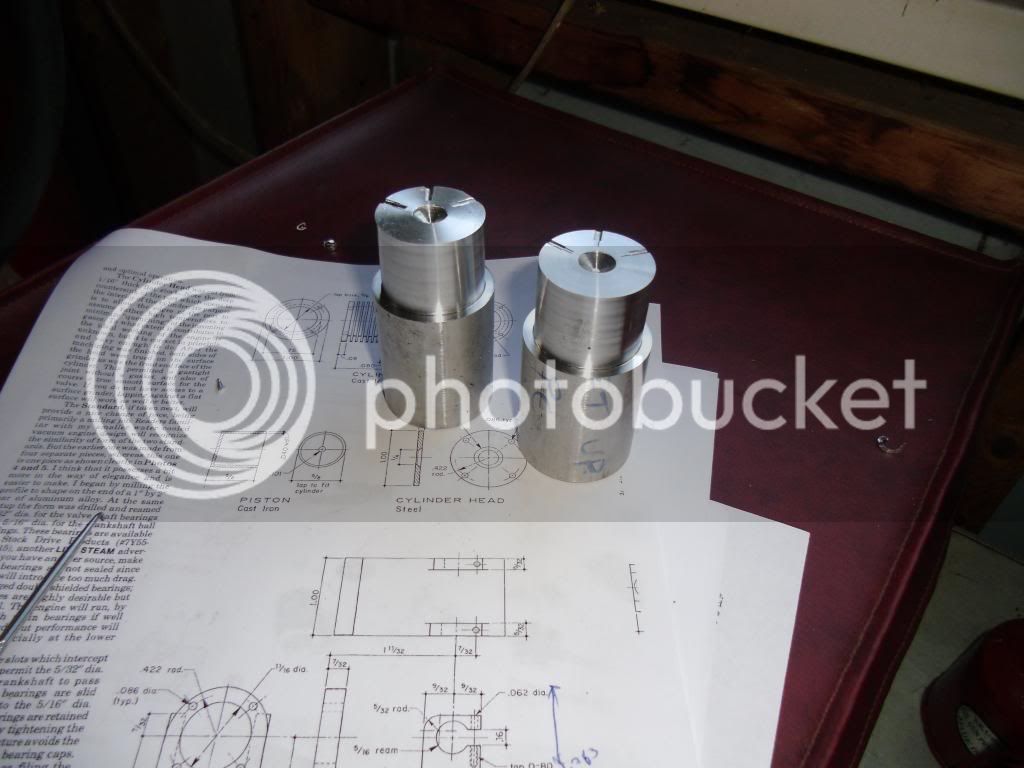
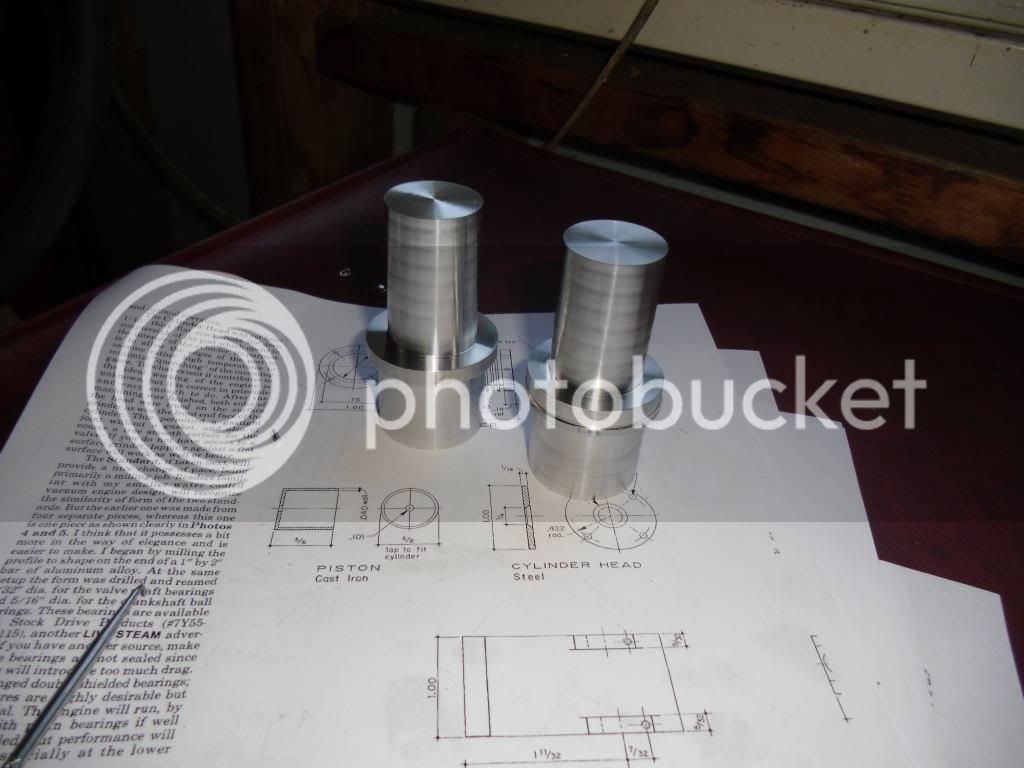
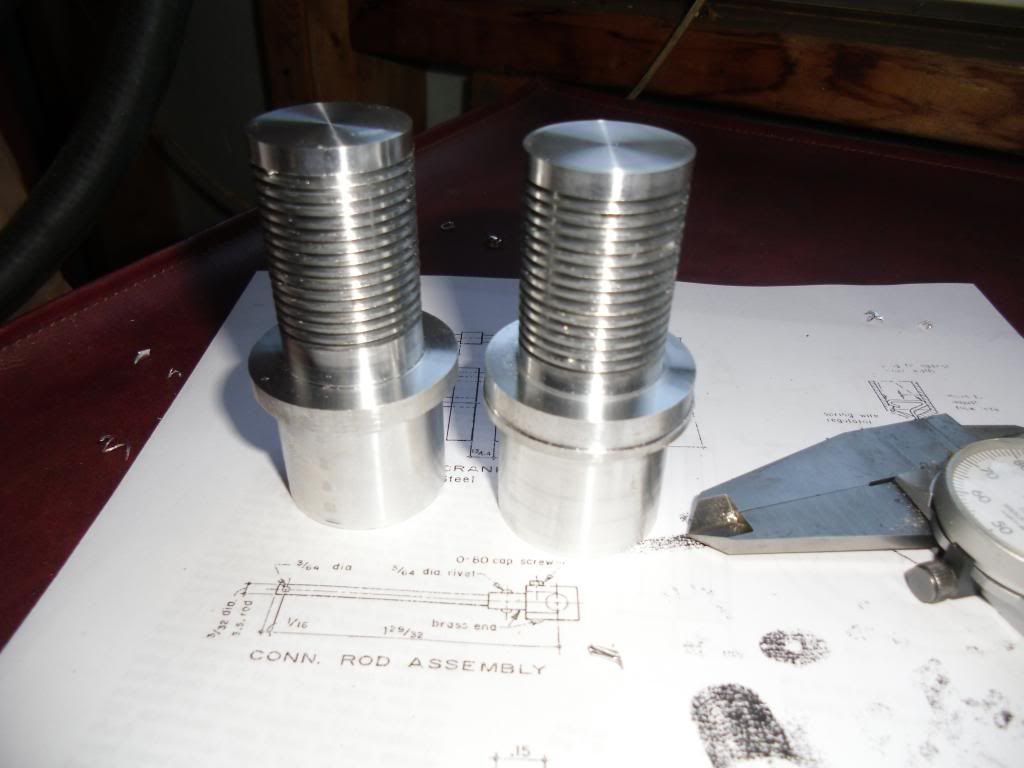
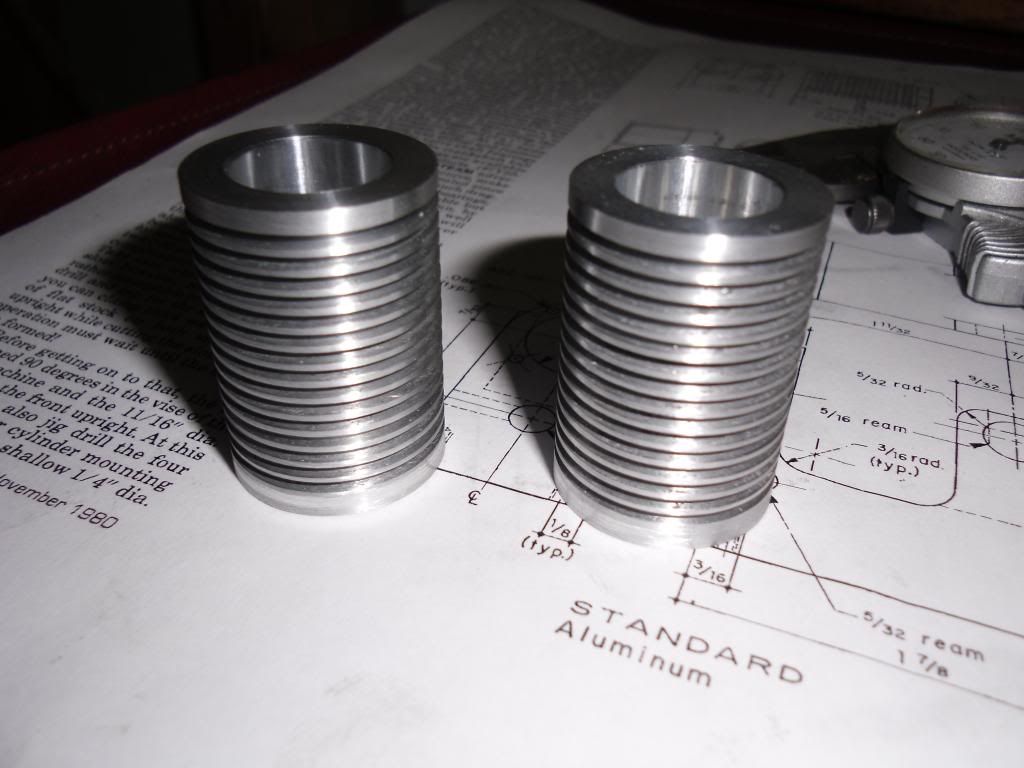
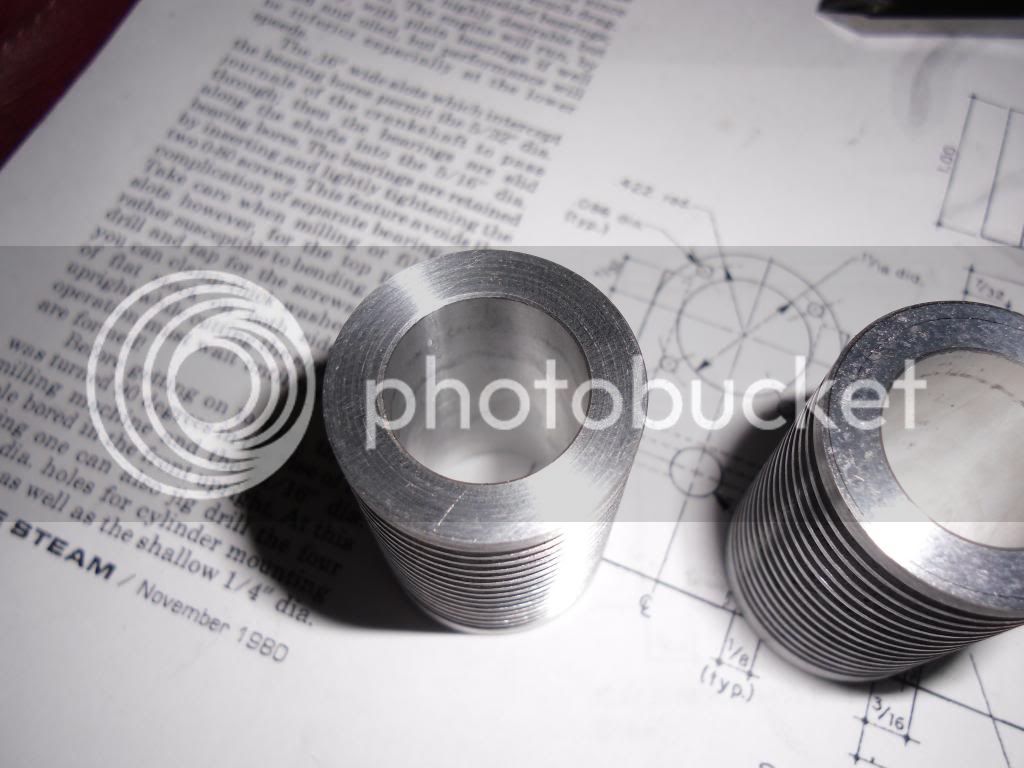
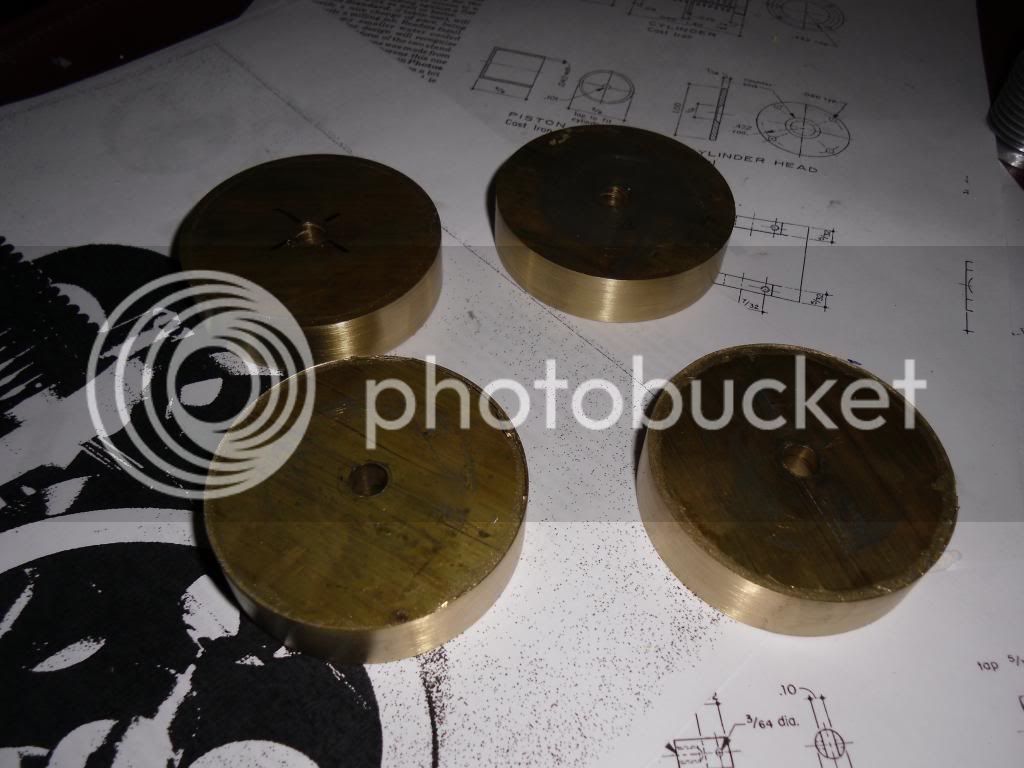
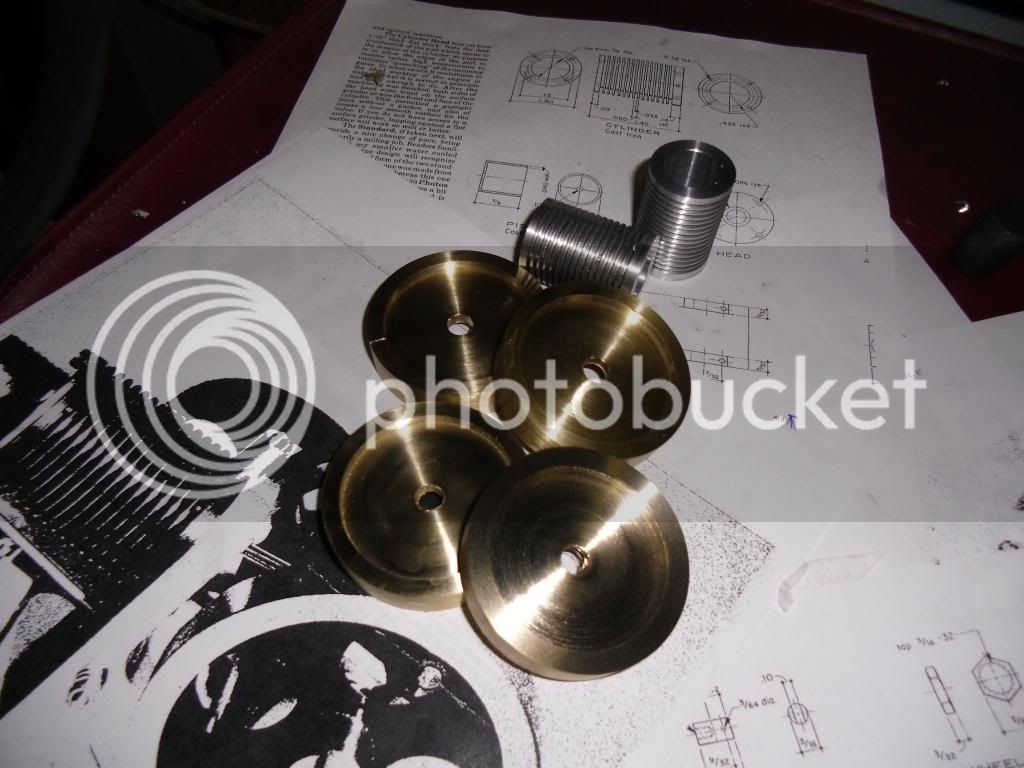
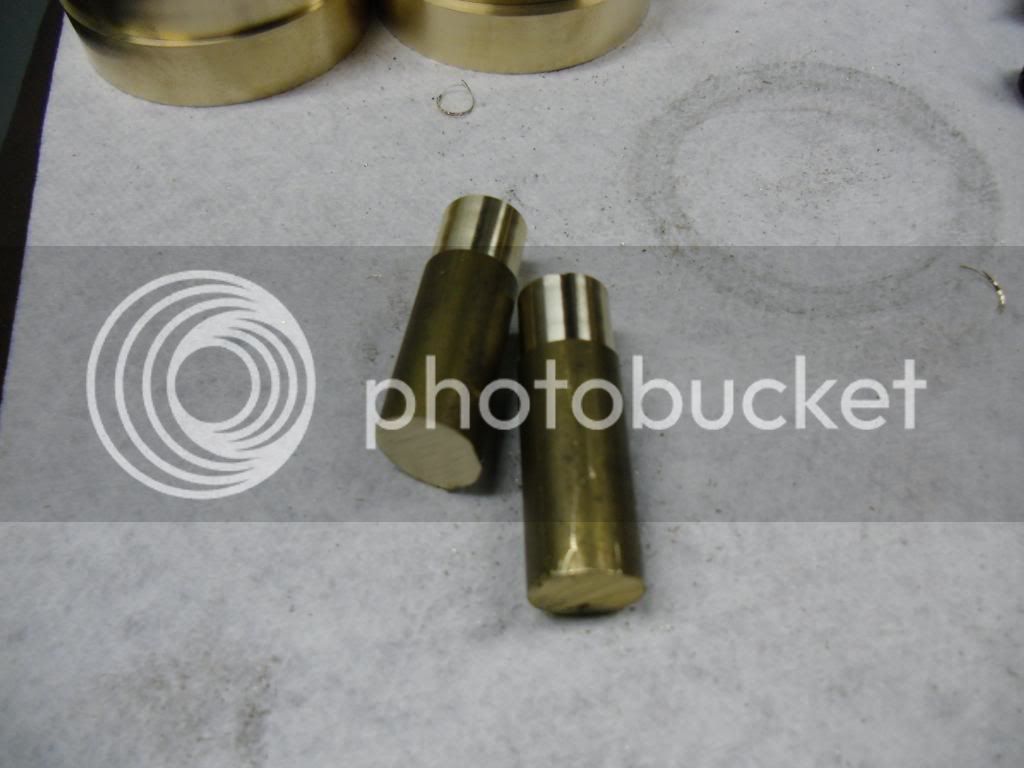
I am also planning on making two at once, so I can keep one for myself or so I'll have an extra of all the parts in case I mess something up late in the build.
 
Hi,

I would say that Jan Ridder's plans are very well drawn and thought out and quite easy to follow. The screws are metric but you shold have no problem using the equivalent or close unc stuff, the rest are easily converted to imperial.

Regards,

A.G
 
Hi Jleatherman. Welcome to the forum and good luck with whichever engine you decide on
 
I contacted Jan for a copy of his plans to review, and unfortunately his computer has been hacked and he says it will be 1-2 weeks before he'll be able to send me plans. That would put me thoroughly behind schedule and I would have to pick one of the other engines. Would another member be able to send me a copy of the plans? Please PM me and I can provide you my eMail.

Also, just kicking around ideas, I really like Jan's valve arrangement, but I prefer the more traditional appearance of the "poppin" engine. 2 flywheels and a one-piece crankcase. Has anyone ever considered modifying the poppin plans to run Jan's valve arrangement? It would save most of the headaches of the popping that I can see, namely the extremely small pieces in the valve train? Just a thought, Jan's valve might not work at the smaller scale of the poppin.
 
The Poppin is such a good design. I built mine a few years ago and I run it weekly. It is so nice to just light the wick, and off it goes. Originally I built mine with an aluminum piston in an aluminum cylinder. It ran OK, but needed a pre-warm on the cylinder. Recently I remade the piston in graphite and the improment is amazing. It will start cold and reves at 1000 to 1200 RPM if I let it. Usually I pull the flame back to run it aroung 500 RPM.


IronHorse
 
The Poppin is such a good design. I built mine a few years ago and I run it weekly. It is so nice to just light the wick, and off it goes. Originally I built mine with an aluminum piston in an aluminum cylinder. It ran OK, but needed a pre-warm on the cylinder. Recently I remade the piston in graphite and the improment is amazing. It will start cold and reves at 1000 to 1200 RPM if I let it. Usually I pull the flame back to run it aroung 500 RPM.


Hi IronHorse,

May I ask what grade of graphite did you use and how you obtained it? I have difficulty sourcing graphite in the UK from the normal suppliers, also
is there a more legible copy of plans for the Poppin engine anywhere, the copy that I found was not very clear.

Many thanks and regards,

A.G
 
OK, so based on my materials/tools on hand and my timeframe I'm going with the Poppin build. Many thanks to rleete for a copy of Jans' flame-licker plans, I do still intend to build one of those. I got a small start today. I had to make atleast a few chips for this to qualify as "under way". I started by tramming my mill and squaring the vise.

CIMG6001.jpg


Then I hunted around the scrap pile til I found some suitable material. I needed some 1" x 2" aluminum bar, but all I found was some 2" x 2" so I milled it down. Gave me a good chance to prove that I had set the mill up close to square.

CIMG6002.jpg


CIMG6003.jpg


CIMG6004.jpg


And that's about as far as I got. I only had an hour and a half to spend in the shop, so I'm glad I can at least say I have officially started. As a side note, 2 1/8" brass (for the flywheels) is prohibitively expensive for this project. I do however have some 2 1/2" steel round stock. I would think that it is a suitable replacement for flywheel material? I just wonder if it would start rusting too soon. If I can believe my notes it is "1144".

CIMG6005.jpg


And just for some amusement, this is why I'm doing this:

CIMG6006.jpg


My grandfather made this engine, along with quite a few others. I received this one when he passed away (I didn't let it get this dirty, it's how I received it and how I've left it). Unfortunately by the time I was old enough to visit his shop he was too old to do much anymore, but it's still a family tradition of a sort. A little crude compared to many of the engines built on this site, but I've seen the tools he had to work with and I know he had no real training as a machinist.
 
Here's to one lucky Dad. If this doesn't make him mist up I will be very surprised. Gifts like this are literally priceless.

Jim

PS Just make sure it comes back to you in the fullness of time.
 
AG.......I was lucky and scored some hi-grade graphite rod (1.125") from a friend of mine who has a EDM shop. He said it cost $100 a foot! but I think you can use a lower grade. I remember looking a few years ago on the net and I could buy standard grade for about $15 a foot
 
Hi IronHorse,

Thanks for the info, the only stuff that I can get at moment are some graphite rods that are used for stirring liquid metal in jewllery making or some graphite impregnared PTFE, 15% I believe. I dont know if these are at all suitable.

Regards,


A.G
 
I assume you're talking about the graphite rods available on Amazon? I hope they are suitable, because I ordered a .625" diameter rod from them for this project. It should be delivered any day now, and I'll see if it is machinable and smooth/strong enough to hold up as a piston.
 
Hey leatherman,

One thing I have learned in this hobby is there are some people whose only interest is in getting the engine to run and that tickles them pink. Others like to spend a lot of time doing bling and making it pretty (in addition to making it run). I suspect your grandfather was the first type and found "making them pretty" to be boring when he had so many more engines to build. There is nothing wrong with that. There is a museum not far from here with many many engines built by one man and he never spent time doing bling or making them pretty. Instead he gave us maybe a hundred examples of different types of engines to enjoy.

Good luck with your build.

Pat
 
I've used the stirring rod graphite in my flamelicker and it machined well, is very smooth and holds threads even when quite a bit more than operating force is put on them. I haven't used any other grades so I don't know how they compare, but these ones worked for me.
 
Gotta love holiday weekends. I made a ton of progress today on the Poppin. Last weekend I started work on the "standards". Unfortunately part way through I discovered I don't have all the reamers I need. I got the outline of both roughed out (one at each end of the same bar of aluminum).

CIMG6010.jpg


I didn't want to disturb the mill setup so I started in on the lathe parts. First up is the cylinders. My initial thought was to make them at the same time, but when I tried parting them off I didn't support the end and they caught and bent :wall:. Enter Plan B. I picked up a dozen or more 7075 aluminum drops around a shop I used to work at (among many other scraps of useful material). I chucked them up and turned a smooth spud to grasp them by on one end.

CIMG6013.jpg


Then I flipped them around and turned the other end to 1" for the cylinders.

CIMG6014.jpg


I had to grind a tool for the .050" wide grooves, and then I machined the grooves in both cylinders.

CIMG6016.jpg


CIMG6017.jpg


Then they were bored to 9/16" while still attached to the spud, parted off, and finish bored to .630".

CIMG6018.jpg


CIMG6019.jpg


They're bored to .630" because the "5/8" graphite rod I bought turned out to be 16mm (.629") and since the surface is quite smooth already I decided to bore the cylinders to fit the graphite and not machine the OD of the graphite at all. I made a little test piston and it works quite well. With my thumb over one end of the cylinder it takes it nearly a full minute to descend.
 
I planned to make the flywheels out of a piece of 1144 steel I had, because brass is prohibitively expensive. Unfortunately the 1144 proved to be way too difficult to work with. I couldn't even get it cut into sections with my portaband.

Fortunately I came across a piece of 2.5" x 1/2" brass bar in my scrap pile. I cut it into 2.5" x 2.5" squares and chucked them up in the 4-jaw to bore a 1/4" hole in the middle.

CIMG6020.jpg


Then I made a little arbor to bolt the squares to and turn them round.

CIMG6021.jpg


CIMG6022.jpg


CIMG6023.jpg


Once I had blanks I turned the offset into each side and reamed them to 5/16". Not a bad day's work.

CIMG6025.jpg
 
All I managed to get done the rest of the weekend was the flywheel hubs. I cut some slugs of random 1/2" brass rod I had laying around. It was too hard to be 360 but it didn't machine too badly.

CIMG6029.jpg


Then I turned the profile of each and bored/reamed it. Note that I turned a .005" relief for the area that will be threaded as well.

CIMG6032.jpg


And here they are threaded, de-burred, and chamfered.

CIMG6035.jpg


I'll tap them for the setscrew once my mill is open again.
 
Yup I think I will follow this build through 'coz I have started on the barrels for the poppin then I decided to pull my mill to bits and add a spacer to the column so I can mill bigger bits and do the usual maintainence things, so I should be back on track in about 2 weeks, God willing
cheers
Gabby
 
Gabby, it's funny but to tackle this (and presumably future builds) I've had to buy things to make smaller parts. Smaller end-mills, smaller reamers, collets to grip material under 1/4", etc. All I've done til now is full size parts for my motorcycles and gas engines and such.
 
Back
Top