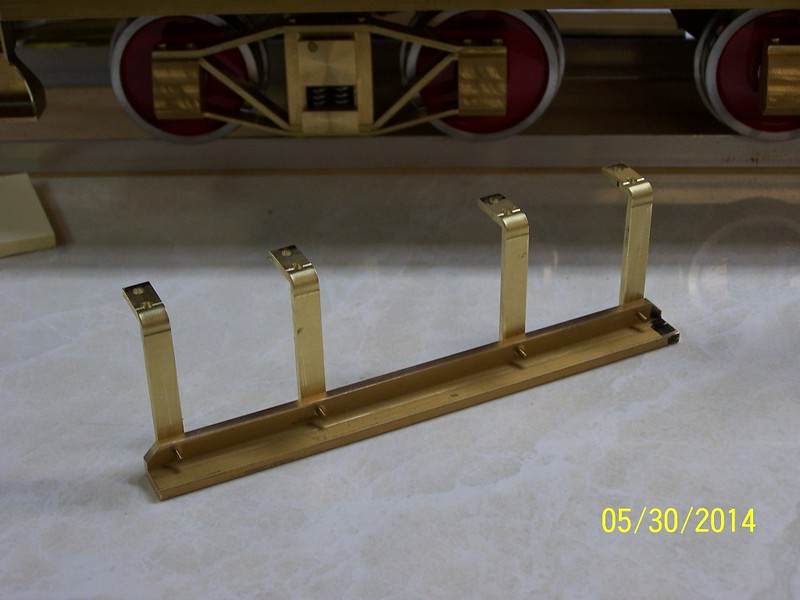
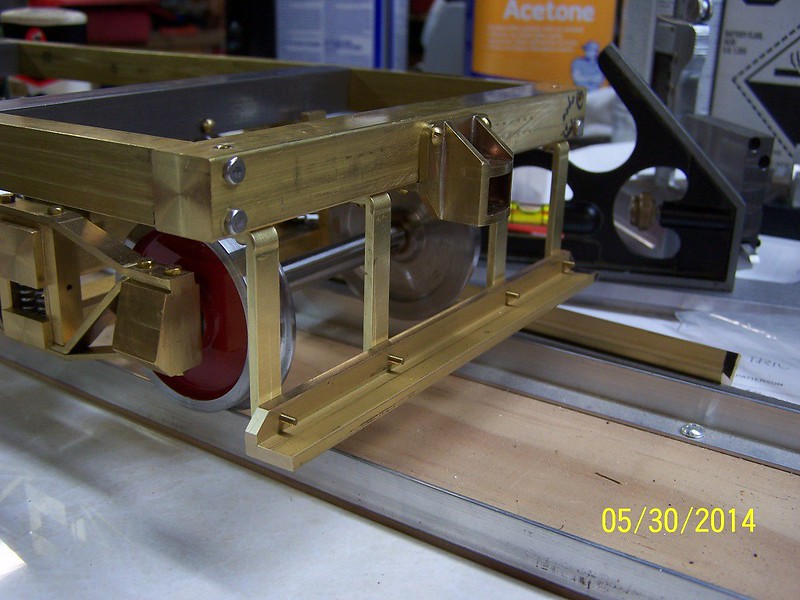
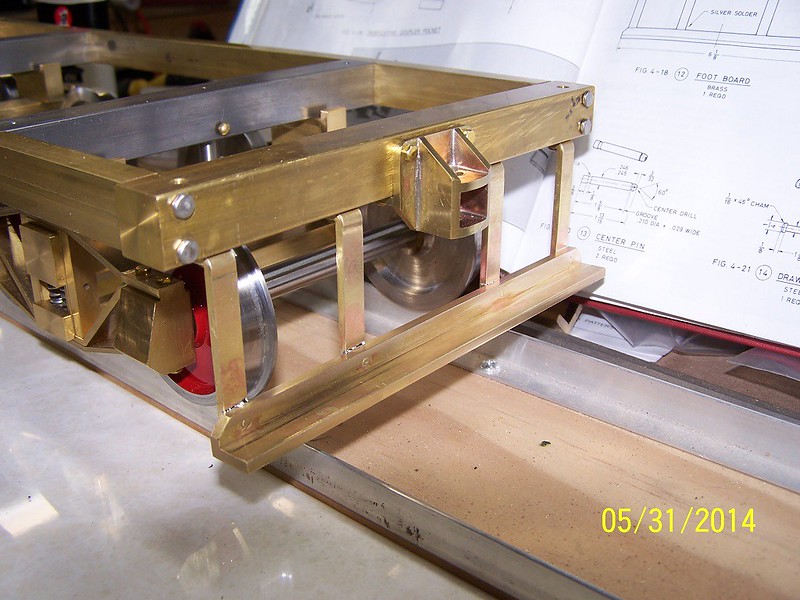
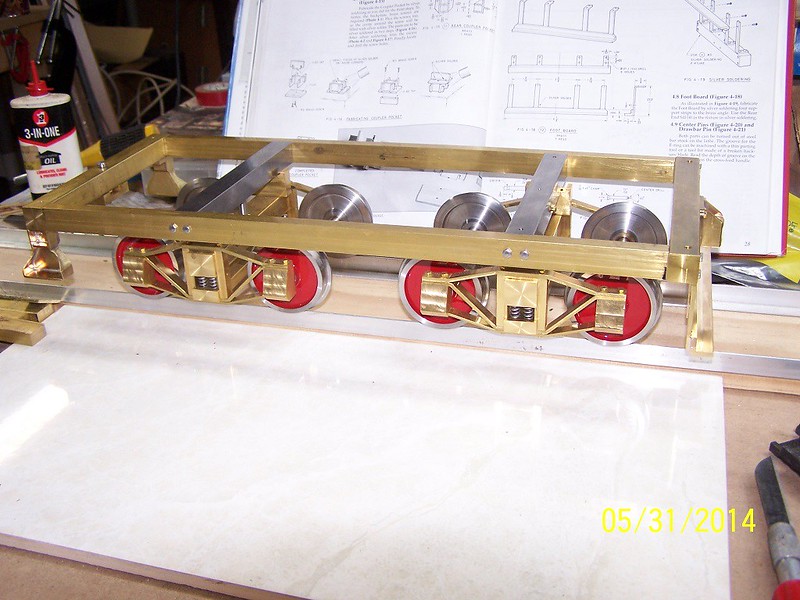
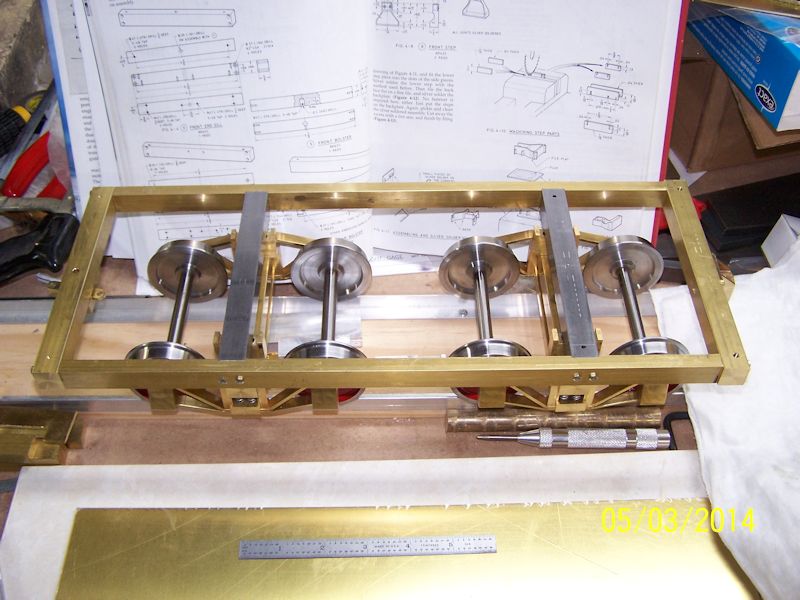
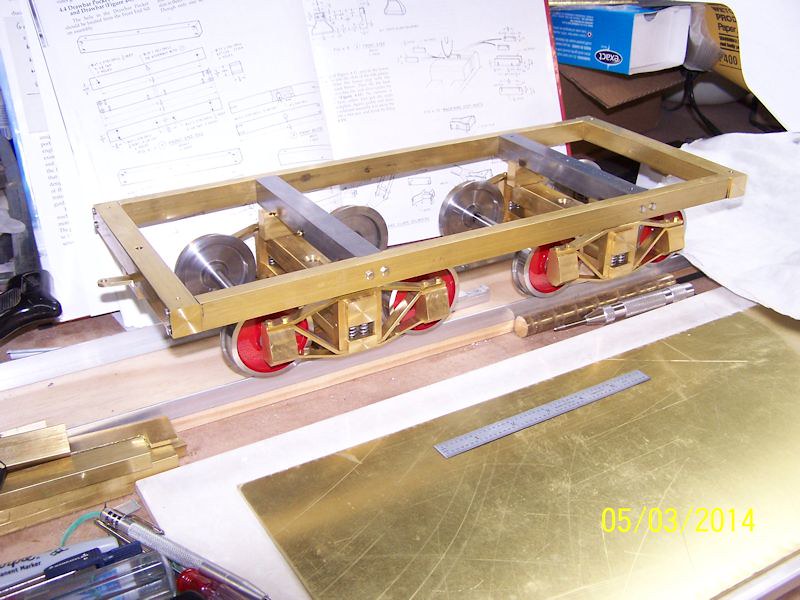
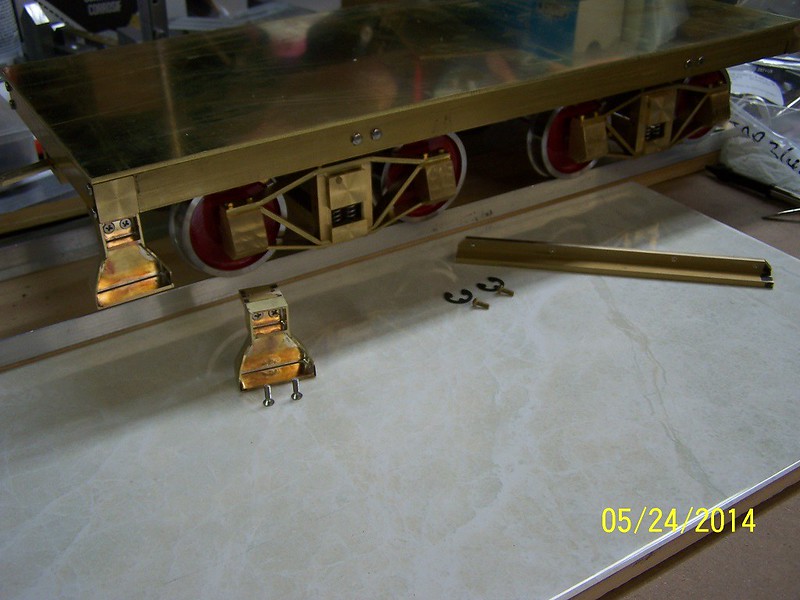
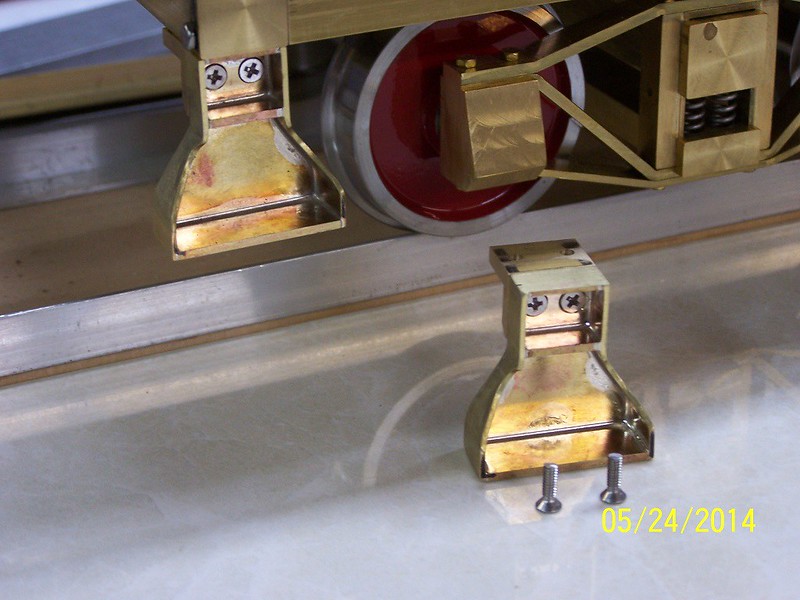
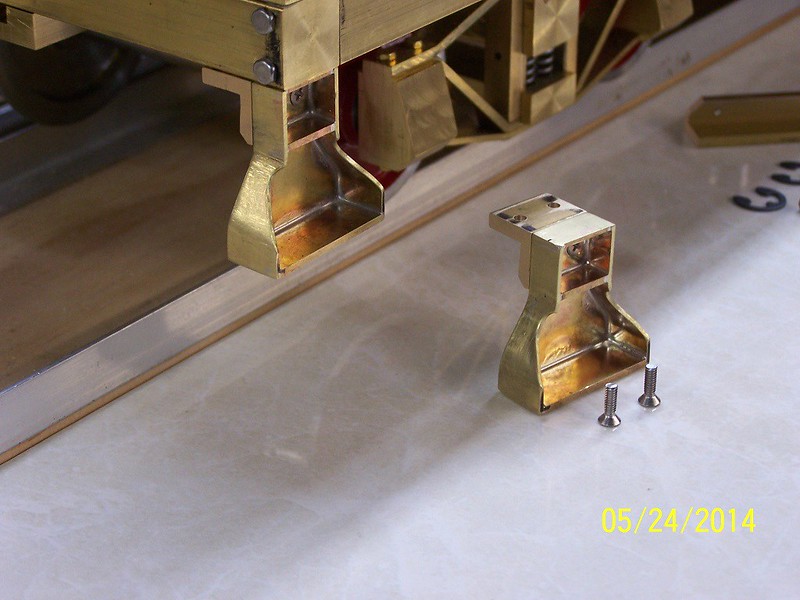
Todd Everything really looks great . I just now read your question ,I am almost done with my A3 .I build it in G guage . I am also polishing everything and putting a clear coat on it .The frame and cab walls will be black also the tender frame . Again looks GREAT . Dale


")