1/20th Scale Burrell

Home Model Engine Machinist Forum

Help Support Home Model Engine Machinist Forum:

This site may earn a commission from merchant affiliate links, including eBay, Amazon, and others.
Ferric chloride is a widely used and thoroughly understood industrial process. Very little needs to be re-invented.
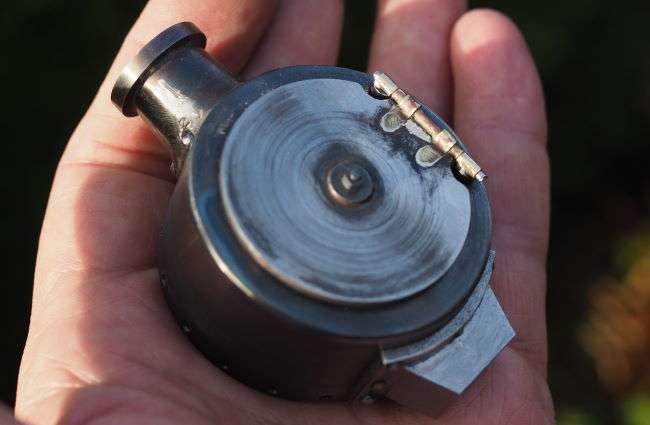
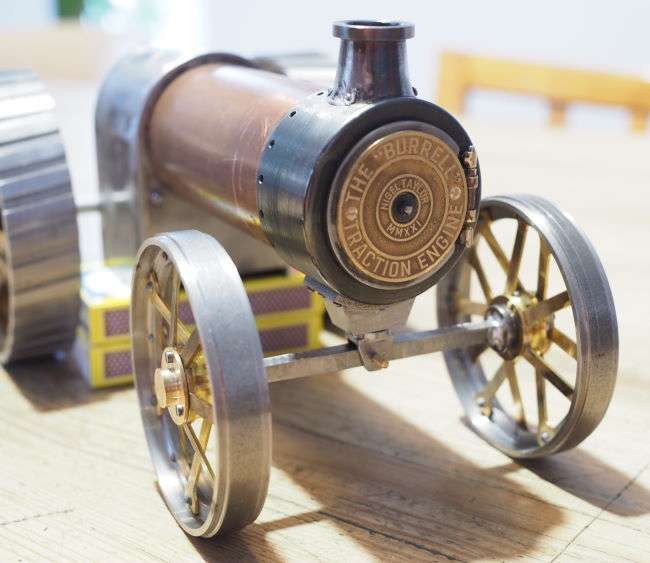
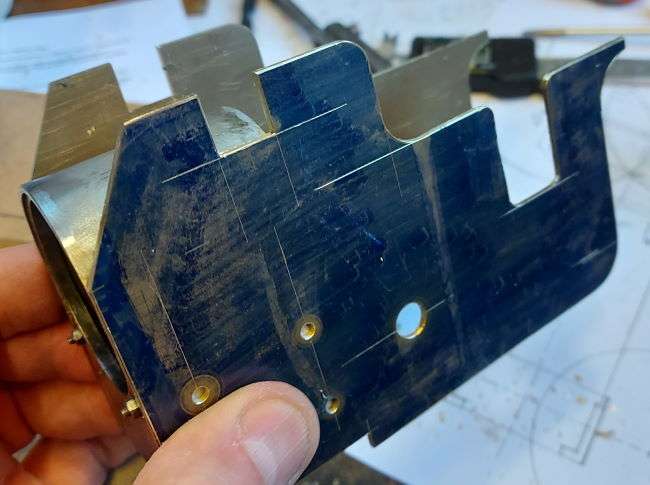
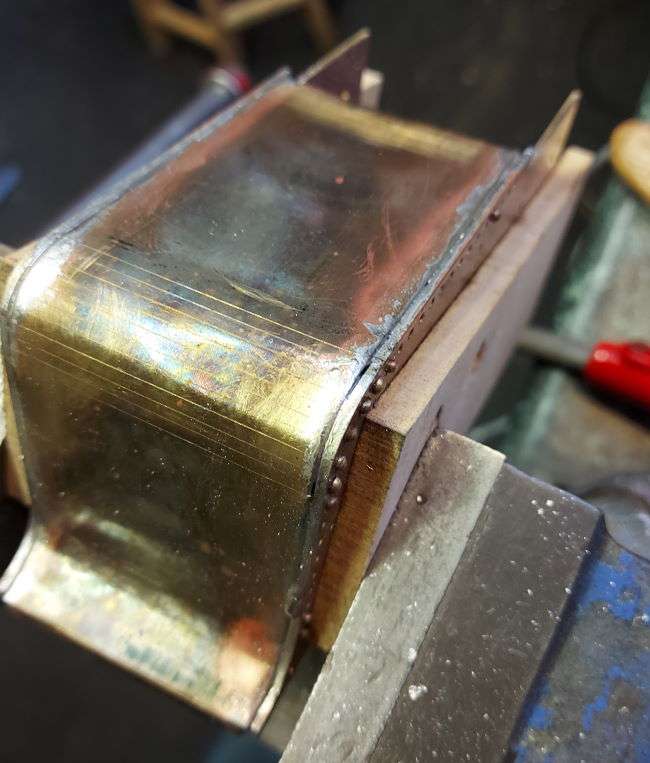
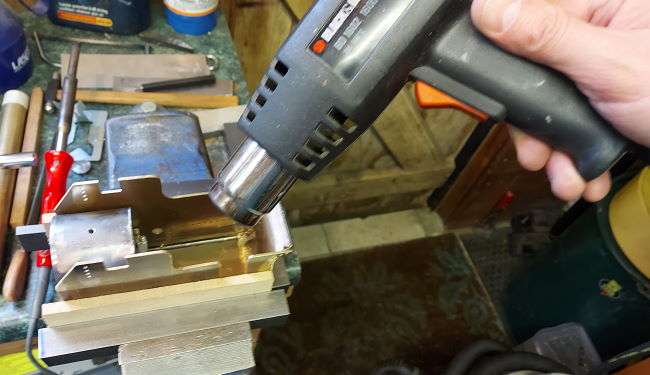
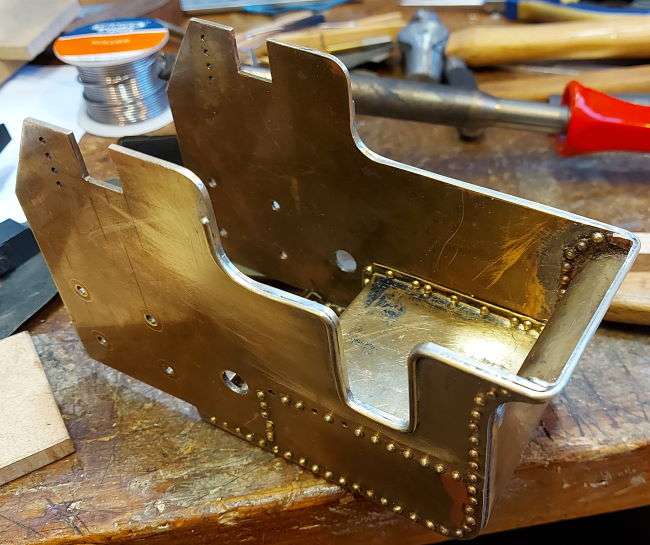
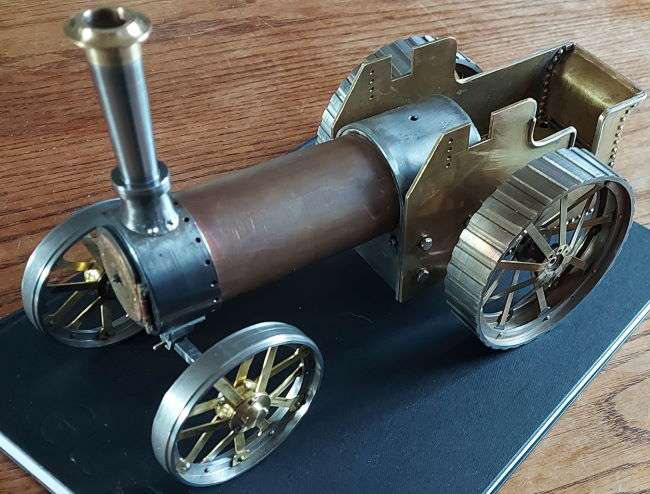
We used a ferric chloride spray etching system to produce deep- and through-etched clock parts in brass and tool steel. Working on a small industrial scale we used Kodak KPR dip-coated resist and litho negatives of original artwork. Thorough degreasing and oxidation removal are key. Warming the solution accelerates the process. If we weren't spraying with PVC and titanium built equipment we would have added aeration.
For limited production the references cited are very good, particularly VON Industrial and nontoxicprint.com.
 
Ferric chloride works well, of course ... but there is a much-cheaper alternative that home-shop folks may be interested in. Two caveats: 1) this is much cheaper for me where I am - maybe not true elsewhere, and 2) I use this to etch printed circuit boards, i.e., copper - I believe it also works on brass, but I have not personally verified it.

The etching solution is made by mixing two parts drug-store hydrogen peroxide with one part hardware store muriatic acid (hydrochloric acid - often sold as brick etch, or in pool supplies). "Do as you oughtta, mix acid with watta" - always put the water (or in this case, hydrogen peroxide) in first, then slowly pour in the acid. The etchant can be used once and then disposed of (safely - do NOT pour it down the drain!! I mix with concrete to "solidify" the dissolved copper and then dispose of as per county regulations), or you can go on to to create cupric chloride by dissolving in more copper. This solution can be reused over and over again simply by re-oxygenating it (bubbling air through it). Again, a caveat - I have read many reports of this process, but I confess that, given the limited frequency and quantity I need, I find it easier just to mix up a fresh batch each time.

One other word of warning - don't store your muriatic acid inside your workshop; the fumes will make everything rust! I store it in a covered plastic container outside my garage - seems to have worked just fine for many years now, and I am still nowhere near to using up the first container of acid that I bought.
 
I've been designing and machining the front axle, then today finished the hub caps

20210110_135038.jpg


This next image gives you the scale as my hand can nearly wrap around the axle and smokebox.

The front wheels are 70mm in diameter

20210110_135018.jpg
 
Have struggled getting the 1/20th scale door hinge correct, lots of parts in the bin. Finally I have something that I think looks ok.
door-hinges-10.jpg

In essence I went back to basics and broke the problem down. Then looked again at the assembly. Plus I bought and tried some silver solder paste - not cheap at ~£16 for 10g, but wow. Maybe it is cheap as you only need tiny amounts, well on this size of parts tiny amounts.
 
I used two countersunk 10BA bolts to fix the plate to the front door. I should probably add 2 more, but space is very tight.
burrell-02.jpg

I'm pleased with the look of the hinges now, just need to add the towing eye to the front and add the steering links onto the axle for this front part to be approaching a good level of completion. OK, still lots more to do even then.
 
Since the last post I've been working on the hornplates. I've called them hornplates+ as I've incorporated the main tub in the same parts. At 1/20th scale I just thought this would make it easier to make and control accuracy.

hornplates-02.jpg

I then rolled and edged a panel to fit between the two plates.
hot-air-soldering-04-1.jpg

I riveted this in a few places and then soldered it as I found I needed to lock the location.

The soldering though worked rather well as I used a "hot air gun" - a great technique for soldering largish brass constructions.

hot-air-soldering-01-1.jpg

I have a lot of riveting, manipulating and fettling to do to get this correct and how I want this to look in the end.

The hot air gun soldering I will be using again, it works much better than an open flame torch for soft solder as it doesn't generate the surface oxides.
 
I'm looking at the water tank and thinking of a vertical water pump with a vertical plunger that I can easily access at the rear of the tender.

I need to find some designs for water pumps unless there is a commercial part that would fit the bill - please do share links, designs, thoughts on this as I'm feeling a tad out of my depth.....

hornplates-07.jpg
 
Hi Nigel,
The second steam engine I built was a Stuart Beam Engine. I made a freelance water pump from scrap material, using balls and springs from a Triumph motorcycle oil pump for the valves. The pump ram is a section of 1/8" bright steel bar, with an O ring seal. It is only the connection to the beam which prevents the ram from coming out of the cylinder. After a little use, I had to replace the steel balls with stainless, as the originals had corroded. 35 years on, it still works, which is quite amazing, as I had just guessed everything and made it up as I went along.
I'm sure it is well within your capacity to design your own pump.

Hi Pete,
All of the model pumps I find online are the fairly standard horizontal piston with a vertical handle and link to the piston, However, this page from 1920-30.com has a great image of a simple vertical pump. I think I'm going to draw something up on these lines and see how well it works. Also, not that dissimilar to the pump you describe for the beam engine.
Cheers, Nigel
 
This tractor looks wonderful. are you making your rivits? i ask because if you are id kind of like to see more of that process if you have time. i have watched several methods using copper wire but still not satisfied that i can do it by what i have read and watched so far. but wonderful job
 
This tractor looks wonderful. are you making your rivits? i ask because if you are id kind of like to see more of that process if you have time. i have watched several methods using copper wire but still not satisfied that i can do it by what i have read and watched so far. but wonderful job

Thanks for the kind words. The rivets are from EKP Supplies. Must admit that I'm not finding them easy to get consistent , but I think this is due to the fact that I'm hitting them with a different number of blows depending on where they are. They are rather large for this engine, but the smallest I could buy and I wasn't up for making them. I have made a bracket that I lock in the vice with a harden silver steel rivet punch in the end, this supports the other side of the rivet. However, this job really needs 2 pairs of hands as I still end up balancing the tender on the rivet anvil side. I will get some photos of this and post them.
 
They are brass rivets and I did a trial with them as they come versus heat annealed. They worked better for me as they come. But I'm ending up using a bought rivet punch at first and then swapping to a homemade silver steel punch to get a better rounded head
 
This is a 1/4 inch mild steel plate with a 4mm blind hole drilled in the end to accept a silver steel punch.

The bracket allows me to support the other side of the rivet inside a structure - Solid Rivets page on my blog is a collection of info on my learning to date.

The punch is not fixed in the bracket just in case it needs changing. The punch is hardened silver steel and has a domed concave feature to fully support the head of the rivet. I rounded the outer edge as well to minimise any damage.


rivet bracket-anvil.jpg

Also, I sandwich the mild steel bracket with a sheet of aluminium in the vice as this then adds some compliance and so more easily maintains the clamp load. This is really important when extending the reach of the bracket.
 
I made a slightly more ambitious tool for riveting. Essentially, it's a lump of steel plate with a long slot in it and a couple of tubes welded to the end, either side of the slot.
One tube supports the dolly, as in Nigel's tool, the other acts as a guide for the punch, keeping it aligned to the dolly.
I use an air hammer to get consistent results.
 
Last edited:
I definitely need to try an air hammer. 150 brass rivets turned up from EKP Supplies today, bought 3/8" long so I can cut them to the correct size.

I spent Saturday afternoon adding 2mm half-round beading to the top edge - used an old tin of Fry's Fluxite (I think nearly 40 years old) - still working fine.
tender-bead-07.jpg


I've also been making the rear axle bearings from PB, have been turning using high angle tungsten bits designed for aluminium - will share more on this.
 
it looks great. i did not know you could buy half round brass stock. the way you have bent, persuaded it into place and soldered looks way better than anything you could buy factory made or store bought.
 

Latest posts

Back
Top