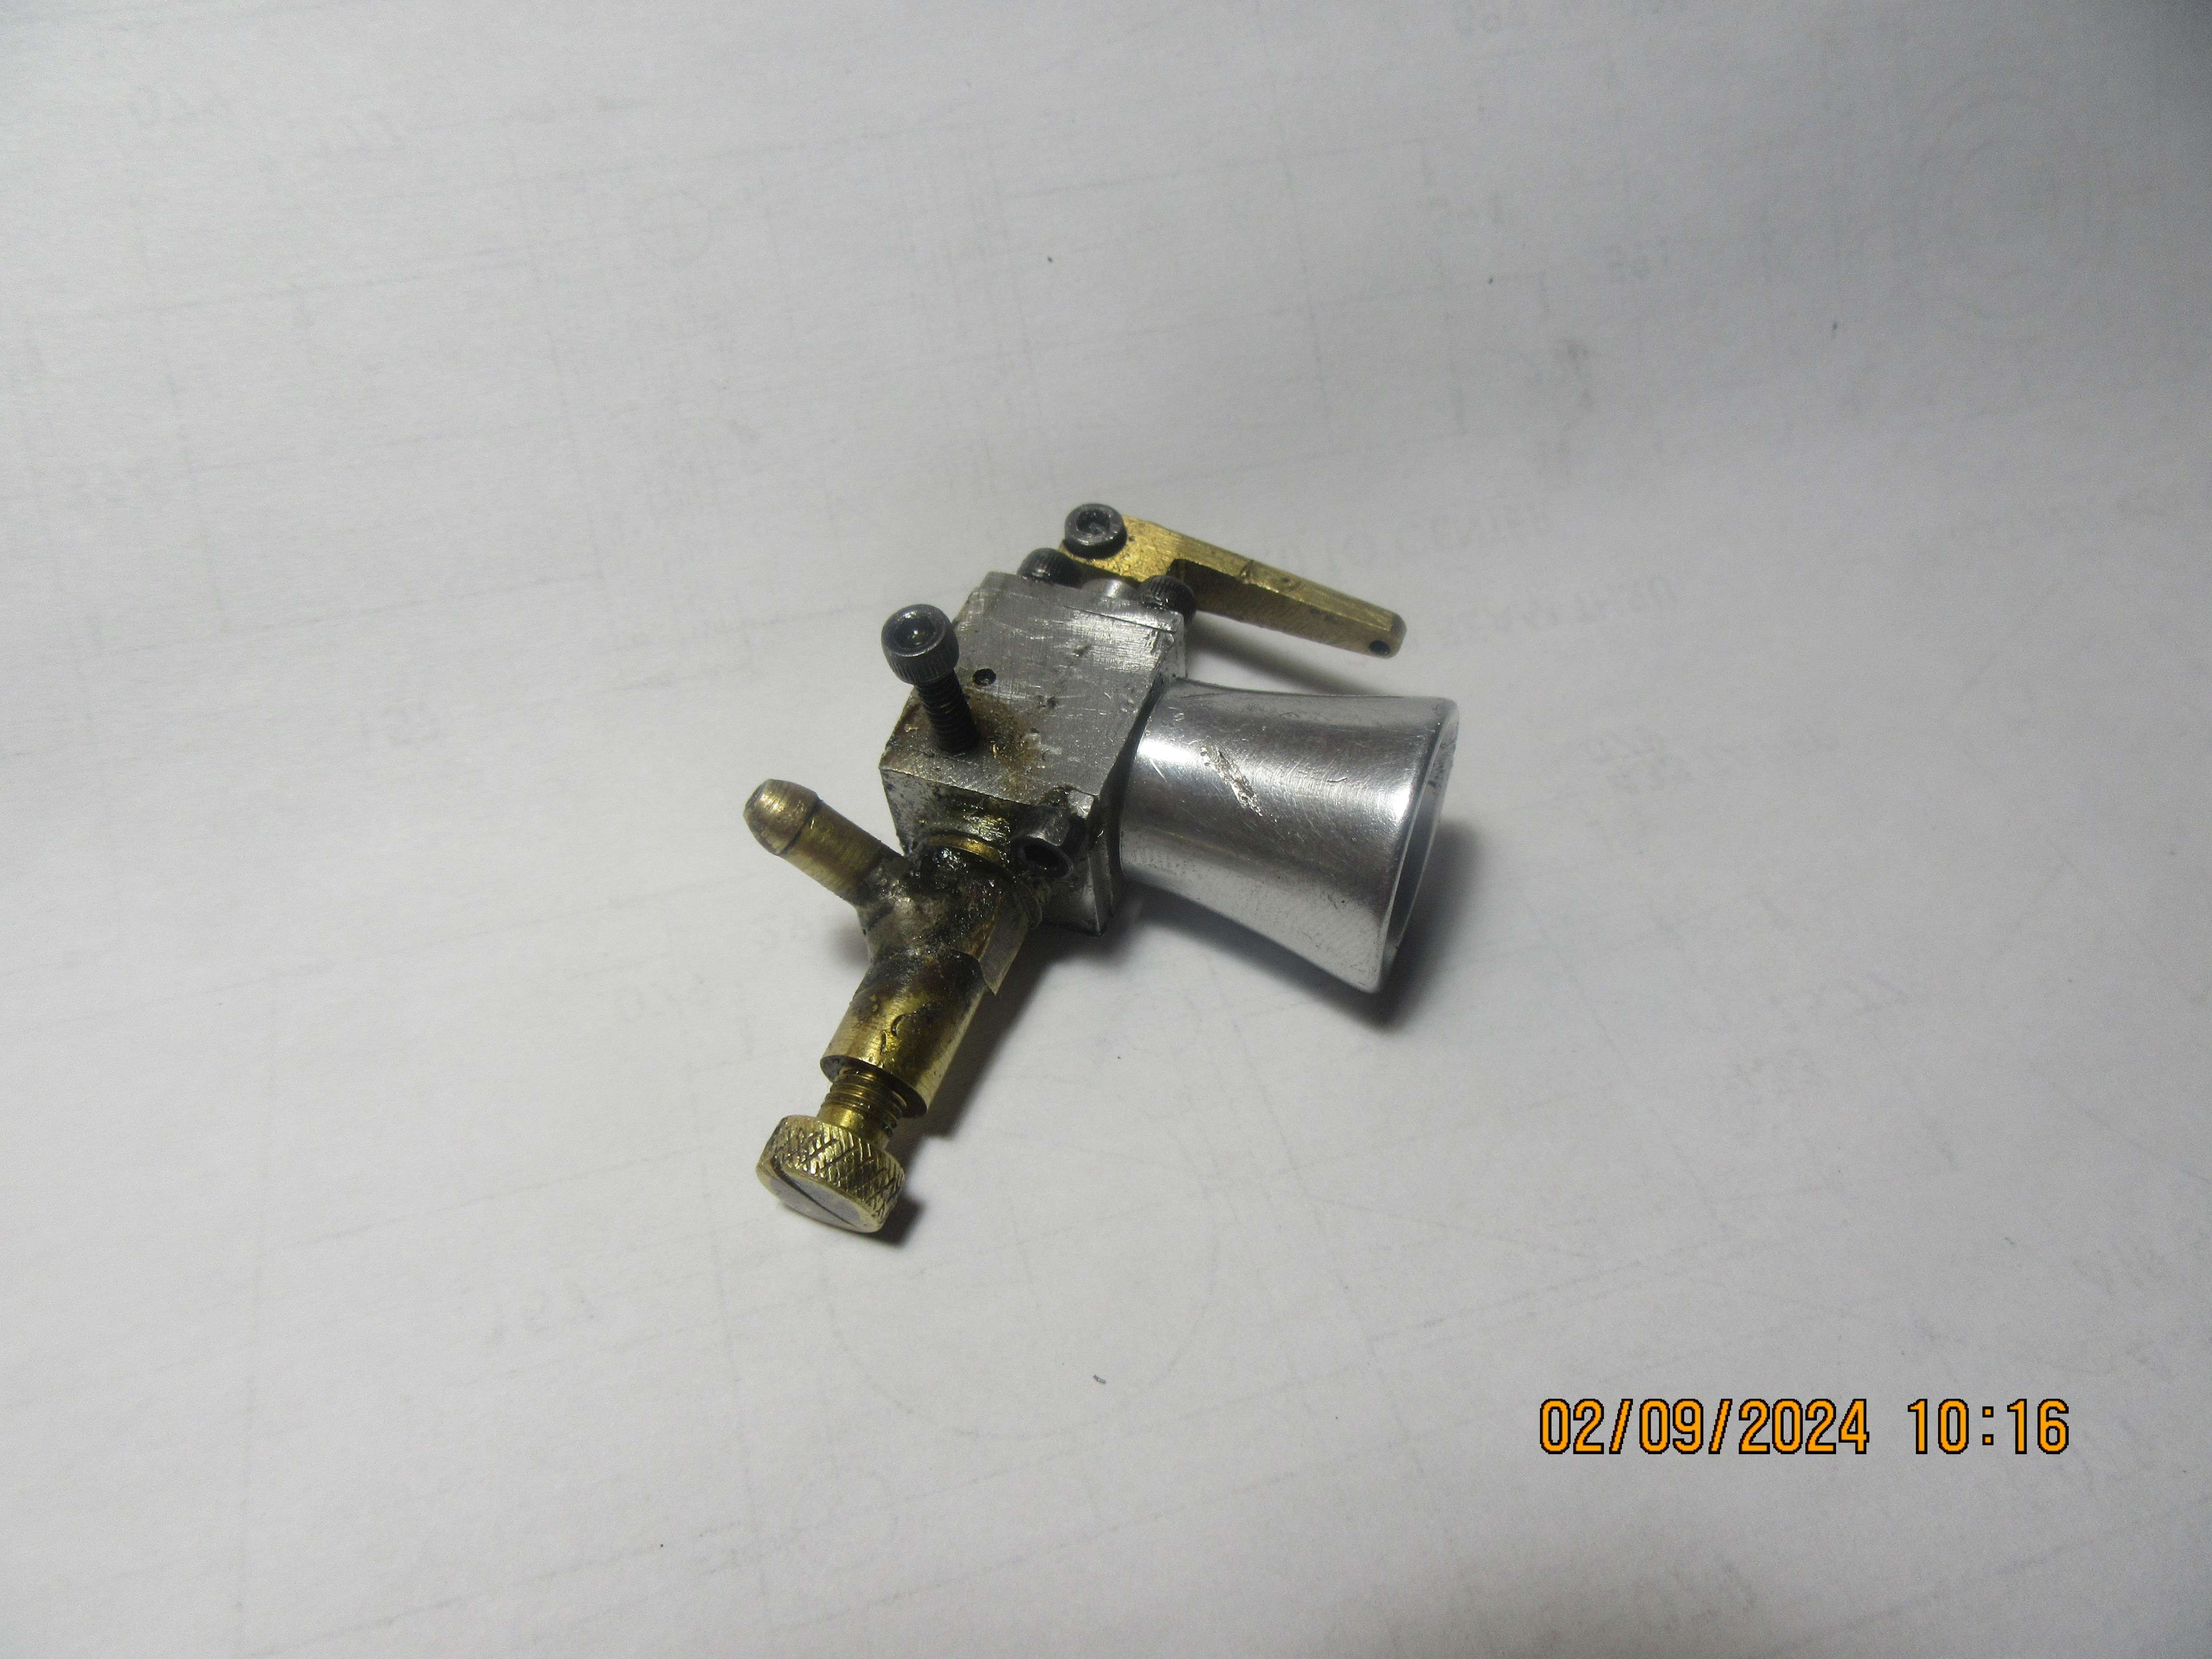
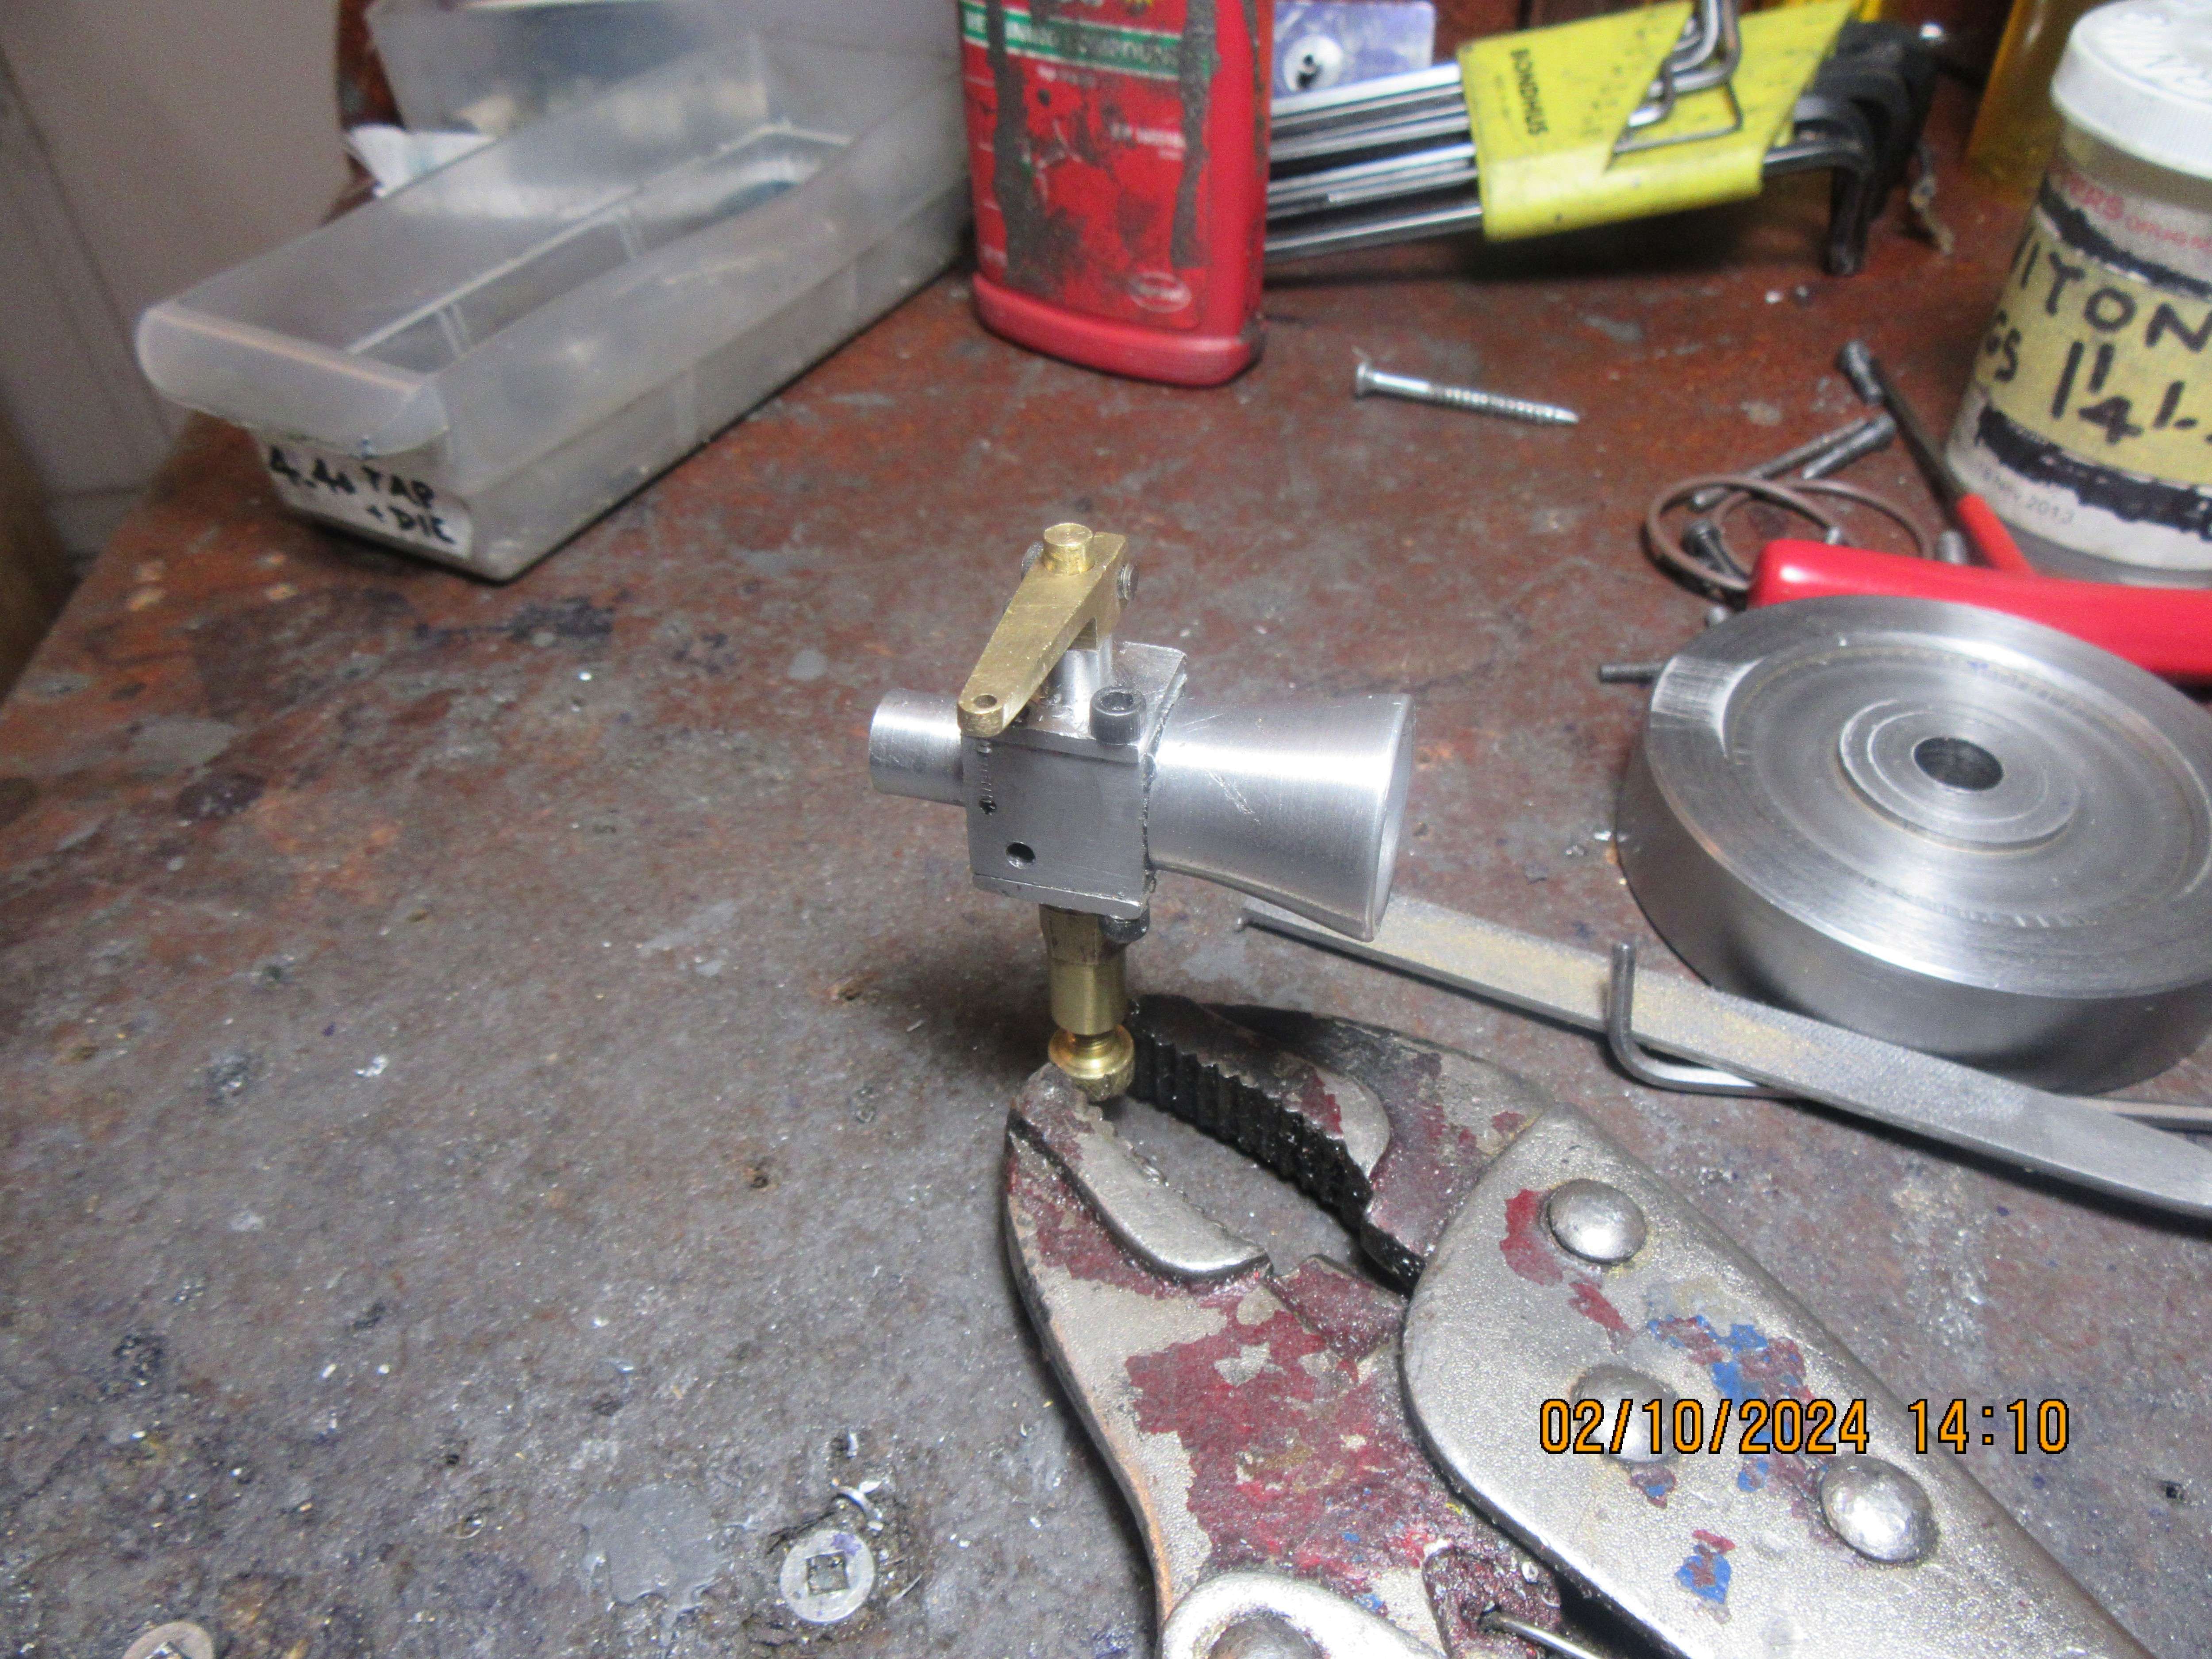
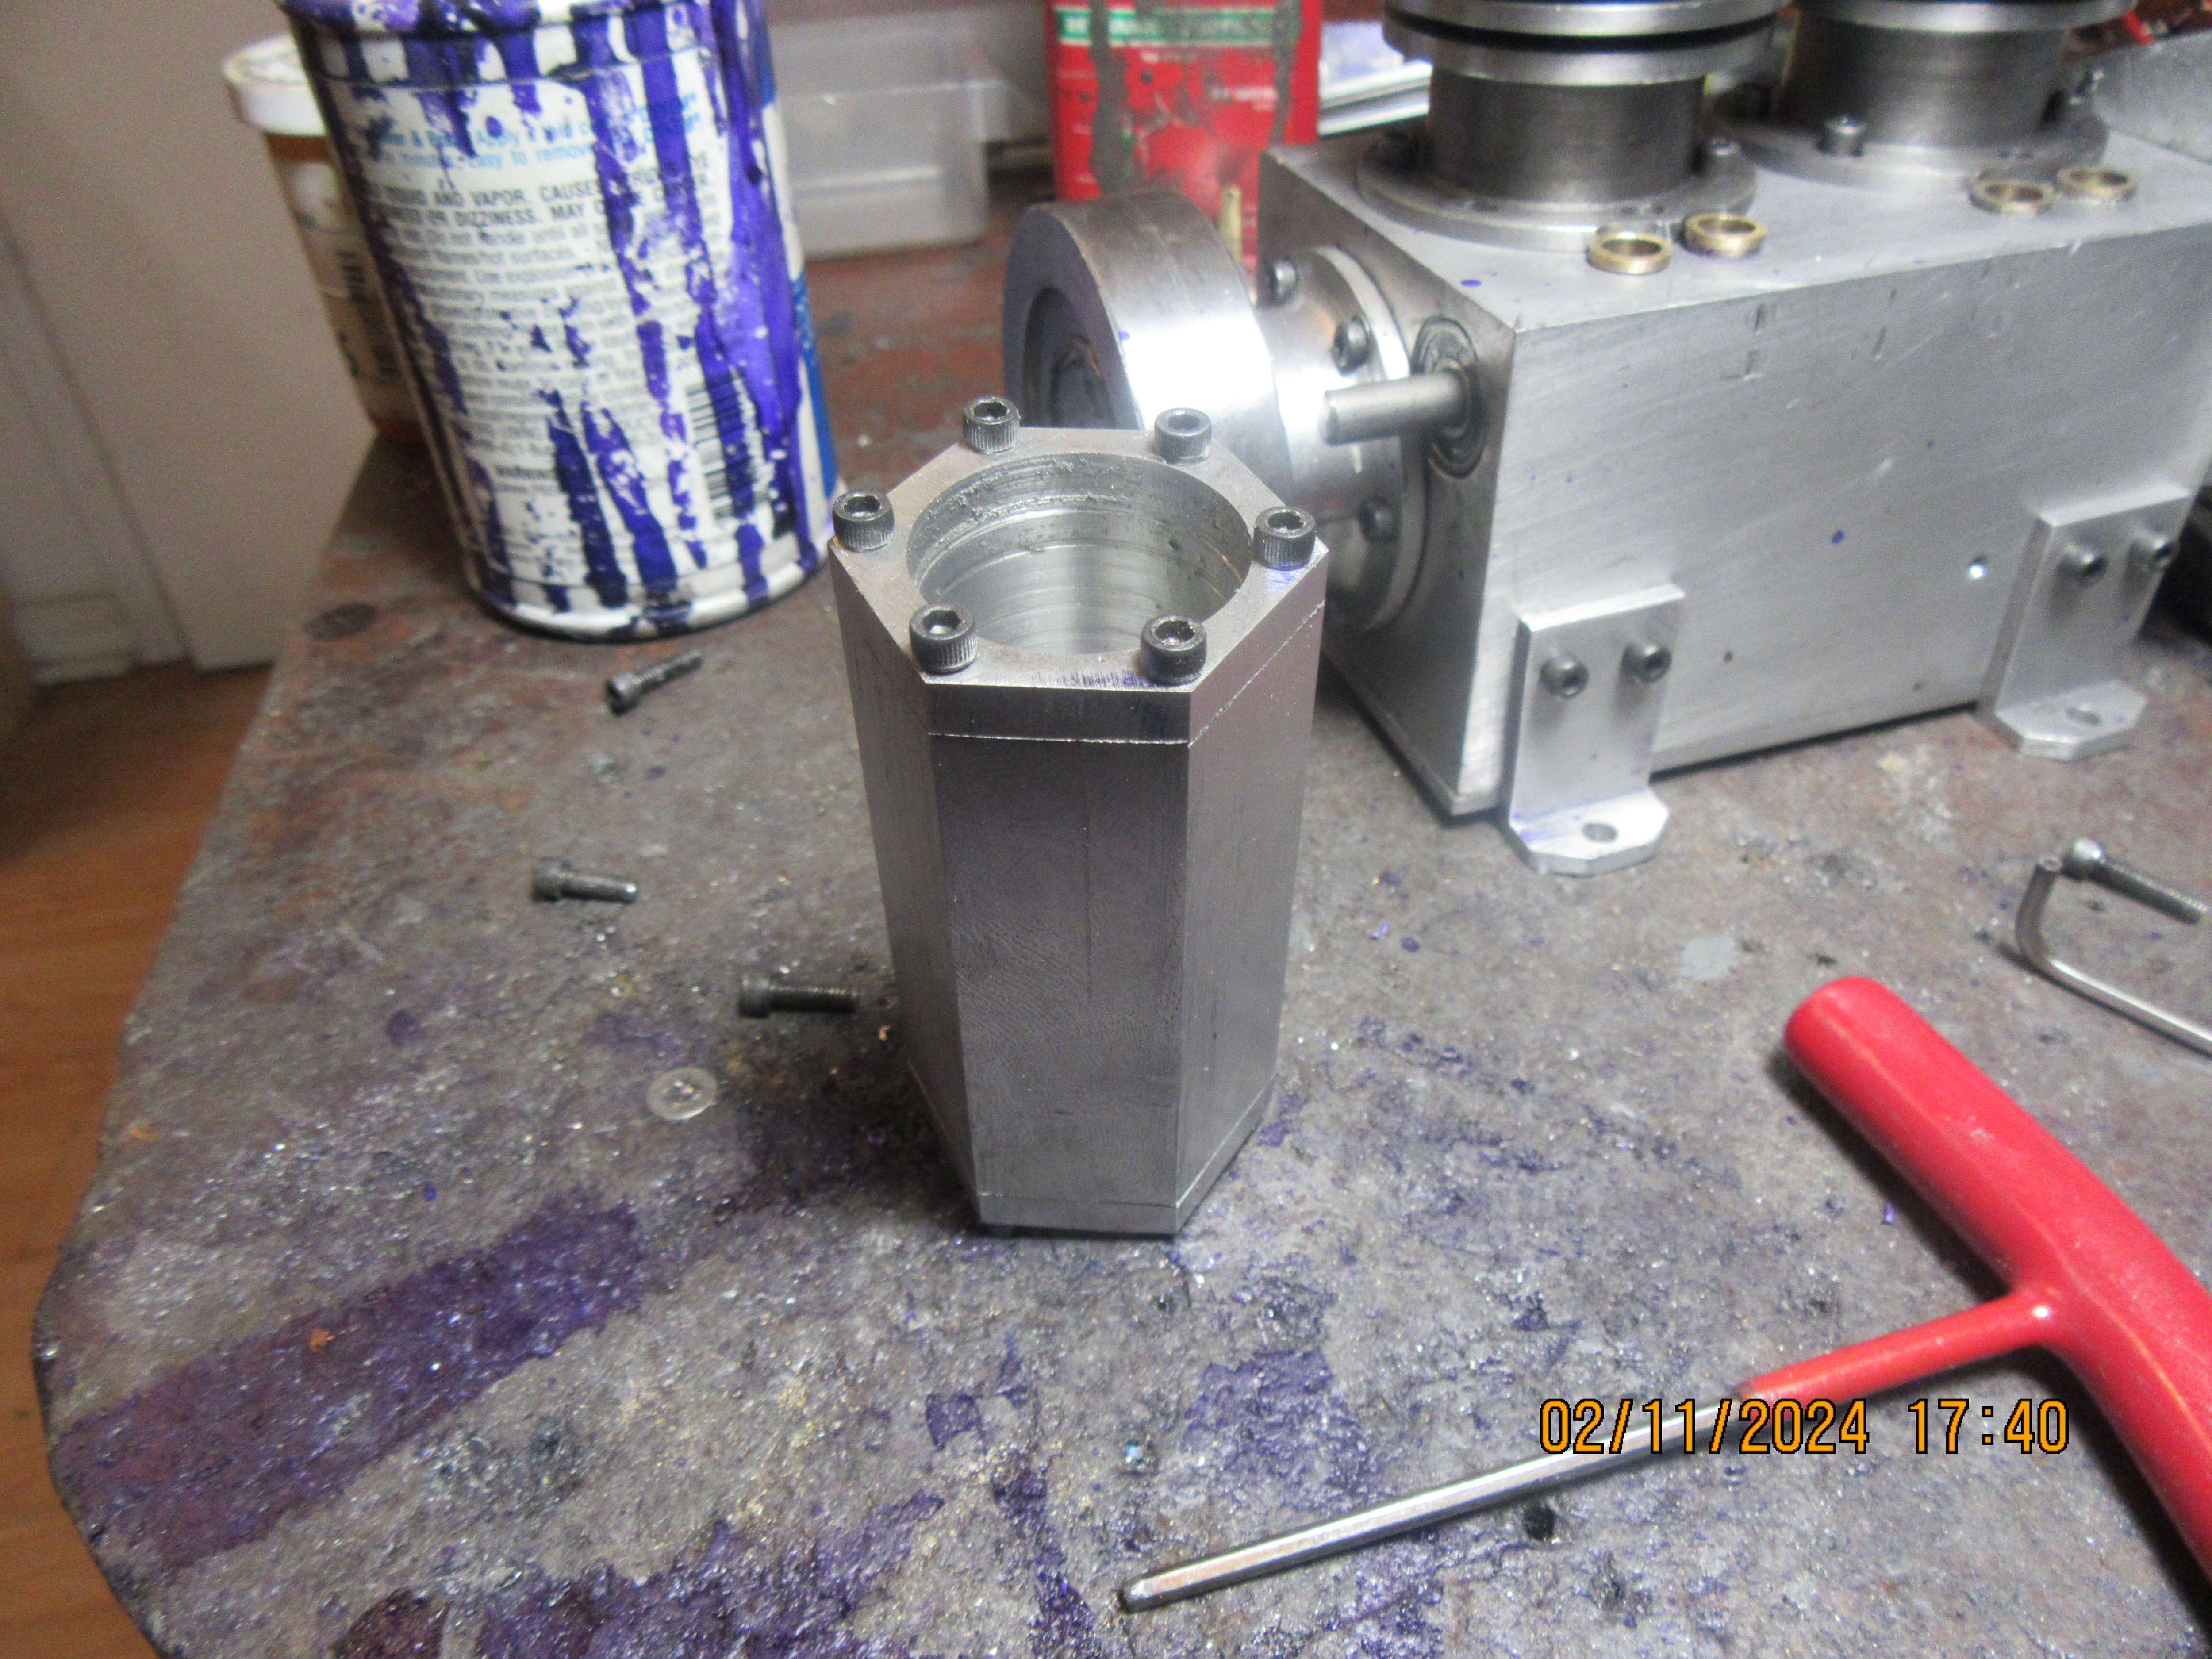
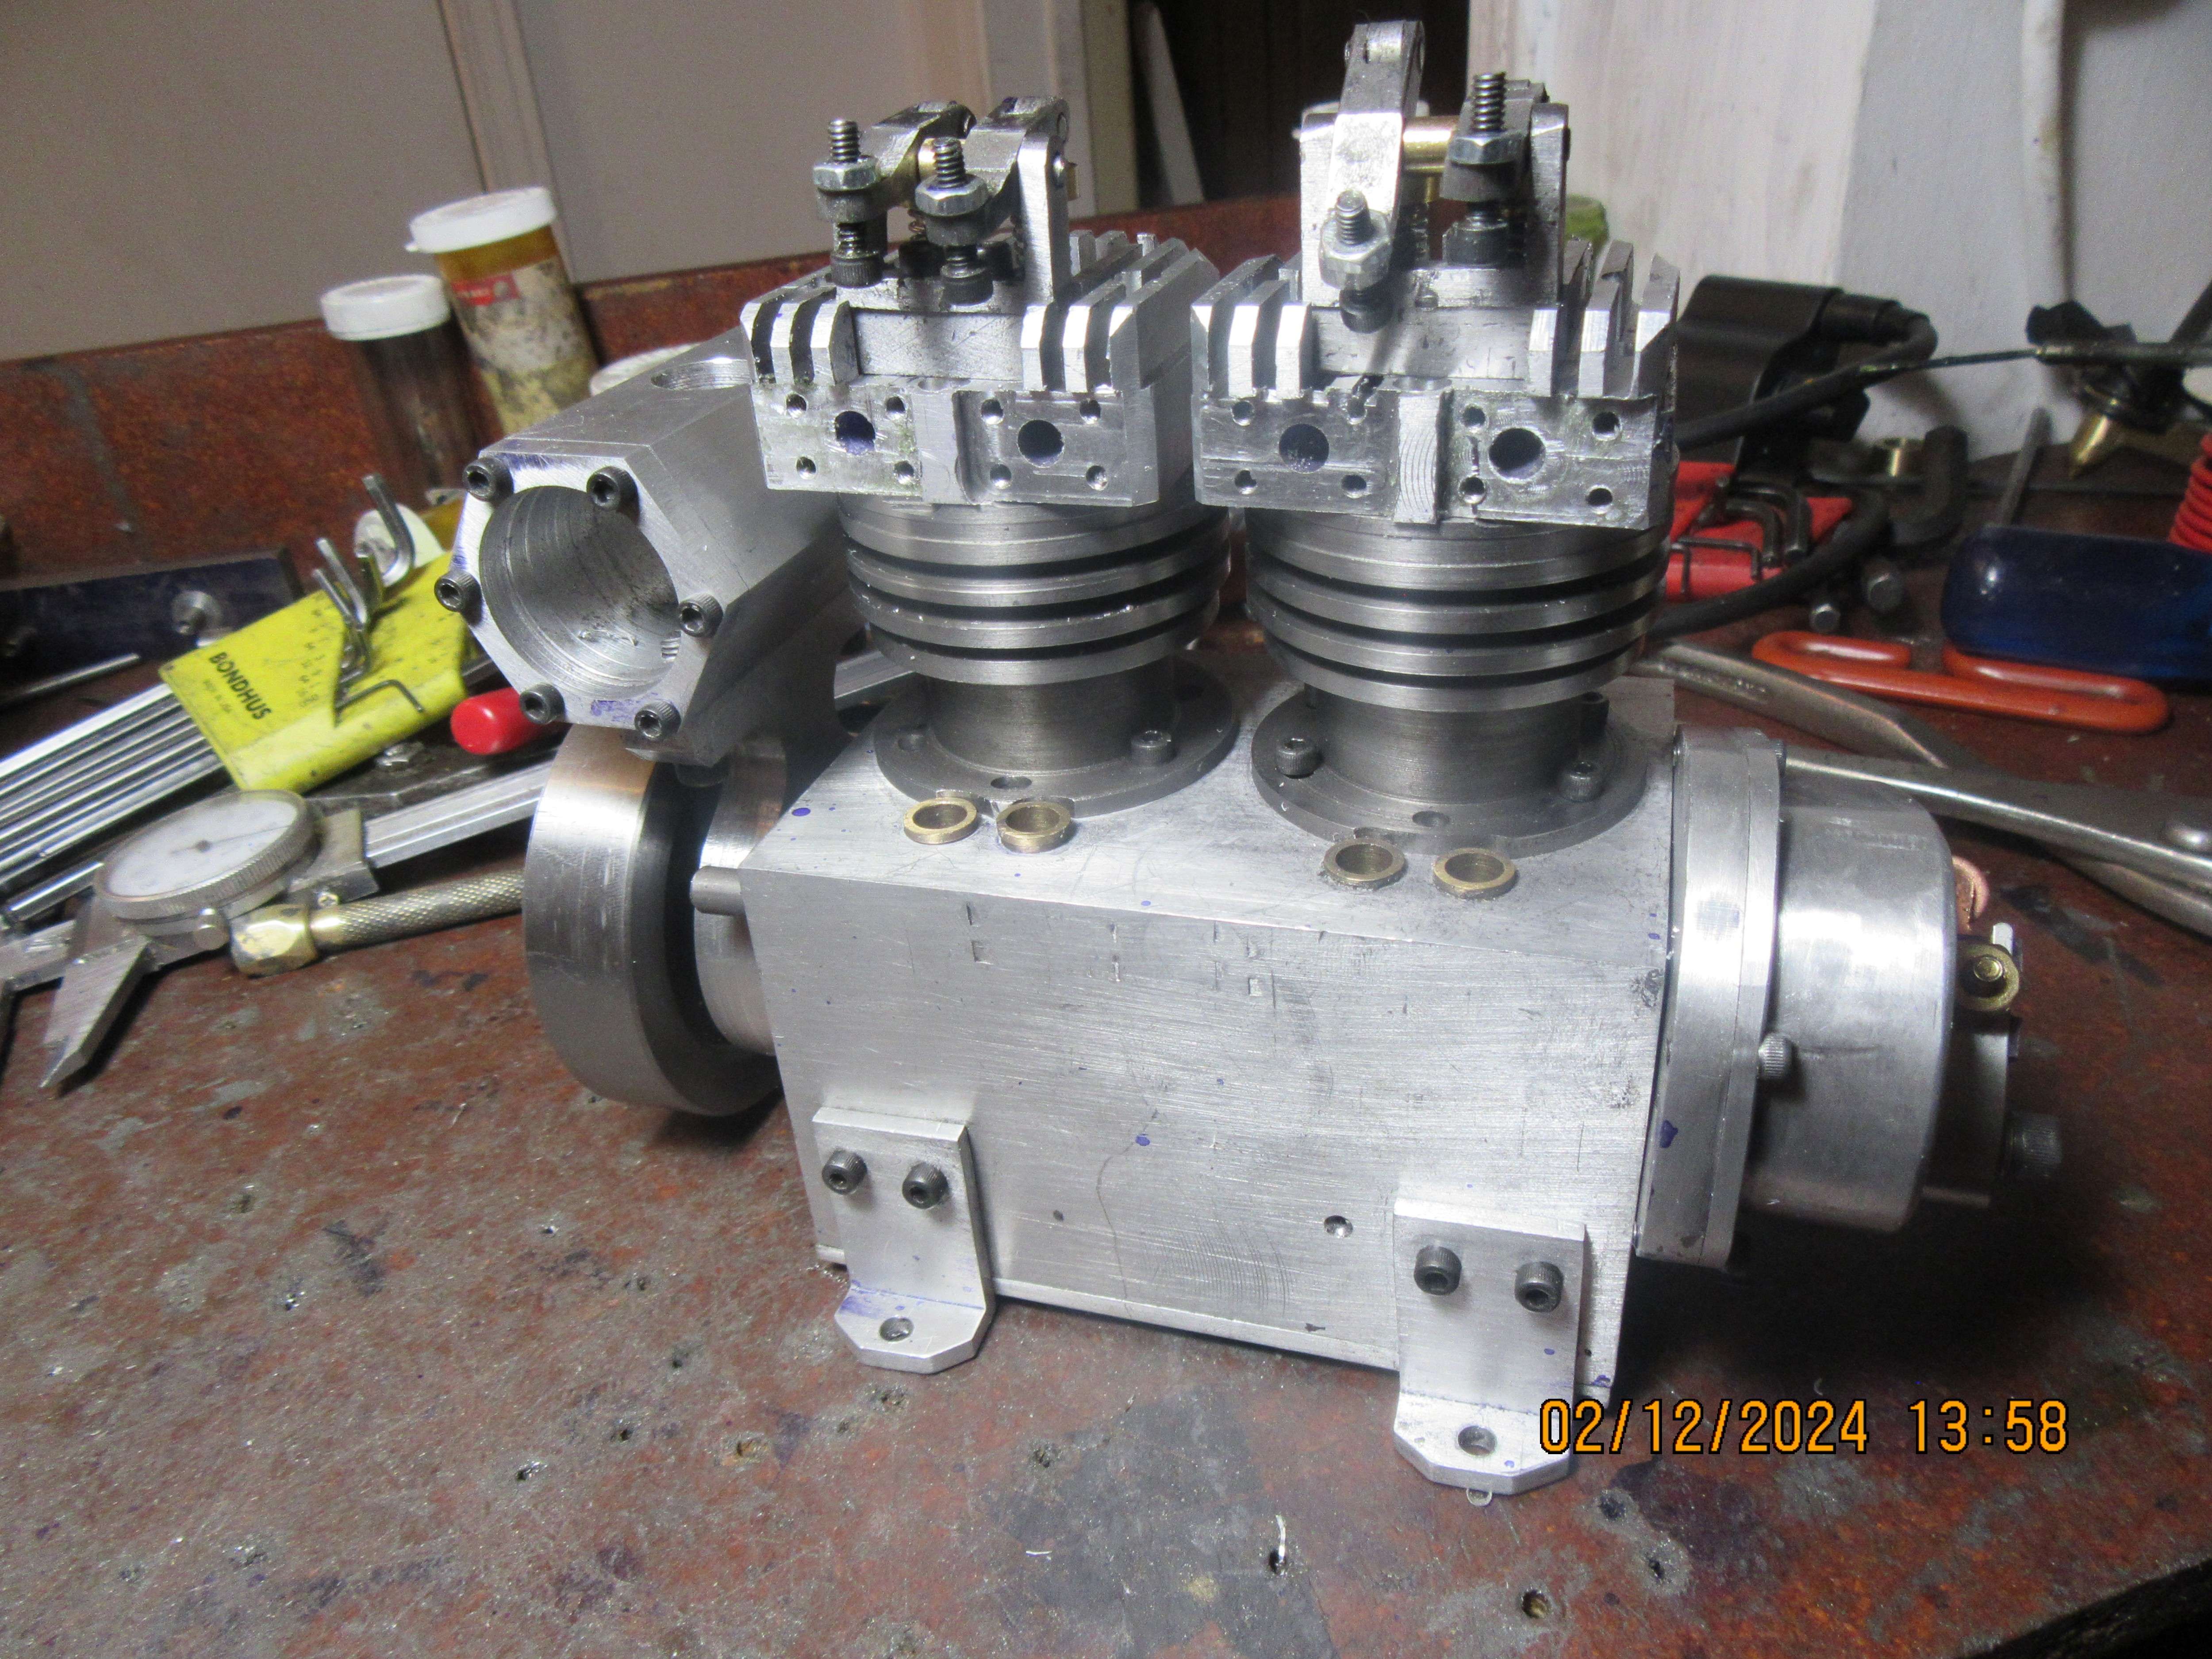
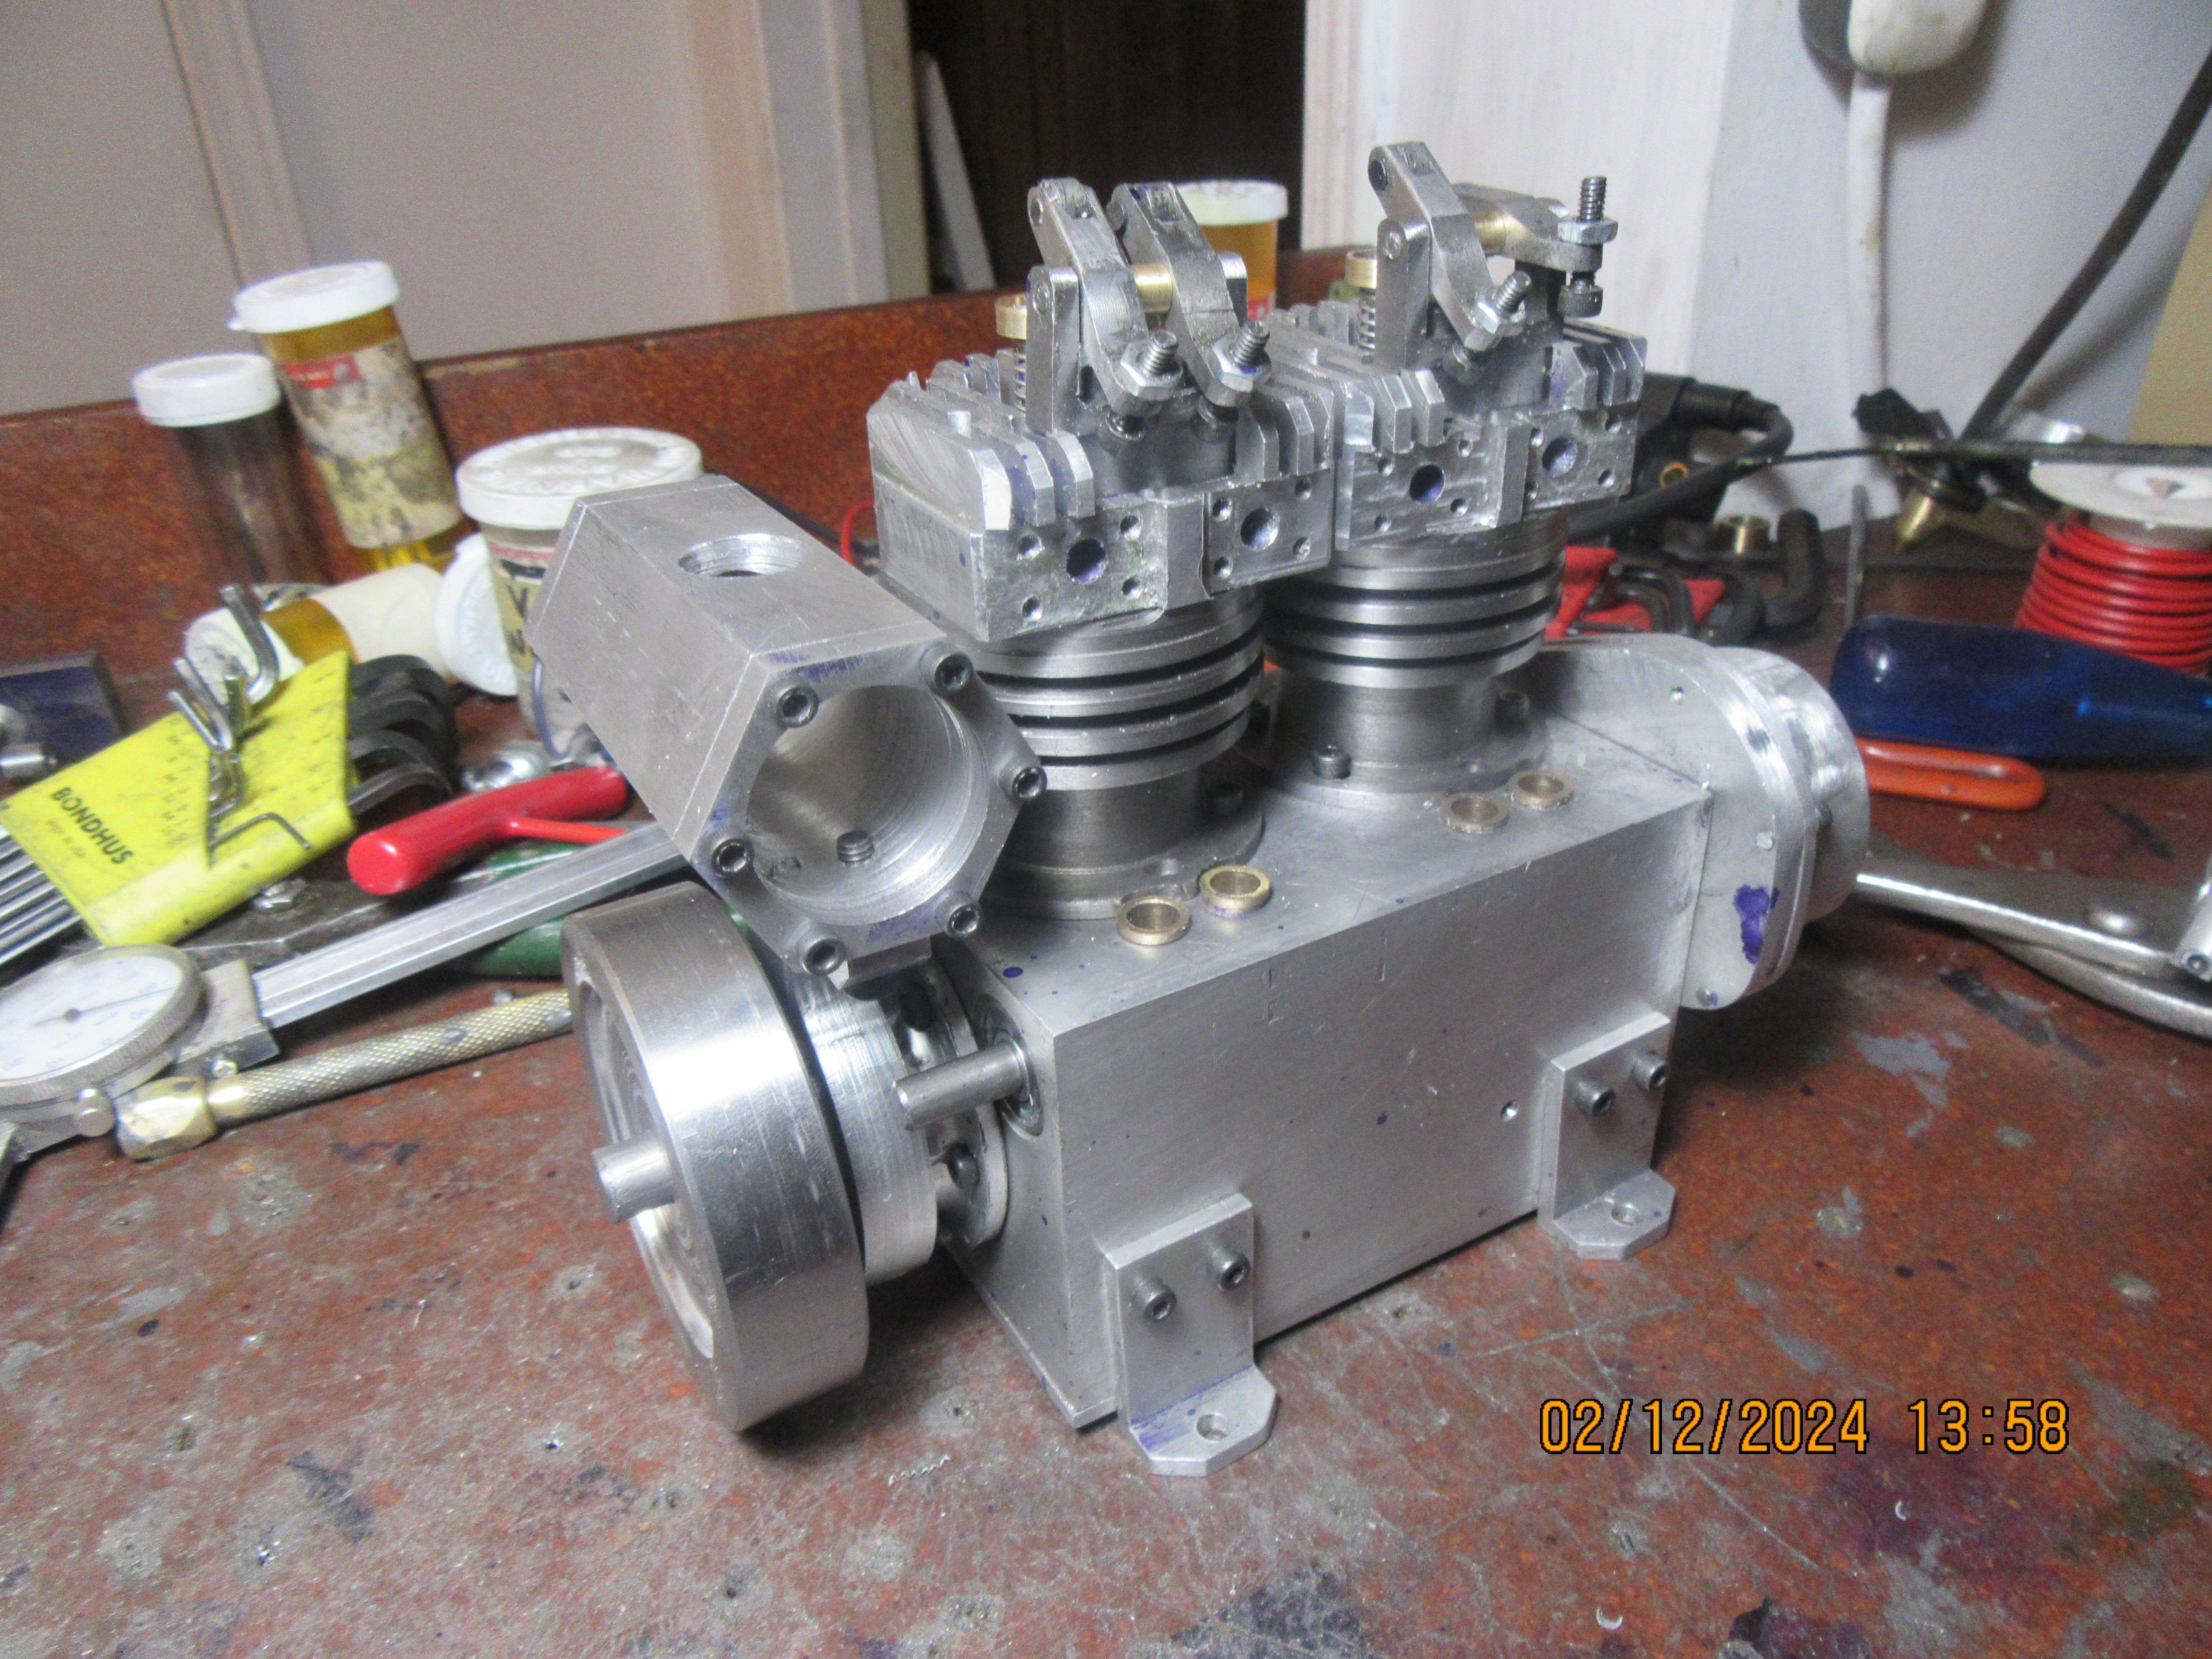
Today I built a gas tank. Started at 10:00 and it's 5:00 now. Damned expensive gas tank if I was paying somebody to make it for me.--And, it's not done yet. I saved $10 by starting with a piece of aluminum 2" square, and worked on it 3 hours until is was the shape you see.--$115 worth of work to avoid spending $10.--It has a 31/32" inside diameter, and I still have to counterbore the main tank for the sight glasses and o-rings that keep it from leaking at the ends. I still have to make a filler neck and cap for it, and still have to make and attach a discharge spout, and still have to make the part that mounts the tank to the engine. It will be a $300 gas tank by the time I'm finished.