Wood Beam Engine fabricated by SAM

Home Model Engine Machinist Forum

Help Support Home Model Engine Machinist Forum:

This site may earn a commission from merchant affiliate links, including eBay, Amazon, and others.
Dean,

I looked at the site
http://store.sra-solder.com/section.php/19/1

I am thinking of ordering the

WES5625 BAg-7 56% AG Wire Solder .025 Cadmium Free

and

FLS601 White Brazing Flux #601

What is the consensus on Solder Paste such as

PSHSTL1205 STL-1205-655 Easy Brazing Paste, 1 ounce

I really appreciate everyones comments and suggestions.

Thanks,

SAM


Looking nice Sam I envy your wooden parts wood and I don't get along real well.
Very nice!
 
Sam, the BAg7 (56%) is a good choice. Very strong, and it will start to flow a couple hundred degrees below most other high silver alloys. I use it, and BAg5 (45%) both. The 601 white paste flux is the proper one for these solders. It will take the heat for quite a while without pooping out.
I find the most use for 56%, as it works with my regular plumbers (Bernzomatic type) torches. Sometimes with 45% these torches won't make enough heat.

[EDIT] Forgot to add, the .025" diameter you mention is good. Thicker wire is okay, but it's easier to make soldering rings with the smaller dia stuff.

I've purchased from the same people in your link, (SRA). They're pretty quick to get you what you want.

They also have some thin sheet in a number of alloys, including the BAg7 you're after. If you can swing the extra scratch, you might find a good use for some .005" sheet. You can cut it in thin strips and put it between things, or wrap it around places easier than with regular wire. I don't mean it's totally necessary. You can always pound your wire into a flat piece. It takes a bit of hammering, as this kind of solder wire is quite hard.

Another company that makes these same alloys is Harris. You can order it through a welding supply.
Actually, any company that sells hard soldering wire as BAg-xx is making it to the U.S. spec.

Dean
 
I've used the BAg-1 from SRA and it works well. It's got cadmium in it, but I don't chew my solder much. The 601 brazing flux works pretty well too.
Get the 0.031" wire. I have some thick stuff from a welding store and it's a pain by comparison.

Here's their temp chart: http://sra-solder.com/brazing_wire.htm

I've also got some Jeweler's silver solder and it works ok as well, but takes a little more heat.

I've not tried the pastes but hear they have a somewhat short lifetime before becoming unusable.

 
Looks like you've made quite a bit of progress since I last looked in SAM. :bow: Thanks to you and everyone else for posting your experiences with soldering. It has created a discussion about silver soldering that's useful to us neophytes.

Cheers,
Phil
 
Just a note about the soldered piston valve cylinder that I tore up last week. I ruined it when I was reaming it to size after it was soldered. I just learned that I should have been using a spiral cutting reamer since it would be making an interupted cut. A spiral reamer should be used when reaming a hole that has a keyway, set screw or any other interupted cut. I just thought I would share this and perhaps I might remember for the next time.

SAM
 
Good information contained in this entire build thread Sam. Thanks for posting it. :bow:

Oh, and nice work too.

-Trout
 
Here in the USA, tomorrow is Memorial Day. This holiday is in honor of all of the men and women that have served our country in the armed forces. Because of their unselfish service we remain strong and free.

I have been out of town for several days so I have not been able to get much shop time since my last build post.

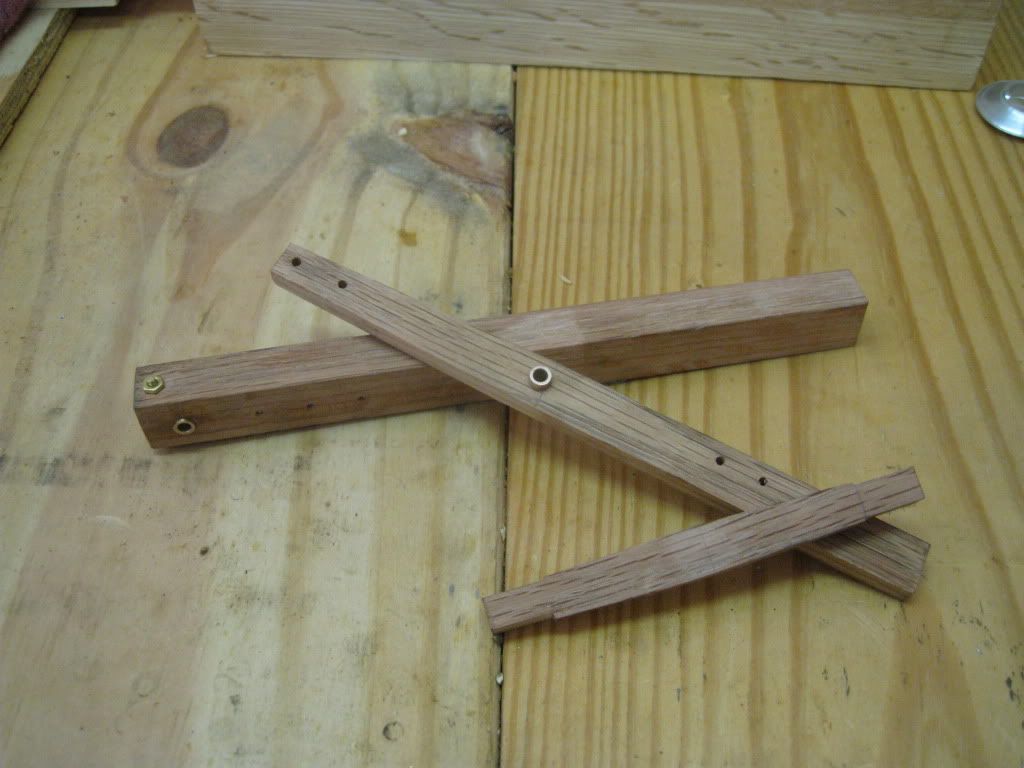
I have been working on the wooden beams. The main beam (1) which goes across the top of the structure will link the piston rod to the flywheel via a wooden connecting rod (2). The third beam, valve beam (3), works the piston valve transmitting motion from the eccentric on the crankshaft.

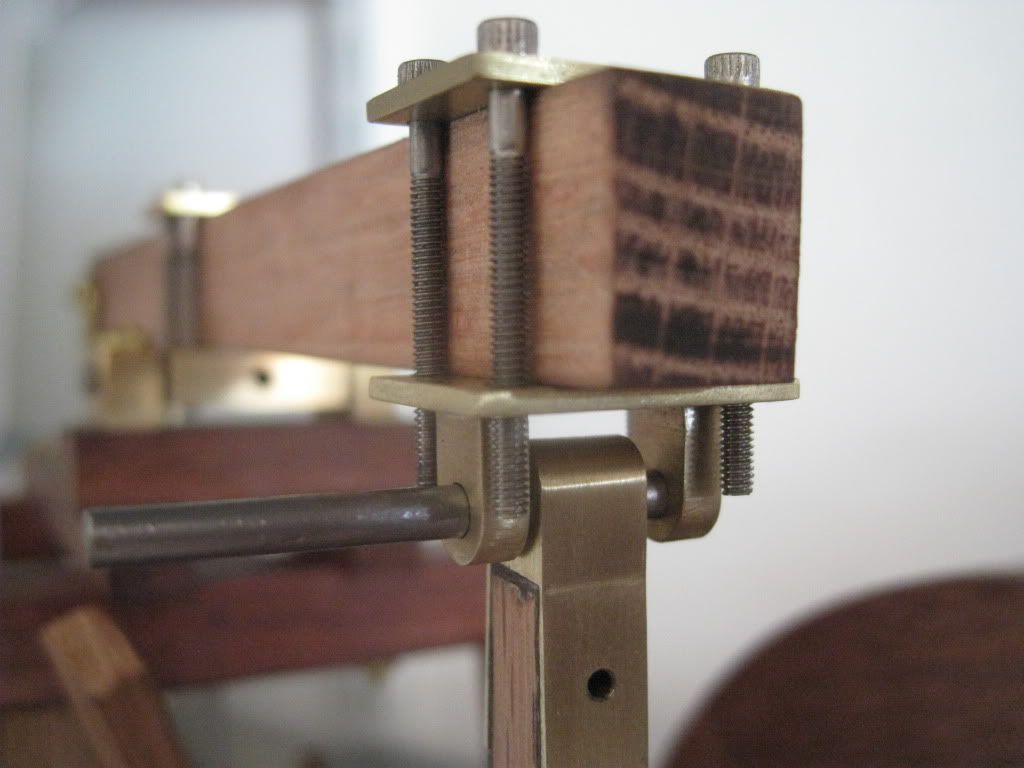
The main beam has a bushing in the end for the connecting linkage to the main piston rod. A stud with nuts on each end goes thru the beam perpendicular to the bushing. This stud is there to help prevent the end of the beam from splitting.

In this photo, the main beam is the largest one.

WoodProject005-2.jpg


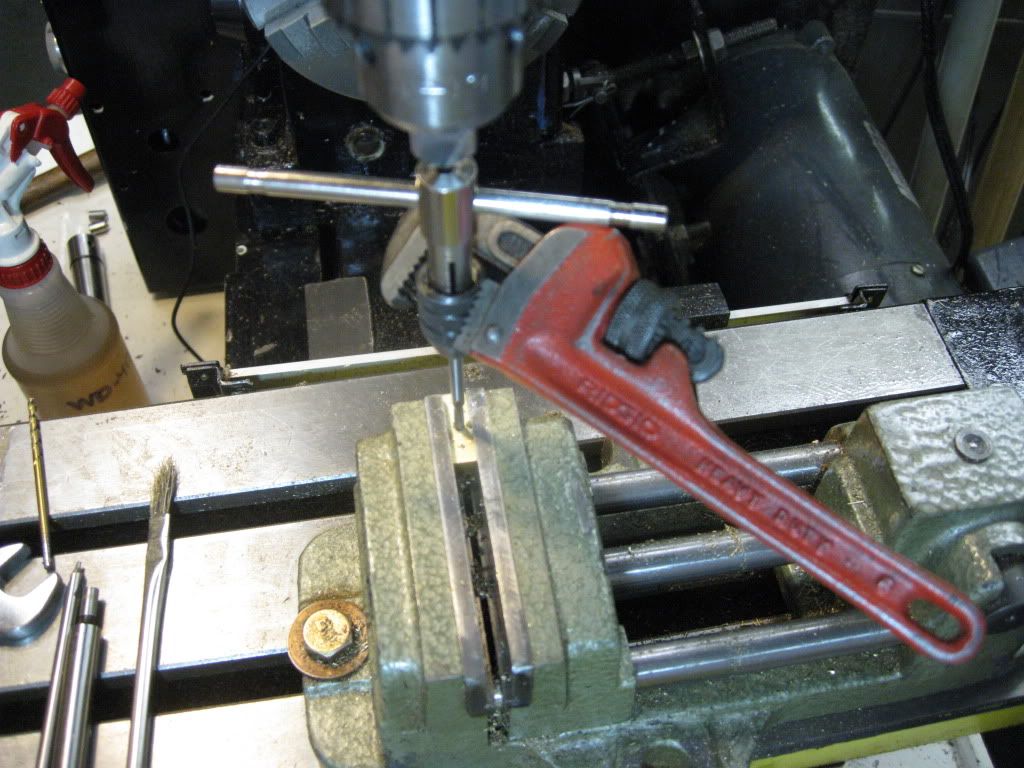
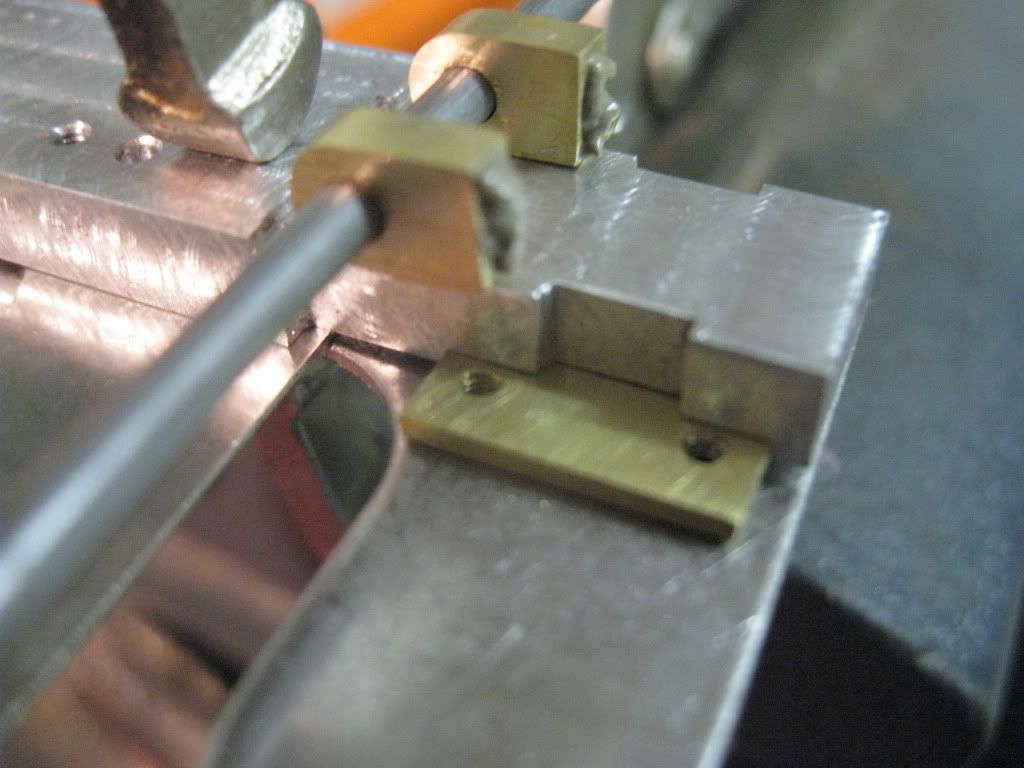
The main beam pivot block is being tapped in this photo.

WoodProject034.jpg


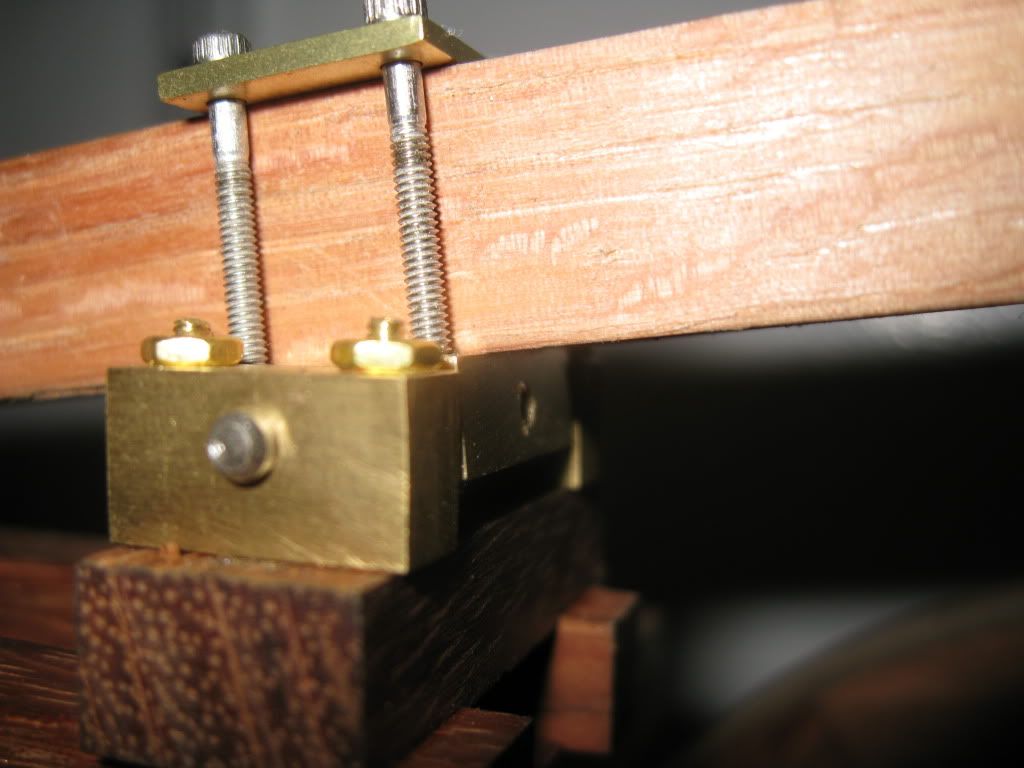
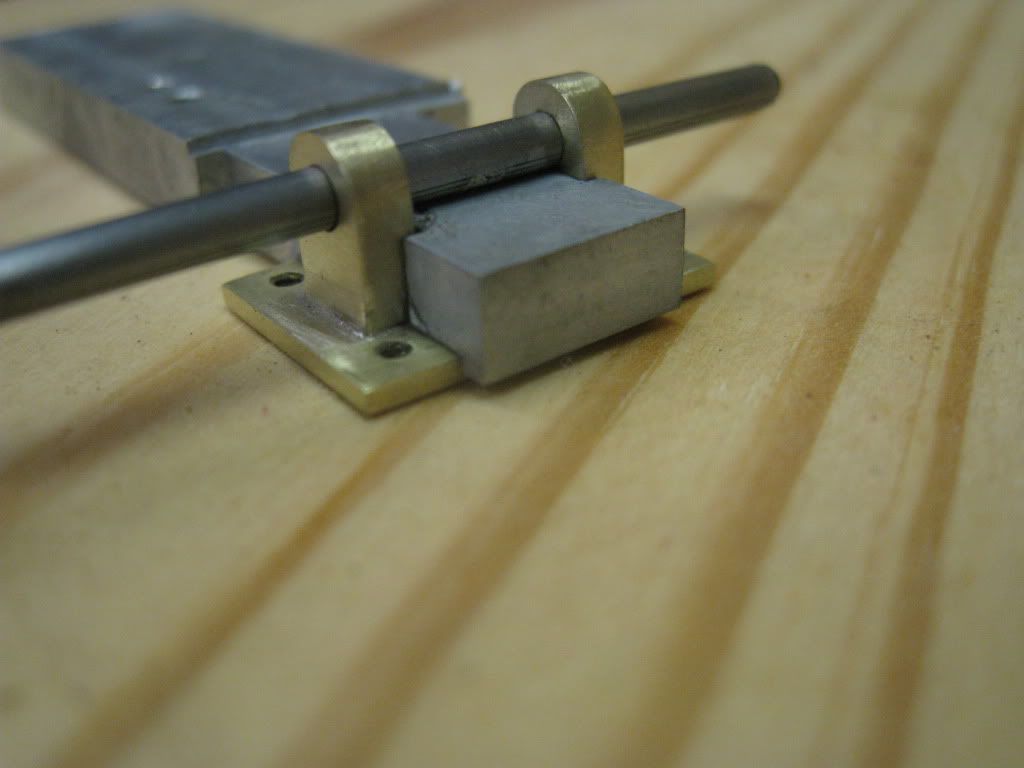
The main beam is mounted to the structure. Note that the pivot is clamped to the beam.

WoodProject036.jpg


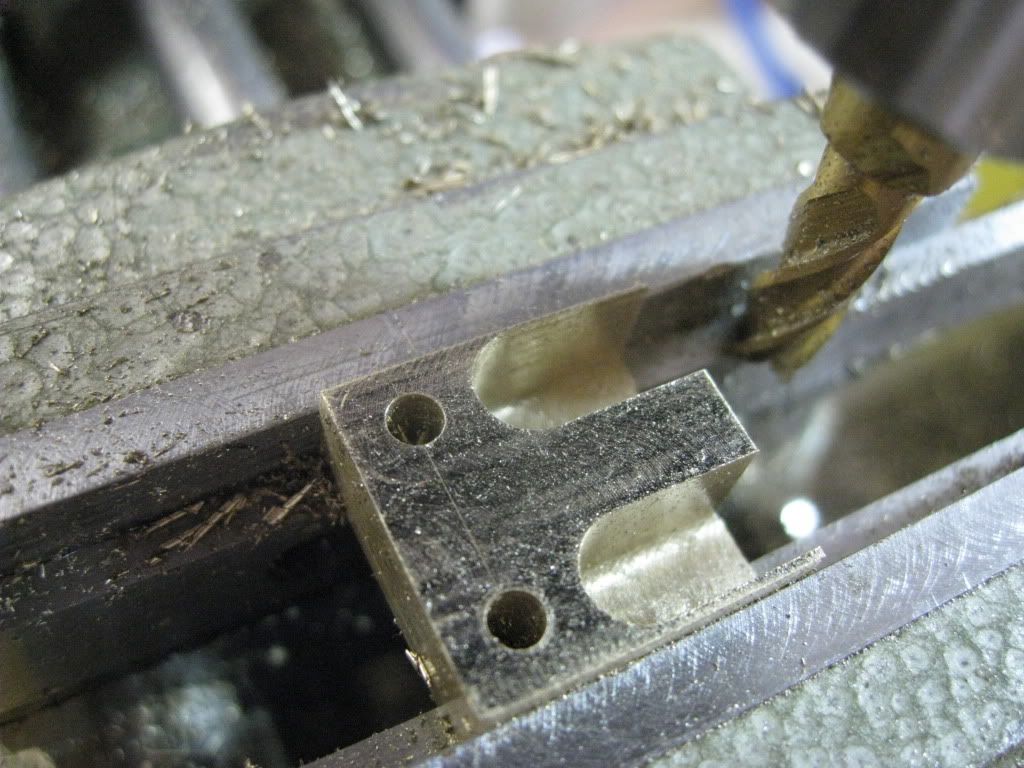
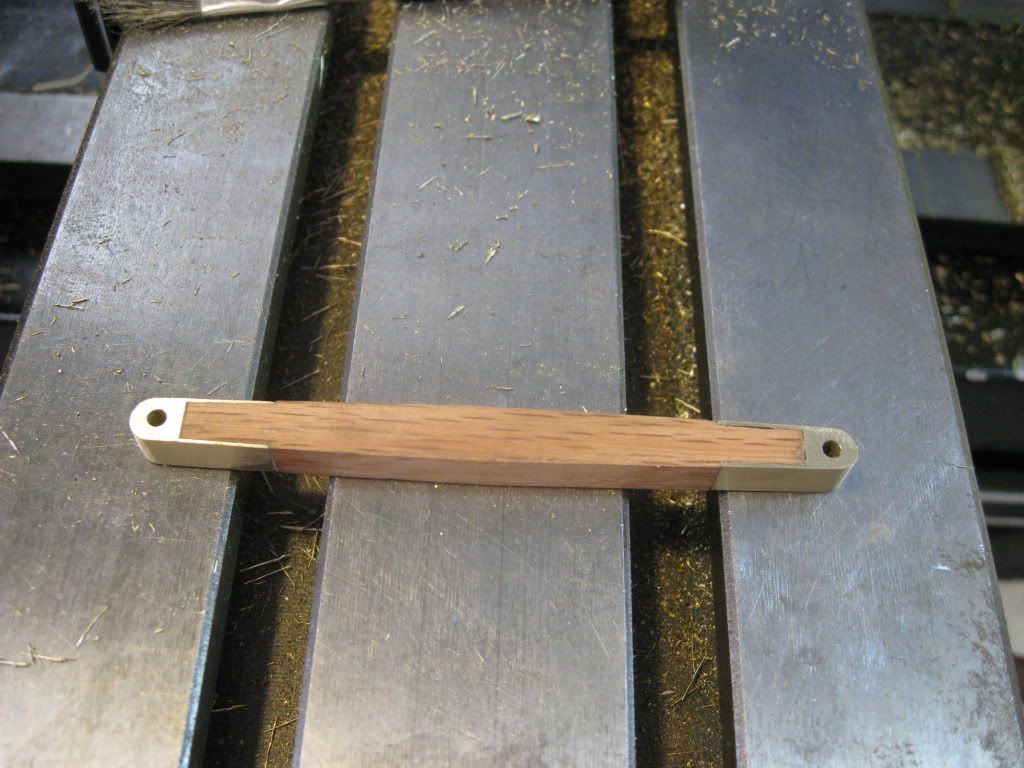
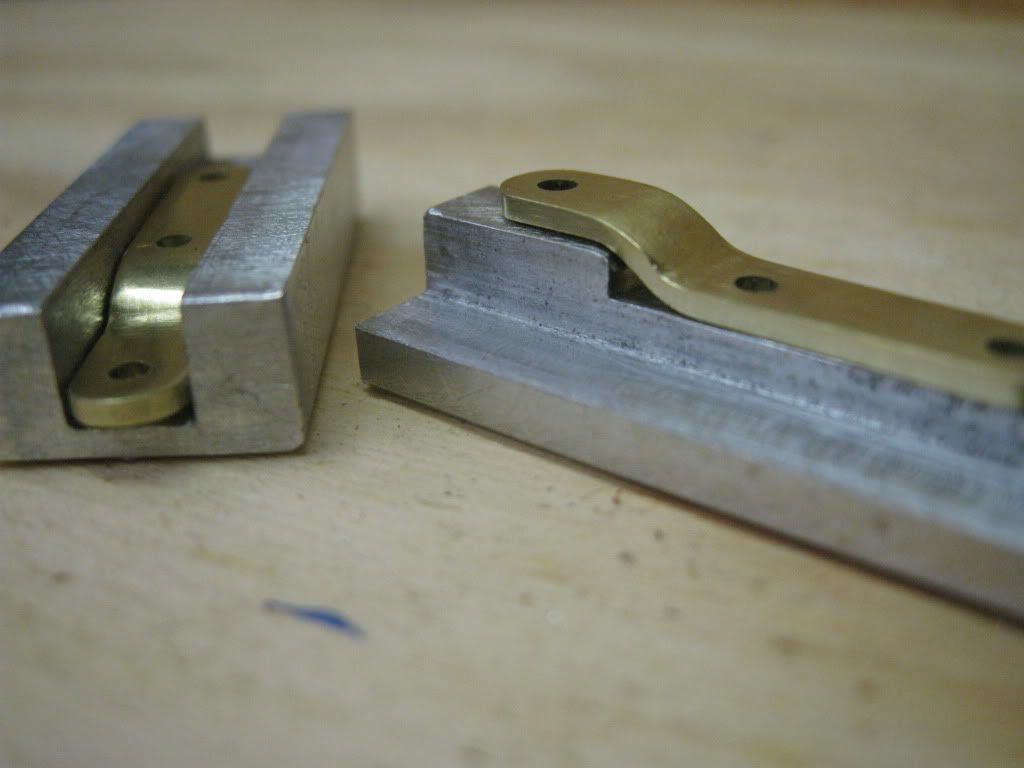
The connecting rod was a bit of a challenge. Both ends are tapered from the center 2 degrees and end with a relief that brass ends are fastened to. I cut a tapered block out of a piece of scrap AL.

WoodProject011-1.jpg


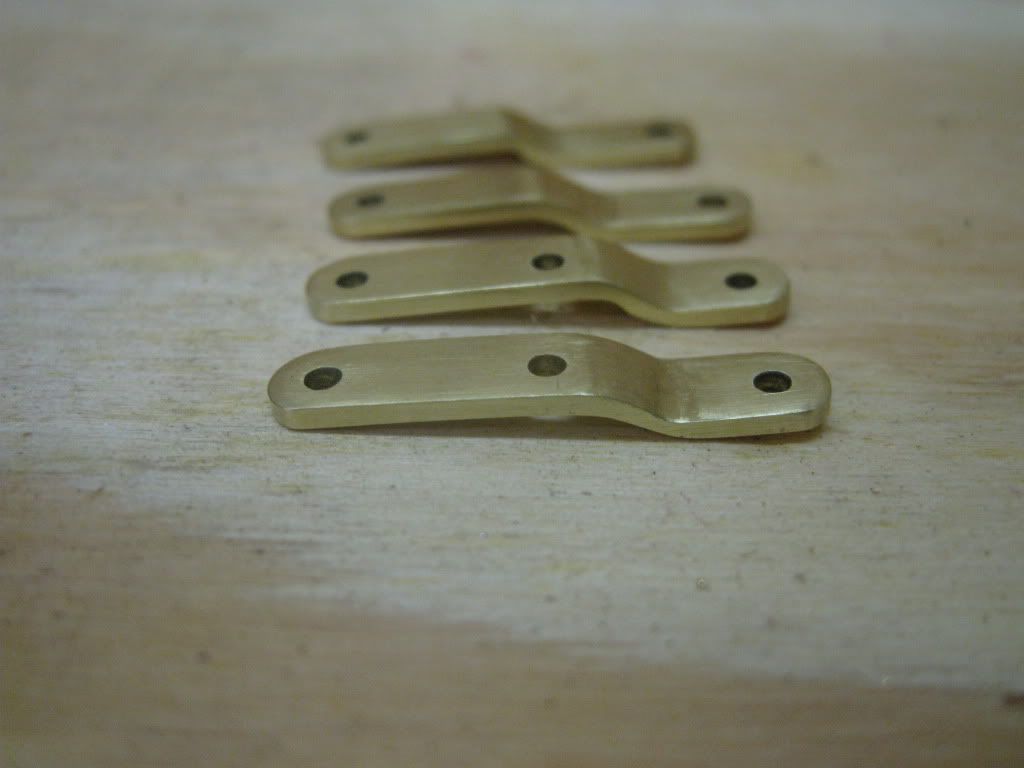
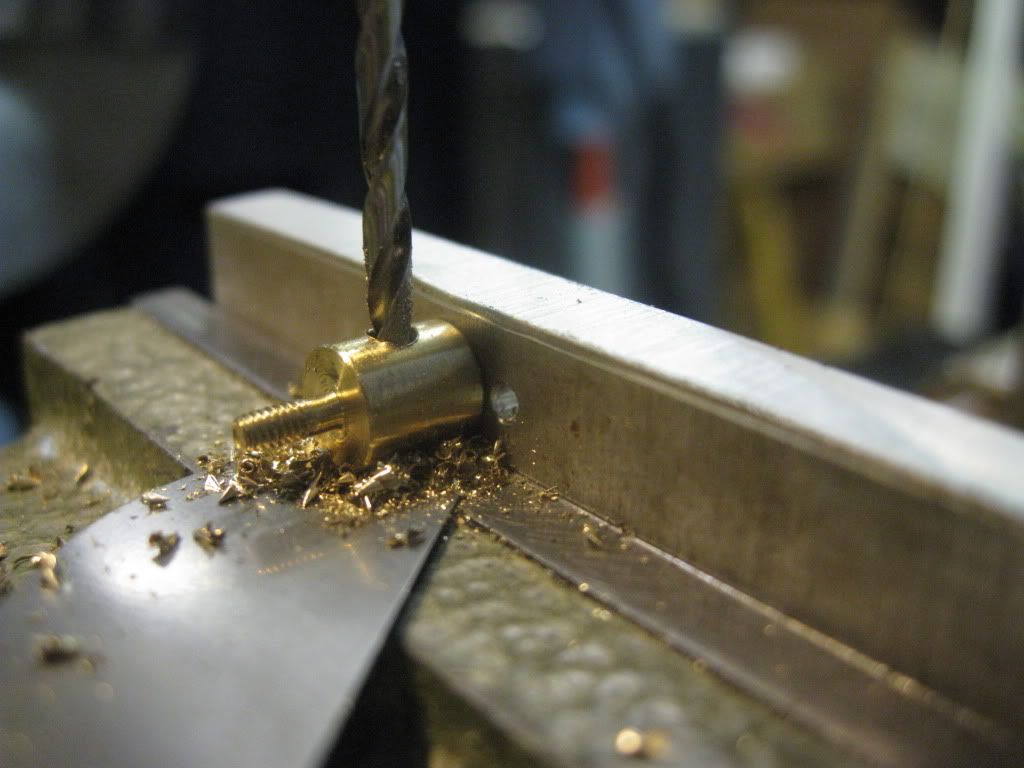
Each of the brass end pieces will be fitted with a pivot pin to join it to the main beam and the crankshaft arm. Both of the brass ends are being machined together and were separated with a saw.

WoodProject027.jpg


Here they are mounted to the connecting rod beam. I used a bit of epoxy and will either try and make a brass rivet or a brass stud to secure the brass to the wood.

WoodProject029.jpg


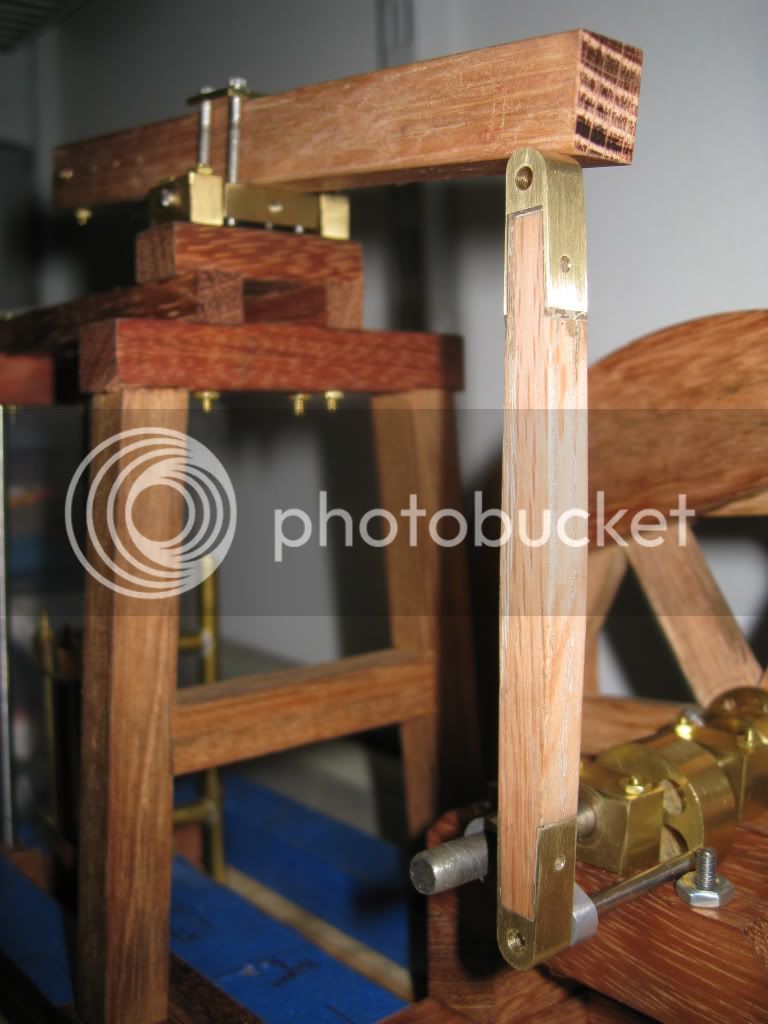
This photo shows where these two beams are in relation to the other parts.

WoodProject038.jpg


I have a lot of little connectors, pivots and brackets to make and the piston valve spool. So it will be awhile before this engine is ready to run.

Thanks for stopping by.

SAM
 
Good stuff, Sam! The brass against the wood is very attractive.
This engine is going to be a beauty.

Dean
 
Beautiful, very easy on the eyes.

keep up the good job and thanks for sharing,

t
 
It is really looking good Sam. That is a very visually pleasing design.

Well Done Thm:

Kel
 
Tom, Kel and Dean,

Thanks for the positive comments. ;D

I am surprised though, that no one caught the pipe wrench being used with a 5-40 tap. :big:

SAM
 
SAM in LA said:
I am surprised though, that no one caught the pipe wrench being used with a 5-40 tap. :big:

SAM

Ya, I seen that. I was wondering what you were doing, I figure a little Extra torque was needed? Them stubborn little taps just wont cooperate sometimes, and you have to persuade them, or scare them into working. :big:

Kel
 
Over the last several days my build has been creeping along at what seems to me to be a snail’s pace.
I have been fabricating various brackets, linkages and pivots. Even though these pieces take a lot of time, they have given me the opportunity to make some jigs and fixtures and practice silver brazing with proper materials.
Four of these links were required and needed the same off-set.
WoodProject001-3.jpg

The brass used is 0.062” thick by 0.25” wide. To bend the off-set I fabricated a jig out of some scrap AL I had. The two pieces are a mirror image of each other. The brass strip was placed between them and pressed in my bench vice. I used some file buttons that I made out of Drill Rod, as a guide when I rounded the ends.
WoodProject006-6.jpg

Another opportunity to fabricate a jig was presented when I made this pivot assembly.
WoodProject035.jpg

I could have machined the pivot plate from a solid piece of brass or silver braze the pivot blocks on to a piece of plate. My order of Silver Brazing wire and flux arrived. Brazing it is.
WoodProject030.jpg

You can see in the photo a recess was cut in the bottom of the fixture and 2 vertical notches to hold the pivot blocks. A piece of .125” drill rod is used to insure that the pivot blocks are aligned axial.
WoodProject018-1.jpg

I machined a pivot that connects the main cylinder rod to the main beam. This part is used to adjust the stroke of the engine. I turned this piece with a thread on each end. I needed to drill and tap a hole perpendicular to the axis. To hold the part securely, I threaded into a piece of AL which was clamped by the vice.
WoodProject009-6-1.jpg

Thanks for stopping by to visit.
SAM

6/4/10 Deleted the duplicate posting.
 
Great work on the jigs Sam. Those can be just as fun to make and the part you make with them. Thm:

Did you have any difficulty with heat when brazing with the aluminum jig in place?

Kel
 
Very good progress Sam Thm: - your parts are looking good ;D

It's always the little things like the links that takes the most time to do.

Regards, Arnold

 
kcmillin said:
Did you have any difficulty with heat when brazing with the aluminum jig in place?

Kel

Kel,

Thanks.
I had to heat the parts a lot more than I thought I would.
With the proper flux, I was able to get the parts very hot without carbonizing it.
"carbonizing" is that a word?
""carbonizing," is that a word?", is that a sentence?
The plate is 1/16" thick and the pivot blocks are about .125" x .25" x .375" so my propane torch was adequate.
I could have screwed the blocks to the plate, brazed them and then removed the screws.
That just seemed like the hard way to go on something this small.

Arnold, Thanks for the encouragement.

SAM
 
I failed to mention this in my last post.

I received my order from sra-solder.com.

I used what they call Easy Brazing paste, which is 56% silver and combines the metal and flux in a syringe for easy application. If stored properly, it should last me many years.

It was very easy to apply and when everything was hot enough it does flow like water.

It was much better than the "Silver Bearing" solder from Home Depot.

SAM
 

Latest posts

Back
Top