Wallaby 30cc 4 Stroke

Home Model Engine Machinist Forum

Help Support Home Model Engine Machinist Forum:

This site may earn a commission from merchant affiliate links, including eBay, Amazon, and others.
Hay Pete

I don't know how he knows, but Tel says you shouldn't eat the cores after they are baked.

And, I've heared uncooked flour is not good to eat either ::) so I won't be joining you in that feast.

Bez
 
Family matters have drawn me out of the shed for little while,

but I'm back into it now.

first up I got the pattern for the block finished


IMG_0216.jpg


So with that ready I was able to make a mould.

OpenBlockmould.jpg


Openmouldwithcore.jpg


and put in the core I made a little while back.

made of couple of castings to see which way up worked best.

I turns out it is best cast with the cam side up.

Blockcastinginthemould.jpg


Blockcastinginthemould3.jpg


This how the underside turned out both before and after cutting off the runners

Blockcastingbottomviewwithsprue.jpg


castingsBlockandSump2.jpg


and the top with the sump.

wallabyblockandsprue.jpg


castingsBlockandSump.jpg


The rough surface on the the right side of front end of the casting occurred because the pattern needed trimming to fix a draft problem. I didn't have time to seal it before the melt was ready. It is made of MDF and sucked the moisture out of the surfacing sand leading to a small bit of erosion. Next time I use the pattern it will be sealed.

 
Thats not a bad idea
next time,` I will make a video of Bez doing his magic. :bow:
I may as well make myself useful :big: :big:
Pete
 
Wow where did the last two months go? ???

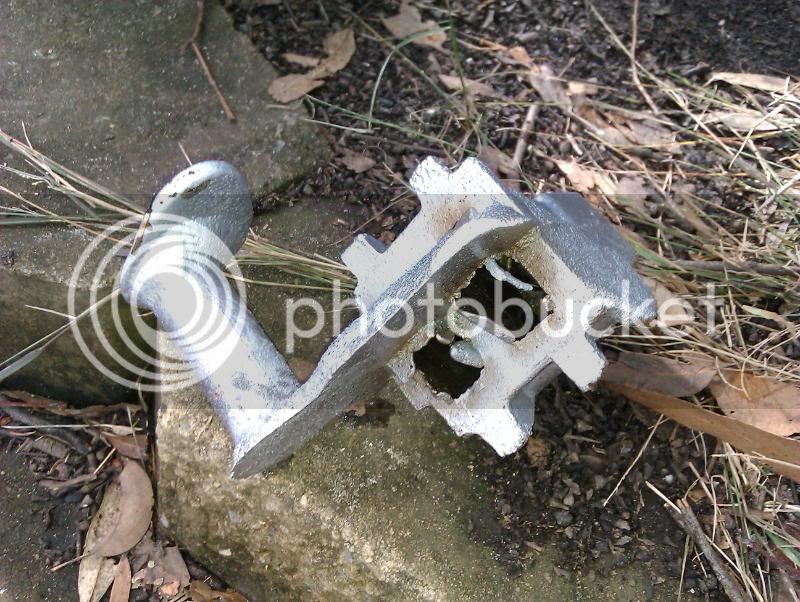
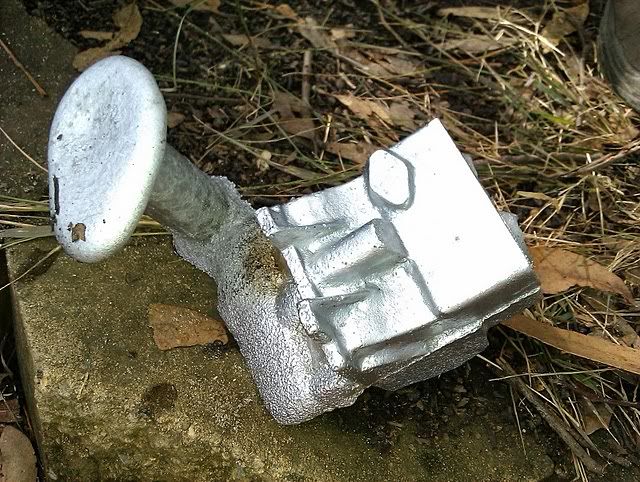
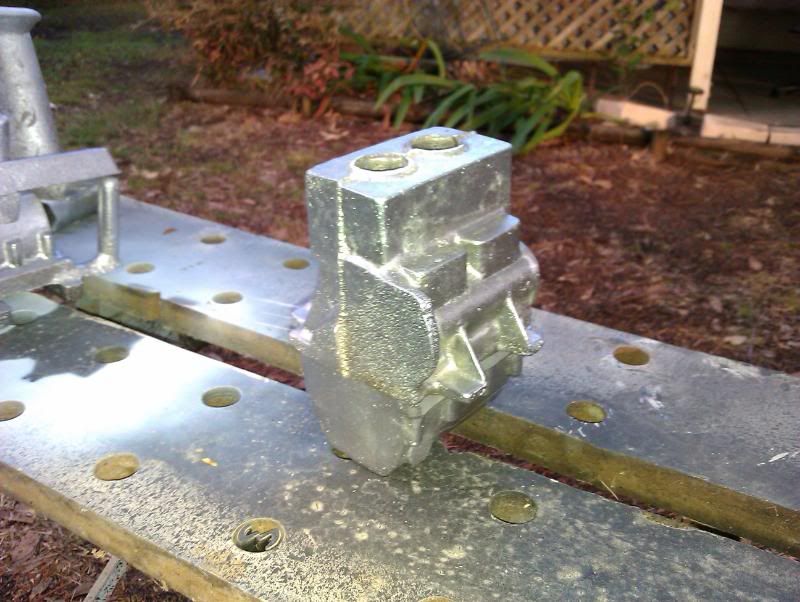
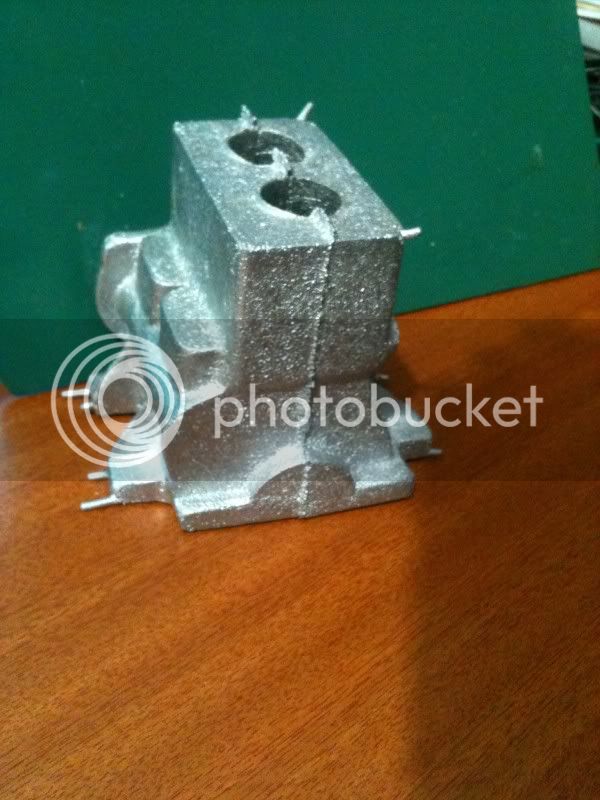
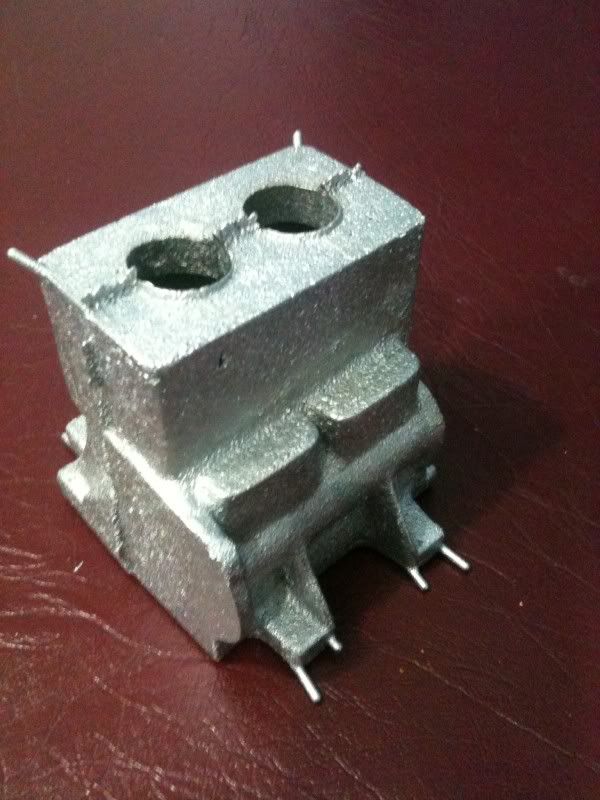
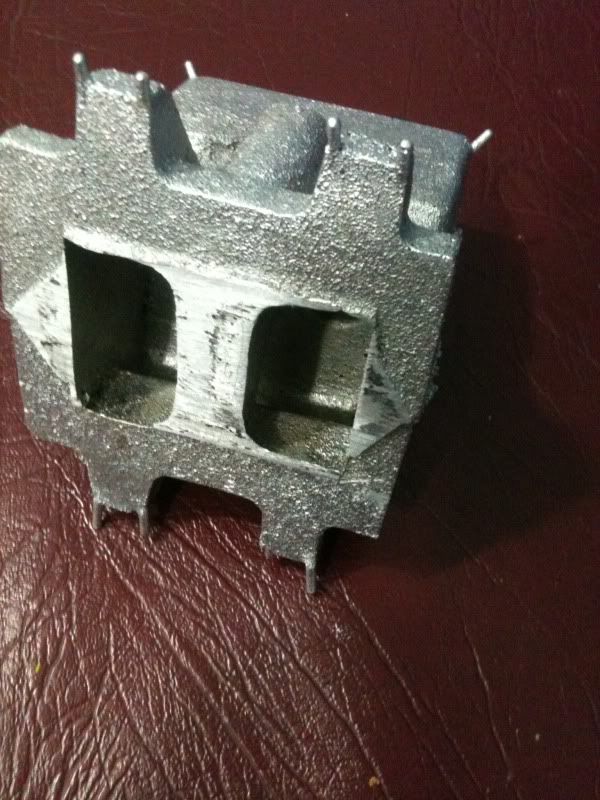
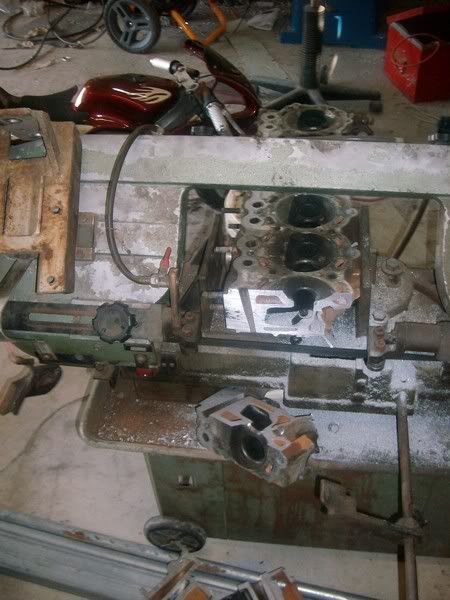
Well Pete was keen to knock some swarf off the new castings so he promptly set about doing just that - in the process he identified there was not enough machining allowance on the top and bottom of the casting.

(Also noticed the height of the push rod boss as published is 1/4" too low at 1-5/8" should be 1-7/8". So that casting is destined for a return trip to the furnace )
I appreciate the sacrifice you made there Pete.

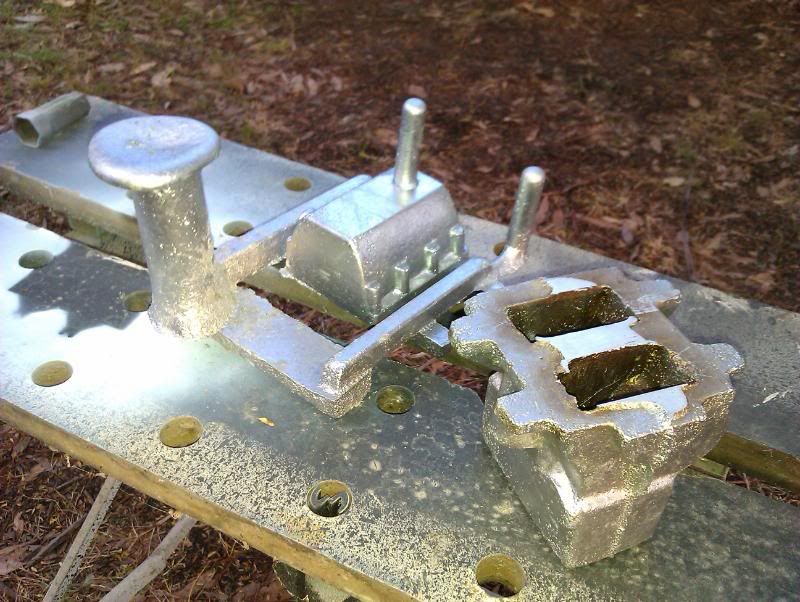
So the pattern was due for some alterations. 3mm on the base and 6mm on the top that should allow plenty of room for a good cleanup.

mchiningallowancedipside.jpg


machiningallowancecamside-1.jpg


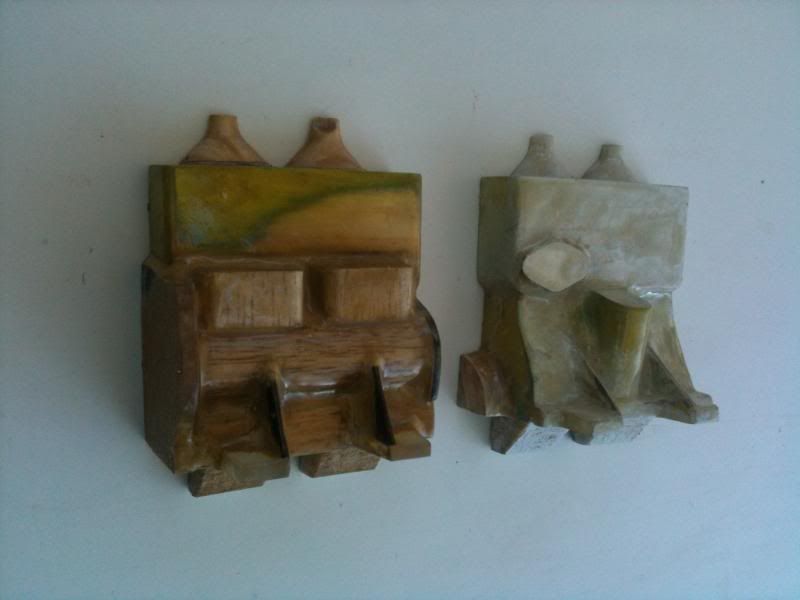
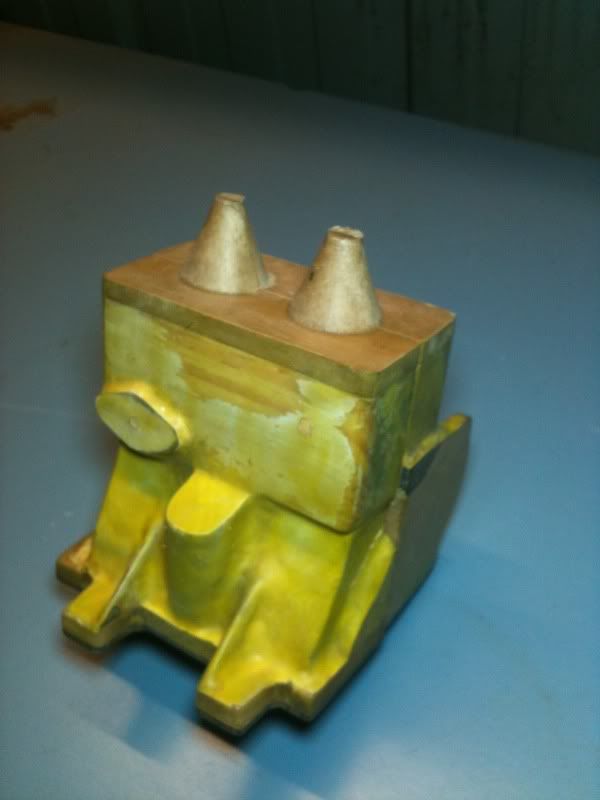
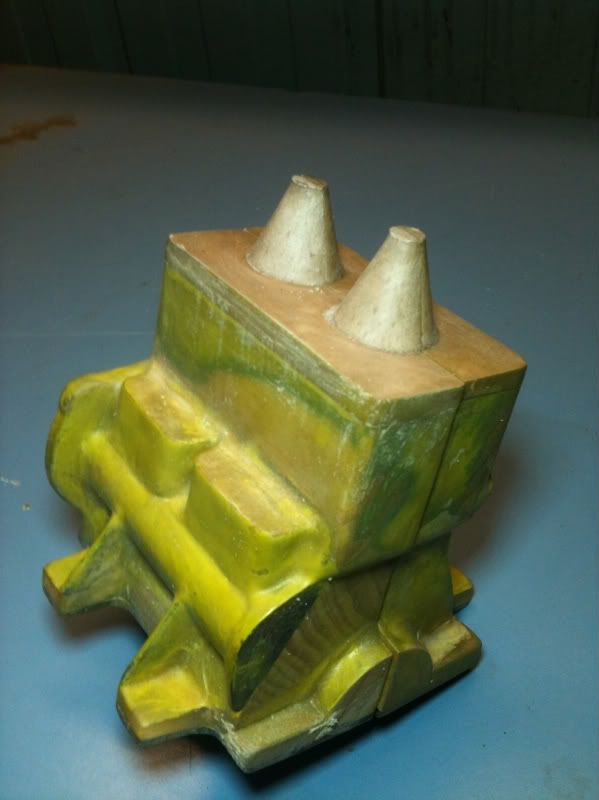
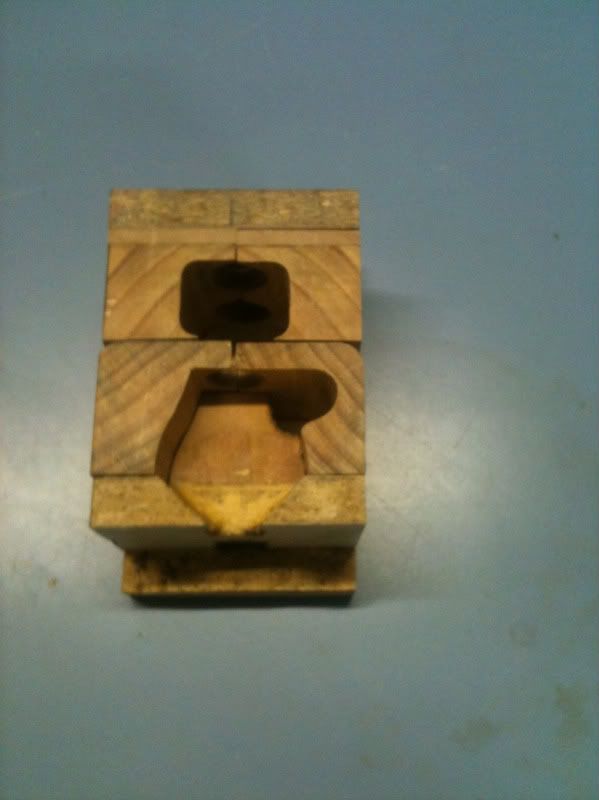
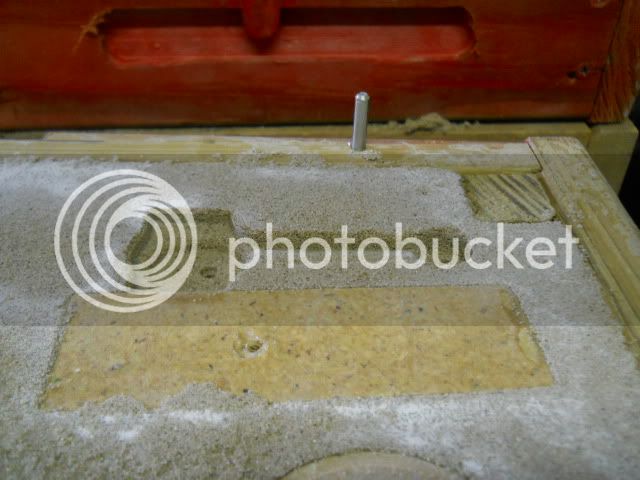
Now the core prints have moved so the corebox needs to be changed to suit.

(The previous top core prints weren't a good fit in the mold so I'll take the opportunity to fix that up)

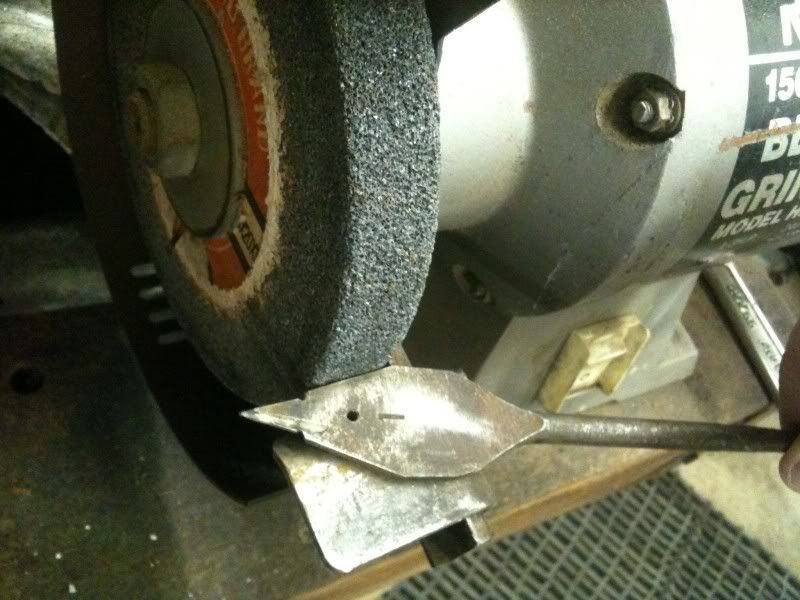
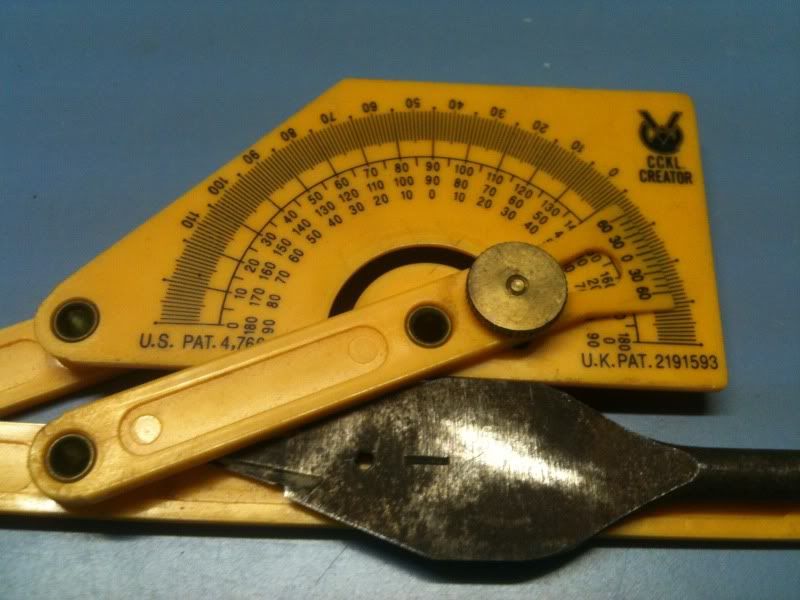
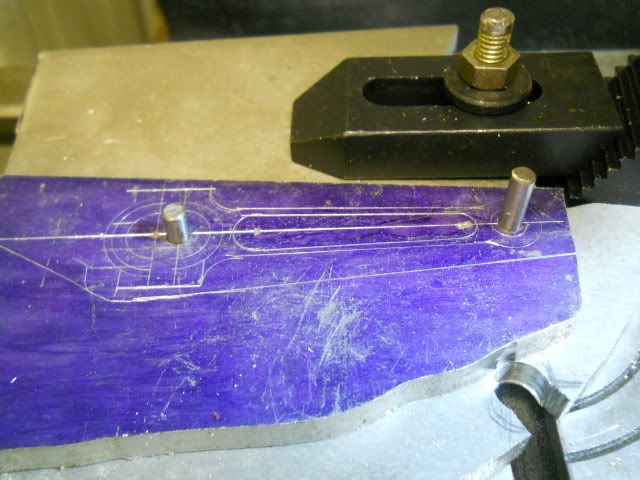
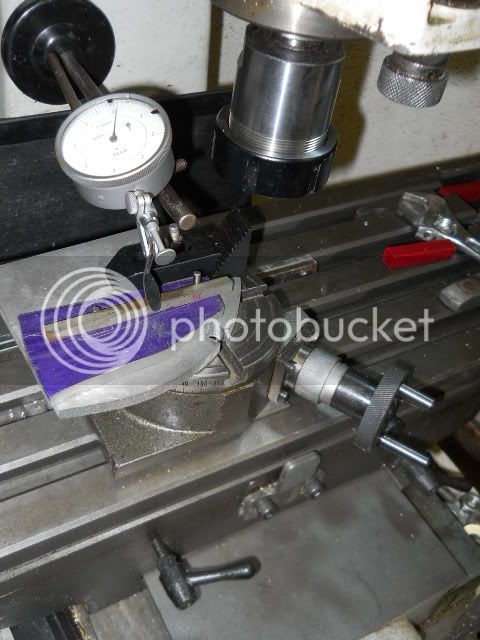
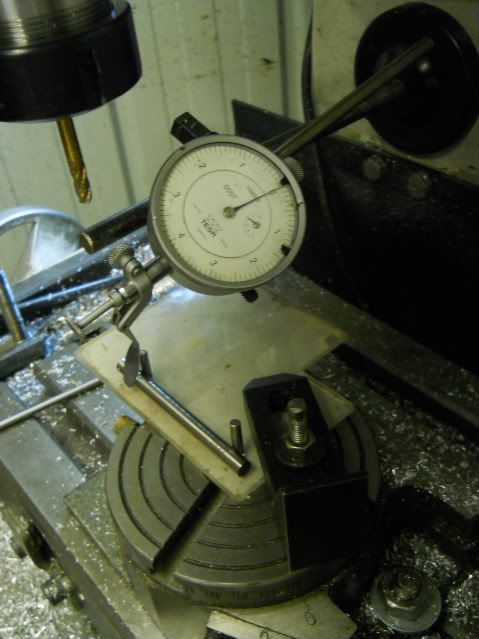
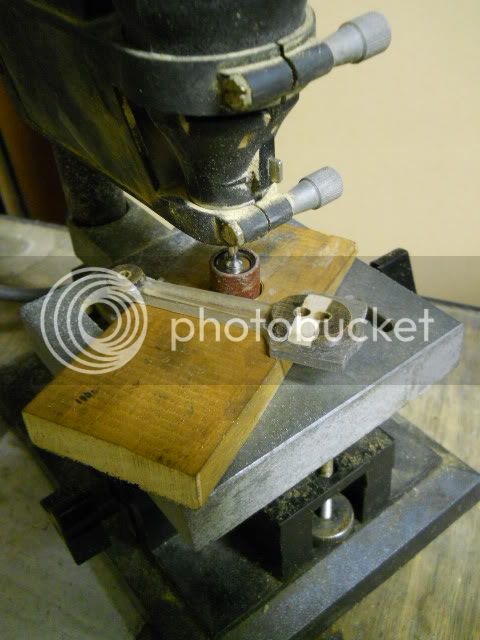
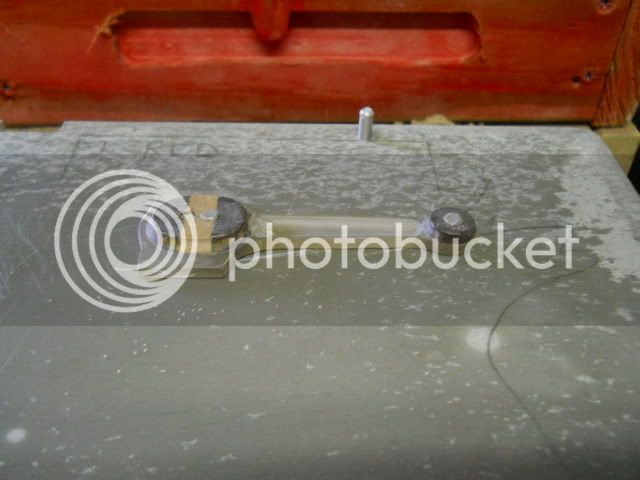
To fixthe top core prints I needed a more precise tapered hole for the top of the core box.

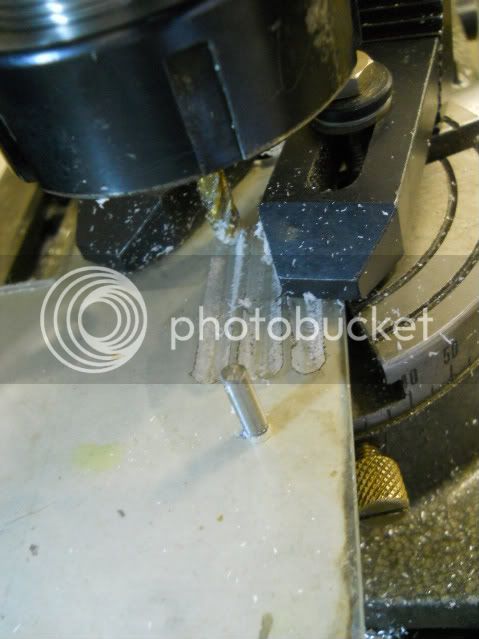
To make this tapered hole, I took an old 1" wood spade drill and ground away to the desired angle (ensuring to keep it cool so as not to lose the temper){the steel not mine} ::)

TrimingTaperDrill.jpg


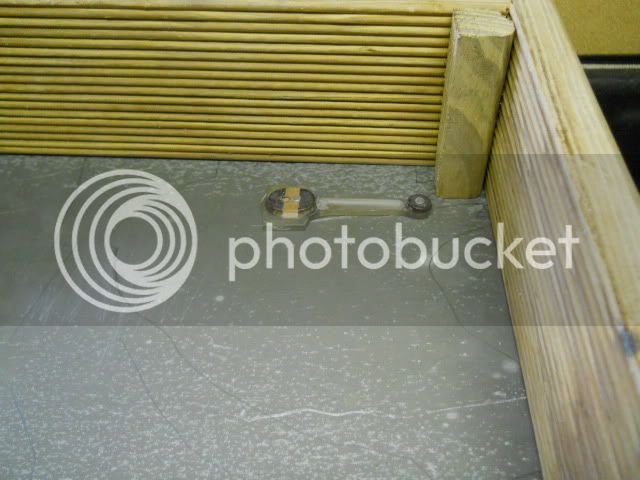
carefully checking for symmetry as I go.

CheckingTaperDrill-1.jpg


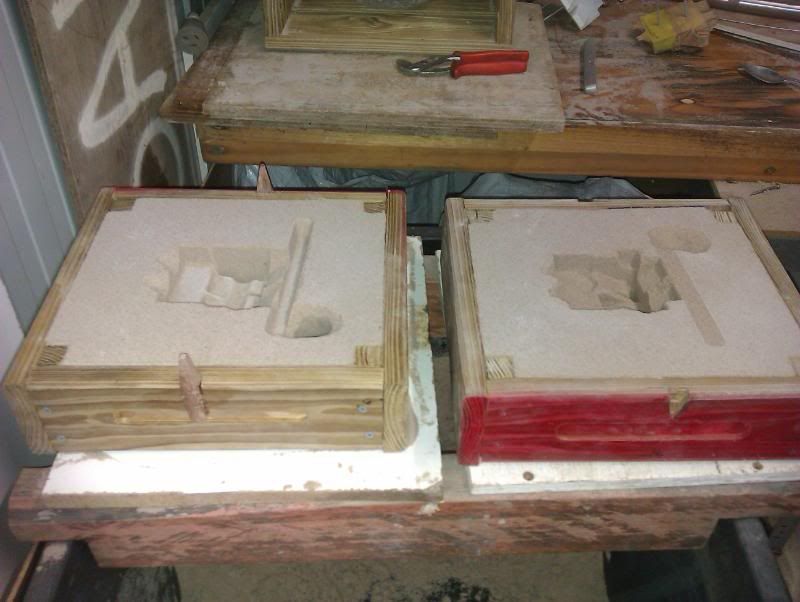
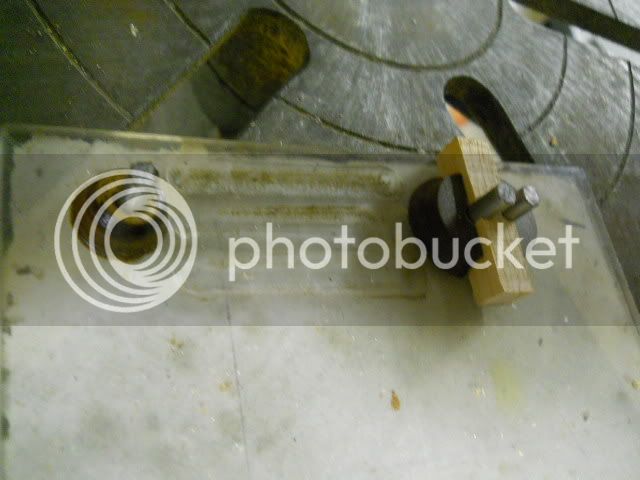
Next is the corebox itself, which is now about 9mm too short.

I added 6mm to the top of the water jacket formers - At the bottom I left the corebox unchanged and just made the core print on the pattern 3mm shorter, there by making all correct again - in theory at least.

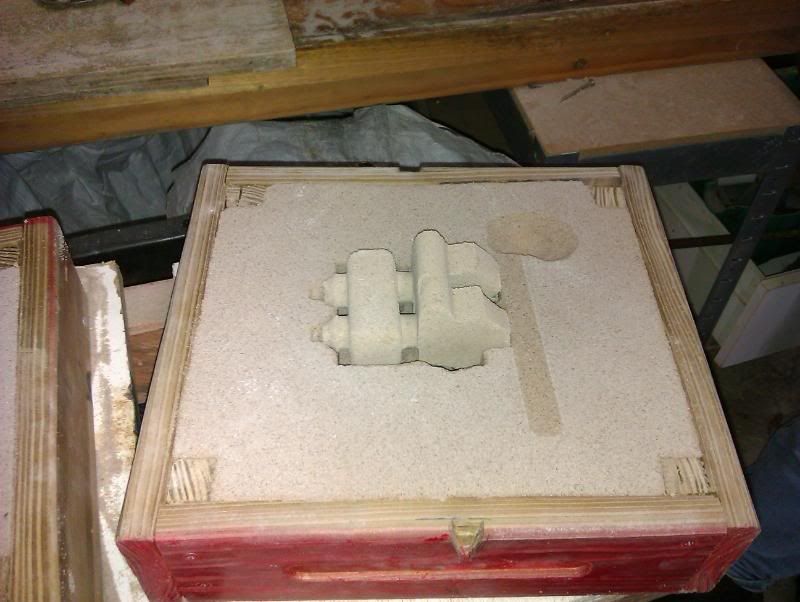
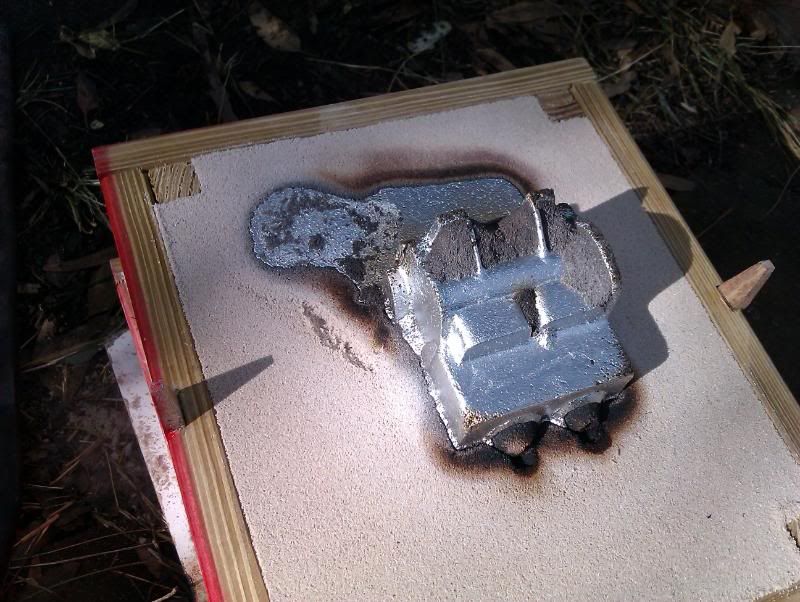
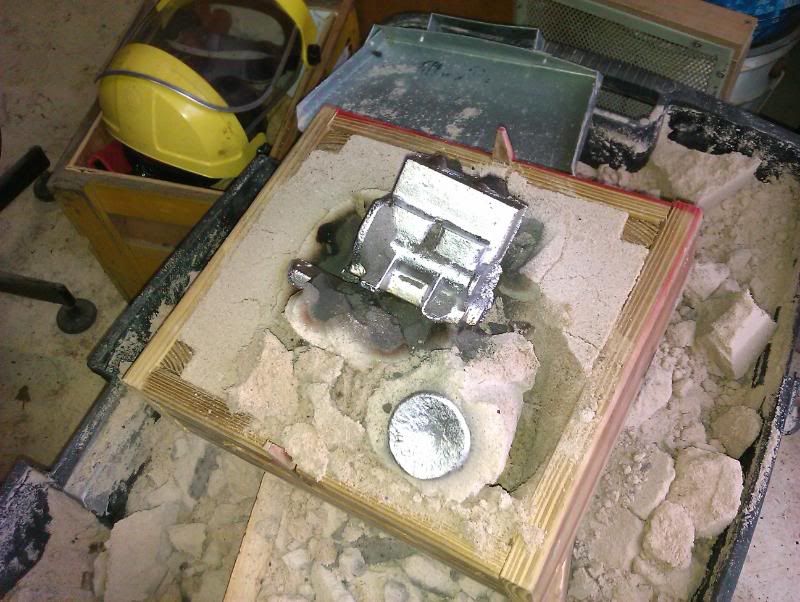
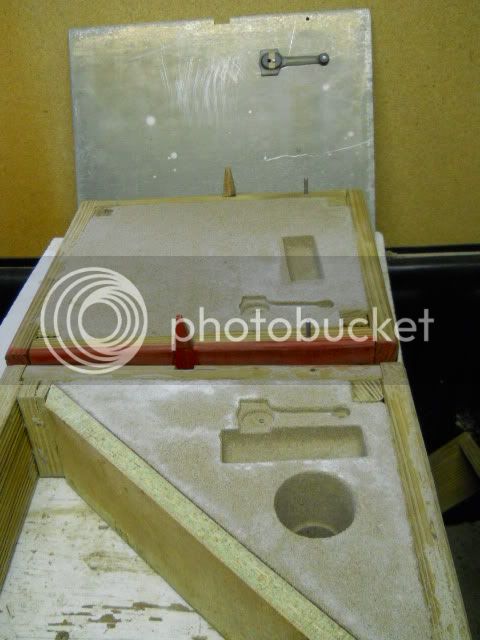
All that is left now is to cast some more and see what comes out.

IMG_0263.jpg


IMG_0261.jpg


and Here it is

IMG_0258.jpg


IMG_0250.jpg


IMG_0251.jpg


Cheers

Bez
 

Beautiful patterns and castings!

My father is a retired pattern maker.

 
Hey Bez

Did you do a set for me? Remember I left those old pistons with you.

Col
 
fltenwheeler said:
Is that an alien engine?
Tim

Hi Tim

No, this one's not an alien - but I must admit there has been a few castings I've pulled out of the sand that didn't look any thing like the pattern I put in it! :eek:

Its amazing what steam can do to your casting if you don't make allowances for it.

Matter of fact that's exactly what these antennae are for.

A 2mm spike is inserted into the corners at the extremeties of the mold.
These are referred to by some as Whistlers as they allegedly make a whistling noise when you fill the mold.

This whistler does two things.
  • Gives the steam an easy exit from the mold in low permeability (fine) sand, and
  • it allows any loose or eroded sand grains in the mold to have somewhere to go, that is outside the casting instead of collecting in the corners and putting pox marks in the casting

Bez
 
ColH said:
Hey Bez

Did you do a set for me? Remember I left those old pistons with you.

Col

Hi Col

Yeh! about those pistons-
They're Just big enough to get jammed in the top 1" of my graphite crucible. :(
Took forever to get it out again. (ah! I just remembered what I've been doing the last two months) ;D
Too hard to chop up in the band saw :mad:
They don't want to melt in the normal temp range of typical Al Alloys. ???
They're still as hard as nails at 600*C +. and you can't even break pieces off the skirt even when its glowing. :'(


The good news is the chips do dissolve in liquid Al - eventually :shrug:

:idea: I might just plug up the gudgeon pin holes and use them for crucibles :big:


That said I acknowledge your kind gesture :bow: of leaving me 10Kg of ...................
"??Something??" metal that we all thought was Cast Aluminium, so I'll throw a core in the oven for you and use some different Ali that's got less Titanium and or Chrome in it.
I'm assuming you want to be able to machine it when you get it. :big:

Oh! if I don't get it done by Wednesday Morning when are you next in town?
 
Thanks for the whistler tips Bez, handy to know. My problem is remembering all this info when needed, always seem to click after it is needed. Dam hindsight.
Brock
 
ShedBoy said:
[it] always seem to click after it is needed. Dam hindsight.

Yep, the casting often tells me I forgot something in the mold preparation. Too late then, just call it 'On the Job Training'.

Steam holes are a big problem, particularly with thin castings when some times even a stack of whistlers don't cure it. :wall:

That's when a little extra head pressure does wonders.


IMG_0249.jpg


Not recommended for use with an open top riser. *club*

Removing both ends of the can is recommended, for getting the best results.

Bez
 
I really doubt, u will have much of a shortage Mate :big:

SANY0030.jpg
 
Beautiful, clean work Bez. I only messed around with casting in high school shop class about a gazillion years past and my grandfather made quite a few patterns and had full size castings made for steam engines he would build. Your work brings back some memories for me and has also been quite informative. Well done indeed Thm:
I am truly enjoying this thread and will be watching the progress attentively.

BC1
Jim
 
Thanks for the compliment Jim.

My apologies for not responding directly and also to anyone else who may have fallen asleep waiting for my next post.

My SWMBO projects are complete now (I think ) :hDe: So here it is.


The Connecting Rods.

Looking at the drawings I decided that this might best be done on the mill in 1/4" Ali plate.

I could machine one half of the con-rod and use the same pattern on both sides of a match plate. (I'll show how this is done latter). For now I have to work out how to mill this thing, since there is only two pairs of surfaces that are parallel. One parallel with the parting line the other ( the sides of the big end ) is too short to be much use.

I drilled the locating dowels 4mm at the center of both big end and little end.

DSCN4128.jpg


This i can use as a reference that is parallel to the centre line. With a Piece of 1/4" key stock I could dial in the job to be straight on the rotary table and clamp down.

I needed to mount it on the rotary table to get the sides of the rod lined up correctly at 1.55o ether side of the center line.

keystockref.jpg


A 6mm ball nose cutter would thin out the web between the two sides.

So offset the rotary table 1.55o cut inside and outside of the line down one side from little end to big end.

Rotate the table 3.1o cut both sides of the line on the other side.

That should do it right?

 
Well, apparently, Ali plate, a brand new rotary table and my current skill set is a less than ideal combination for making conrod patterns. Nuff said ;D

Time to find a different way to attack this.

Basically the con rod is a 7/64" thick plate with a channel down the middle and a round piece added on at each end.

I have some perspex about that thick and the round bits can be made on the lathe.

line it up as before.

DSCN4131.jpg


Cut the channel and the outsides at 3.1o.

DSCN4132.jpg


drill a 4mm hole through the center of each round piece and push them onto the 4mm pins already in place.

The round piece at big end is cut in half and a 5mm spacer added to allow for a kerf to cut the big end in half to fit on the crank.


DSCN4133-1.jpg


The out side shape is then cut with a scroll saw with the table set to about 4o to get the draft for the pattern to drawer out of the mold.


then the pattern is trimmed up on a sanding wheel.
The wood block on the Dremel table is tapered to about 4o to maintain the draft angle while sanding.

DSCN4135-1.jpg
 
Using a match plate

The match plate should doweled to the flasks so that it cannot be incorrectly oriented.

Then the pattern dowel holes are drilled into the plate such that they line up with the dowel holes that are exactly on the center line of the half pattern.

With the flask, match plate and pattern doweled together in the flask the sprue and runners can be added.


DSCN4136.jpg


When rammed up the flask can be inverted, the match plate lifted and the half pattern removed.

DSCN4138.jpg


The match plate is replaced and the half pattern fitted to the same dowel pins, but on the opposite side of the match plate.

DSCN4139.jpg


The drag is then placed onto the match plate (the flask will be inverted again later) with longer dowels lining up the flask and match plate if required.

DSCN4140.jpg


The match plate, the half pattern, runners, sprue, risers and gates can all be removed from the mold before closing ready to pour.

DSCN4141-1.jpg


you will notice that the cope has a divider and is only half filled, this is because I wanted make another half pattern in the same flask. without ramming up a whole flask just for a 20 gram casting. ;D
 

Latest posts

Back
Top