Wallaby 30cc 4 Stroke

Home Model Engine Machinist Forum

Help Support Home Model Engine Machinist Forum:

This site may earn a commission from merchant affiliate links, including eBay, Amazon, and others.

bezalel2000

Well-Known Member
Joined
May 8, 2011
Messages
316
Reaction score
7
EDGAR WESTBURY Published the Wallaby in Model engineer 1962 -I was too young to appreciate it at the time but I think its time I should give it a go.

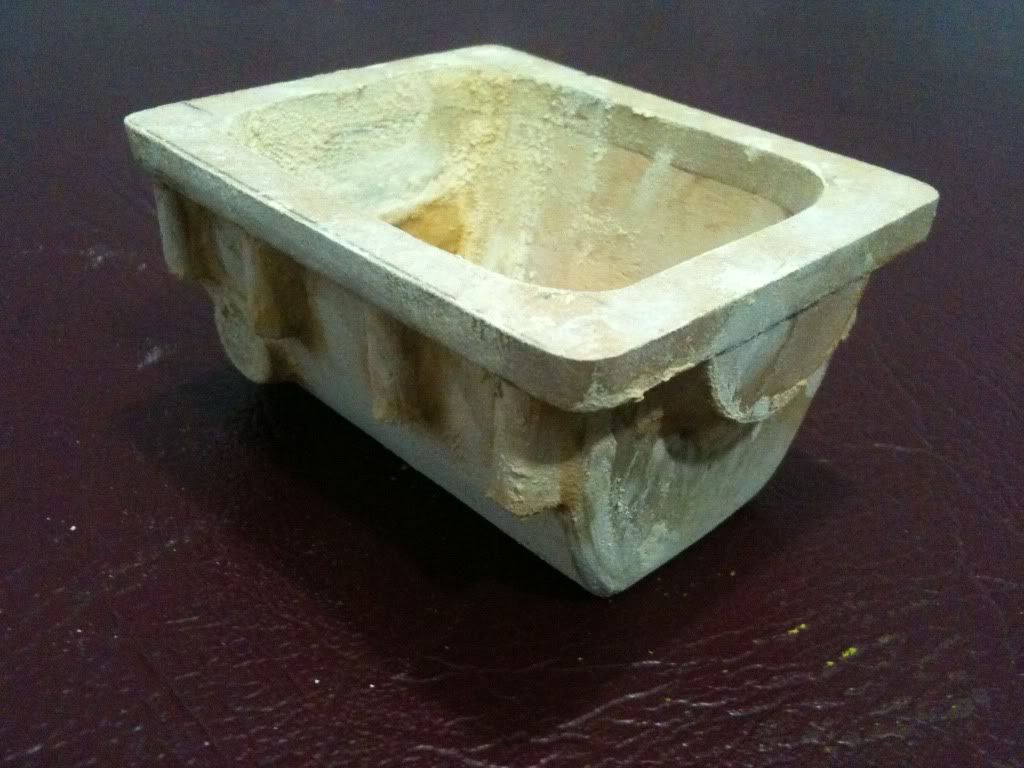
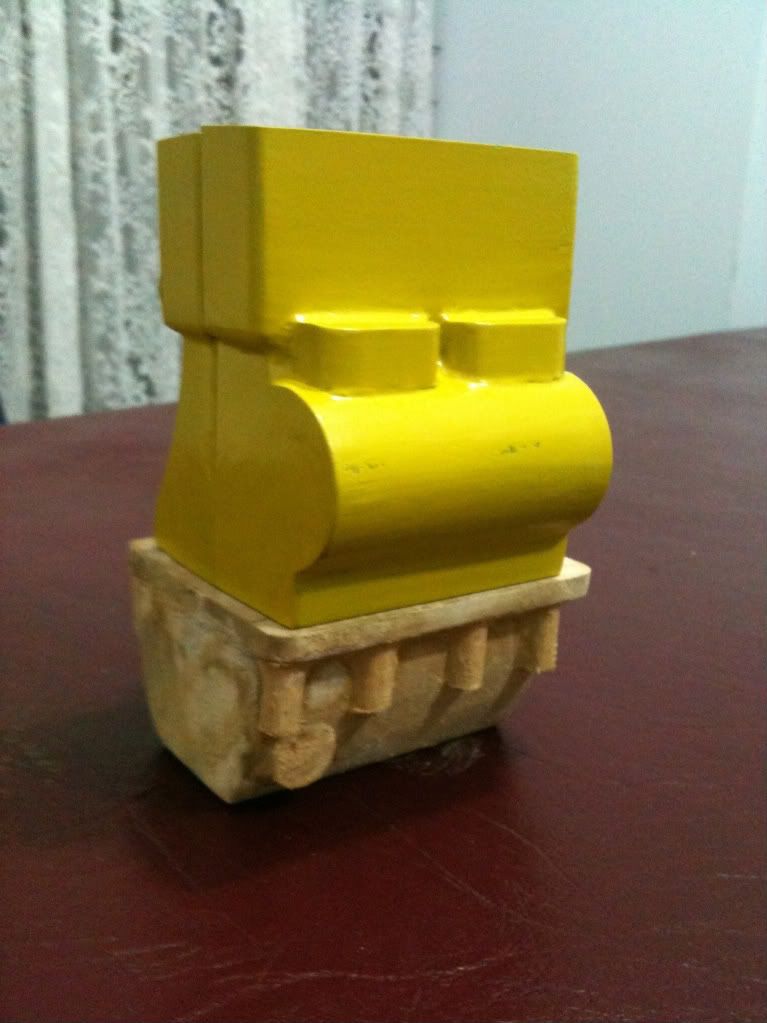
First step - get the castings - better yet Edgar provided pattern drawings for the Wallaby so I best start there. ::)

This is my first model engine so I have no idea how long its going to take or how much help I'm going to need - but nothing ventured nothing sprained :big: Got to start some where

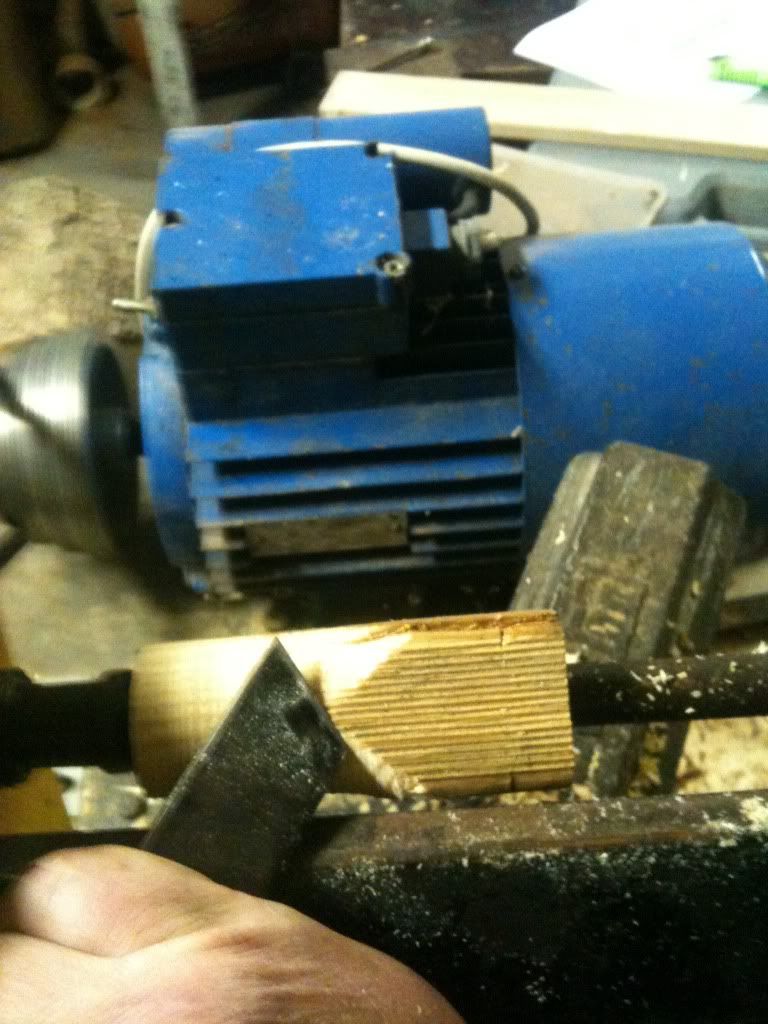
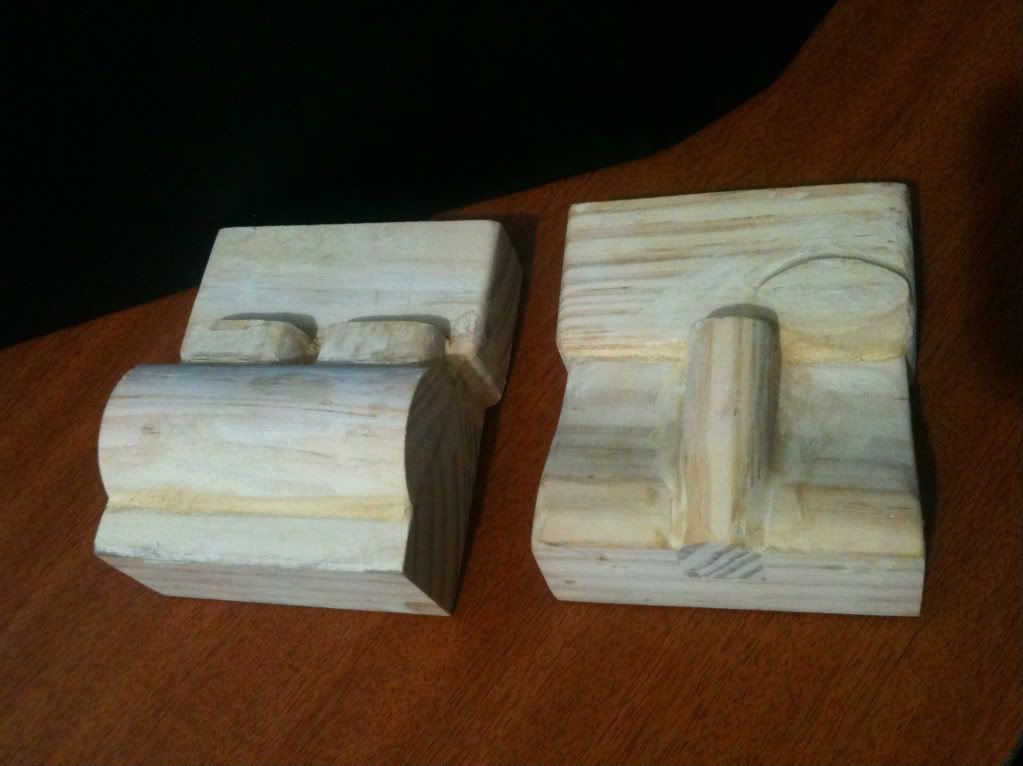
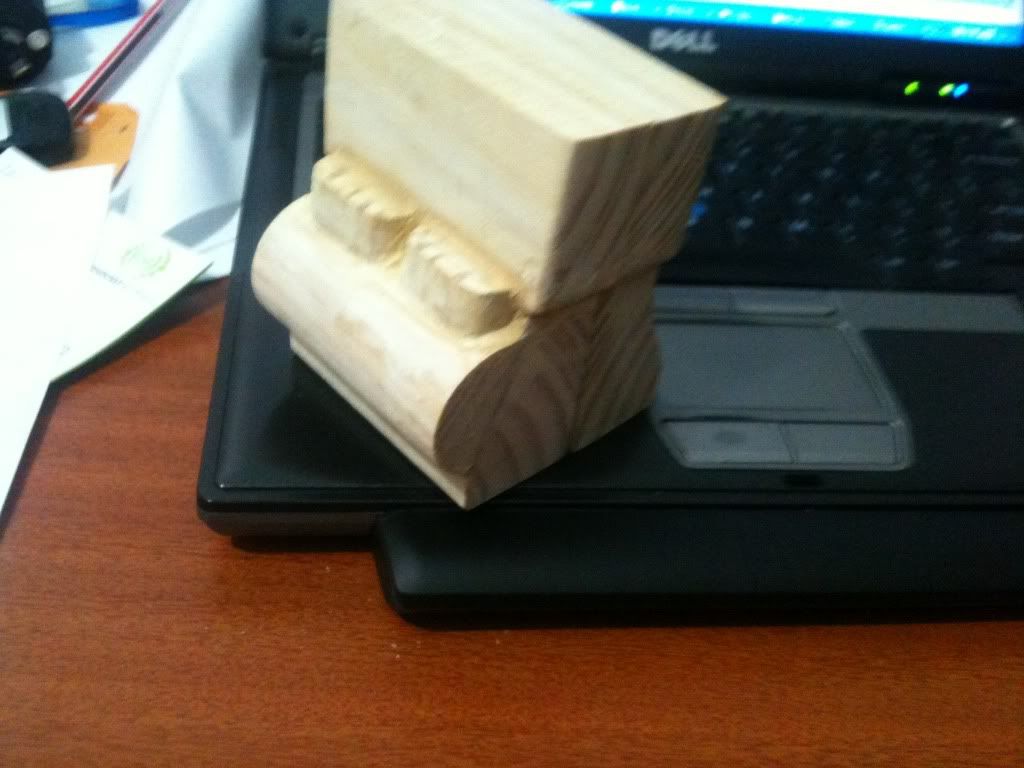
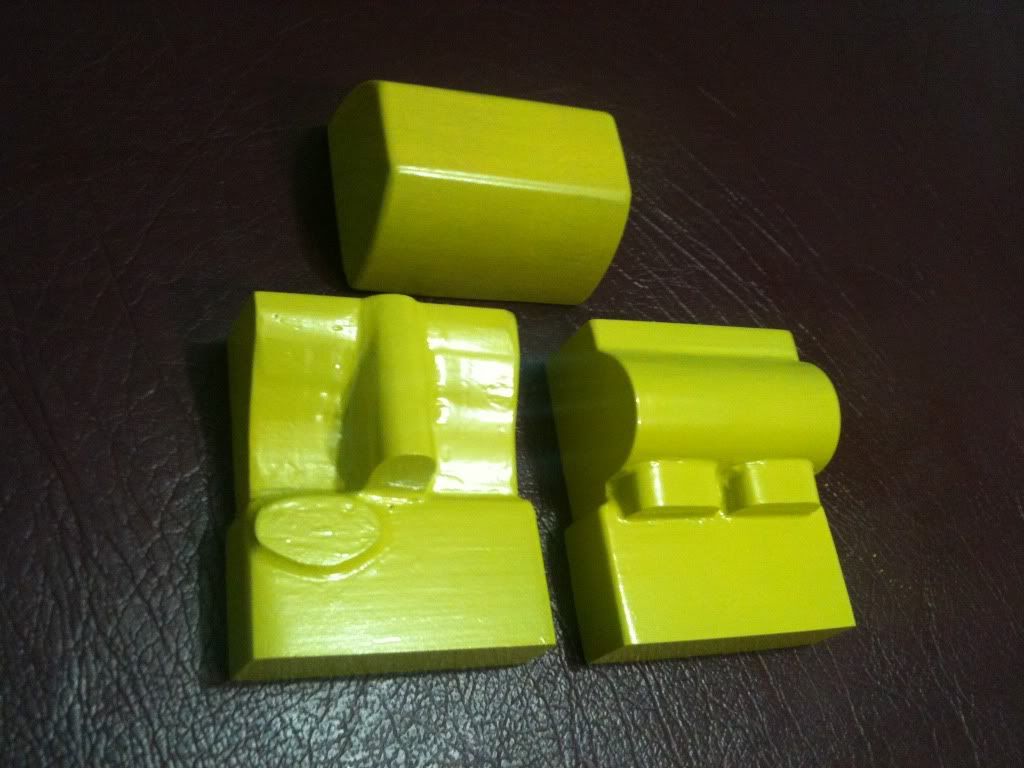
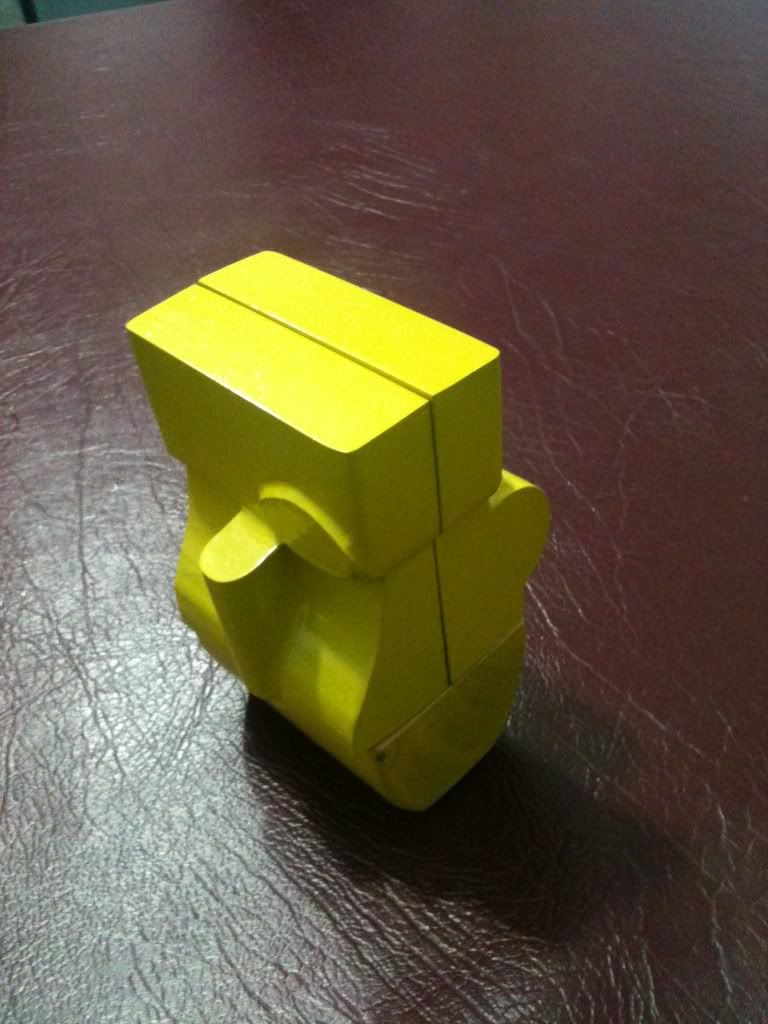
To night I started on the pattern for the engine block. Only got part of the right side of the block done and partly filleted.

I'll add on as I go.

Blockrightside.jpg


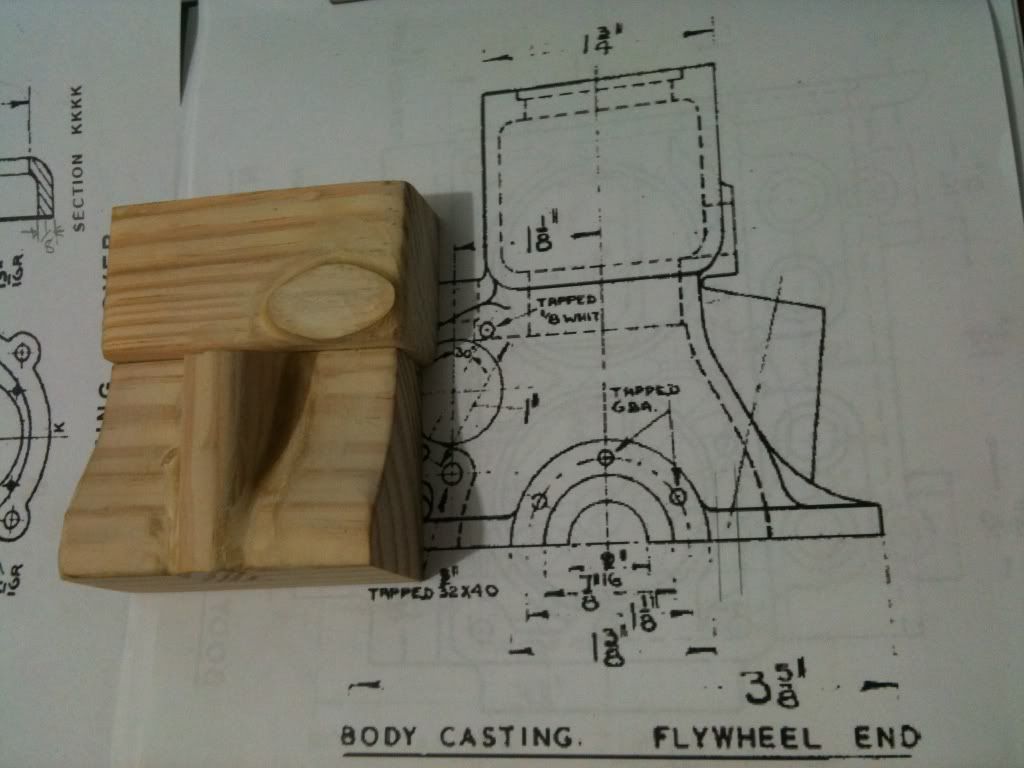
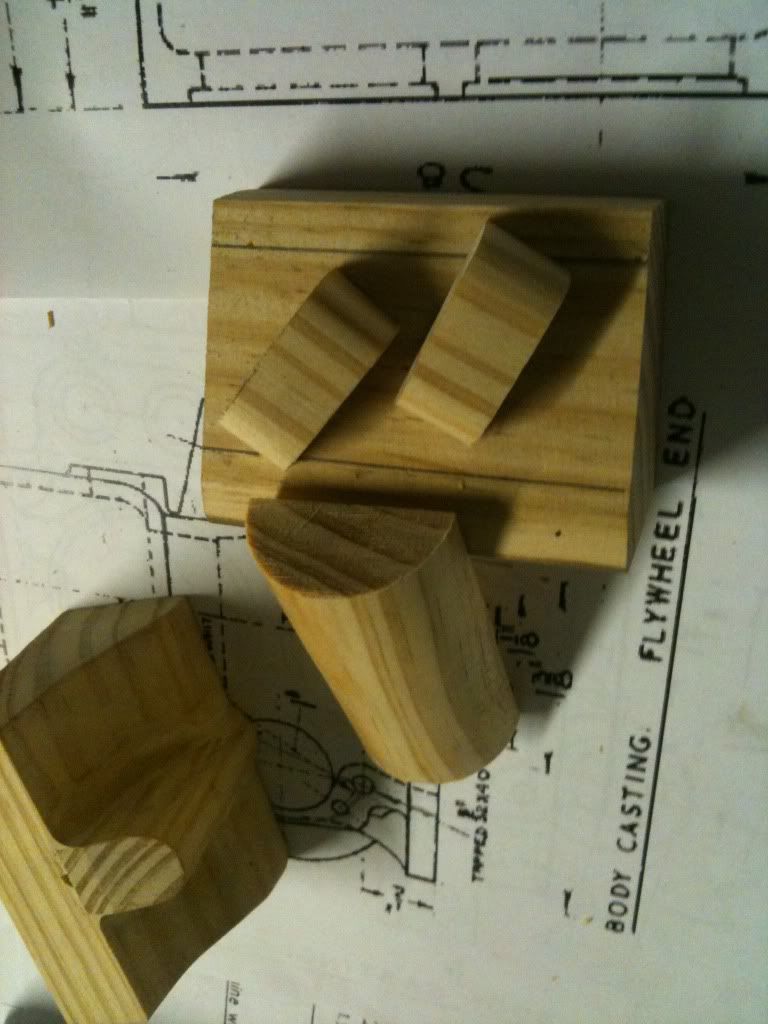
The two lumps on this side of the engine are the oil filler and the radiator hose mount

Blockpatternrightside.jpg


Since this is going to be a split pattern this is just the first side - the other side has a few more complications I need to work out.
 
Awesome undertaking, pattern making and pouring castings is one phase of model making I have not ventured in too. So I will be following your process with great interest. Thanks for wanting to share.
 
Good one Bez
often taking the first Bite out of that elephant is the hardest :bow:
Pete
 
steamin said:
I will be following your process with great interest.

Thanks Steamin

I'll try not to run you astray in the pattern making department.

metalmad said:
often taking the first Bite out of that elephant is the hardest :bow:

Its taken a while to work out if I should start at the trunk end or the tail ???


Bez
 
Hi Bezal,

I've contemplated this build for a while..but not from the raw pattern stage!

I'll be watching! ;D

Dave

 
steamer said:
I'll be watching! ;D

Dave

Well I best not stuff it up then. :big:


Ive got the camshaft side of block done.
I'm using a water based filler for the pattern fillets I'll take some photos when its dry - don't really want the camera gummed up with that stuff,

Bez
 
Hi Bez. I'll be watching too. Thanks for sharing :bow:
 
Hi Bez
This gunna be a fantastic post and looking at the drawings of the Wallaby not an easy one.
Making the castings show a whole other side to making engines and u really have my attention.
Pete
 
Awsome, I would love to have a home foundry one day. Best of luck with this build. I will be watching this one.

-Bob
 
The CAD model was made by me using Alibre. The geometry was created by me and is not a duplicate of the Wallaby, but a simplification....to make it easier to whittle out of solid. NO copywrite infringement there

As to copywrite, your right...I wouldn't publish the plans on the forum.

However, what you have done so far I "think" is fine...Hemingway publishs all of that on their website...but go easy with it.

Dave
 
hi lordedmond

Thanks for the copyright info I wasn't sure if Westbury had assigned the rights to anyone.

I guess we just have to wait another 9 years before it becomes PD (4 May 2020)

Good pickup on the copyright thing in the backdrop to my photos. I hadn't given that a thought (re: copyright), they were just "A nice backdrop" to cover the paint pattered benchtop. I'll watch that now I'm mindfull of it.

and thank to you too Dave

Bez
 
Hi Guys

I chopped up some more wood yesterday for the cam shaft side of the engine.
A couple of blocks for the push rod guides and half a cylinder for the cam shaft housing which runs the full length of the block.

The half cylinder starts life as a chunk of pine that's been kicking about the workshop for a few months now – So lets turn that into sawdust.

Picture068.jpg


While I was turning this cylinder it occurred to me that a few metal machinists may not know how to turn soft wood without finishing to size with sandpaper. So I posted a “How to” at

http://www.homemodelenginemachinist.com/index.php?topic=14644.0


Here's a few of the bits that make up the cam shaft side of the block.

Picture067.jpg


Well it feels a little embarrassing exposing my naked patterns this early,

but I guess you won't get to see how it got that way if it just turned up sparkly and true.

After assembly it starts to look a little rough, the fillets are yet to be cleaned up and the matching faces still need to be trued up, the top bottom an side draft is still approximate.
but it is starting to look a little like an engine block.

Picture.jpg


IMG_0124-1.jpg


Stay tuned, there is more to come

Bez
 
Slow progress yesterday

Just added some paint and the sump (outer only - no core yet)

BlockandSump002-1.jpg


BlockandSump001.jpg
 
Wow It looks great
Starting to look like an engine aready :bow:
Pete
 
Finished adding the flange to the sump pattern today

The important thing with patterns is Good draft, smooth surface and filleted internal corners,

This sump has a lot of (almost) vertical surfaces so I need to pay particular attention to the other two aspects to help compensate, otherwise I'll have trouble drawing it out without damaging the mould

here it is before the clean up.

unpaintedSump.jpg


BlockandSump-1.jpg
 

Latest posts

Back
Top