Well It has been a while since I posted. The best excuse I can come up with is the motor on the wood lathe kicked the bucket. This led to a range of challenges that have finally been overcome and we can get back to the wallaby castings.
This next casting or pattern at least is the piston.
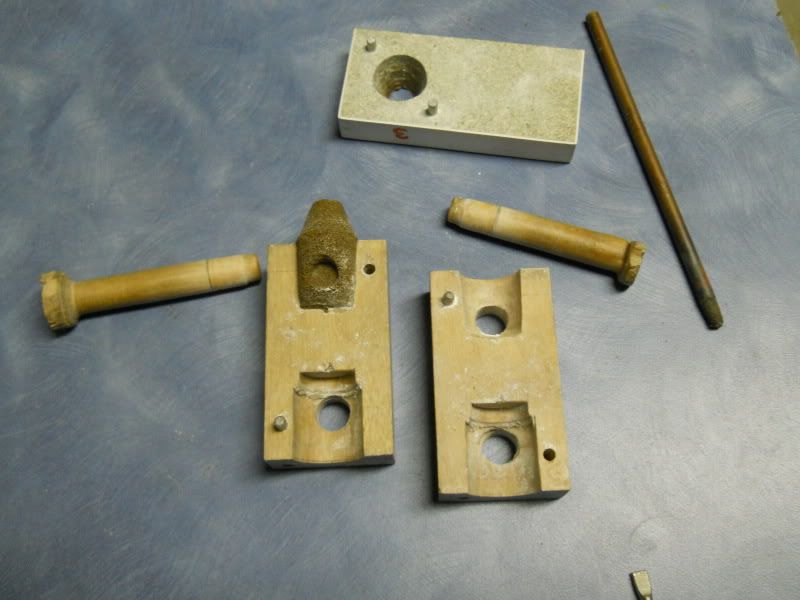
The outside of which is little more than a very short broom handle. The reduction in diameter is a chucking piece this will be left in the chuck when the finished piston is parted off.
.
The cone is the core print to hold the core in place.
The inside is a little more complicated, with a reduction in diameter near the top and spigots (if that's the right term) for the gudgeon pin to pass through. about half way up.
This will be an interesting core box.
Here are a set of cores fresh out of the oven.
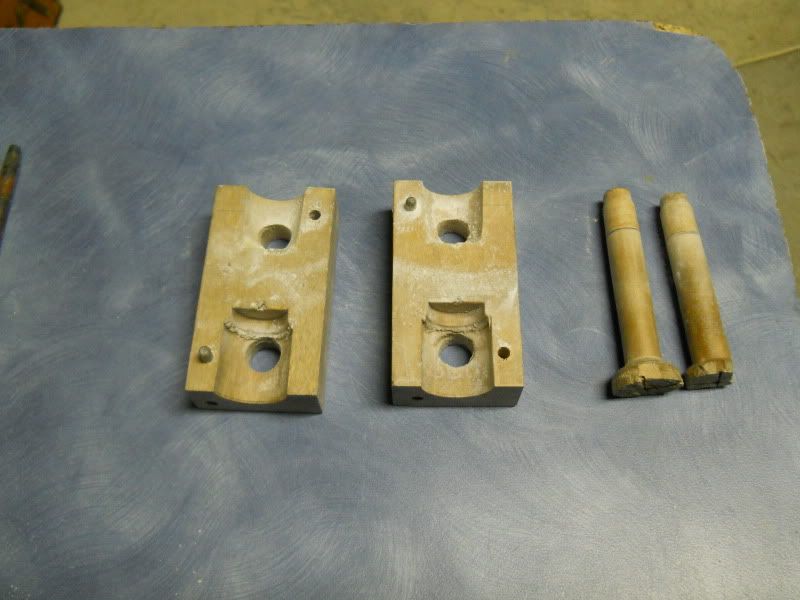
And this is the core box, with the two gudgeon pin bosses ready to insert into the core box to leave metal for the gudgeon pin mounts.
I planned to use Zinc allow ZA27. I wasn't sure how much shrinkage will occur around the core. (as it turns out, there is Nil shrinkage around the core) so there are two different size core boxes in the block.
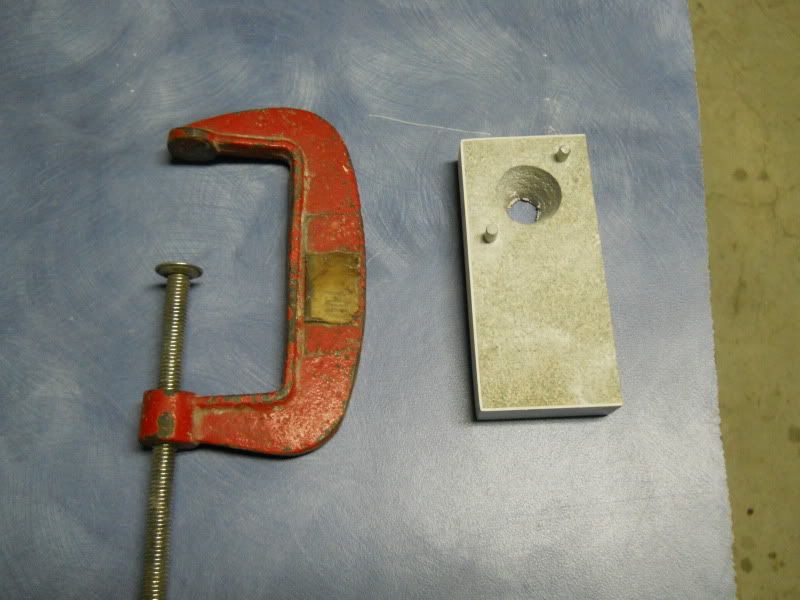
Bellow is the core print pattern that sits across the end of the core box to make the end of the core tapered to fit in the core print in the mold.
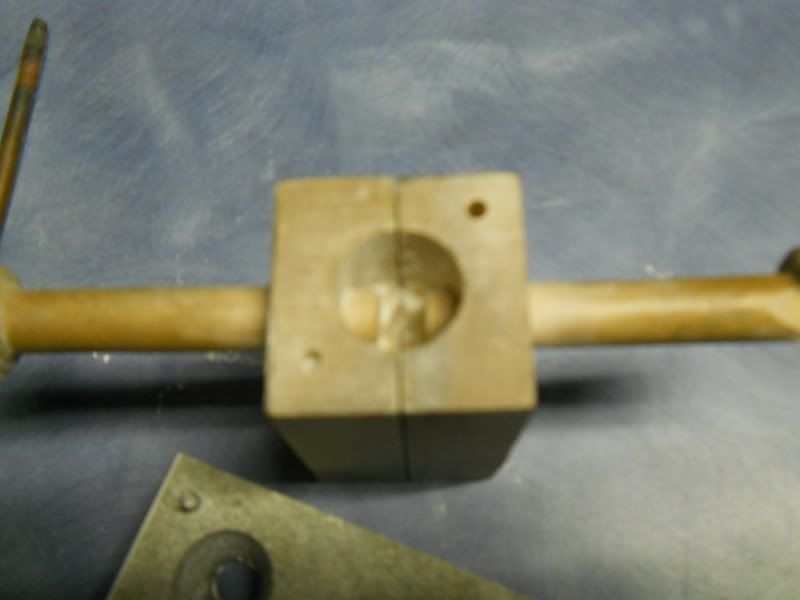
Core box partly assembled.
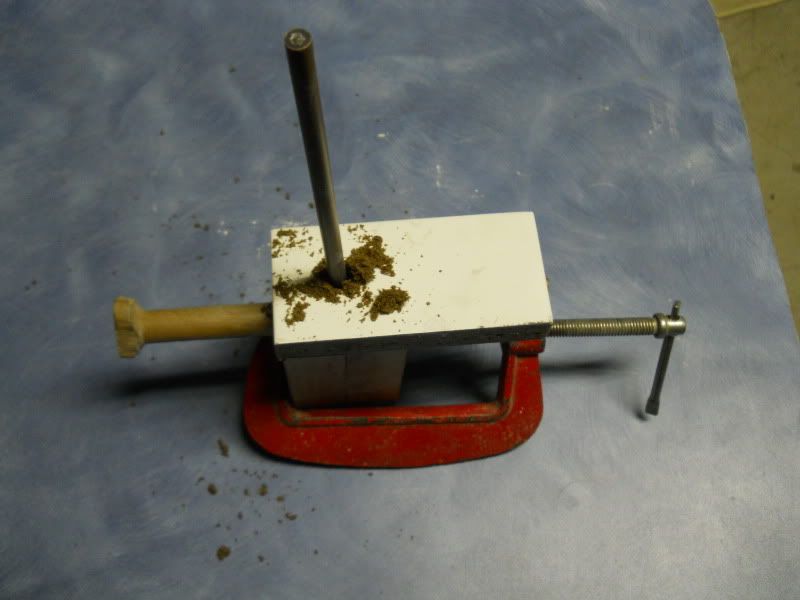
Ramming up the core
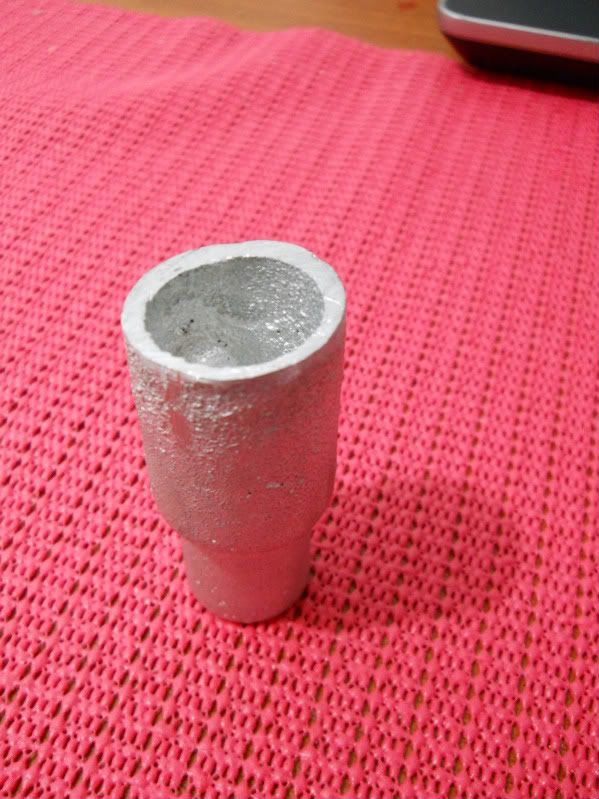
The finished Core
From here the cores are baked for about 40 min. 180oC
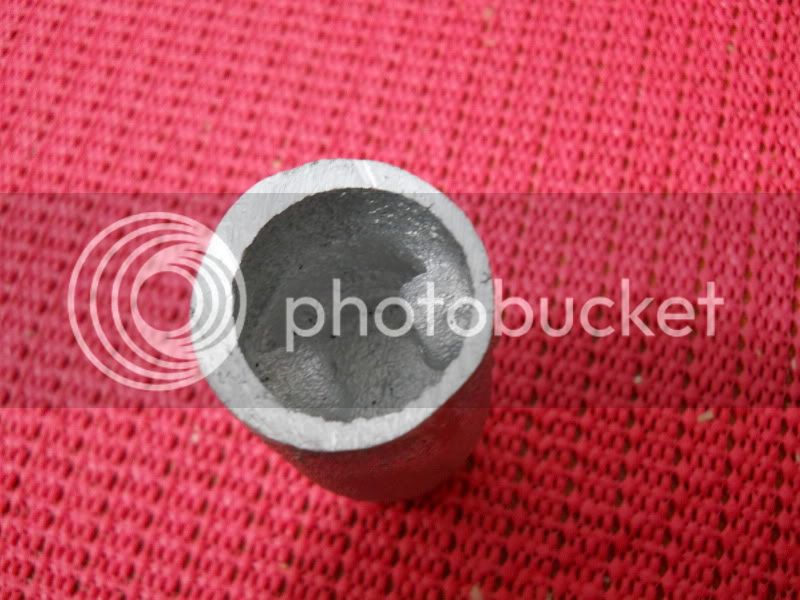
Here is one piston, out of the first set of pistons cast. The inside diameter is oversize
So the next ones will made using cores from the smaller end of the core box.
It shouldn't be a major problem that there is a little eccentricity between the inside diameter and the outsite diameter as the outside has to be machined be concentric anyway.