Two IC newbies Build Websters

Home Model Engine Machinist Forum

Help Support Home Model Engine Machinist Forum:

This site may earn a commission from merchant affiliate links, including eBay, Amazon, and others.

jixxerbill

Well-Known Member
Joined
Jan 11, 2013
Messages
114
Reaction score
24
After getting the metal in yesterday for building the Webster engine I noticed in another thread that Aonemarine was contemplating building a Webster also. I contacted him and we had a long talk about building them at the same time and putting up one thread and share how we are doing things. I think both being on one thread will make it easier when it comes time for needing help.. I have read thru Brian's build of the Webster and Aonemarine has also so maybe we can get thru this with a minimum of problems and few offerings to the machining gods. We both started on the builds today. im going to post a few pics but nothing fancy just the base and started on one of the side frames. Speaking for myself if anyone hapens to see anything that dont look right please call it out to me..Thanks...Bill

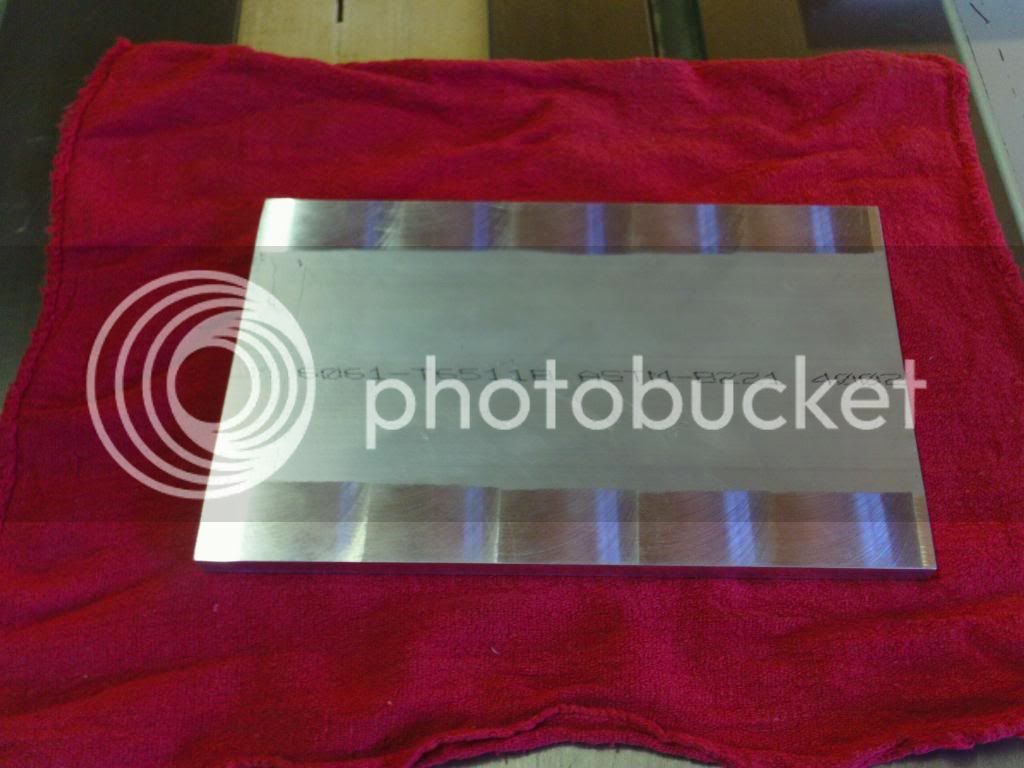
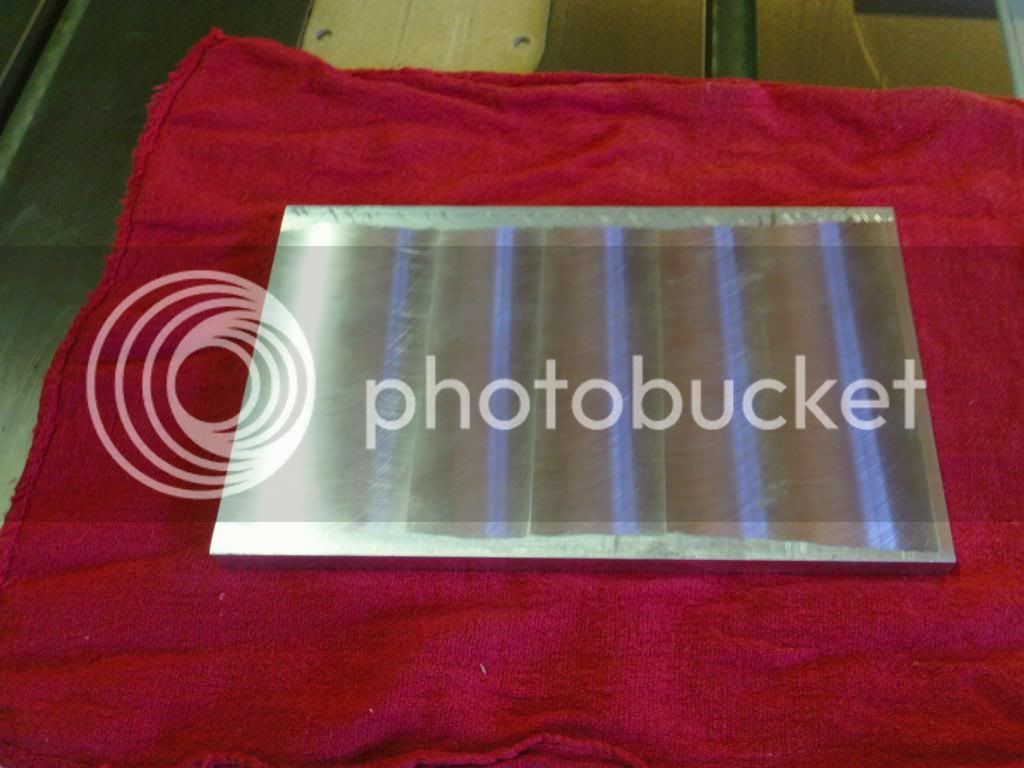
Top and bottom of base after trying to get it flatter..I took all i could get so i had some material left. And one pic of end of work today

SAM_0014_zpse1069be1.jpg
SAM_0018_zps1aa9d2c7.jpg
SAM_0013_zps4c47d39f.jpg
 
I all most have to laugh.. pictures on the table saw.....Theres just something about that nice cast iron work bench with a saw blade sticking thru it. Bill we have way too much in common.
I managed to get my base cut out today and the outside profile milled. I dont plan on finishing the top off nice just yet. Ill wait till all else is done so I dont scratch it up. I do some stupid things at times, so to keep me in line I left myself a little note on my work piece.

webster build 006.jpg
 
hi gentleman, I started mine also. completed cylinder head (if you need to drill the spark plug hole first, then you can use a 1 inch mill to drill out the cylinder bore instead of chucking up to the lathe :) ), and cylinder aswel as the main support side.
I will follow your progress :)
 
That's a neat idea to both build the engine and share a thread about it.
I have the plans but have yet to get started on it.
I'll be following as well :)
Gerry
 
Lord help you boys!!! You are going to have more fun than a barrel of monkeys. Hope all goes well, if you have any questions I'll be glad to answer them.---Brian
 
Great Idea! I will be following this build. My first (and only completed) I.C. engine is an Upshur farm engine I built about 15 years ago. I have 3 more in various stages of completion-I hope to finish my 1/4 scale Gade this year. I have built 2 steam (air) motors, but my heart is still with I.C.
Keep up the good work!
Cheepo45
 
Brian, thanks for the support. Bill and I have been checking out your build on this engine to help us along. Thanks for taking the time to post it.
Scott, glad to see your following along. Dont hesitate to jump in with some pointers! I know Im going to need them.

I only managed an hour in the shop this evening. I was tired when I started out and every thing I did was a near screw up. Stupid little things like not locking the quill and knee, and cutting too close to the line on the band saw. I packed it up before I screwed up. Managed to get the one side frame cut out, milled to shape, and fly cut to the right thickness....Tomorrow is another day...
 
I spent most of the day helping my Brother-in-law with a cattle guard. but i did get a little done..

jpg.gif
SAM_0023.JPG (279.9 KB)

jpg.gif
SAM_0024.JPG (281.5 KB)


Does the sight of this make anyone cringe? Im not ready to do it yet but i was gonna use this set up to line bore my brass bushings.. The clamps are holding onto a piece of half inch steel plate behind the base .. Thanks all

jpg.gif
SAM_0025.JPG (280.6 KB)

SAM_0023.JPG


SAM_0024.JPG


SAM_0025.JPG
 
When I bore two holes seperated like the picture above I like to put a support between them. I usually find a bolt that fits in there with a bit of a gap and use a nut to take up the gap, use no tools just enough pressure to hold the bolt in place and the same below the bottom piece.

Brock
 
Hi ya.. good idea two pepole building the engins on one thread.
i down loaded the plans about a year ago to have a crack at it but never got started so i will be following with intrest good luck on this
 
A little more done today. Still have more holes to tap in the cyl. head frame and waiting on my 4-jaw to finish the bore in it..

SAM_0026.JPG
 
I got the other side frame cut out, milled to shape, and was fly cutting it down to thickness. Running into a little issue....Measuring the stock I get
LF .325
LR .323
RF .323
RR .321

This is kind odd as I just spent a lot of time getting things into tram (less than .001 over 6") I am thinking there is something going on in the knee of the mill. I really need to check into this further, I can deal with .002" error but .004" is really pushing it. I need to think about it a bit before taking off those last few thou.
 
aone
funny you say that I had that problem to.
hows your vice? I noticed because the one I am using is old when I use parallels to keep the work at a good milling hight I get variance in the final dimensions. vice is evidently worn on its base.

also jixxer bill, I dont have a 4 jaw so what I did for the bore is drill out the spark hole like you have done then with it still positioned in the mill I used a 1 inch end mill and plunged it to the correct depth, works like a charm :) if you want to to do that its still possible just get a center finder and away you go :)
 
My mill, vice, and everything is old. So I blame problems on my old clunky mill first. Turns out it was a small high spot on the parallels causing the problem. Finished milling plate, now measures .3133 to .3132". Guess old clunky mill isn't so bad after all.
 
Made some progress today, Got the side frame cut and milled to the right thinckness, made a full width surface pass on the base plate, then drilled taped and counter sunk the holes in the base plate. Thats probably it for tonight. Tomorrow I will start laying out and drilling the holes in the side frames. Need to look up drill size for reaming the 1/4 and 1/2" holes...

025.jpg


027.jpg


028.jpg


029.jpg


030.jpg
 
One thing I do have to gripe about is working from the drawings and having the material flipped (working upside down) Talking about driving me nuts!! Im mildly dislexic so this is a major challenge for me! Deep breaths and go slow... yea I can do it!!
 
looking much more sharp then my work. :)

needed to know the ream for myself
http://www.rockrivertool.com/documents/pre-ream-drill-size-chart.pdf

I dont have my plans on me, but I didnt drill the small hole next to the two supports. what is that hole for? its bothering me. :O


I think the hole is for the rocker arm spring bolt. Thanks for the drill chart.. I like the idea of using 1 inch endmill for the cyl head frame but i dont have an endmill that big.. And im not sure my machine would spin it lol...Bill
 
After spending yeaterday cleaning up and making a few tools i needed. We got a little done today.. I made an attempt at making springs but the mandrel i used was too small. I guessed at what size mandrel to use, the springs in the picture are to small on the id.. Last pic (if they loaded in order) is of the spring making contraption i was using.. I set the tpi on the lathe and turned it by hand.. Small hole in the mandrel to secure loose end of wire. I think it will work if i can get the id right on the springs..

SAM_0035.JPG


SAM_0036.JPG


SAM_0038.JPG
 

Latest posts

Back
Top