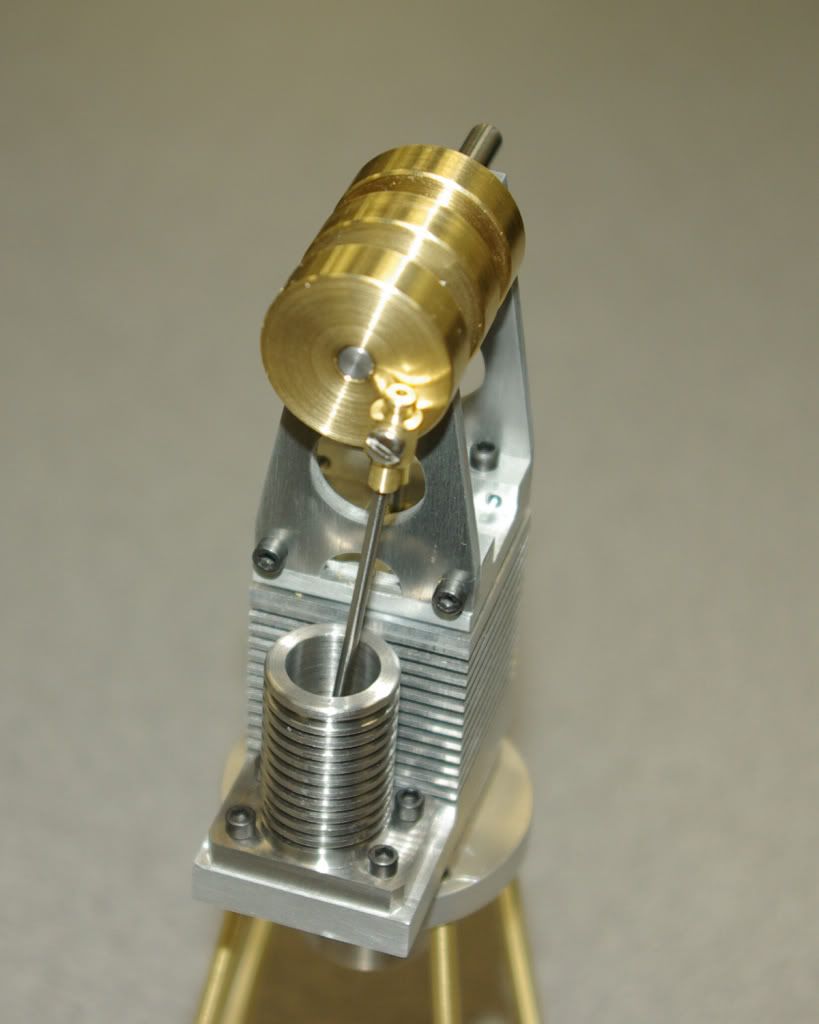
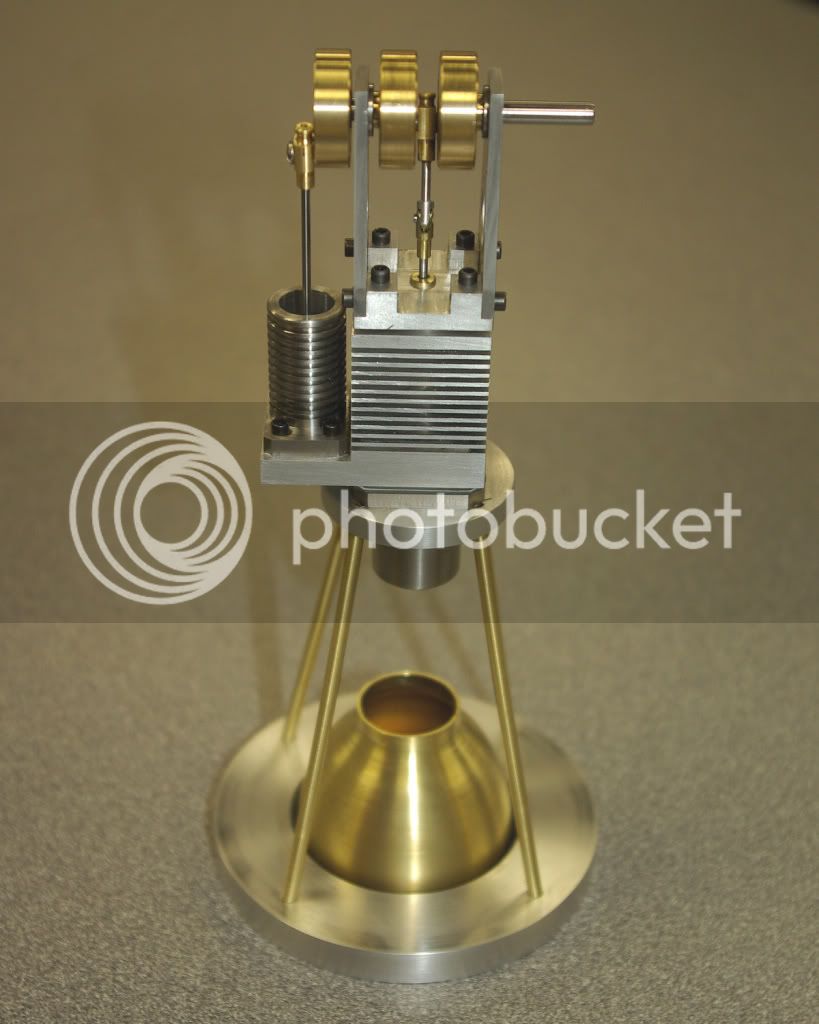
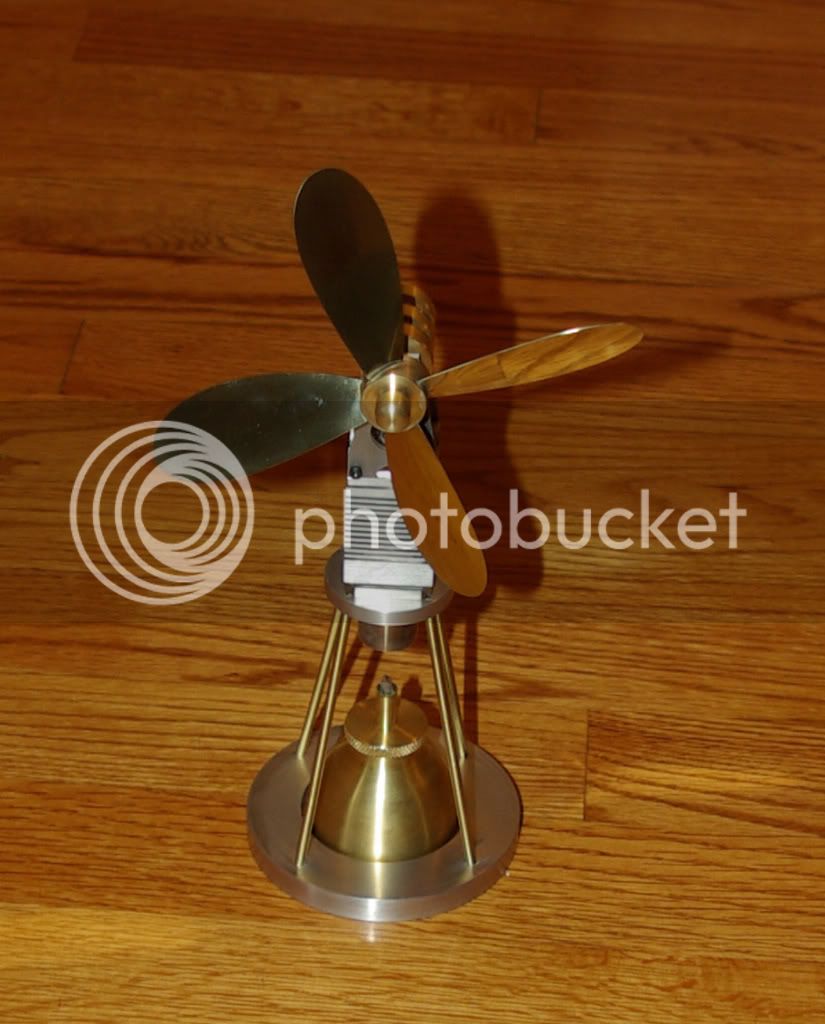
One thing bothers me. In all the designs I've seen, including pictures of the ones sold commercially when they were actually used, the hot end is always directly under the fan. This means that all the waste heat rises into the fan air stream and thus is blown about along with whatever cool air is moved. While this makes for a more compact (and probably more stable) design, it seems rather inefficient from a cooling point of view.
A horizontal design with the hot end off to the side, out of the fan air stream would seem to do a better job of providing a cool breeze. Perhaps it doesn't matter. Maybe all they wanted to do was circulate air and didn't care about the waste heat which would be vented to the room regardless of the engine design.


") ).
).