Thank all of you for your help and compliments. Regarding the color, I am going to make the tractor primarily green and black, and use red and a little yellow for accent.
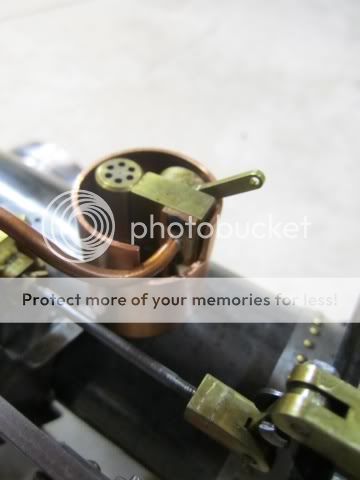
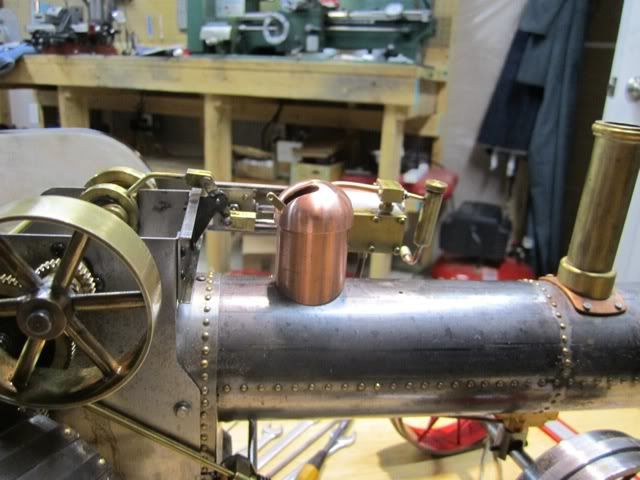
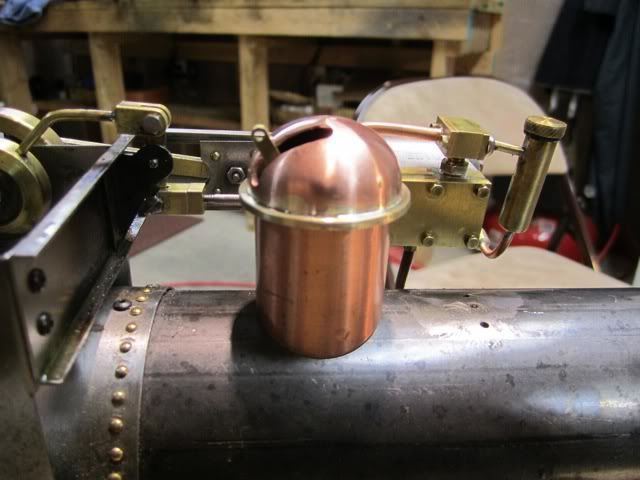
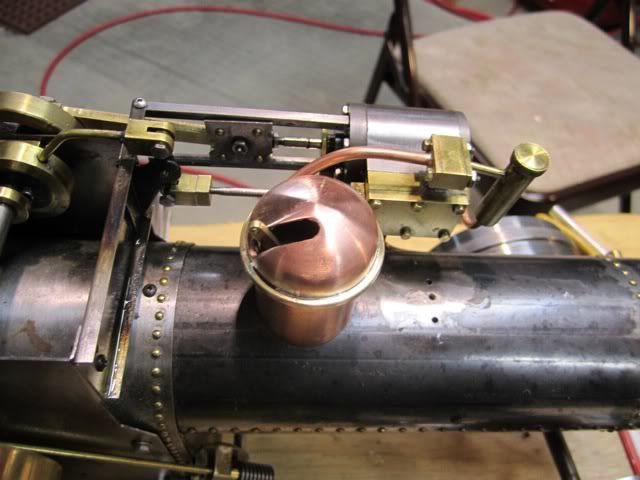
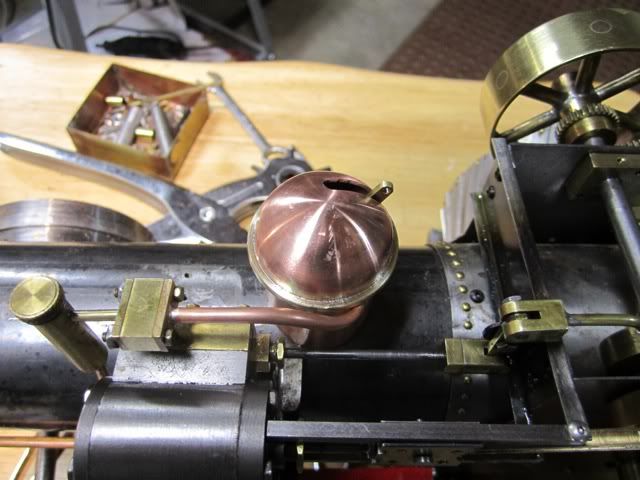
I think my progress from this point forward will be small finishing touches and not the massive construction one sees when making the "bones" of any project. Today I decided to tackle the steam dome. I had turned an aluminum one and made a dome using a ball turner that I had made a few years ago. I then had to machine out the inside and I was having some difficulty figuring out how to hold a hemisphere in a lathe while carving the guts out. The vertical part of my steam dome is a piece of 1 inch copper tubing that I had made a few years back.
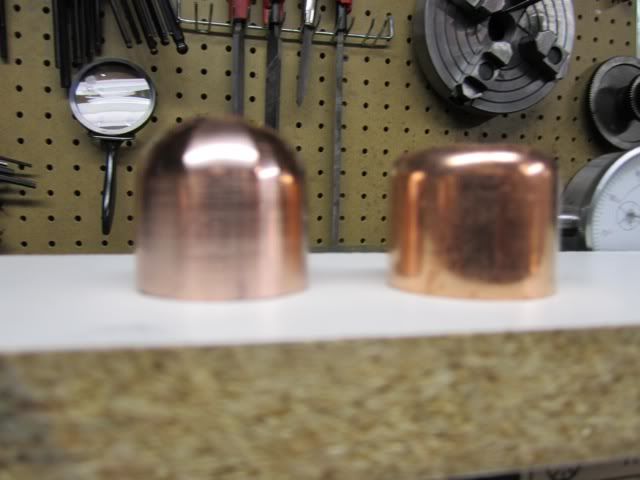
So I decided to make the dome from copper as well. Copper is very malleable but it work hardens very quickly and therefore must be annealed by heating to cherry red and either quenching or letting air cool. I makes no difference unlike high carbon steels. When I make all of my tubing bends I first anneal it and then anneal it a couple more times during the bending. It works like butter. I started off with a one inch copper cap from Home Depot and since it is deep drawn the first thing I did was to soften it.
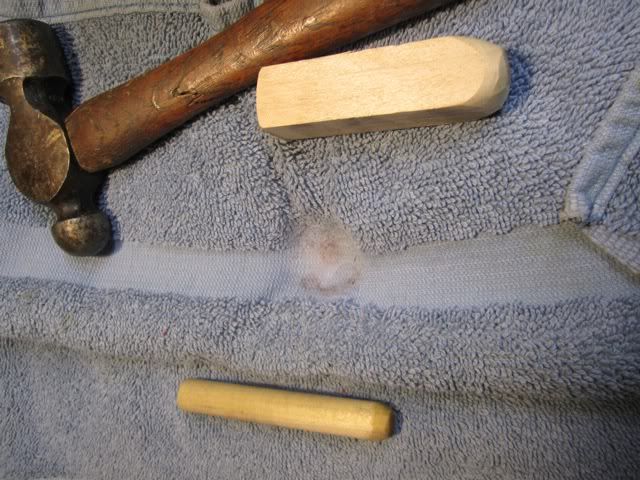
The best way to make a dome shape is to use a dapping block and wooden punches which I do not have. So I used a towel folded many times for the die and took a round and a square hunk of hardwood and took it to my belt sander to radius the end.
There were a number of reheats and more pounding which had to go slowly and a little at a time. I was chuckling as I did this thinking how much Dennis' approach and mine were different. Dennis took the "Craftsman" approach where it looks like he finessed his material into shape. I wonder if he even broke a sweat or got his hands dirty since I cannot imagine a maestro doing either. I took the "blacksmith" approach. If it didn't look like what I wanted, I got it hot and hit it with a hammer. Simply repeat until it looks like what I had in mind. A then put it in the lathe and did a little filing to knock out the hammer marks.
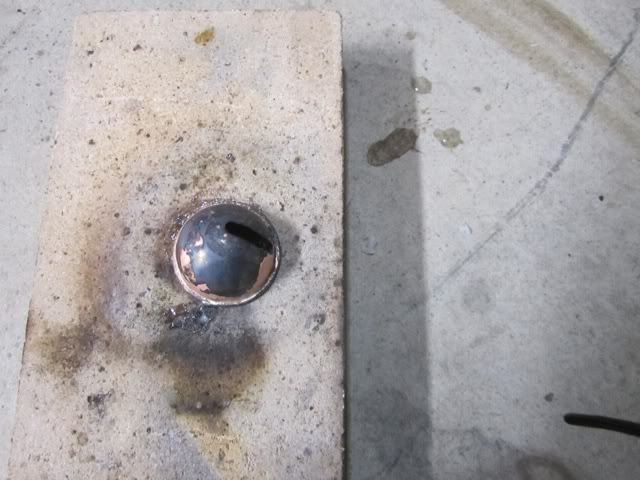
I then trimmed the skirt and milled/filed the throttle slot.
I then turned a small brass flange and silver soldered it to the bottom.
After a pickle and a little clean up work it is ready for painting.
That's it for the day.
Harold


")