Snow Tandem Engine

Home Model Engine Machinist Forum

Help Support Home Model Engine Machinist Forum:

This site may earn a commission from merchant affiliate links, including eBay, Amazon, and others.

joe d

Well-Known Member
Joined
Nov 25, 2007
Messages
718
Reaction score
9
Hi all

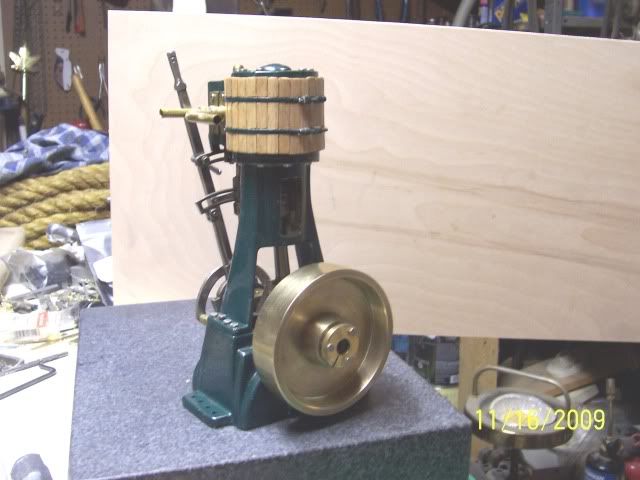
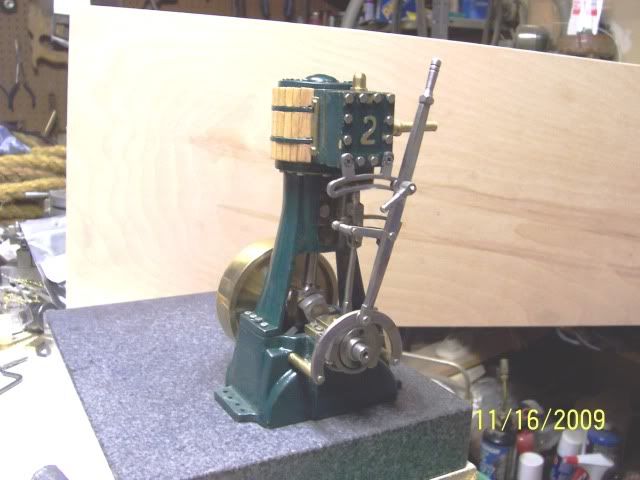
A couple of years ago when I was working on the Vertical Single that is my avatar, I had a couple of months to spare while I was waiting for the castings. So, in order to keep myself out of trouble, I started on the Snow Tandem as published in Home Shop Machinist (2006-07). Then I received my castings, and the Snow went into the "Pending" box and has stayed there ever since until now. So, I've dusted off the bits already done and am digging back into this one.

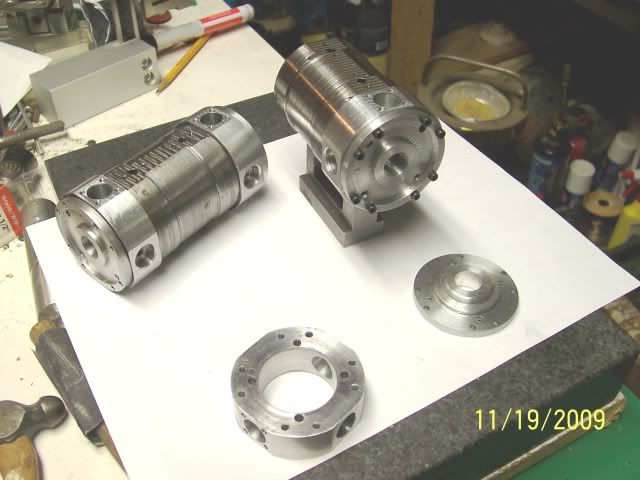
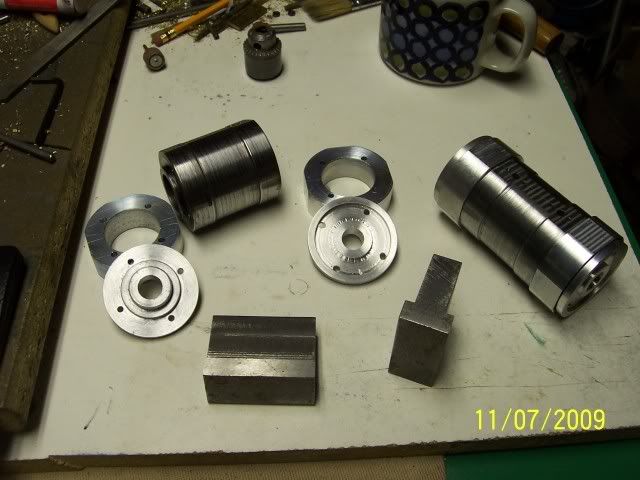
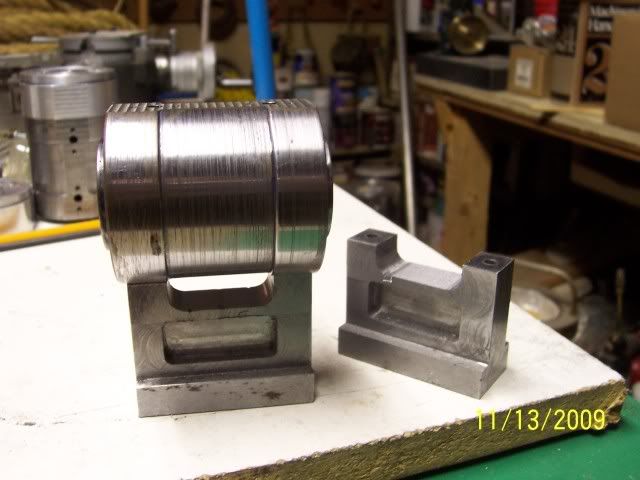
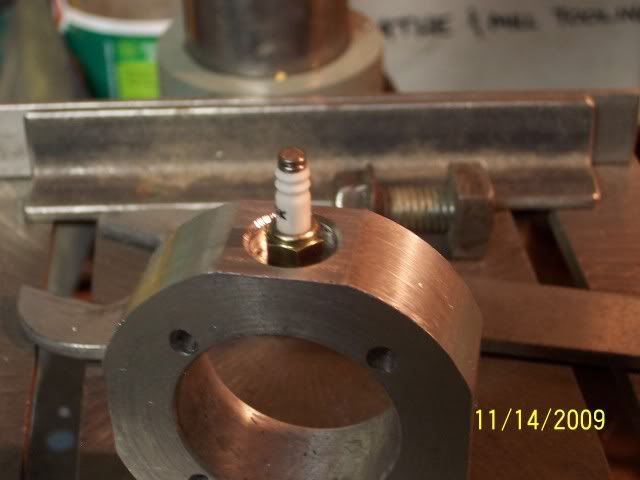
Here's what I had achieved back then: the cylinders, partially finished combustion chambers, partially finished heads, and partially finished pedestals for the cylinders
100_2276.jpg


I note that I've got a lot of cleaning up to do on these parts, my standards for minimum acceptable finish has certainly become higher with experience ( I was entirely a newbie at that point!)

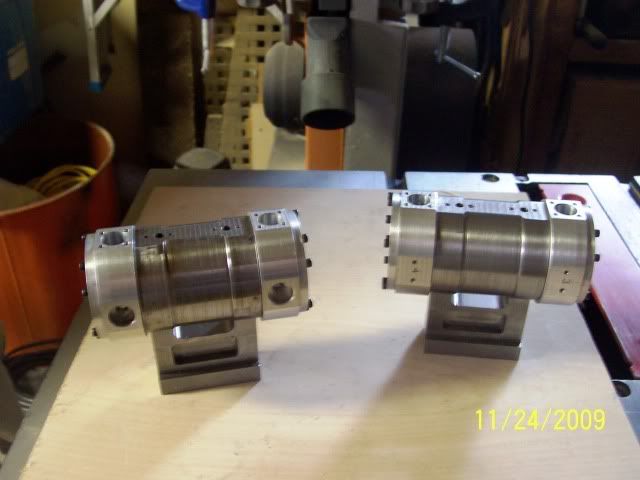
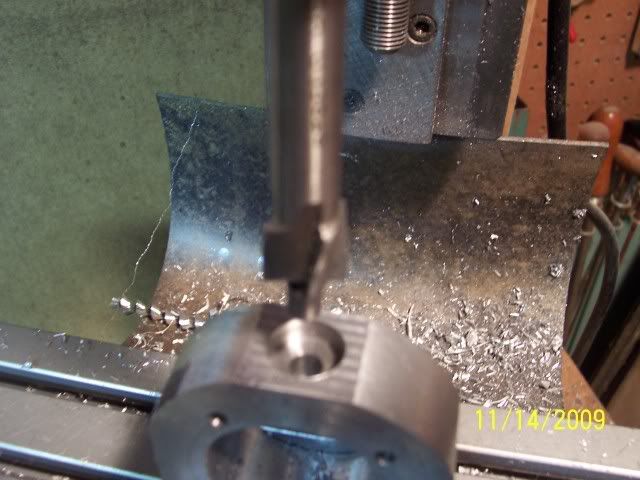
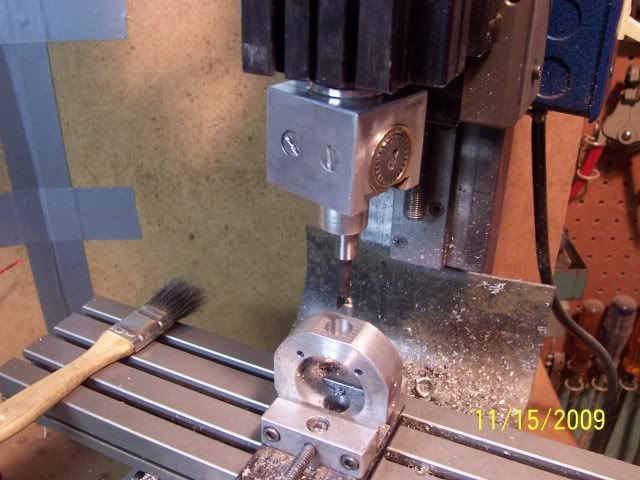
So, I've started now by finishing off the machining of the steel pedestals that hold up the cylinder assemblies:

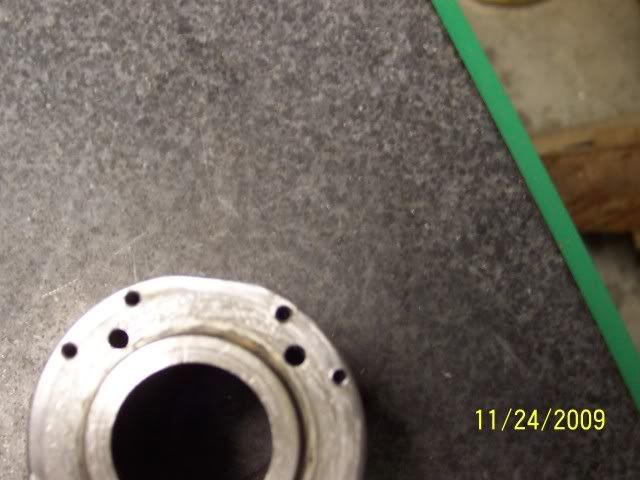
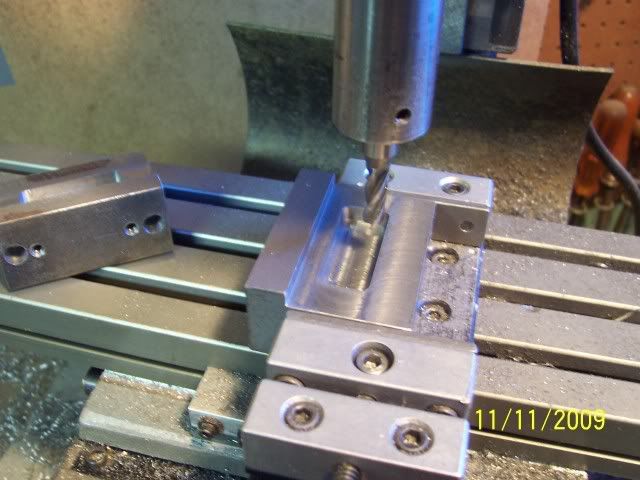
Milling the decorative relief in the side:
100_2278.jpg


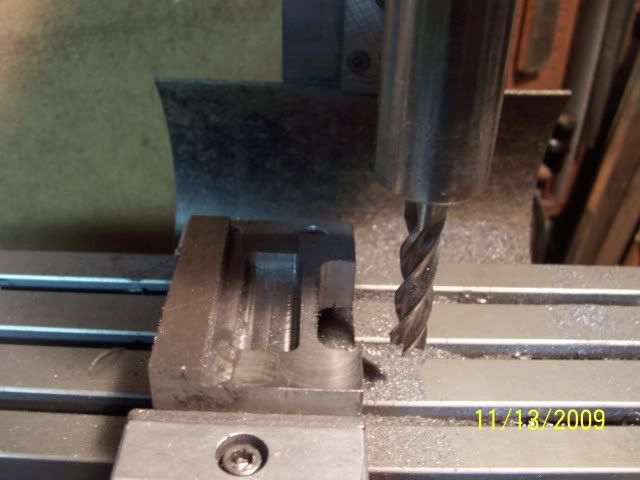
Milling the cut-out top portion:
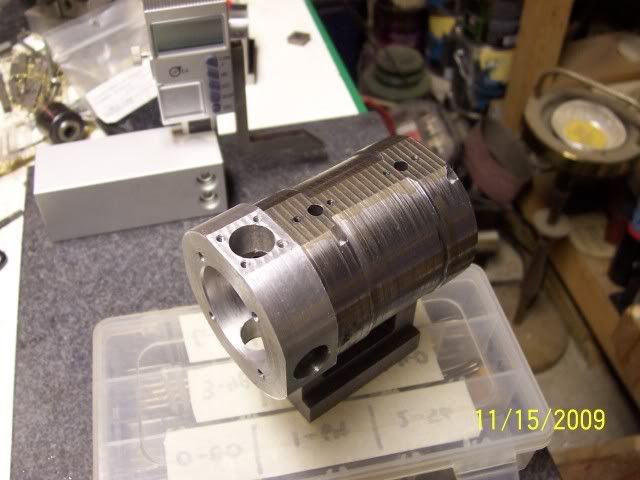
100_2279.jpg


And here they are:
100_2281.jpg


This is certainly going to be the most complex bit of engineering that I've ever attempted yet, should be a fun ride!

Cheers, Joe
 
Joe
I've just buckled my seat belt for this ride. I first saw this engine at Cabin Fever Expo, a couple of years back, and watched it run with a sense of awe. It was far beyond my meager abilities back then but I've always thought it would make a fascinating build. I'm looking forward to having a front row seat as you progress.

Steve
 
I'm in as well - did anyone bring popcorn?
 
Congratulations on a bold undertaking. IMHO anyone who sees this engine and doesn't take a minute to consider the possibility of building it needs a little boost to their imagination. I am really glad to see it underway and I will be following along. Thanks for letting us watch.

Jerry
 
I agree with Jerry. First time I saw it I thought, "Man, I gotta build one of those"!

Chuck
 
Thanks guys...

I'm in agreement with Jerry & Chuck, how could you see this and not want to try it? Steve: after your last few projects, i think you could do this one standing on your head. Zee: I will have to train you in "foreign" measuring systems, here in Canada we get "Smarties" instead of M&Ms... Tel: What's that popcorn stuff? you're an Aussie, so it's a crate of 4X and goodbye to the arvo, no?

Gary: I in fact got the seals from you two years ago :big: you had offered them on the HSM site.

Cheers, Joe
 
Can somebody point me to some photos of this engine? A Google search came up with very little.
 
I saw a full sized 1912 version of one these engines running at the "Florida Flywheel Antique Engine Club" in Ft. Meade, in 2006 while down there attending the Dayton 500. I was totally amazed at the size of this thing and how smooth it ran with very little noise.

Shortly after I returned home Home Shop Machinist mag published the plans and I decided one day I would build one. In '07 I saw a model running at the Oregon Gears show in Portland OR and that hooked me. I have collected most of the items that I need to start this engine and as soon as I finish the two I am currently working on now the Snow will be next.

Allen
 
Allen: I envy your having seen the full size one. Seeing the model on the cover of HSM magazine caused me to pick up the magazine that I had previously never noticed...
TWMaster: try on youtube, there are (or at least, were)several videos of full sized ones and couple of model ones clearly based on the same plans I'm using.

Having put the last coat of paint on the hallway walls yesterday, I'm now in a Painting-free zone until the spring, so I was able to get some work done in the shop...

Getting stuck in to the combustion chambers, started with drilling and counterboring for the spark plugs. Got lucky here, happened to have the right sized pilot for the right sized counter bore!
100_2283.jpg


Tapped the hole with a brand-new 1/4-32 tap (sure is nice using a new tap!)
100_2287.jpg


And here it is with an NGK ME-8 in place (When I kitted up to build this, I bought sparkplugs, at that time had not seen anywhere instructions on how to build your own)
100_2289.jpg


Here I'm through-boring for the valve cage
100_2291.jpg


And here it is with the valve cage mounting holes drilled and tapped, hanging on by gravity alone where it belongs. Still have to drill clearance holes for the head bolts. This part will have 15 through holes, one of them tapped, and 10 blind-tapped holes. There is four of this part. That's a lot of tapping!
100_2292.jpg


That's all for now, stay tuned!

Joe

 
Staying tuned, indeed!
This is a very interesting engine, (that seems to have a lot of tapped holes!). Looks like it's going along very well.

Joe, in the fourth picture of your first post on this thread, I see what looks like an engine in the back ground, upper right side. What'cha got there?

Dean
 
You've got a good eye there, Dean! That is the first runner I ever built, a '47 Woodson Vertical Single Cylinder (which is my avatar as well). Here's a better view for you:
100_2294.jpg


100_2293.jpg


I built a pair of them, the other one is numbered "1" on the steam chest, but No 2 ran first. They both need a tear-down, cleaning and re-assembly, hooked up the air to them both a few weeks ago and neither one ran.....

Cheers, Joe
 
joe d said:
Tel: What's that popcorn stuff? you're an Aussie, so it's a crate of 4X and goodbye to the arvo, no?

Cheers, Joe

XXXX? Nah we export that to Canada and Pommyland and drink Toohey's Old Black 'ere.
 
Nice project Joe and nice first runner(s). Yeah...get them running again and show a vid!
 
Hi all

Thanks, DIY.

Tel: In my corner of Canada, the only Aussie brew we see is Fosters, and it's not even the real stuff, they brew it here..

Zee: started tuning up the Woodsons, video will show up one of these days...

Got a little further along with the Snow, finished the combustion chambers except for cleaning them up, that will happen much later as there is a certain amount(read LOTS) of install-uninstall to go in the build process. Drilled and tapped for the head bolts in one end of one of the cylinders, stuck the combustion chamber and head on to see how it looks. Still have to make the head covers.

Gave up and left the shop after drilling the first hole in the other end of the cylinder, the hole is right on the mark as laid out, so I guess I was cross-eyed when I did the layout as it's out by too much to fudge... so I'll be drilling oversize, tapping & plugging with a bit of threaded rod, and starting over.... happily there is JUST enough room for this (sometimes it pays to be lucky :big:)

Looks like this on the end I didn't bugger up:
100_2296.jpg


Cheers, Joe
 
Some more progress...

If you look at the top-right hole, you can just see the plug I installed to make up for my cross-eyed layout... drilled oversize, tapped, soldered in a little chunk of threaded rod, stuck the whole thing on a mandrel and indicated it in & faced it off, re-did the layout IN THE RIGHT SPOT and carried on :big:
100_2301.jpg


And here we are to date... all the head bolt holes drilled and tapped, everything stuck together to see what it looks like:
100_2300.jpg


Onwards & upwards...

Joe
(edited to insert the right photo)
 
Joe....
Things are looking good there. I'm just afraid you're going to infect me with the snow bug before I can get to the projects already ahead of it on my wish list...LOL

Steve
 
Steve

There is NO known cure for projectitus! :big: Sorry 'bout that!

Joe
 

Latest posts

Back
Top