Snow Tandem Engine

Home Model Engine Machinist Forum

Help Support Home Model Engine Machinist Forum:

This site may earn a commission from merchant affiliate links, including eBay, Amazon, and others.
Joe...
Tell me about it...LOL. I just took the first steps toward getting the needed HSM issues containing the project. I've either got to learn to work faster or I've got to quit looking at these build logs on the forums.

Steve
 
Steve:

After following your Water Pressure build, and the the Victorian, I have NO SYMPATHY for your plight..... you've done the same thing to lots of us! :big: :big:

You've got to get busy with another one, I really enjoyed following along.

Cheers, Joe
 
Happy Thanksgiving to all who celebrate at this late date....

Got some more done on the cylinder assemblies...

cut out 4 pieces for cylinder head covers, ganged them on a mandrel in a collet and turned them to size all together
100_2302.jpg


Then faced them to print dimension (first time I tried facing by sticking the work on a faceplate with 2-sided tape... it works a treat with light cuts)
100_2303.jpg


I used the cylinder heads as drilling jigs for the head bolt holes in the covers, as I know that they match those in the cylinders, then set them up in the 4-jaw:
100_2306.jpg


and then moved the chuck onto the indexing head (knew that this thing would come in handy) and drilled the bolt circle tapping size, opened up the holes in the cover to clearance size afterwards in the drillpress
100_2307.jpg


Tapped a bunch of 2-56 holes with my effective, if less than pretty tapping guide
100_2308.jpg


and here's one stack in place
100_2310.jpg


The holes in the head and cover for the piston rod and it's bushing are undersized at the moment, I'll bore them to final size using the same setup when I line-bore the cylinder, hopefully this will give me the best chance at concentricity.

Well, that's enough for today!

Cheers All, Joe
 
Lots of good looking work here, Joe.
Looks like that new dividing head you made is working out well!

Dean
 
Thanks, Dean. Now that I've used it for something other than drilling hole circles on dividing plates I like the dividing head more as well.....

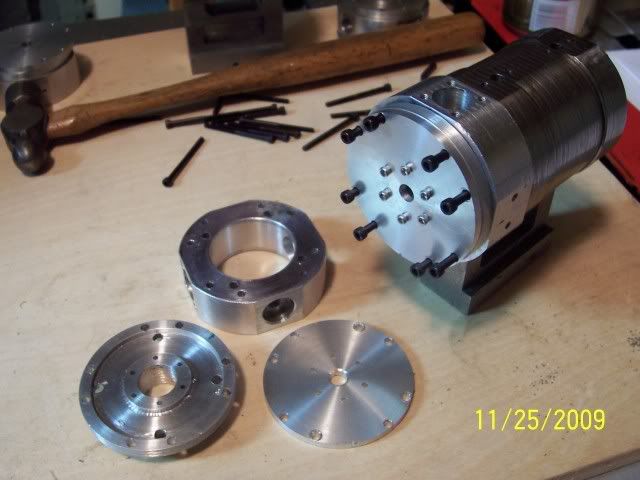
A little further along...

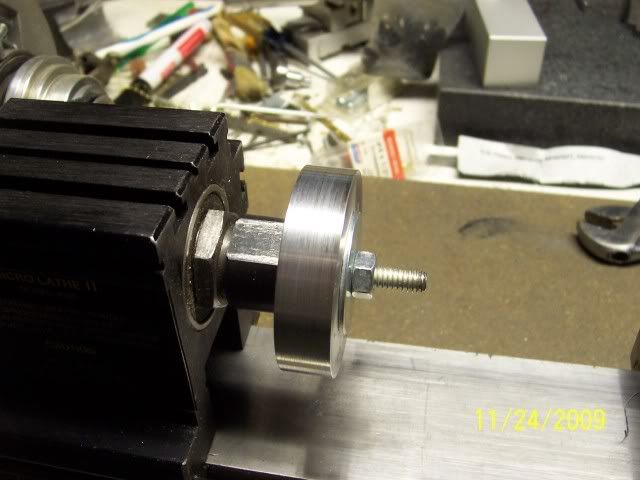
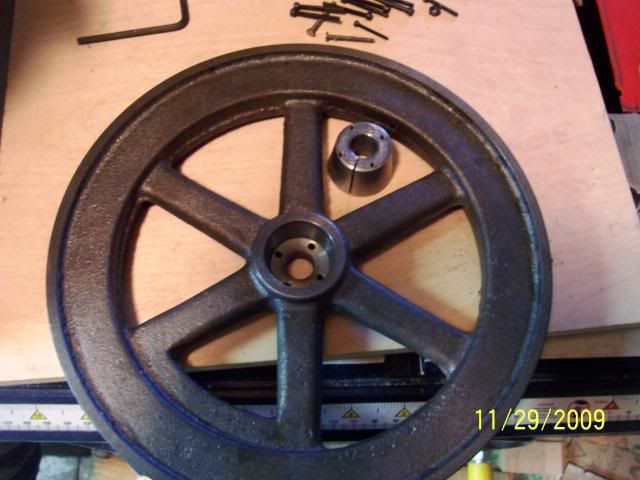
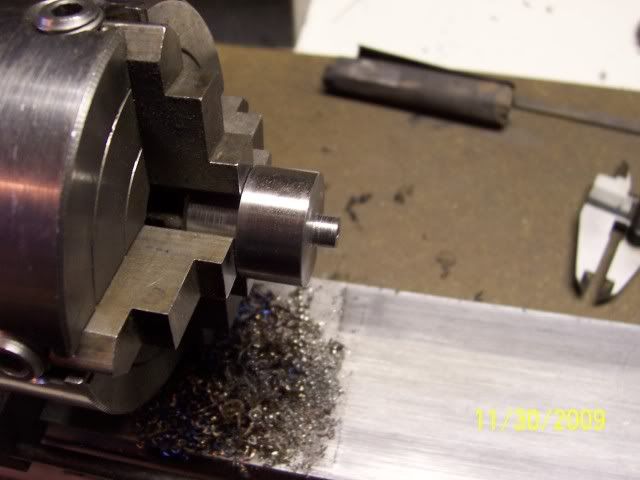
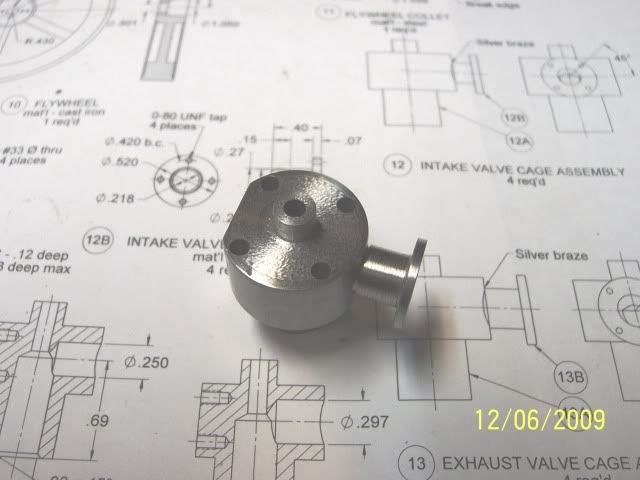
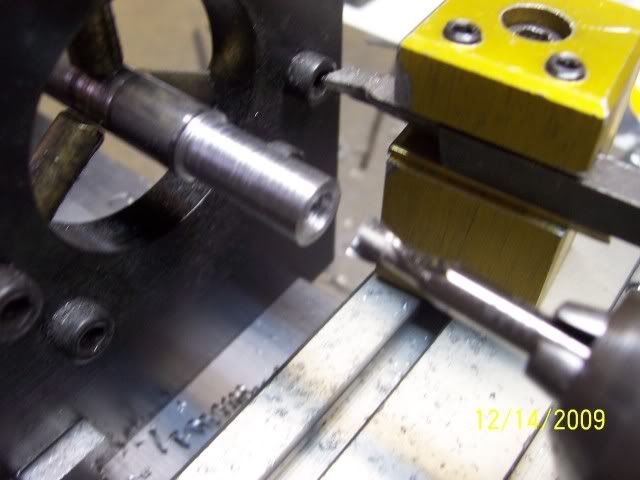
Bought a flywheel from Debolt, given that I use a Taig lathe there is no possible way I'm turning a flywheel that is over 9" dia in the rough, so I jobbed it out. Came out nice, though. Then I got busy with the collet to hold it on the shaft, turned out to be some sort of mystery metal (thought it CRS) that was absolutely miserable to machine. Burned the edge off several toolbits, it was nasty to drill, and not much nicer to tap. Oh well, it's done...
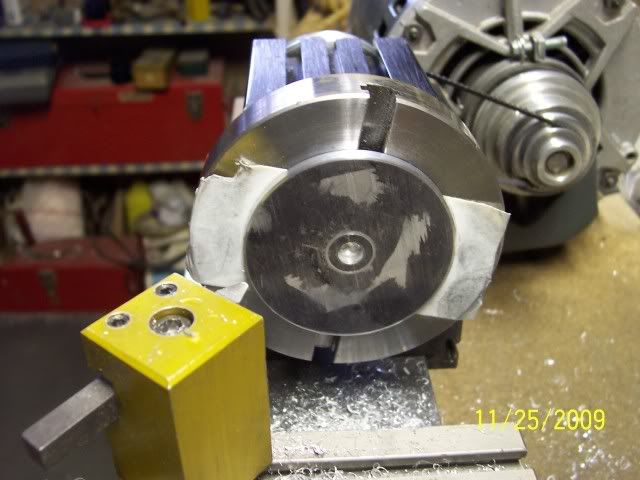
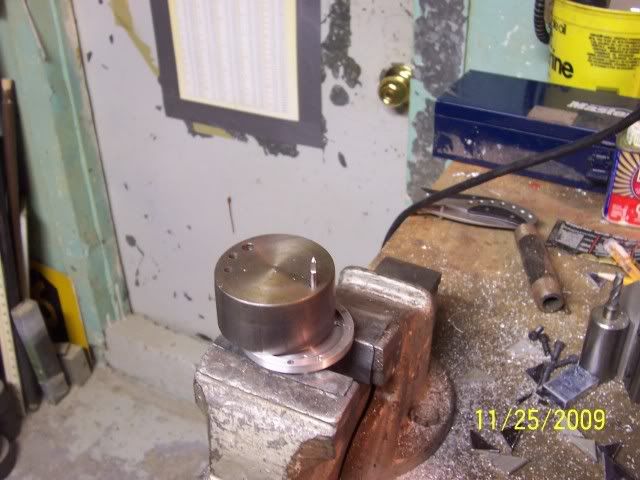
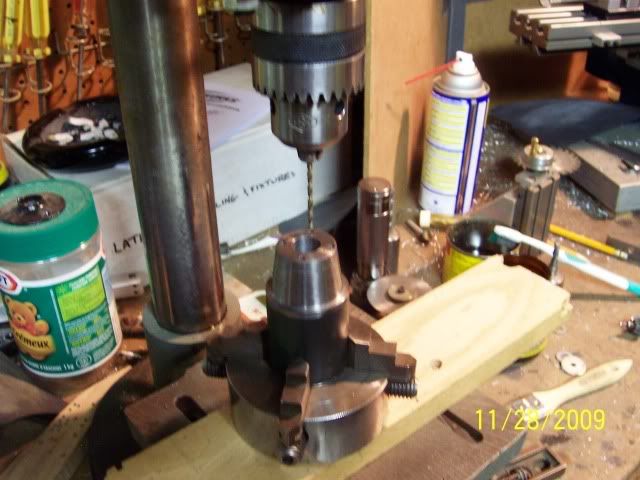
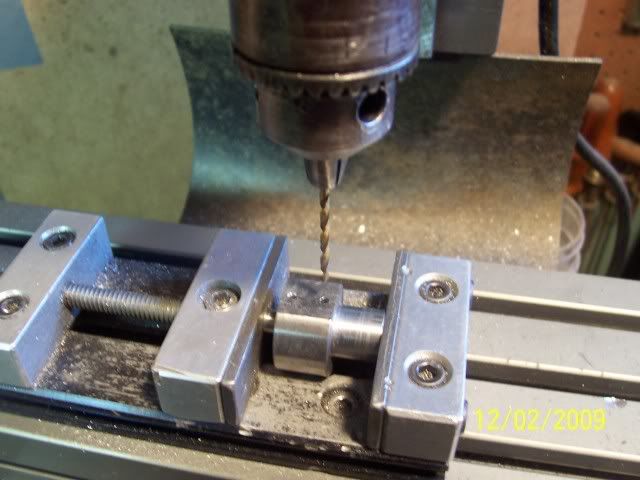
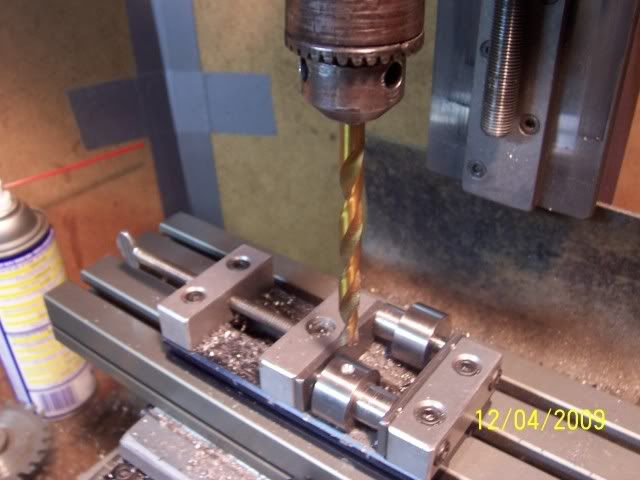
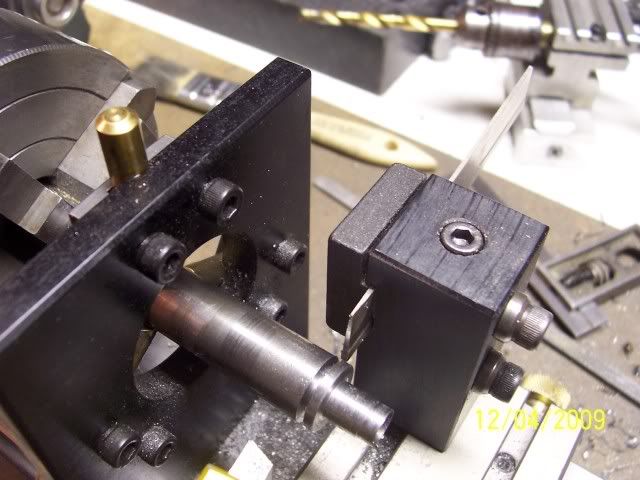
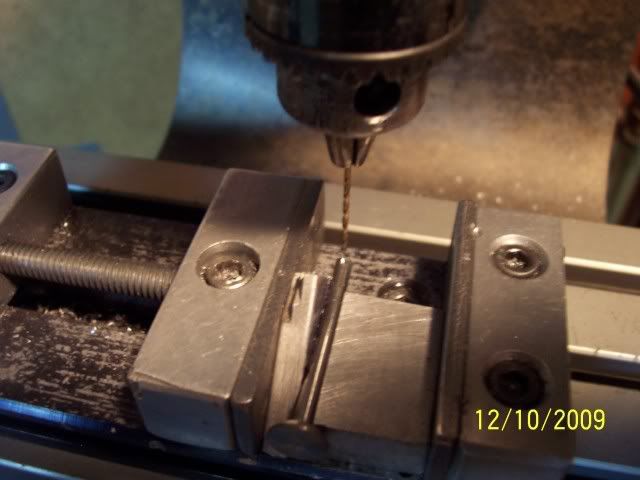
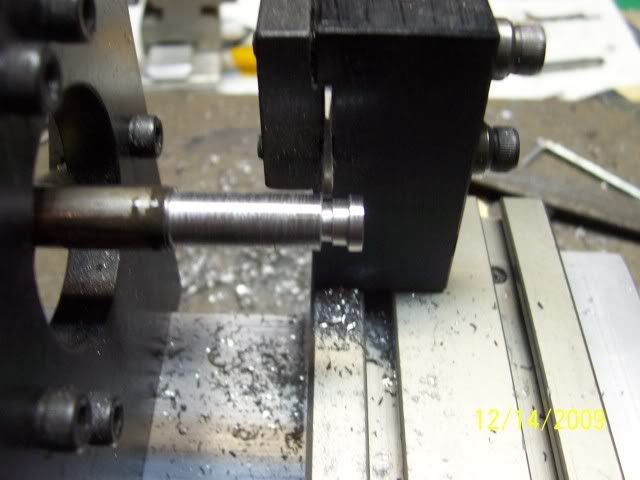
Here I'm drilling the mounting holes in the drillpress with out removing it from the chuck, then remounted the chuck on the lathe to part it off. Promptly burned the tip off the parting tool, so I hacksawed the son of a gun, and cleaned it up by filing.
35cd6c7d.jpg


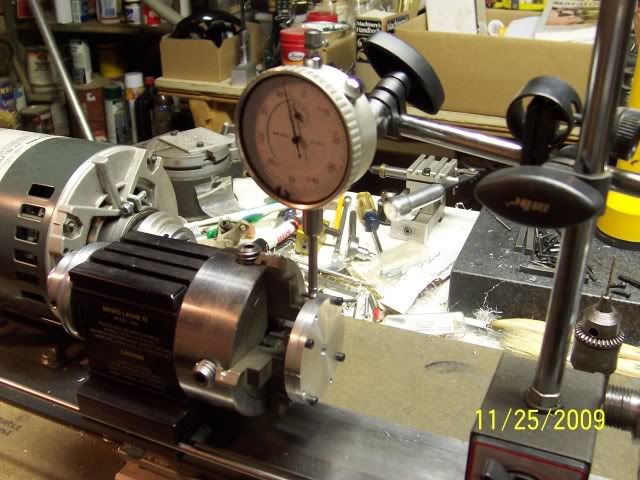
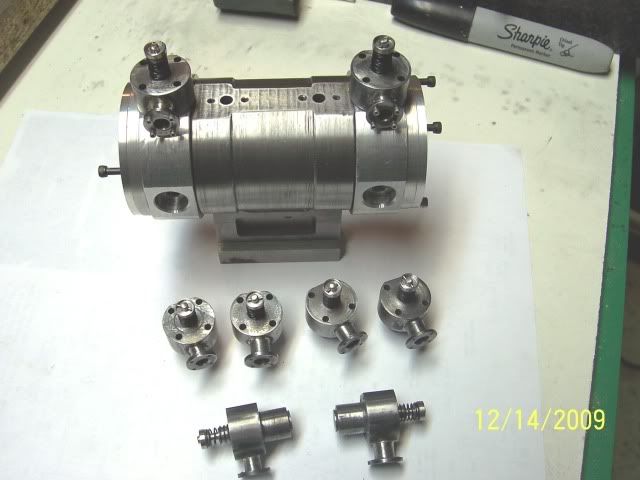
Here it is with the flywheel
9ca9ebe7.jpg


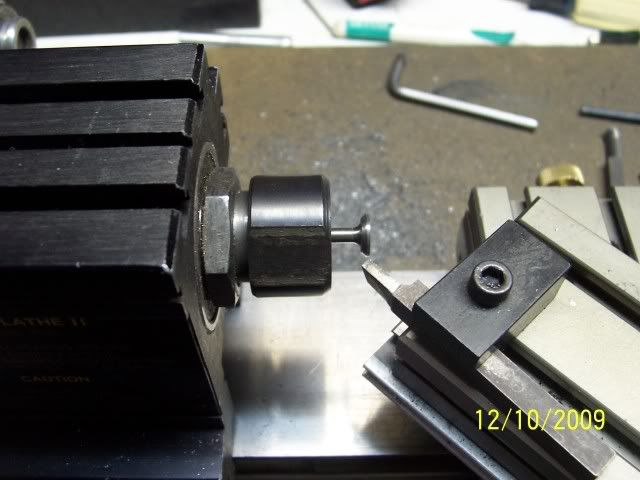
Also turned the bronze bushings for the piston rods, straightforward turning and parting operation, so I didn't take a picture of the process,

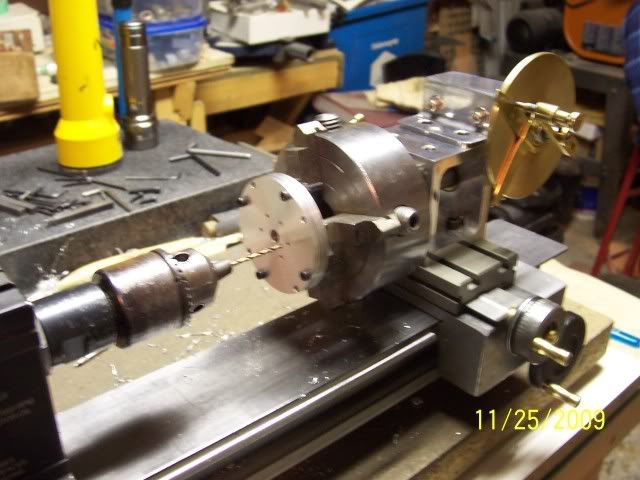
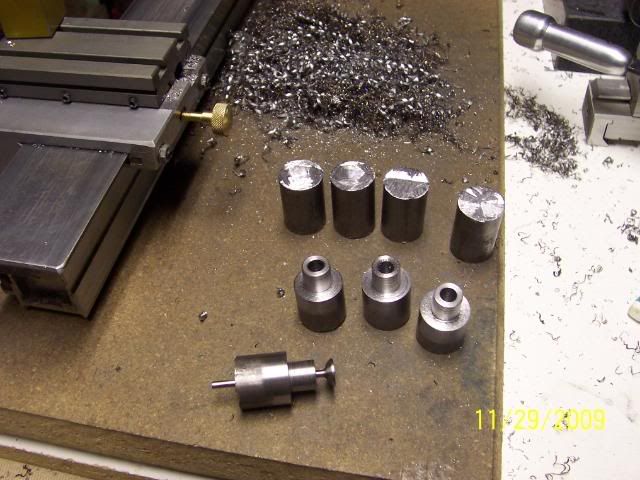
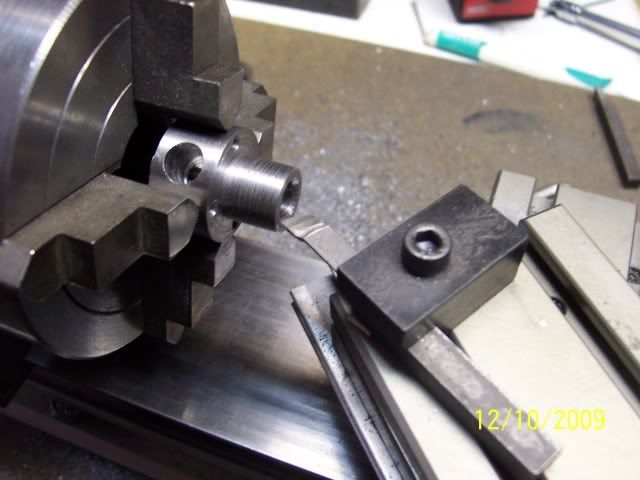
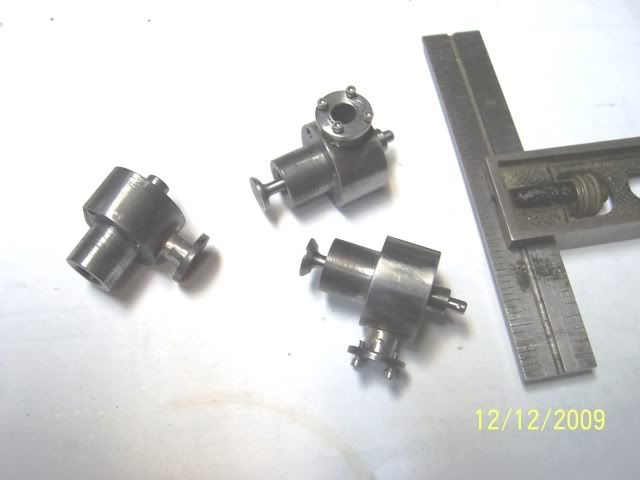
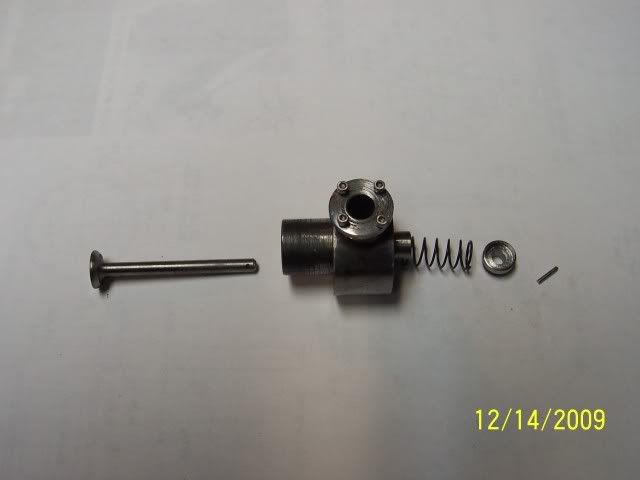
And now I've moved on to the valve cages: 8 blanks hacksawed out of the parent material
5dc33dc3.jpg


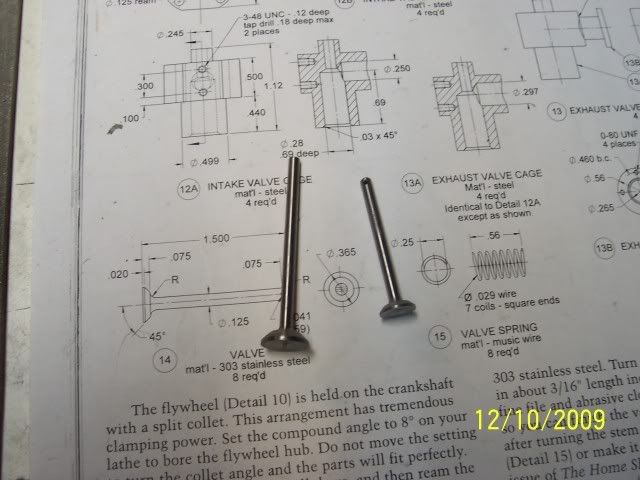
And partway done... bought valves way back when I first kitted up for this engine, only have to trim them a little bit
9f70d22d.jpg


And that's all for now.

Joe
(edited to remove duplicated photo)
 
Joe,
I suggest that you add two 4-40 threaded holes in the flywheel hub at 180 degrees to push against the end of the hub allowing easier loosening of the flywheel from the hub. A taper lock bushing can get pretty tight. Just make sure when you install the flywheel on the hub, that neither of these two jacking screws are lined up with the split in the hub.
Jeff
 
Jeff

That is an excellent suggestion. I will do so, and thank you!

Joe
 
more valve cage progress...

having turned one end to size, flipped them over and turned the other end to size leaving a boss for the valve spring
42abe80c.jpg


off to the mill to make a flat for the rocker arm bracket, tap drilled in the same setup so the mounting holes would be perpendicular to the face. Have to wait for some taps to arrive, I've only got a starting tap in this size, bottoms out with about 1/4 turn of thread cut...
0e0c0a44.jpg


Flats done, flip 'em over, find centre and drill for the flange, using another one as a spacer in the vise
b3b4e164.jpg


Drilled and turned exhaust flange being parted off, had to move the steady a bit to clear the parting tool. (all that was to maximize the parts from that piece of stock, so after doing two of them is when i noticed that I had drilled way oversize, by then the stock was short enough that I didn't need the steady anymore.) (and, of course, now don't have enough of the material to do the intake flanges) (Doh!)
13590ba9.jpg


And here it is just stuck in place. ( I will silver solder them in place after I've turned the valves to size, as I'm going to chamfer the valve seats using the same setup used for turning the valves so that the angles will match). I'll drill and tap the flanges once they are soldered in place.
ab2a7a16.jpg


Well, that's about all for now!

Cheers, Joe
 
a little further along with the valves....

I had bought some ready-made valves that were oversized for what I need, so popped them in a collet and cut them down to size
b9c6cf80.jpg


Then without changing the set-up for the compound, (except for changing the tool) cut the valve seats
1cf60d43.jpg


Then off to the mill to cross-drill the valve stems for the keeper pin.... a #59 drill.... smallest I've ever done yet. Cranked up the speed and all went well. The drill chuck is a beat-up looking 1/4" Jacobs that I salvaged from a black and decker drill that I got second hand 35 years ago.... and it runs true!
c22ba7b3.jpg


Here is one valve finished beside one as bought. They are some sort of stainless that has had me nervous about the machining, but the stuff cut like a dream.
8204155e.jpg


Tested them out using the tried and true "suck it and see" process: put the valves in the cages in the "closed" position, sucked on the hole where the flange will go, and had a perfectly satisfactory "pop" when moving the valve to "open". These things may well work!

Cheers, Joe
 
Nice job on the valve and cage, Joe.
Where did you buy ready made valve blanks?

Dean
 
Thanks Dean.

Got the valves from Debolt machine, same guys I bought the flywheel from.

Joe
 
Nicely done.
I would have to think it was more than just satisfying though.
 
Thanks, Zeep! And you're right, it was very satisfying ;D

Inbetween several honeydo's got the flanges silver soldered into place, and have drilled and tapped a couple of them:
86898783.jpg


things are moving right along!

Cheers, Joe
 
Good looking work there, Joe.
(And, thanks for the heads up re: Debolt.)

Dean
 
Thanks, Dean, and you're welcome!

I've finished the valve cages. A lot of stuff going on in these little things. The last thing was the springs, keepers, and pins. Turned some stock down to the required size, through drilled, counterbored with a nice new end mill
a55b6085.jpg


Had to open up the counterbore as the endmill was too small, the cut the boss using the parting tool, shifted it over and parted off
a1ab66a0.jpg


here are all the parts for one assembly
35954dc5.jpg


and, here they are!
1037ce79.jpg


I spent several hours yesterday trying to form the springs myself, but as I don't have a screw-cutting lathe, was working free-hand and this really doesn't work well for compression springs... used up a fair bit of piano wire proving that..... so went out this morning and bought some.

Now, off to shovel some snow out of the drive.

Cheers, Joe

 
watching in amazement :bow:

you have snow, light dusting here in Toronto.
 
Speedy

We're both better off than Ottawa, white-outs on the 416, multiple car pile-ups northbound, southbound down to one lane while they remove all the cars from the median... I've got a mere couple of inches to move.

Incidentally, congrats on the mill!

Cheers, Joe
 
It gets more and more interesting.
tel...did you get that popcorn? got any left?
 
Hi Joe.
Nice engine that Snow Tandem. Have been following your and others work from day #1 ;) :bow:
Btw: There are so many nice engines under construction for the time being that I have hardly no time to work on my own.
I have had my Hoglet on the shelve more or less for the last month or so, due to moving the shop/ spare-partsdepartment where I work to a new place. But hope we are finished before Christmas.
Crankshafter.
 
That's a lot of valve cages gathered together in one place! Good work, Joe.

Dean
 

Latest posts

Back
Top