Scuderi engine

Home Model Engine Machinist Forum

Help Support Home Model Engine Machinist Forum:

This site may earn a commission from merchant affiliate links, including eBay, Amazon, and others.
Congratulations on the silver soldering ariz.
(I'll need some of your support when I get around to doing silver soldering myself.)
 
well, I'm here again, after much time, with some new pieces of the scuderi engine
they are the results of several weeks (or months!?) of work
I don't know why, but I'm more slow now then when I was a newbee (ok, I'm still a newbe, with more practise :D )
perhaps I now look for a better result and I do prefer to discard a piece that doesn't fit well instead to try to correct/fix it

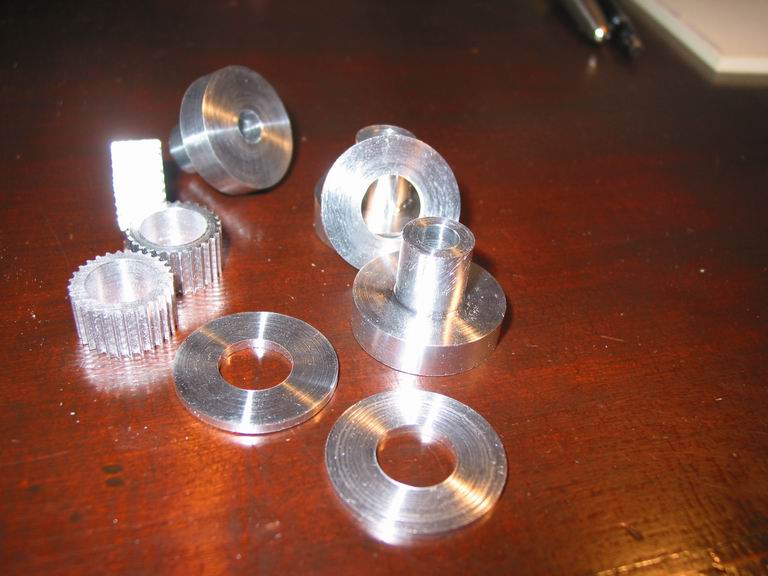
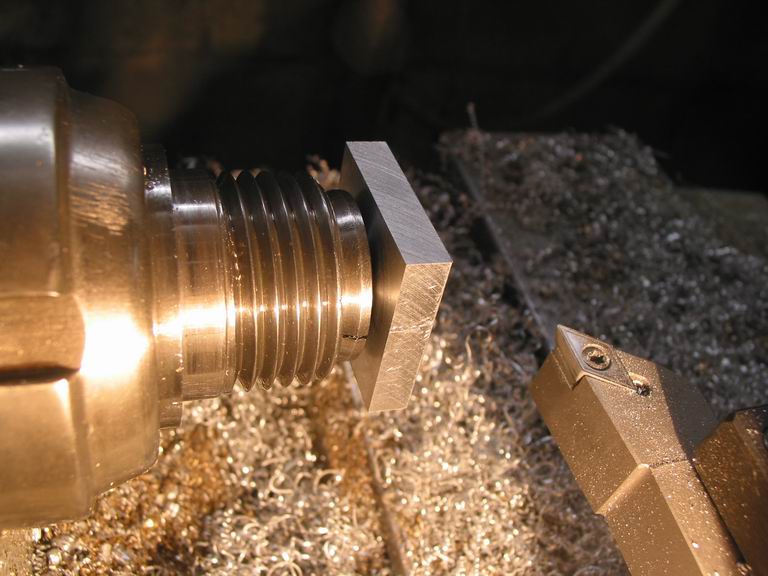
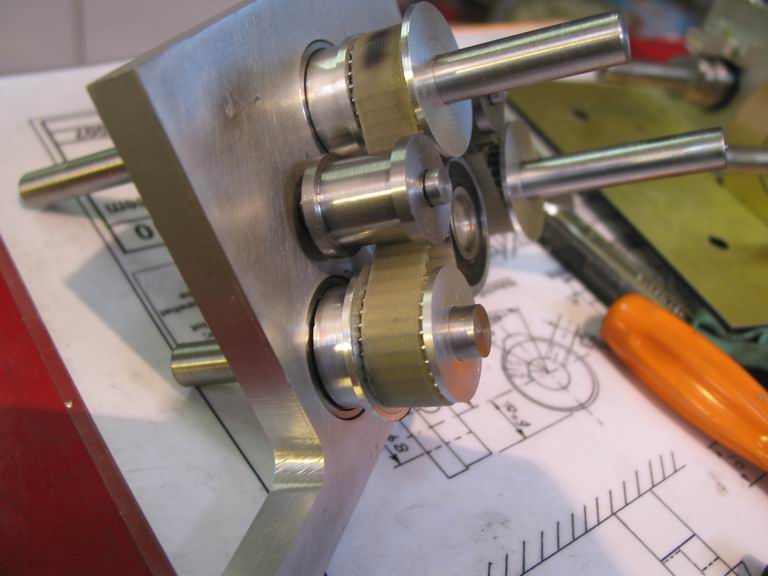
there are 3 tooth belt cog wheels that synchronize, by the mean of the tooth belt, distribution, ignition and the movement of the 2 pistons
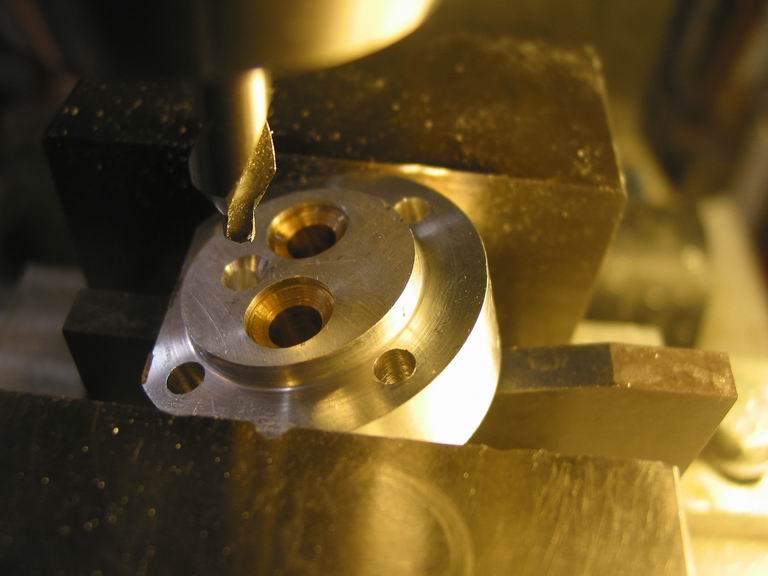
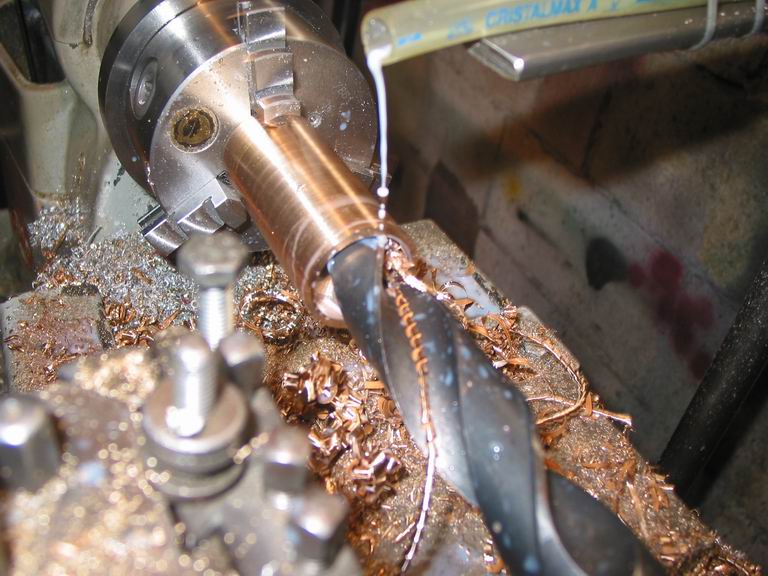
I bought a ruled rod of aluminum and bilt the 3 cog wheels

shell1.jpg


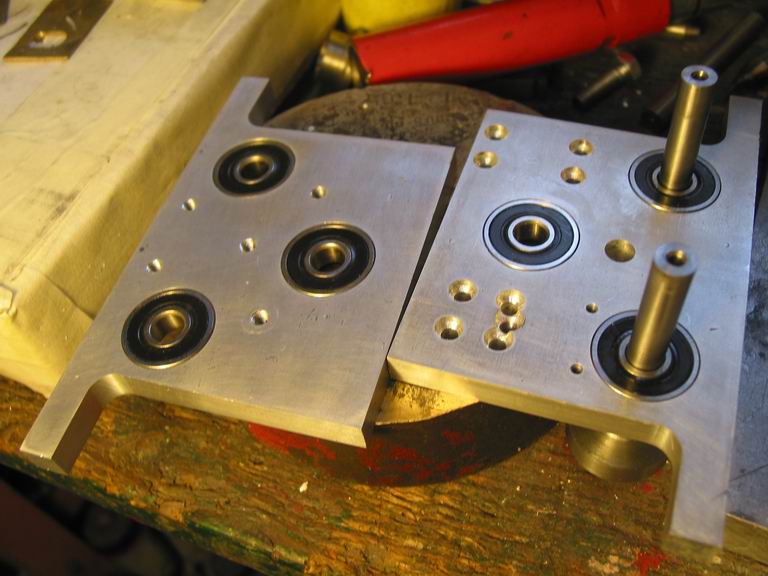
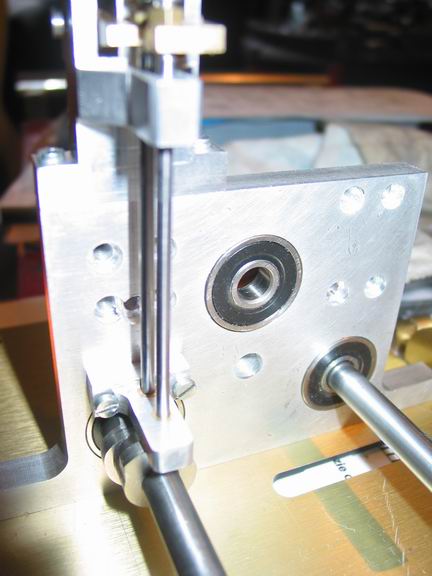
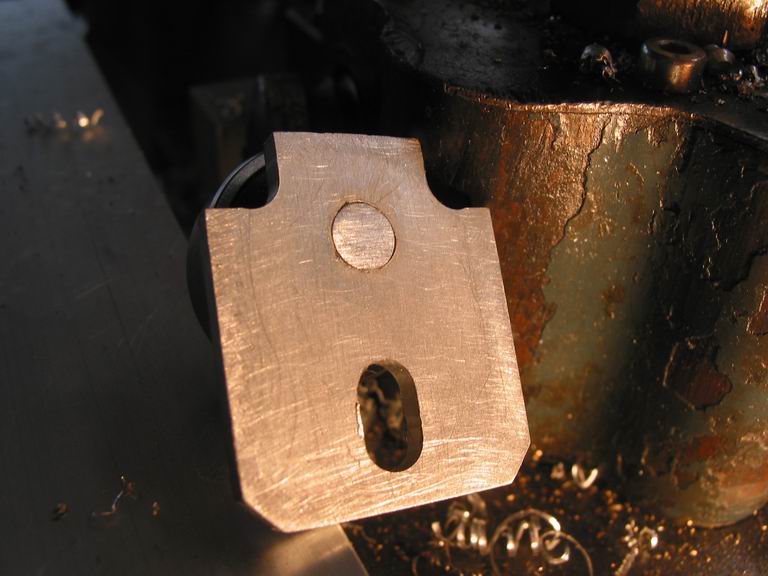
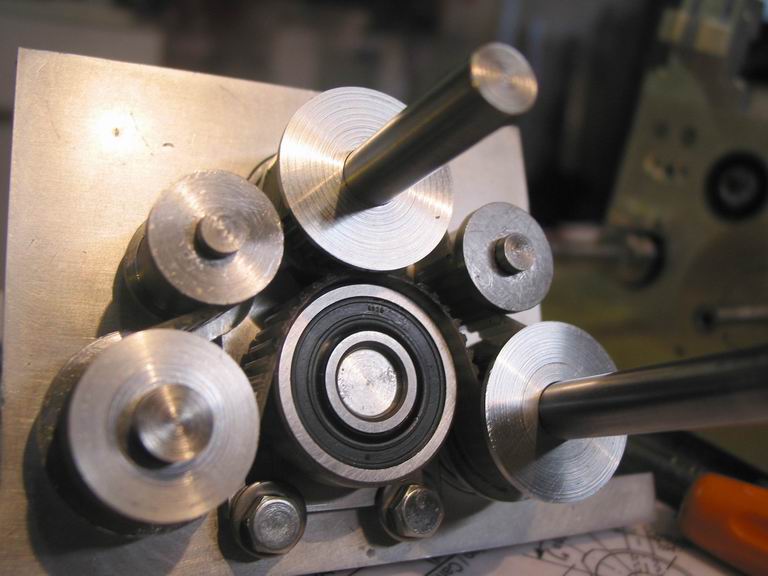
here there are the 2 plates with the roller bearings in seat
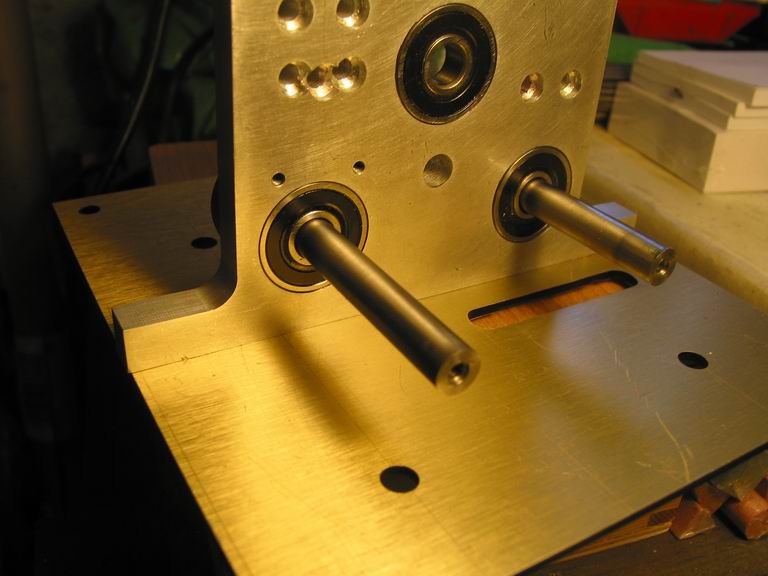
shell2.jpg


with the shafts

shell3.jpg


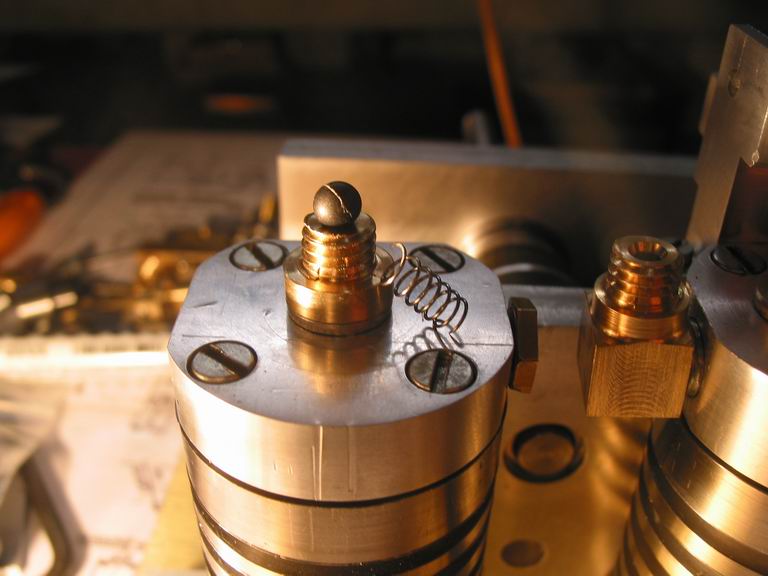
and with part of the distribution system: the guiding block for the pushing rods and for the rockers that push the intake and exhaust valves (sorry for the poor pics)

shell4.jpg


shell4b.jpg


shell4c.jpg


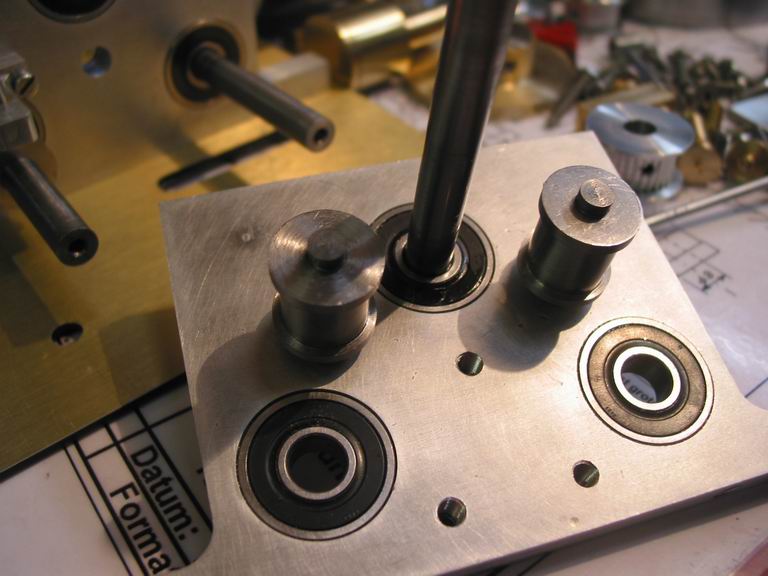
on the opposite plate the situation is more complex :p

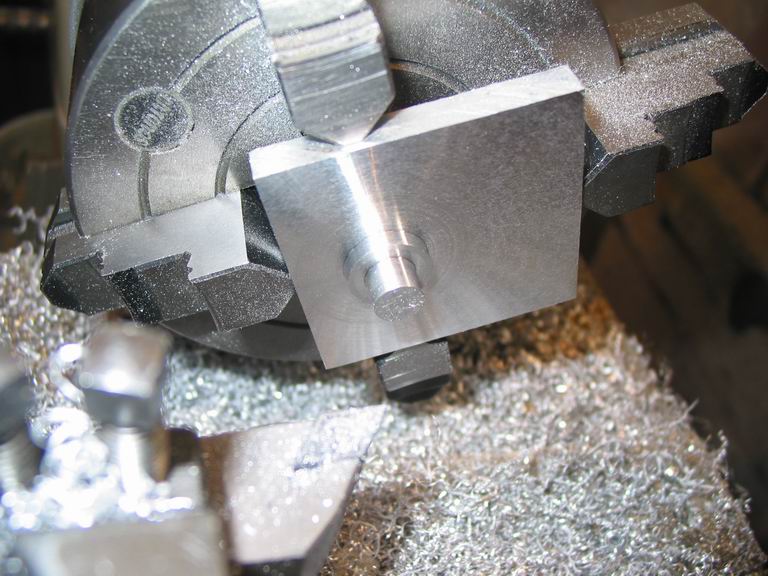
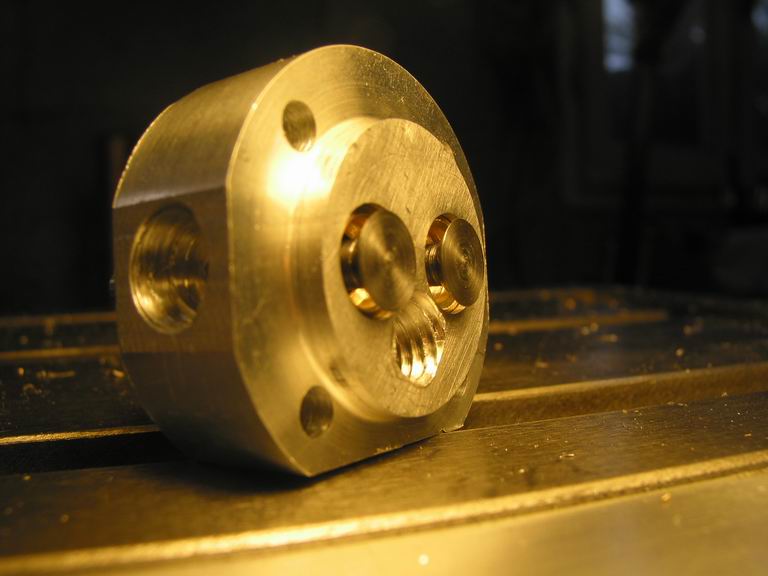
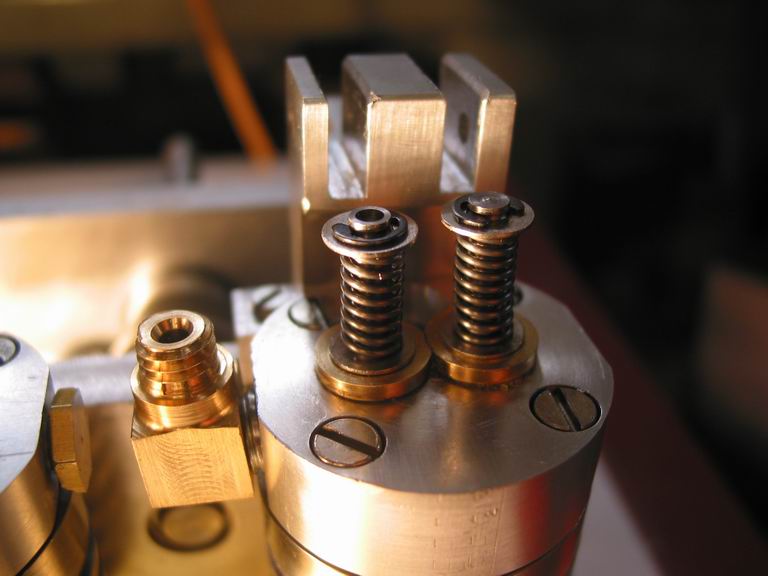
there are many tensioning wheels for the tooth belt: these 2 first

shell5.jpg


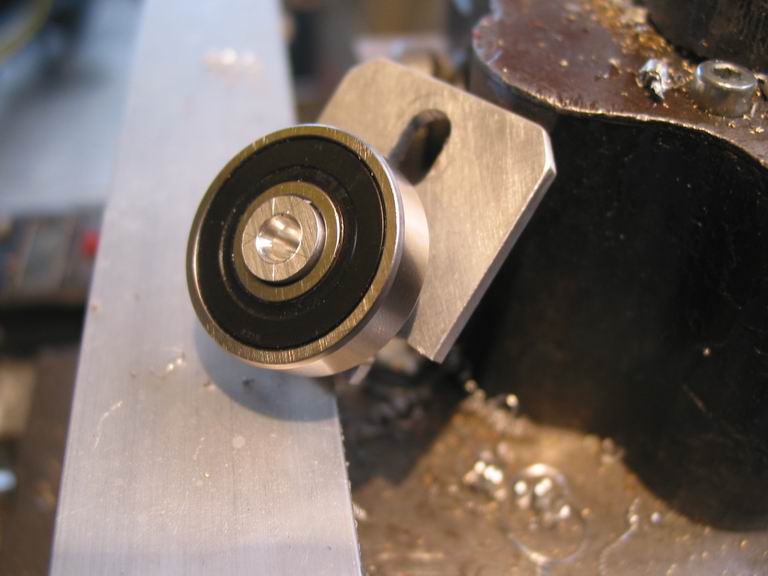
and another that originally was this one

shell5b.jpg


shell5c.jpg


but I discovered that the ruled rod that I had bought was too small in diameter, and the tooth belt remained loosened. so that tensioning wheel must be replaced.
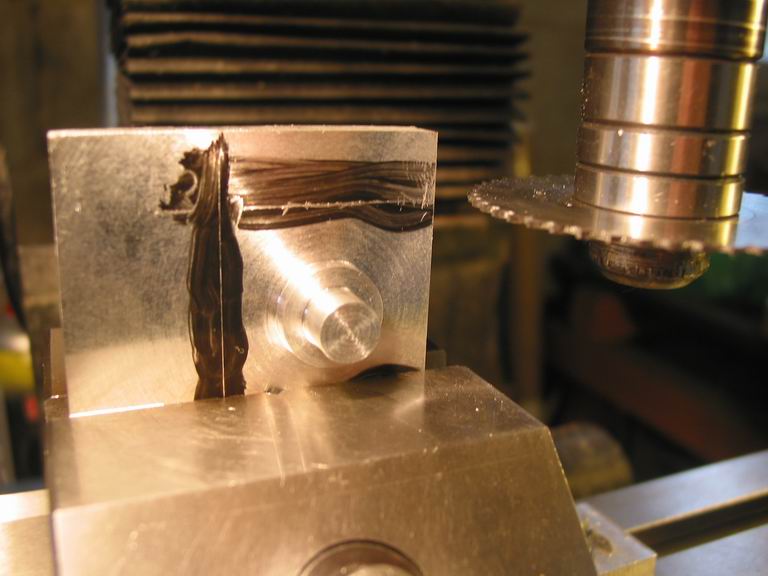
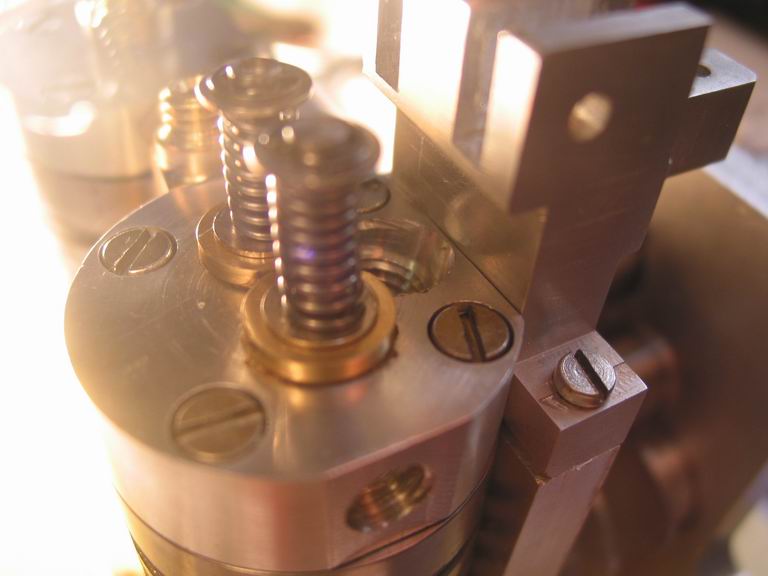
this time I decided to make it in a single piece of aluminum

shell5d.jpg


shell5e.jpg


shell5f.jpg


but the belt was loosened again and after several mods (aesthetically not very satisfactory) the problem was solved in this way

shell6.jpg


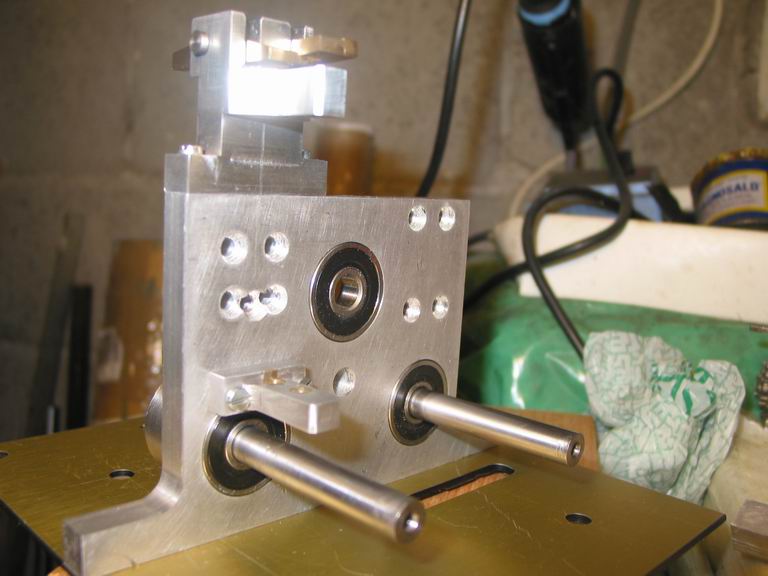
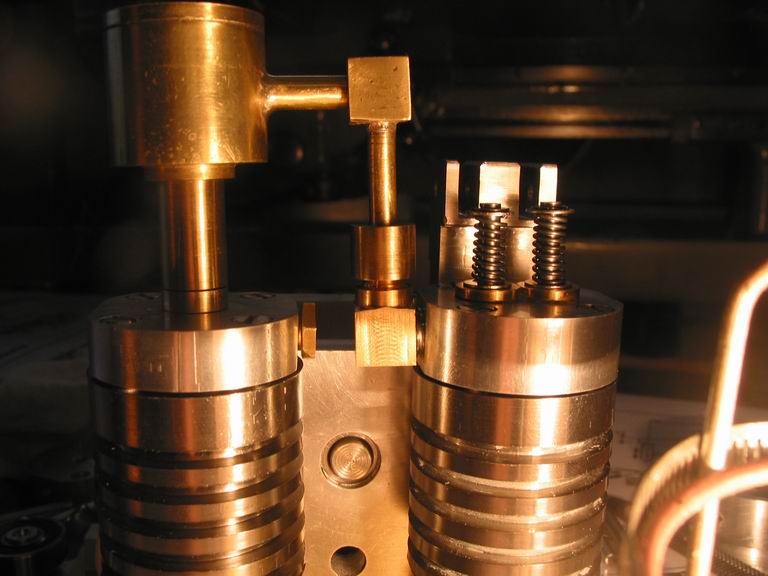
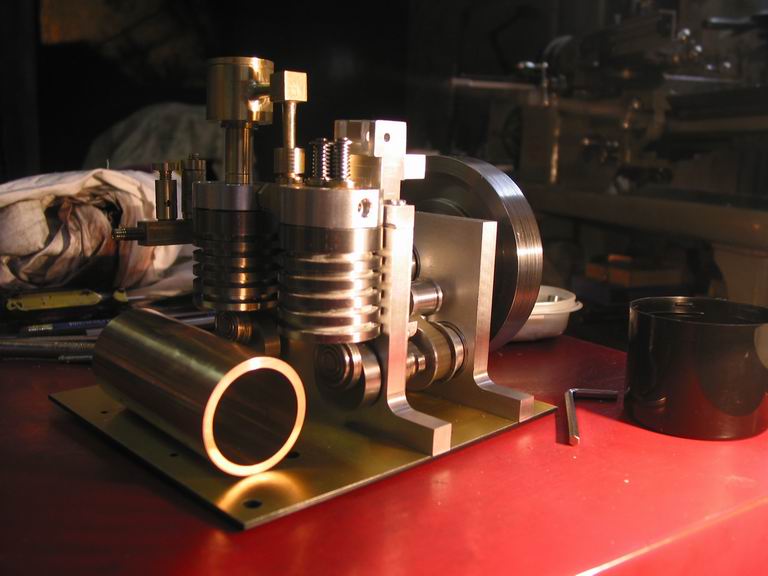
here the belt is mounted for a test with provisional shafts

shell7.jpg


shell8.jpg


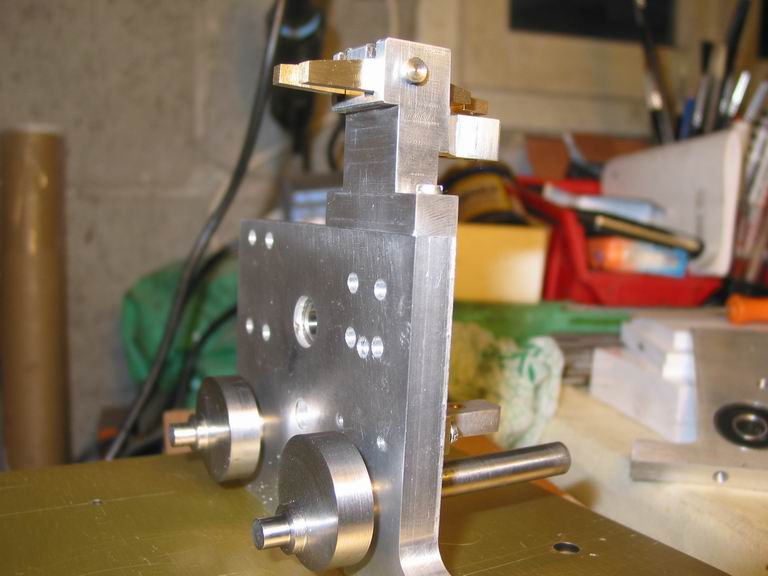
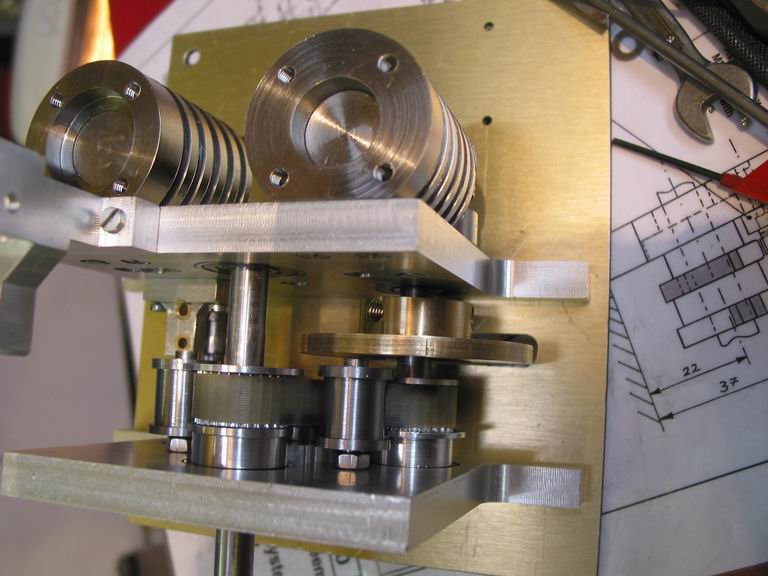
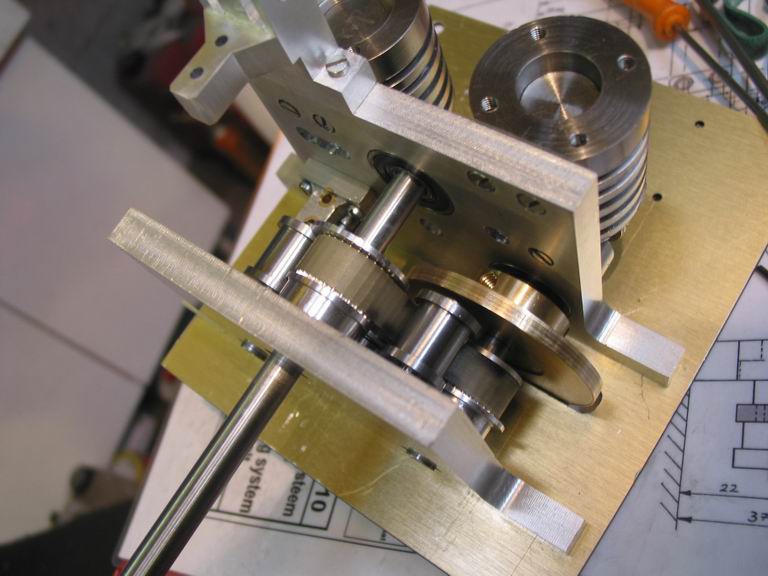
while here the 2 plates are mounted on the base with their own shafts and the tooth belt is properly tensioned: everything seems to turn well and without any effort

shell9.jpg


shell9b.jpg


the great disk of brass on the lower right is the cam disk for ignition

now I can return to work on the outside :) 
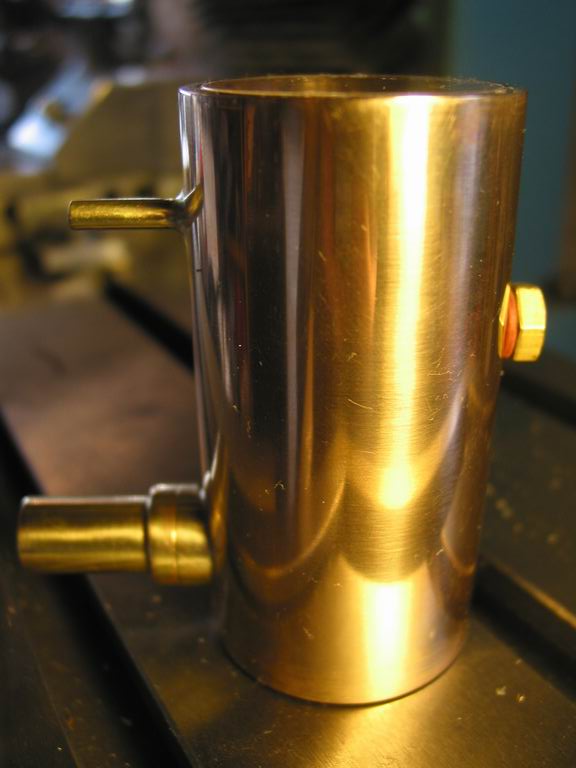
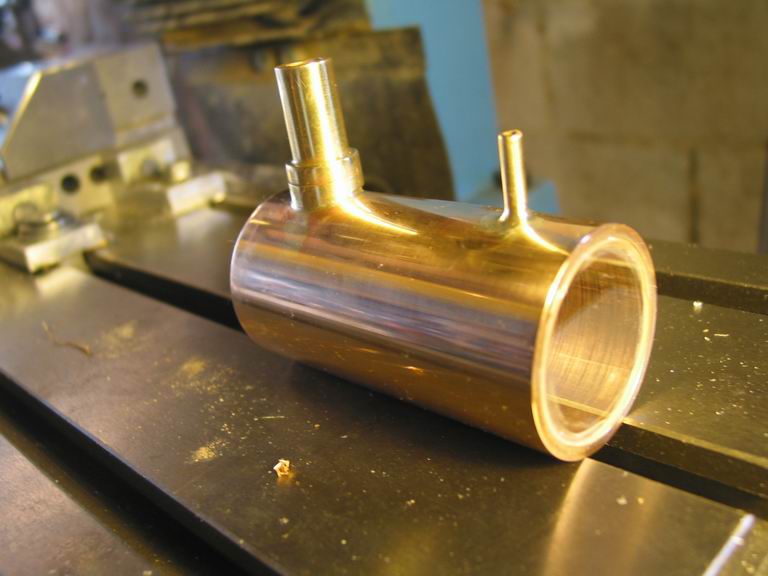
to complete the fuel system, the vapour carb and several other parts that have to be made
and I have to conceive a way to give the ignition at the spark plug, and to build the spark plug too...
I guess that I'm still far to the end of this build ;D

 
Fantastic progress Ariz. That looks a complicated beast but you are onto a winner now. :bow:

Thanks for the update.

Nick
 
Hi Ariz, glad to see you back. Your engine is coming along great. It looks like you have the valve seat finish worked out. If the size was a little smaller (seat area) it would be easier to get a good seal.
gbritnell
 
Excellent, Ariz. Glad to see you back with this engine.

perhaps I now look for a better result and I do prefer to discard a piece that doesn't fit well instead to try to correct/fix it

Again, excellent!

Dean
 
time to bore the head of the power cylinder for the spark plug
it has an angle of 15° and following your suggestions (particularly the Mklotz one) I bought this set

angle3.jpg


here the setup

angle1.jpg


angle2.jpg


the finished bore

angle4.jpg


but, speaking of the CRS syndrome :( , when I mounted the head for a test I noticed that the spark plug bore was in the wrong syde of the head :'( :'( :'(

angle7.jpg


anyway, some other pics

angle5.jpg


angle6.jpg


angle8.jpg


waiting for a solution to this mistake, I thinked to build the fuel tank, a cylinder of brass that is about 40 mm in diameter and 80 mm long
using my greatest drill bit, 34 mm

angle9.jpg


after some turning, the finished cylinder ready for the next steps

angle10.jpg


I have already silver soldered the air intake tube to the fuel tank, but didn't take pics yet

thank you for viewing

 
Looking fantastic ariz, can't be far off a run! :bow:
 
Good going Ariz - looking forward to more :)

And I like your cutting fluid feed Thm:

Regards, Arnold
 

very nice work!! It is looking great.
 
I hope you can find a solution to the spark plug problem, Ariz! Even with that "little" problem, the engine is looking great. Nice work, for sure.

Dean
 
This build just might get me into building an IC engine next. It has also inspired me that I'm not the only one to remake parts. Great Work!!!
 
thanks to everybody

I have completed the fuel tank (well, it is a 'vapour carburator')
time to think at the ignition system now ::)

carb1.jpg


carb2.jpg


but I have a doubt: can the plexyglass resist the gasoline?


I presume you don't need a clear end in the tank, is it just for effect or to see when the thing is running out and that you don't over fill it?

Nice work Ariz by the looks of what other people of done, hopefully, the "vapour carb" can take a lot of heartache out of it!

Nick
 
A lot of nice work has gone into this engine. Very interesting project.

Chuck
 
Great work, ariz.

Can't wait to see this one running. It's going to be a treat, I'll bet.
 
I must have missed your fuel tank post the other day, Ariz. Very attractive!

Dean
 
Ariz,

You make beautiful parts and engines. :bow: :bow:

Best Regards
Bob
 
thank you mates, all of you :-*

I found on ebay an old coil with points and condenser from a motorbike and am waiting for them to arrive (hope that they work again!)

I'm looking for the gbritnell's thread about making a spark plug, but can't find it ???

 
Back
Top