Plunket Jr. Build

Home Model Engine Machinist Forum

Help Support Home Model Engine Machinist Forum:

This site may earn a commission from merchant affiliate links, including eBay, Amazon, and others.
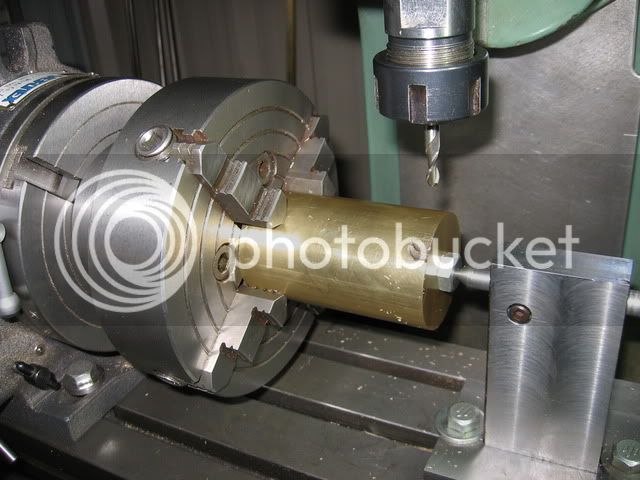
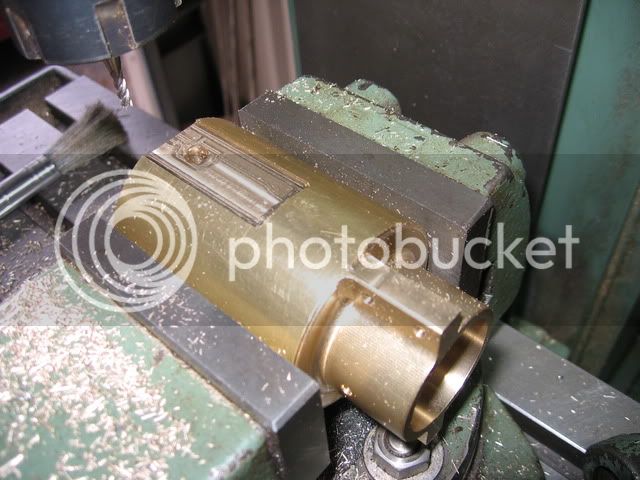
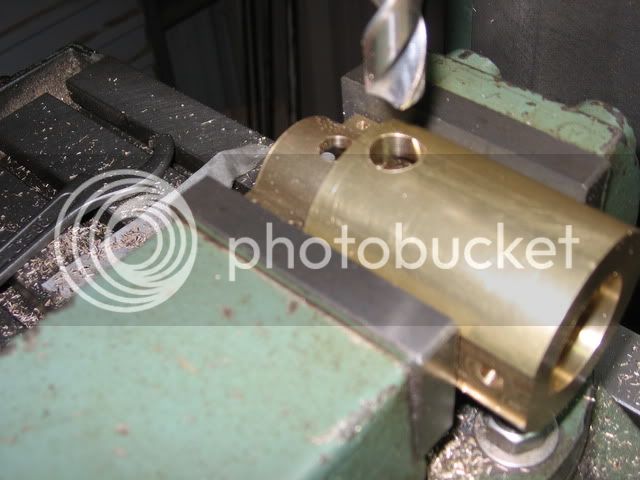
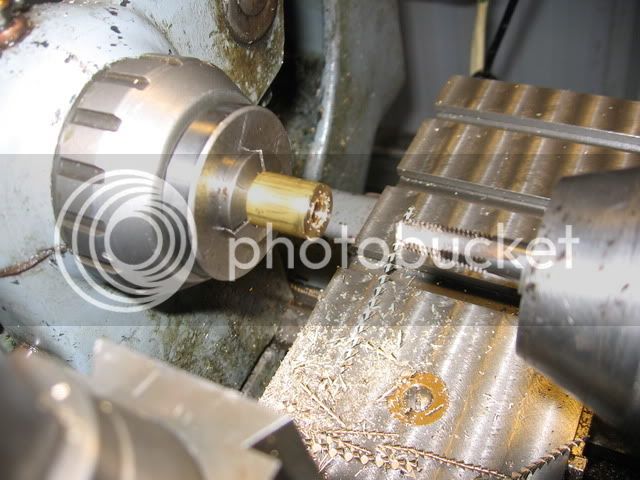
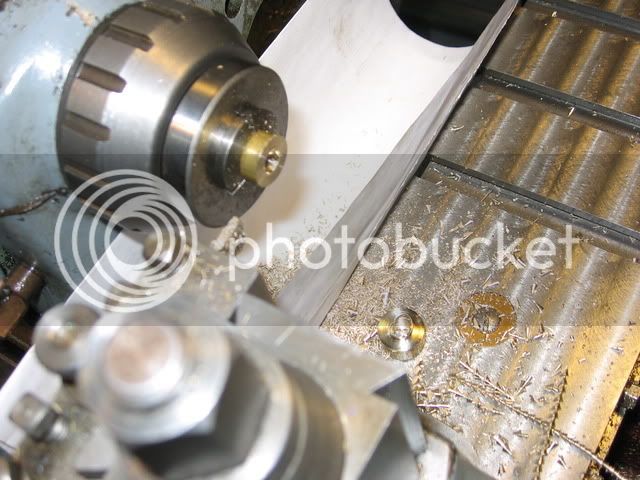
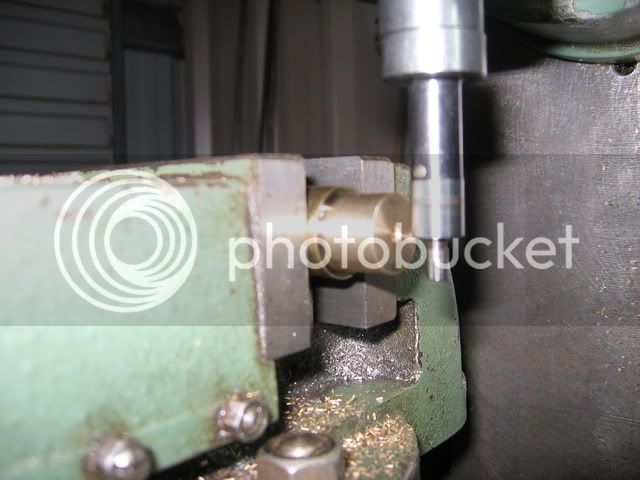
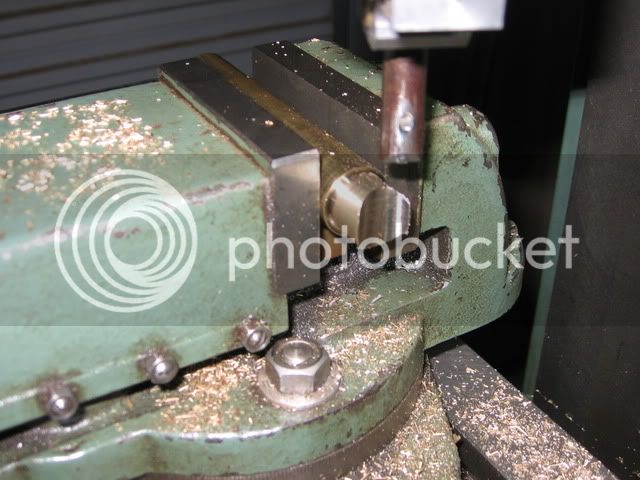
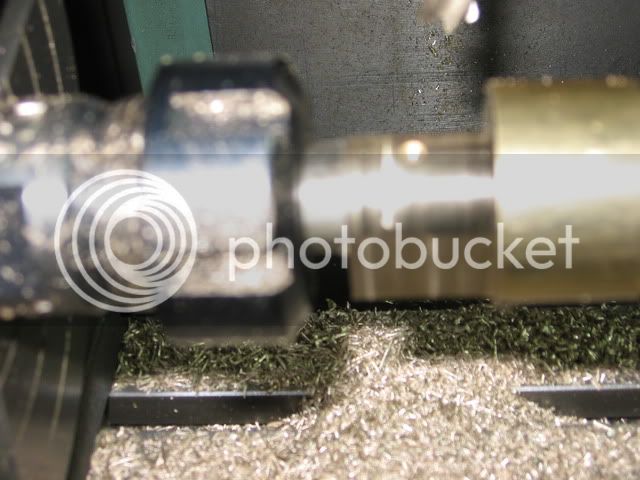
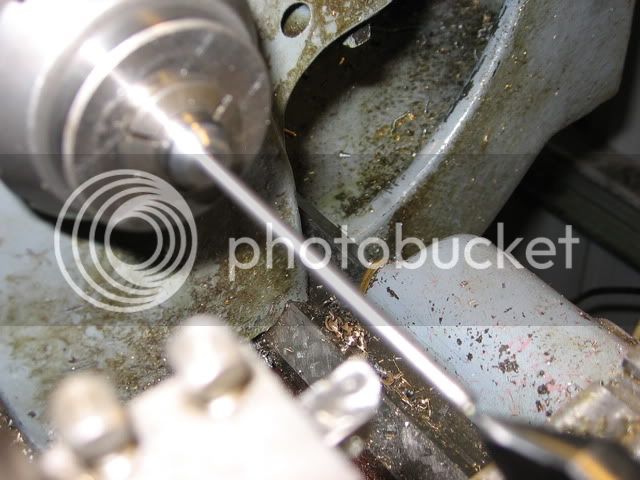
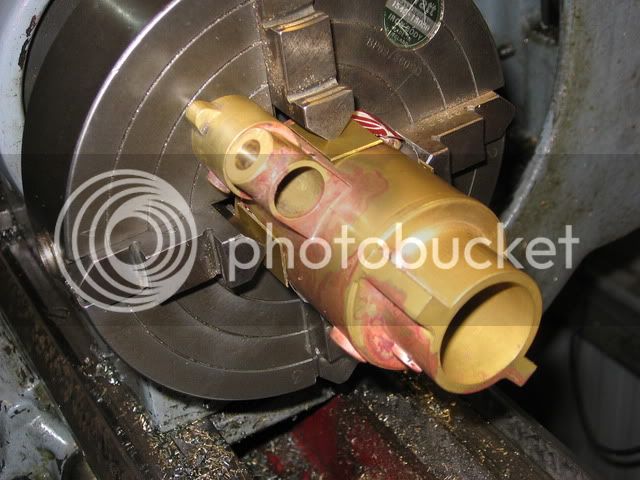
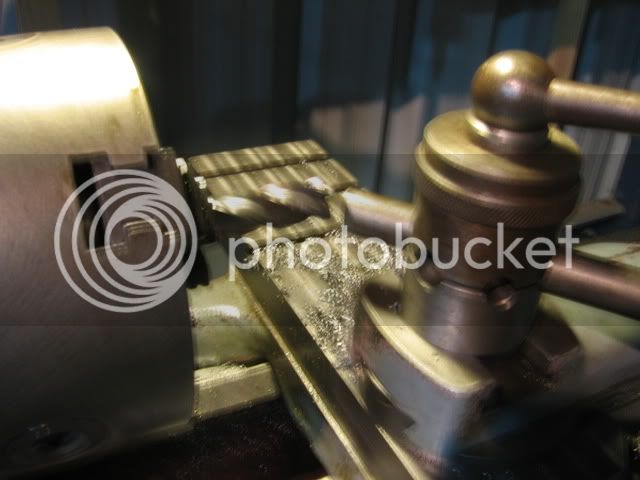
from here it's back to the lathe to bore out the rest of the water jacket towards the back. I made up a boring bar to do this. I milled and drilled the boring bar in the lathe. It's just one with some small round HSS going across it

IMG_0604.jpg


IMG_0605.jpg


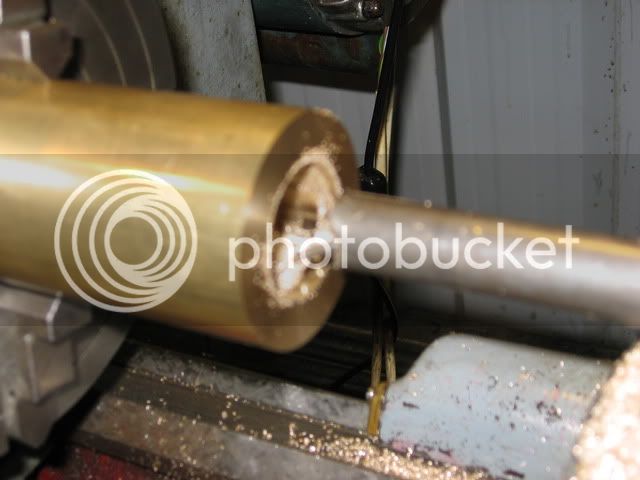
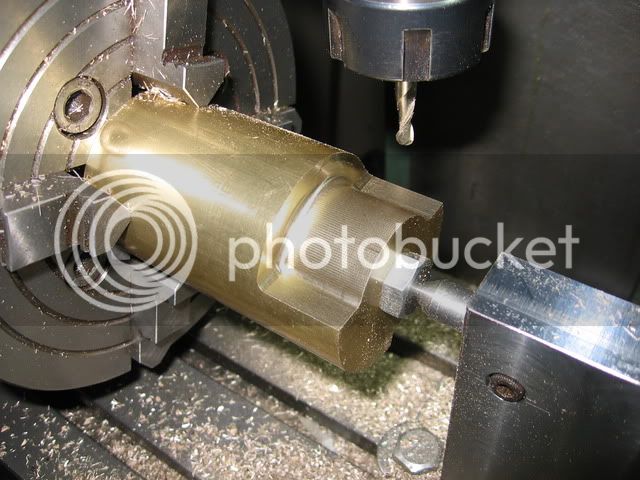
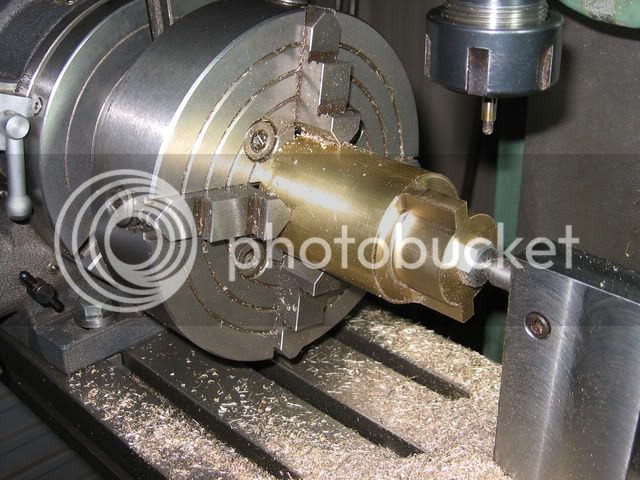
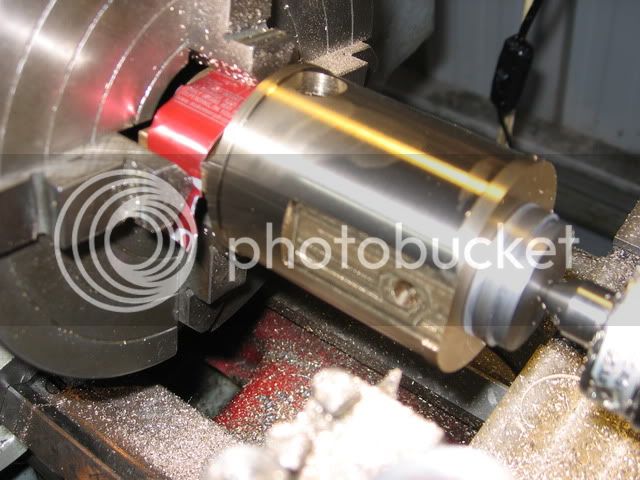
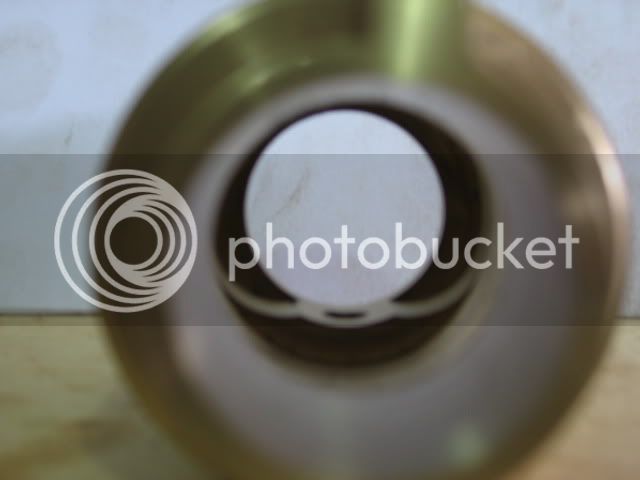
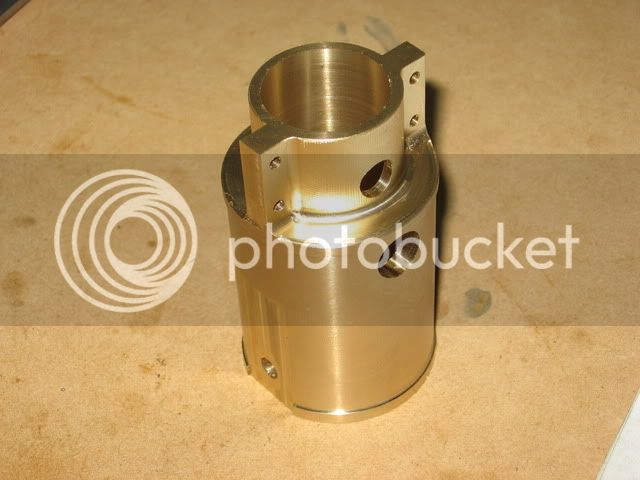
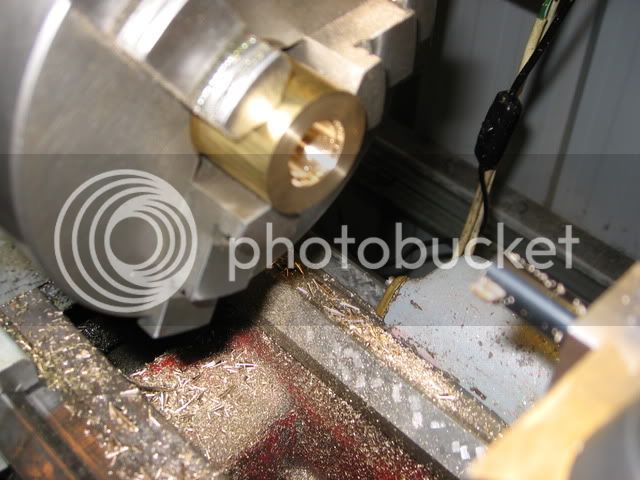
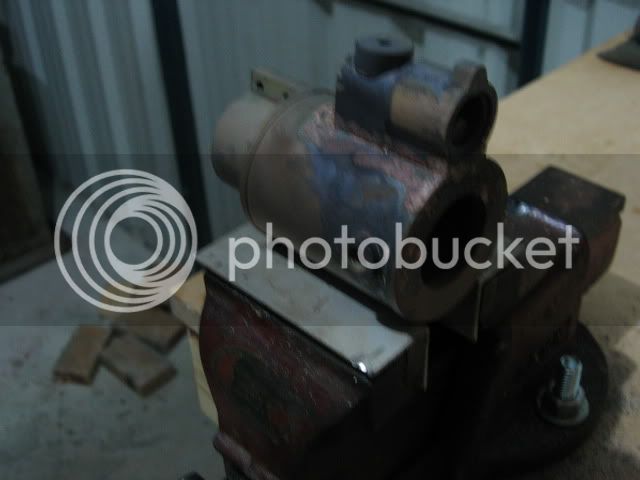
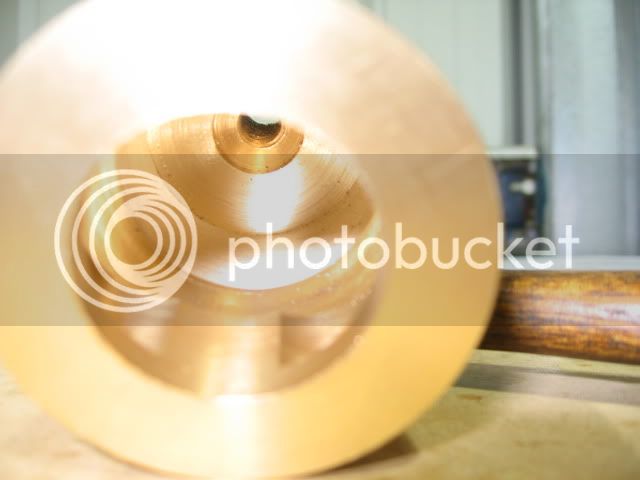
so now the water jacket is bored out

IMG_0608.jpg


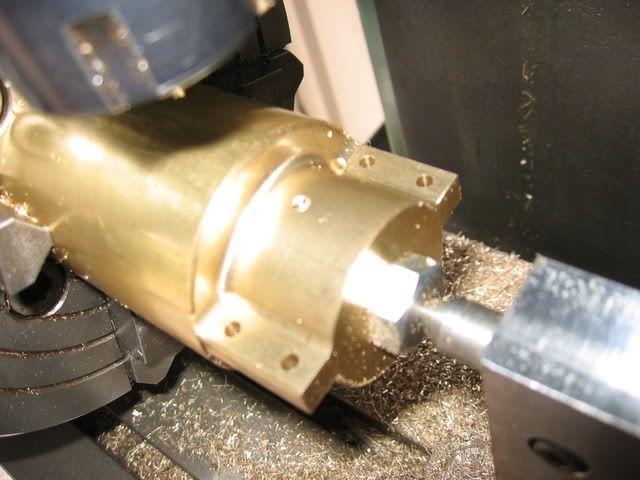
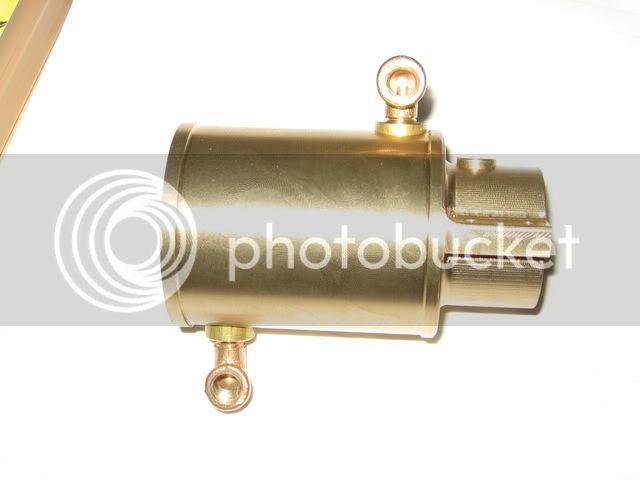
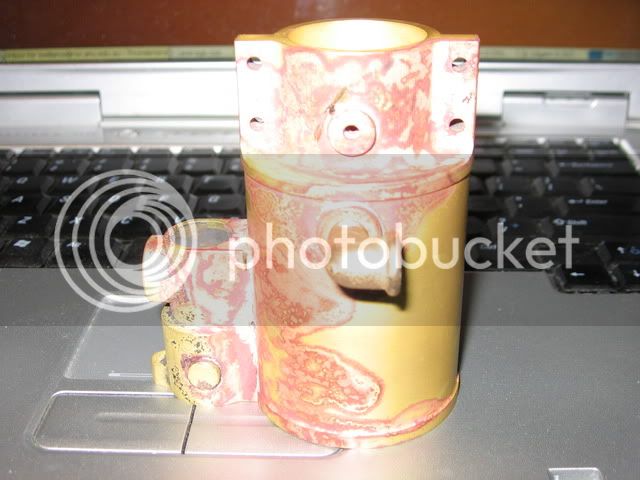
There's alot more to be done on this part. Hopefully I don't stuff it up!!! Anyway thanks for tuning in, more to come ...
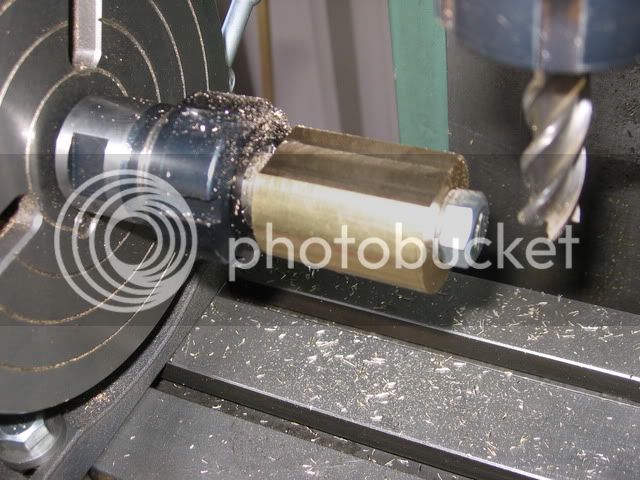
 
More work on the water jacket.

Had to mill the form on the end that forms the mounting point. Here it is set up on my mill with my lathe chuck screwed onto the rotary table and the tailstock supporting the end

IMG_0610.jpg


and after some time attacking it with a 5mm ball mill

IMG_0611.jpg
 
So eventually

IMG_0612.jpg


and then drilling some holes

IMG_0613.jpg


then milling the flat for where the valve body will be silver soldered on

IMG_0615.jpg


and drill some more holes, the one on the far left for the lubricator and the other is the water outlet

IMG_0619.jpg
 
The part was then put back in the lathe. I turned up a plug so that I could use some tailstock support. In the brief instructions this step is done much earlier.

IMG_0620.jpg


So here's what it looks like on the inside, you can see the small hole at the back for the inlet and exhaust (don't forget there's a cast iron liner to go in yet)

IMG_0618.jpg


and here's the cylinder water jacket as it stands

IMG_0621.jpg


I made a minor stuff up on one of the chamfers, but in the end this has to be painted so I'll fix that up with plastibond.

I need to silver solder some parts on to this soon. Anyone got any thoughts on what I can use for pickling? Preferably something I can easily get my hands on. Would vinegar work?
 

On the little bit of silver soldering I have done, vinegar has work well.
I use white vinegar.


Ron
 
Nice job on the water jacket cylinder! Looks like it took a fair amount of time, based on the results.

Chuck
 
This is coming along very nicely Steve. There is a lot of work in that water jacket/cylinder housing and your pictures show it very well.

Bill
 
Thanks for checking in Chuck and Bill, it's appreciated :bow:

Yes there's a fair amount of work and time in the water jacket/cylinder so far. I think this is the most demanding part of the build, but I'm not sure.
 
Steve

That looks great. almost a shame to paint it!

Cheers, Joe
 
Thanks for checking in and the kind words Joe,

I think I'll feel better about painting it once I've silver soldered other stuff to it and thoroughly messed up the finish.

Cheers
Steve
 
I truly enjoy watching your craftsmanship, you surely know how to use your tools! It all seems so easy on the pictures. I would grab my CNC machine for these kind of shapes...... :-[

I am sure this will become a very nice looking engine!

Regards Jeroen
 
Thanks Jeroen

Doing the shapes requires more patients than anything else. Maybe I'll get CNC at some stage in the future but that will probably be some time off.

Cheers
Steve
 
Hi Steve,

True, patience but also concentration. And there it goes wrong with me most of the times. It seems that I am not able to be focussed for hours and then I mess up.

Patience is also required with CNC, its not a wonder machine. It is as good as the CNC code its get feeded and it takes time to fine tune a program. But the big advantage is that the machine does not loose concentration, once the program is ok it runs as long as you want! Especially for multiple cylinder engines, where you need to make many of the same parts its a perfect addition to the shop. I have in my planning (spread over many, many years) to build a straight 6, V6, V8, V10 and V12 engine. All together that takes for example 48 pistons, 84 valves etc. Then it really pays of to spend time in a good program.....

Good luck with your build, hope to see more progress soon!
 
Thanks Jeroen. Yes I agree, CNC needs the same planning as you do for manual. So do you also have a CNC lathe? Are you going to make your own designs for those engines or use existing designs?


Anyway more progress on my engine. First some fittings to connect the water and the lubricator. I made the first one and promptly lost it upon parting off

IMG_0622.jpg


So I jammed a bit of paper between the ways and as you can see, it worked perfectly

IMG_0625-1.jpg


i.e. the part landed on the cross slide this time :p

Here's a bit of a mock up of how it goes together with a couple of 1/16 NPT elbows

IMG_0626.jpg
 
The next piece is the valve body, which is silver soldered onto the side of the cylinder.

I started with a boss that is silver soldered onto the side of the valve body. I set it up in the milling machine with an edge finder and then used my boring head to cut a radius into the end of it. This will match the radius of the valve body

IMG_0631.jpg


IMG_0633.jpg
 
Next is the valve body. I made this from a piece of 1.25" round. First I bored a hole through it and put a small counter bore at the end to accomodate an O ring

IMG_0628.jpg


Then I made an arbor up

IMG_0630.jpg


set it up on the rotary table and started milling

IMG_0634.jpg
 
So then alot of milling to shape

IMG_0635.jpg


Unfortunately some of my photos didn't come out very well of this, so a bit sparse here.

I then silver soldered everything together. Here it is immediately after completion of the soldering

IMG_0643.jpg


and after pickling in vinegar

IMG_0644.jpg

 
I made a start on the exhaust valve today.

First I decided to straighten my lathe using Rollies Dads method with a piece of 1/2" silver steel. My lathe is sitting on cast iron legs and it's surprising how much it can twist under it's own weight. It was out about 4 thou in 16". Anyway it's much better now.

I made the valve out of some mystery stainless that I got off ebay. The swarf came off terribly stringy but it didn't give any trouble with work hardening. So with light cuts I was eventually able to get the 1/8" stem nice and parallel. Here's a couple of pics. The second has a pencil to give an idea of size.

IMG_0646.jpg


IMG_0647.jpg
 
Next on my ever changing agenda is the cylinder liner. But first I needed to bore the cylinder housing out to it's final size. I had left this undersize so any distortion from the silver soldering could be removed

IMG_0648.jpg


IMG_0649.jpg
 

Latest posts

Back
Top