Cedge
Well-Known Member
- Joined
- Jul 12, 2007
- Messages
- 1,727
- Reaction score
- 28
Winter is past and the shop is much more environmentally friendly, so the time is here to begin a project I've been studying ever since I bought the "Two Shop Masters" book at cabin fever. The book has plans for a number of engines, but this one caught my eye, so it jumped to the top of my build list. I've never messed with small IC engines until now so I'm curious as to how the project will go. You're invited to come a long as I attempt to take on the "Victorian", designed by the late Philip Duclos.
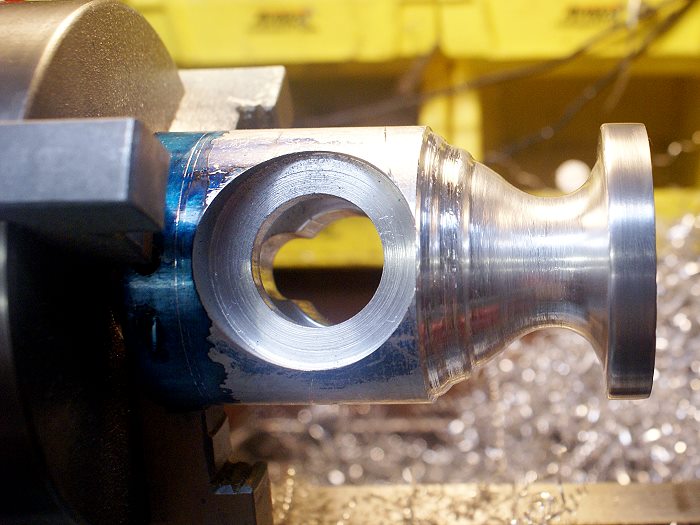
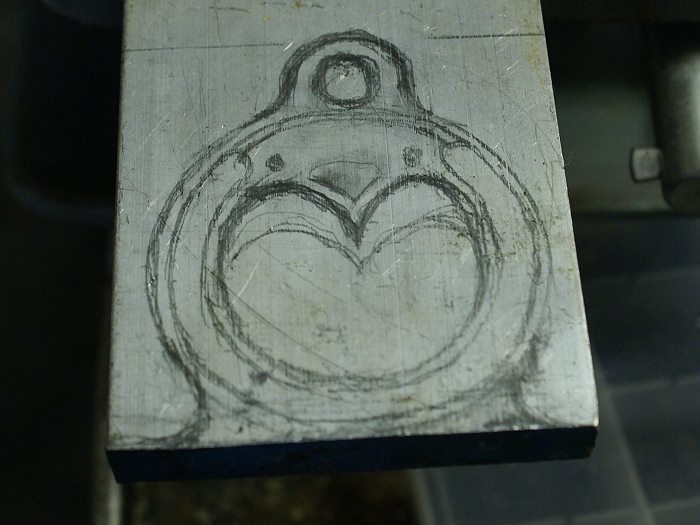
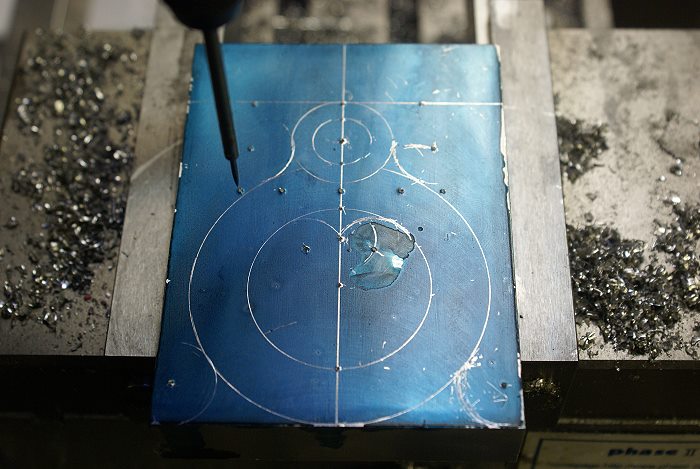
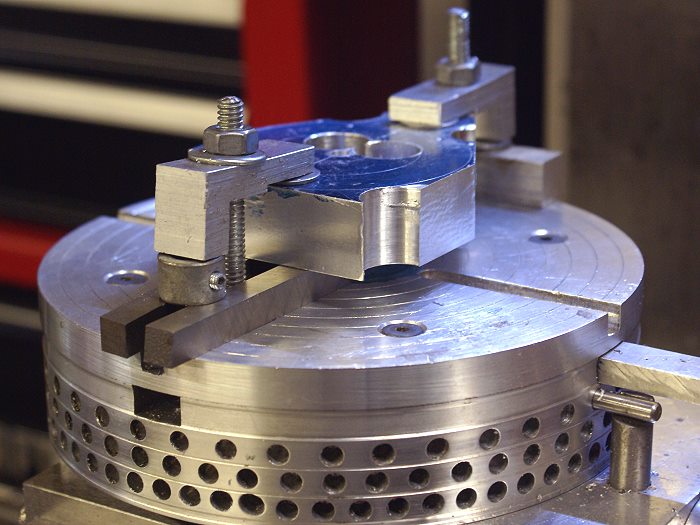
The project began with a 4 1/2 inch piece of 6061 aluminum, faced off to length and counter bored on one end. It was them moved to the mill and two flats were added to create a set of datum points for positioning the work piece as things progressed. The piece was turned over in the vise and marked for a hole which has to be bored perpendicular to the length of the work piece. once this hole was center drilled, the work piece was moved to the lathe. A threaded hole was also placed on the "back side" which was supposed to help secure the piece to a face plate when it returned to the lathe.
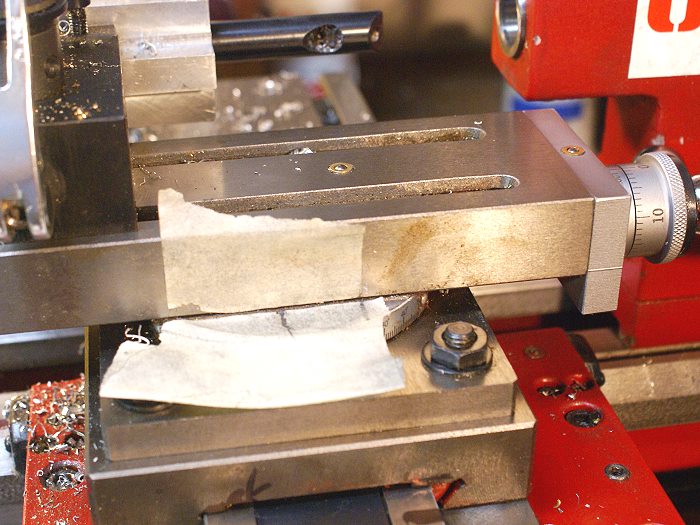
Things didn't quite work out that way due to the length of the slots in my new face plate. The bolt hole couldn't be used if the work piece was to be centered on the center drilled hole. A few minutes of head scratching was under taken and a simple strap was the solution I came up with. Not extremely elegant, but at least it worked....(grin)
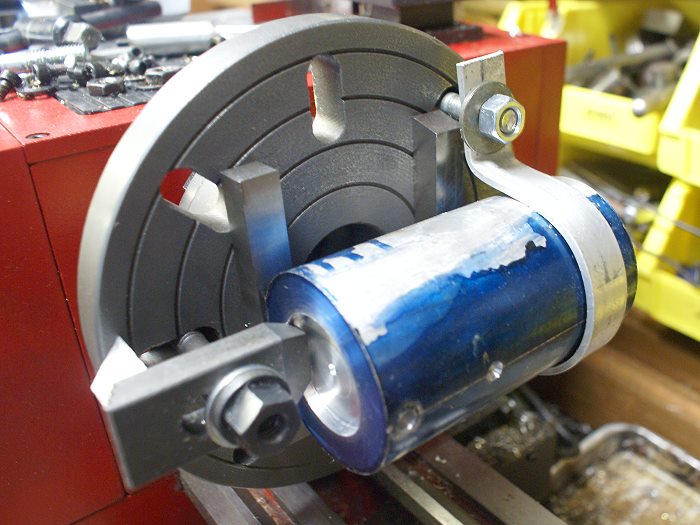
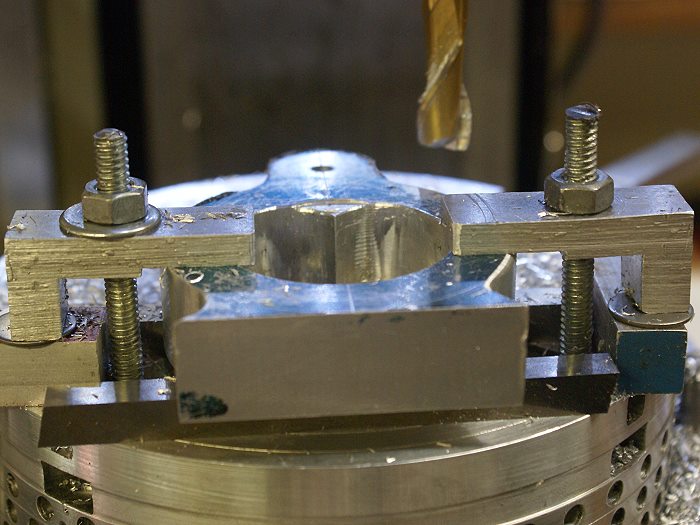
Since I only have two hands and the setup required more, I enlisted the tail stock and a dead center to help hold things while they were secured and rough centered. The dead center was fitted into the center drilled hole to get things close and to apply pressure as I was securing the work piece. This got things close, but the engine will have a crank that is suspended on both ends with close tolerance sintered brass bushings. This means things have to be dead nuts or binding will become a problem... especially since the two support points are going to be located in separate and independent components.
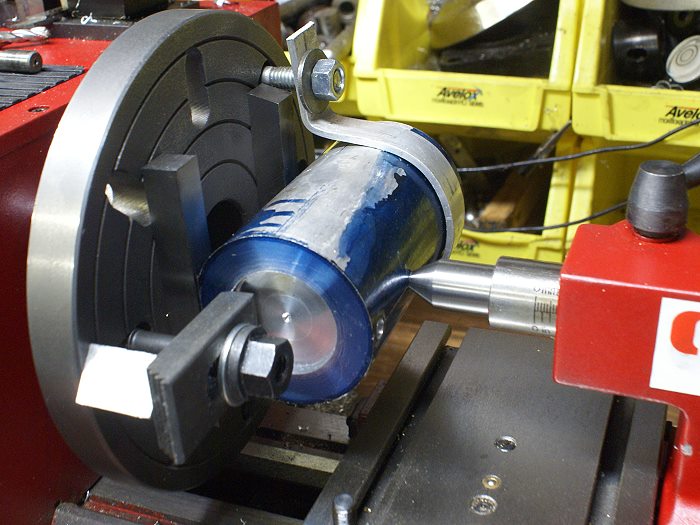
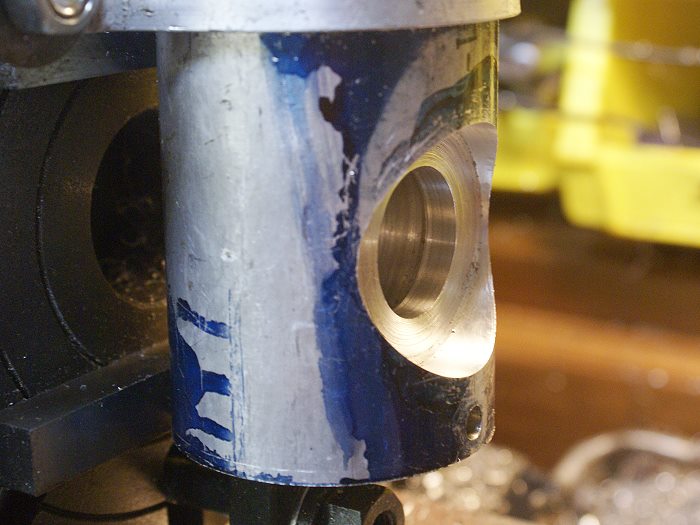
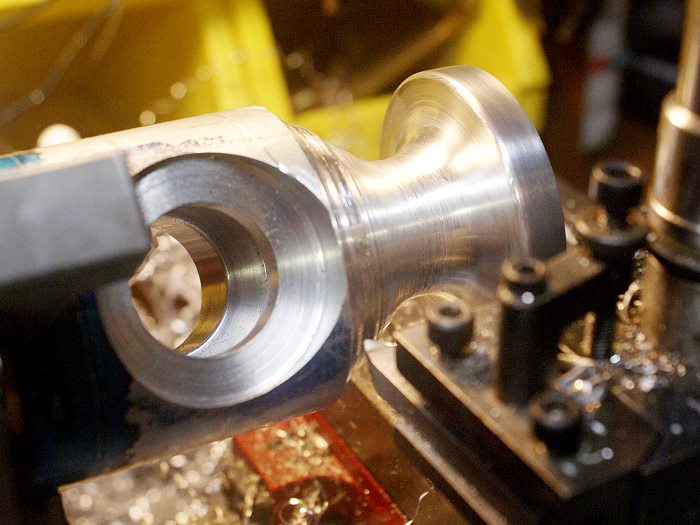
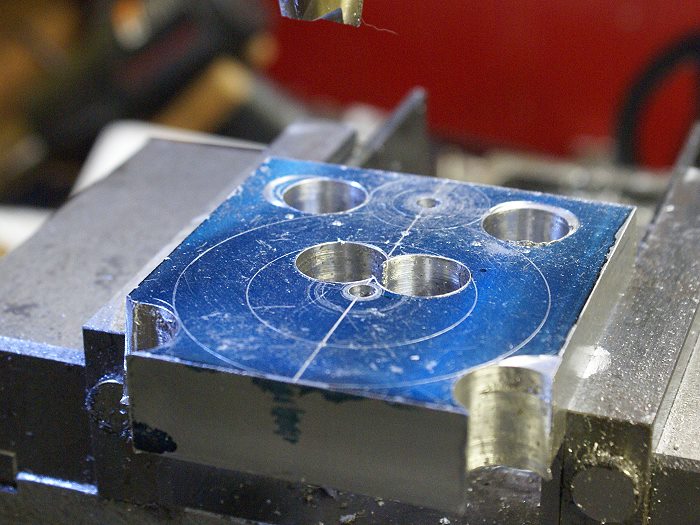
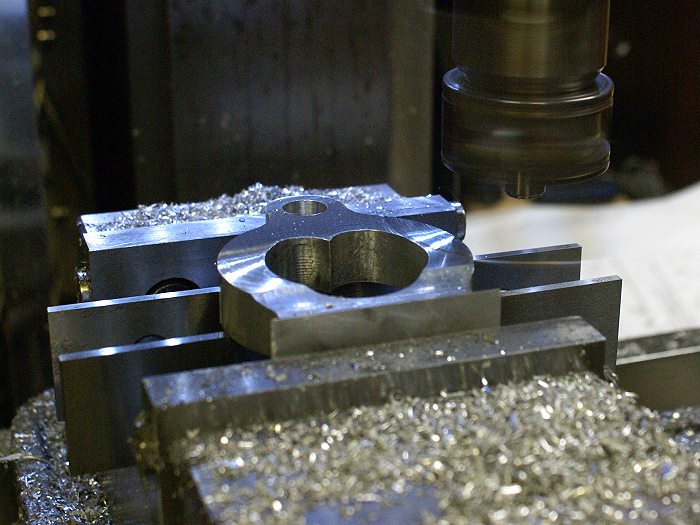
Once things were close to being centered on the center drilled hole, it was time to get everything where it needed to be. Since it is rather difficult to put a DTI on an irregular shaped object, I had to find a way to get a measure from a specific point of interest. In this case it was the center point of a somewhat tricky multiple step boring operation that has to run perpendicular through the length of the engine body.
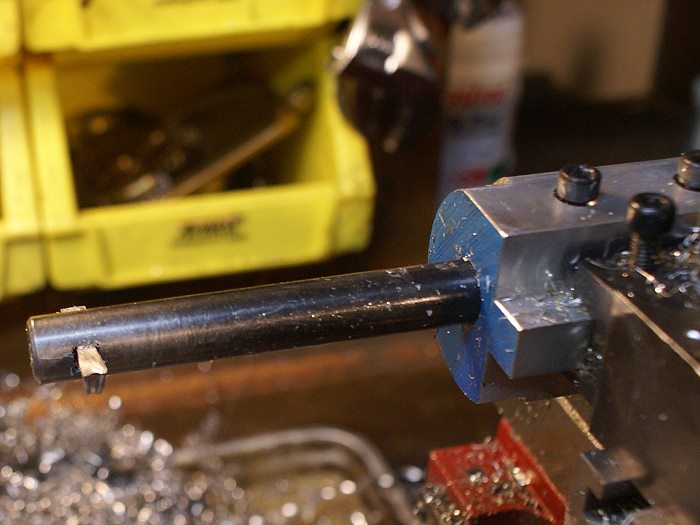
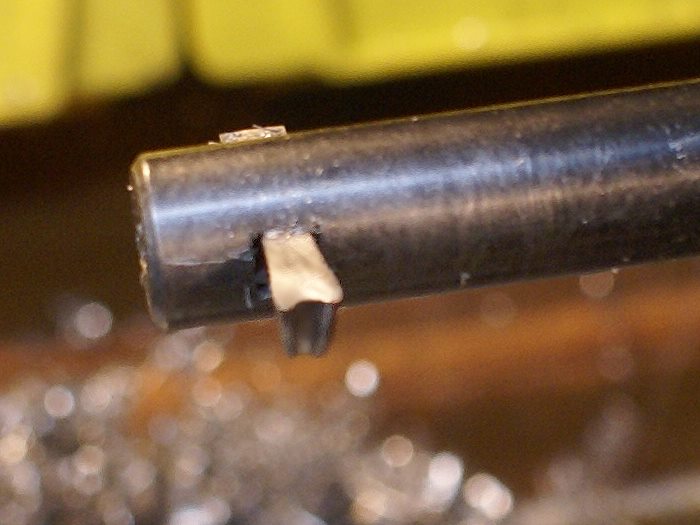
To achieve this, I employed my friendly "wiggler", mounted in the tail stock and mated to the center drilled hole. The wiggling motion gave me a fair visual reference of how far out things were, but it's almost impossible to spot which way the work piece needs to move.
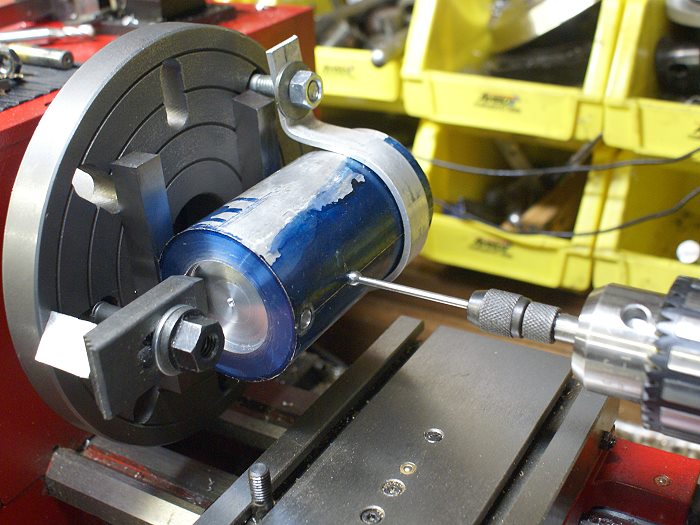
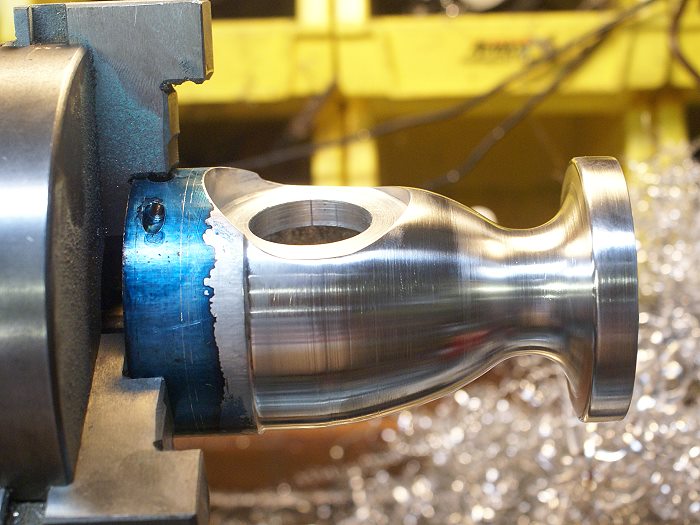
In order to get the center drilled hole perfectly centered, I used a DTI and measured the ball at the end of the wiggler. First indications were showing about .030 run total indicated run out (TIR). With a few gentle taps of the brass hammer, things quickly moved to within a couple of thousandths of the lathe centerline. The last couple of thousandths were a ticklish bit of adjustment but the final reading indicated a TIR of .0005. That should be more than close enough to work.
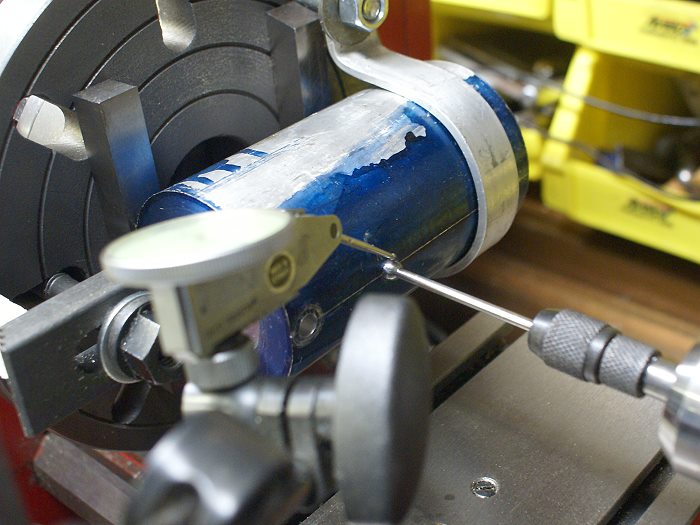
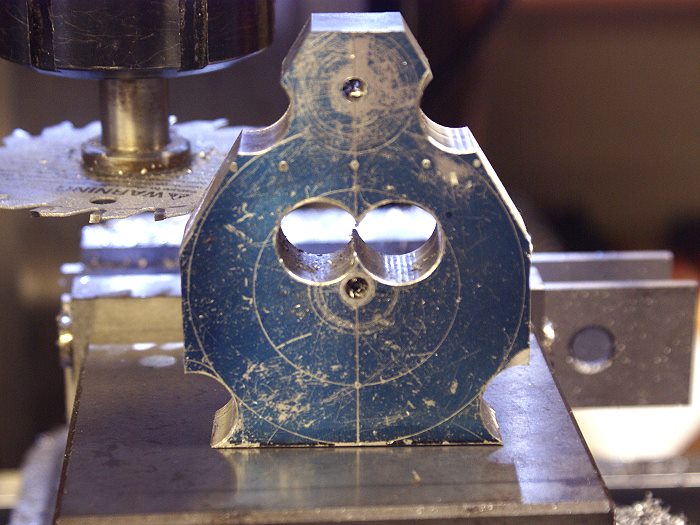
The engine body is now ready to be drilled and bored. Lots of parts yet to make, so this promises to be a long thread.
Steve
The project began with a 4 1/2 inch piece of 6061 aluminum, faced off to length and counter bored on one end. It was them moved to the mill and two flats were added to create a set of datum points for positioning the work piece as things progressed. The piece was turned over in the vise and marked for a hole which has to be bored perpendicular to the length of the work piece. once this hole was center drilled, the work piece was moved to the lathe. A threaded hole was also placed on the "back side" which was supposed to help secure the piece to a face plate when it returned to the lathe.
Things didn't quite work out that way due to the length of the slots in my new face plate. The bolt hole couldn't be used if the work piece was to be centered on the center drilled hole. A few minutes of head scratching was under taken and a simple strap was the solution I came up with. Not extremely elegant, but at least it worked....(grin)
Since I only have two hands and the setup required more, I enlisted the tail stock and a dead center to help hold things while they were secured and rough centered. The dead center was fitted into the center drilled hole to get things close and to apply pressure as I was securing the work piece. This got things close, but the engine will have a crank that is suspended on both ends with close tolerance sintered brass bushings. This means things have to be dead nuts or binding will become a problem... especially since the two support points are going to be located in separate and independent components.
Once things were close to being centered on the center drilled hole, it was time to get everything where it needed to be. Since it is rather difficult to put a DTI on an irregular shaped object, I had to find a way to get a measure from a specific point of interest. In this case it was the center point of a somewhat tricky multiple step boring operation that has to run perpendicular through the length of the engine body.
To achieve this, I employed my friendly "wiggler", mounted in the tail stock and mated to the center drilled hole. The wiggling motion gave me a fair visual reference of how far out things were, but it's almost impossible to spot which way the work piece needs to move.
In order to get the center drilled hole perfectly centered, I used a DTI and measured the ball at the end of the wiggler. First indications were showing about .030 run total indicated run out (TIR). With a few gentle taps of the brass hammer, things quickly moved to within a couple of thousandths of the lathe centerline. The last couple of thousandths were a ticklish bit of adjustment but the final reading indicated a TIR of .0005. That should be more than close enough to work.
The engine body is now ready to be drilled and bored. Lots of parts yet to make, so this promises to be a long thread.
Steve