Hi Sean. Thanks. Your post (as well as others) got me thinking...
What about this...
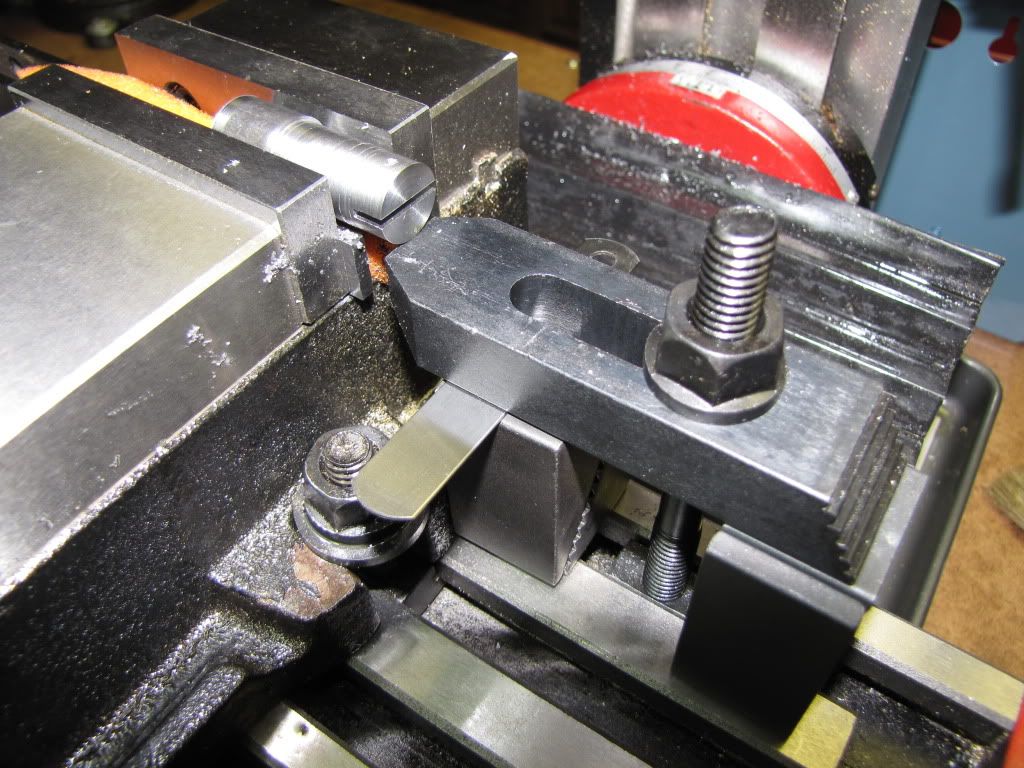
So the idea is...put the part in the vise on top of the parallels. Slit saw. Force is -x...no -z. (I should install a stop on the -x end to counter the cutting pressure...but I haven't got one or the inclination to make one just yet.)
Then...put that clamping stuff in place...just enough to hold the part up to counter the z force yet enough room to let the drill pass through. Shim to suit.
This way I don't have to remove the part and I can make sure the hole is perpendicular to the slot.
Anything I'm missing?
Couple more questions...is 'chucking in the vise' the same as 'clamping in the vise' or does it really mean put the part in a chuck and then the chuck in the vise?
Also...what is a '52 piece set'? Is that the clamping kit? Like the stuff I show in the pic?
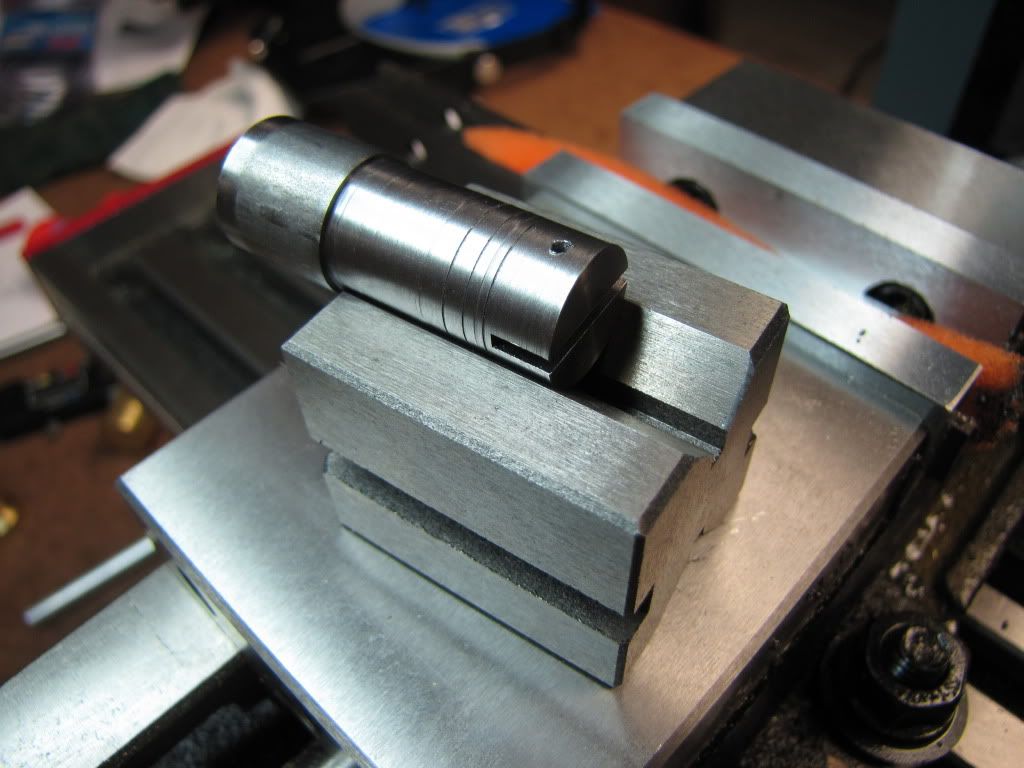
Bob...just saw your post. The bit broke well into the part. No chance of grabbing it and removing it. It's probably only 1/16" or so long but it may as well be 10'.
I thought about turning the part around and turning the other end down...but it seems risky in that I believe I went too far turning it in the first place.
But even if I didn't...in effect it's starting over which I was prepared to do in the first place...and more prepared when I didn't do a satisfactory job turning in the first place.
I have the metal so I'm thinking I'll just start over fresh. I'll keep the part...I have a box of such parts. Memories...and handy fishing weights. Drat...I quit fishing years and years ago.
Thanks Bob. Or is it Robert now. Hey! You're the one that remembered I have a V-block!


")