Model Compressor---Maybe

Home Model Engine Machinist Forum

Help Support Home Model Engine Machinist Forum:

This site may earn a commission from merchant affiliate links, including eBay, Amazon, and others.
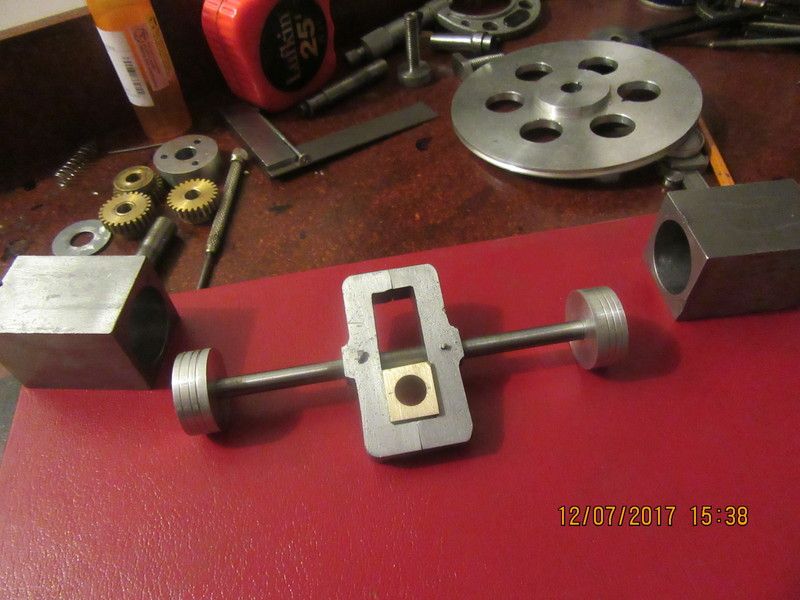
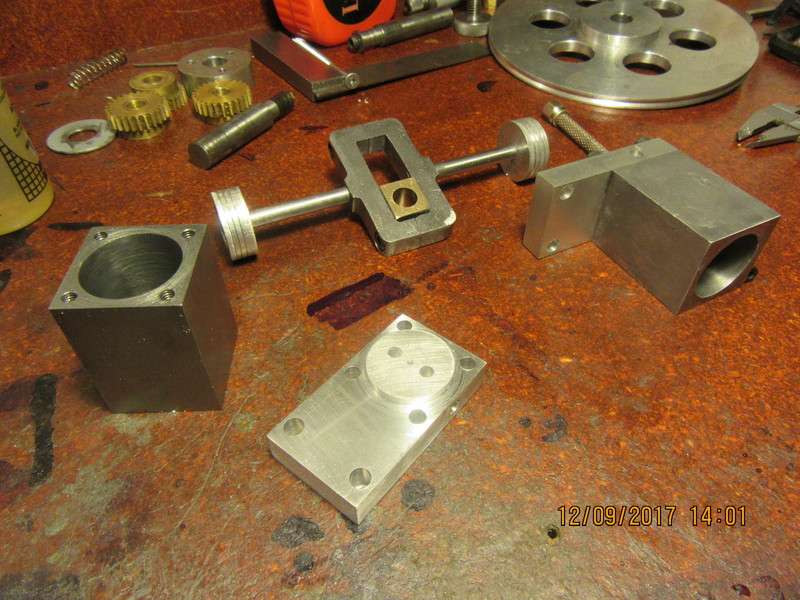
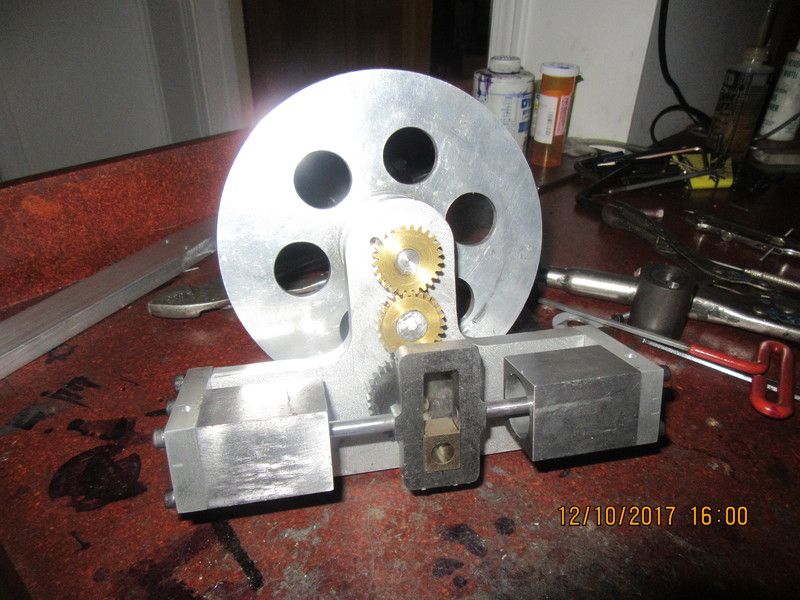
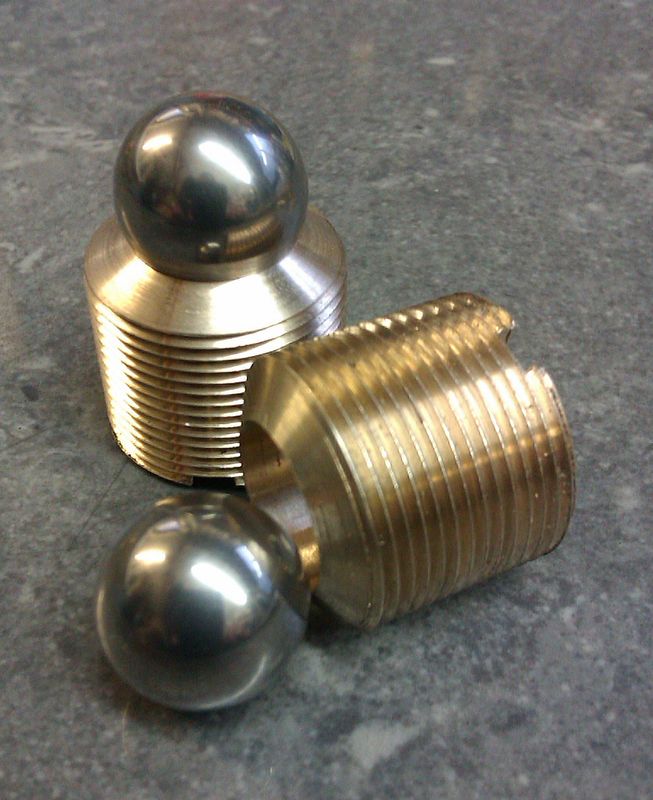
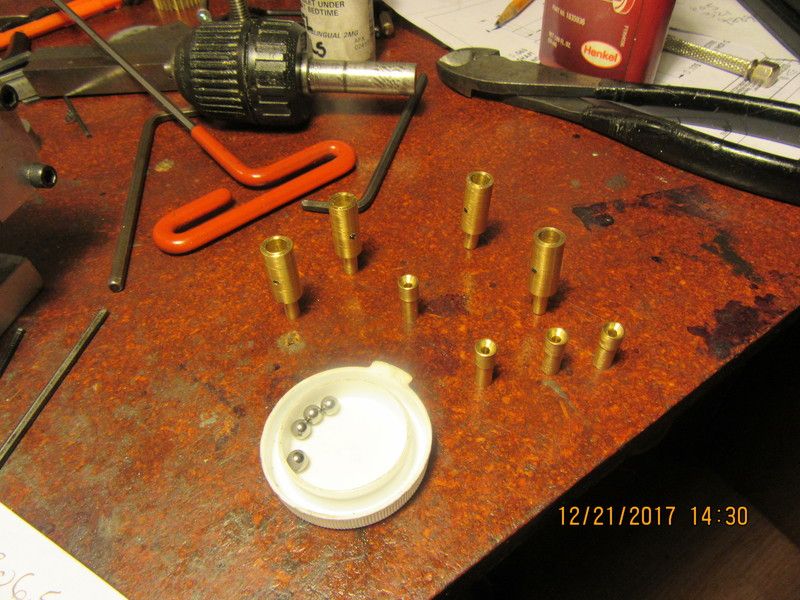
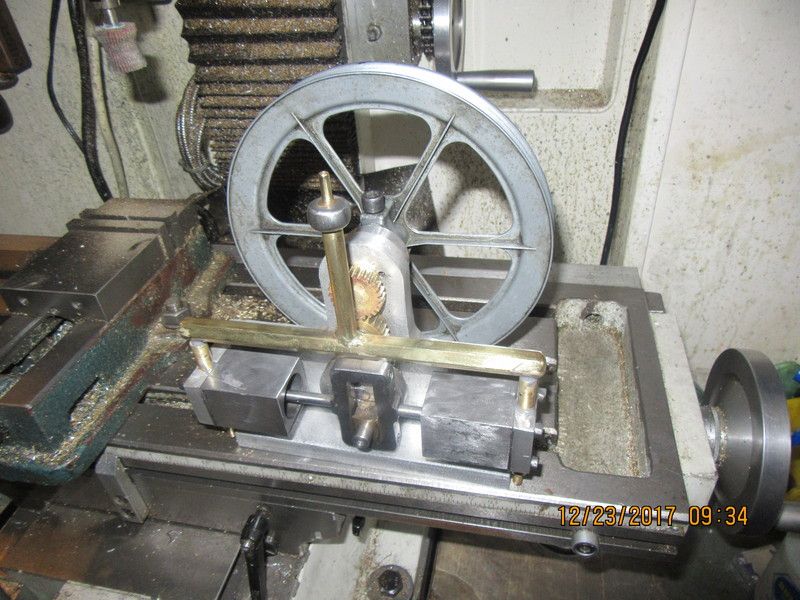
The pistons, piston rods, yoke and slider are finished. The piston rod is one solid piece right now, and is Loctited and cross-pinned to the yoke. I will let it set up for 24 hours, then cut away the center of the rod. I assembled the two piece yoke with the slider in place, because I didn't want to have to disassemble anything after I cut the center out of the piston rod.
9yiJc0.jpg
 
Do you plan on cutting cooling fins or will the slow speed of it make it unneeded?

Will the cylinders need lubricating?
 
The low speed and the fact that there is no combustion should make fins unnecessary. The cylinders will get a squirt of oil before running--it won't take much.
 
This morning I reclaimed some of the 1/2" x 1 1/4" aluminum flatbar from my auto-reversing project and used it to make up the two cylinder supports. I don't know how well it shows up in the picture, but both pieces required 4-jaw work to turn the 1" diameter x 0.100" long "spigot" that fits down into the end of the cylinder. Its funny, 4 jaw work used to terrify/frustrate me but just as everyone said "Do it enough times and it will get easier." They were right of course. Now the biggest pain in the butt is changing chucks whenever I need to do something in the 4 jaw.--And no, I'm not so accomplished at it that I will do all of my work in the 4 jaw. The square corners have been machined/filed into the yoke and the bronze slider installed, as well as cutting the piece of 1/4" shaft out of the center of the yoke. I'm not really sure about these aluminum pistons. They seem "grabby" when slid in and out of the cylinders but that may change with some "running in".
VuAeCR.jpg
 
It has been a snowy miserable weekend here and good wife has a cold, so I've spent more time than usual playing in my machine shop. The compressor is taking shape and beginning to look like the 3D model. The gears do mesh, and the pistons do slide back and forth, although somewhat reluctantly. I will finish up the baseplate and the drive disc that moves the yoke back and forth tomorrow, and then a bit of 'running in' on my bench set-up to loosen things up a bit. Once I get it moving freely, I will start on the 4 valves.
1sCUed.jpg
 
Another great machine Brian. Enjoy the snow. We are heading for temperatures of 40 C here in Adelaide.
 
My Goodness--What a horrible day outside. We're getting lake effect snow coming in off Georgian Bay on the east side of Lake Huron and it's snowing so hard you can barely see. So far today I've ferried two grandchildren from school on the far side of Barrie to their home on the far side of Barrie. They couldn't both get the belly-ache at the same time. One in the morning and then a different one in the afternoon. I am still "dicking around" with the compressor to see if it's going to "free up" enough to be driven by an o-ring drive belt. I had it all loosened up, then took off the cylinders to install gaskets at each end and forgot to match-mark things before I reassembled it all. On re-assembly, I found it to be as stiff as it was at the beginning. I still don't have a real feel for whether I am going to o-ring the pistons or not.
 
Decision has been made. The aluminum pistons simply aren't going to cut it. The problem I'm running into is too many pieces bolted together to allow perfect alignment. I have to think on this now. I have the viton O-rings. I can make a new set of aluminum pistons and turn them 0.010" undersize, but I don't really want to use aluminum again. The current pistons are too short to get a grip on with my lathe chuck, and they only have a 3/16" center bore, so re-using them isn't an option. Steel pistons sliding in a steel cylinder don't sound like the greatest idea to me either. I do have plenty of cast iron "stubs" left over from other jobs that I could probably make new pistons out of. I also have a piece of type 901 blue nylon that I could use. Maybe even UHMW. I will think on this overnight, and post whatever I do tomorrow.
 
Brian
Just noticed your build. Look interesting. I am going to follow this build. I know I will learn something from this.
 
All is well in compressor world. I managed to squeeze in an afternoons work and replaced the aluminum pistons with nylatron pistons of 0.990" diameter and added an o-ring to each piston. This made an amazing difference in the torque required to turn the large pulley. Of course with O-rings and gaskets the "compression" is quite significant. I also fitted each cylinder onto a mandrel and squared up the mounting face to the bore. It wasn't out by much at all, but every little bit helps. Soon I will make the four valves that are required.
ei8r9L.jpg
 
Brian, I think you would get a more reliable seal if you cone the valve seats the other way, convex, so the ball is sitting on an initially sharp edge.

The way you have the cone tangential to the ball gives a broad seat and an invitation to trap muck under the ball.

If you were to do as I suggest, then the ball would ideally be a bit smaller, say 1/8" for a 3/32" hole, or the hole bigger, up to 5/32" for a 3/16" ball.
 
Brian, you have a 26mm bore spindle the same as me. Make two pistons say 0.005 oversize and with ring groove to finished dept. Fix these onto either end of your long piston rod and then open up the chuck so you can pass one piston into the spindle than hold by piston rod and take very light cuts to true up the piston on the rod and bring it down to size.

You now have a rod with a true piston on either end. Modify the design so that the scotch yoke sits nearer to the gear plate so the piston rod can pass right across it. Make two blocks so the rod can be clamped to the front of the yoke without having to cut it.

Agree with Charle sre seat direction, I mentioned the Cameron pump I made on the other forum, these are the ball seats, bore or D bit the hole a drill won't give a true round hole

IMAG3523_zps7537698e.jpg
 
No news this past week because I've been up to my ying yang in engineering design work. Everybody wants to clear out the last of their engineering budgets before the year end, so I'm working like a dog, just not on my own stuff. The nylatron pistons solved any binding issues that were happening. I will probably start the valves tomorrow.
 
Today has been officially designated "Valve making day". I finally got caught up with my "real" work, so decided today was the day. I did seriously consider making reverse cone valve seats as has been suggested by some, but I didn't have the right size steel balls, and this method has always worked very well for me anyways. I'm just killing a bit of time waiting for my Loctited crosspins to set up, and when I'm finished typing here, it will be time to do the rest of the assembly, which is always a bit tricky to not get Loctite on the steel balls.
1ozG7O.jpg
 
The compressor is finished. Will it work?--I don't know. During the final stages of the build, before I attached the brass manifold, I held a balloon over each discharge valve at the ends of the cylinders, and turned the compressor pulley by hand, and yes, it did inflate the balloons. (I tested one cylinder at a time.) They very quickly went from all flopped over to blown up to shape, but then didn't want to inflate any farther. Of course that is encouraging, because the check valves work, otherwise the balloon wouldn't have blown up at all. With the manifold in place and driven at a much faster clip than I can manage by hand, getting the air from both cylinders instead of only one the balloons should inflate. I have to wait 24 hours now for some J.B. Weld to set up (that is how I attached the manifold to the top of the valves) and then we will have a proper test run.
cpqXh9.jpg
 
This was the morning for the big "test run" of the scotch-yoke air compressor. It is too cold out in my main garage where I test run most of my engines, so I set up right on the corner of my desk in my office, and used my variable speed electric drill for a power source. The compressor does everything I had hoped it would, and I made a video of it running, blowing up a balloon. while I was waiting for the video to upload, I ran the drill some more, and was just reaching for my oil can to give it a squirt of lubrication, when the balloon burst and almost gave me a heart attack!! Ahh--boys and their toys--now I have to go help my wife tidy up in readiness for Christmas (I get the vacuuming job as she has a bit of back trouble). Then I get to shovel a foot of snow off the front steps. Merry Christmas to all of you.---Brian Rupnow
[ame]https://www.youtube.com/watch?v=0r1WNRZPuhM&t=69s[/ame]
 

Latest posts

Back
Top