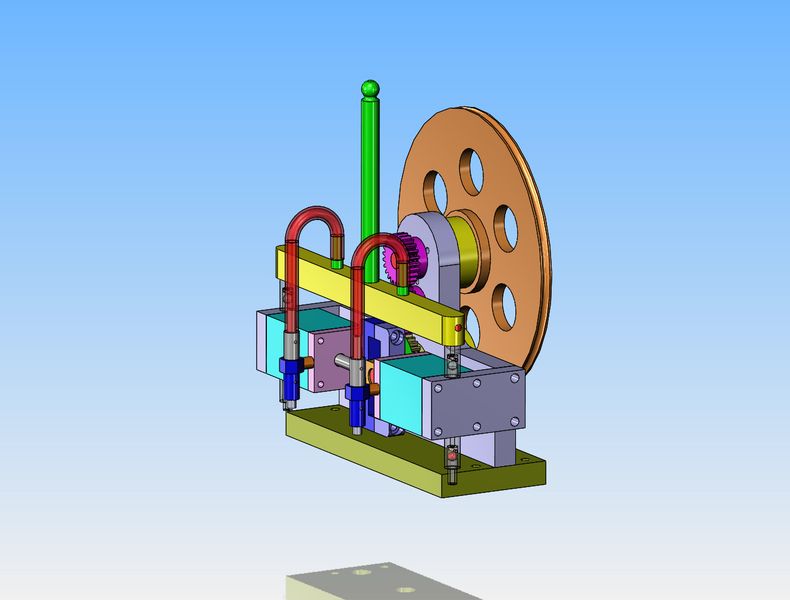
Model Compressor---Maybe

Home Model Engine Machinist Forum

Help Support Home Model Engine Machinist Forum:

This site may earn a commission from merchant affiliate links, including eBay, Amazon, and others.
Brian,

If your willing to wait several weeks, ebay vendors from China sell low cost timing pulleys.

I find it amazing how it's possible to buy something direct from China that's only a few dollars and it costs the buyer nothing to ship. Somebody is subsidizing something.

...Ved.
 
I may have to take a different approach here. I just priced out an 25A30 sprocket and a 25B72 sprocket . A minimum length of #25 roller chain (10'-0') and a masterlink from Canadian Bearings, and that comes to $183.00. Cowabunga!! This is making old bicycle sprockets look much more appealing.
 
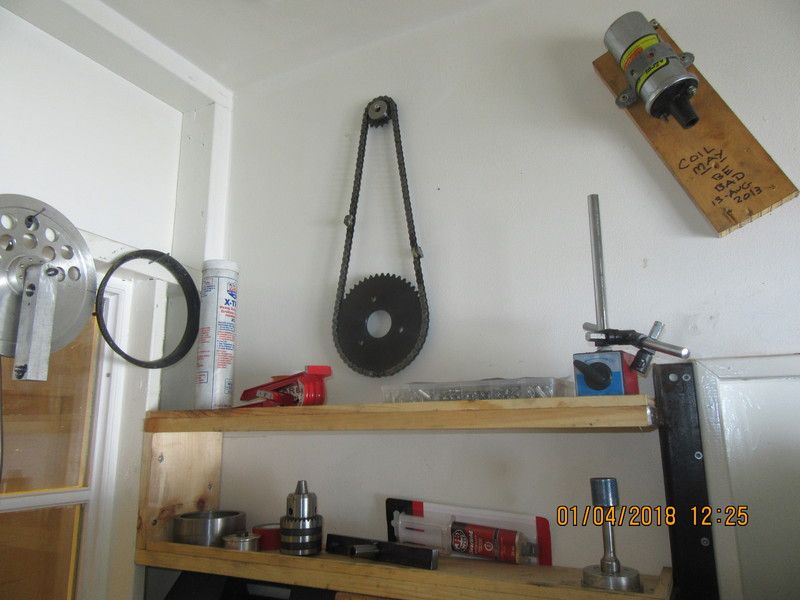
The answer to it all-May be hanging on my wall---This chain and sprocket set was used on one of my old models, which was later scrapped and all the useable parts saved for another project. This is #40 chain, and a bit too heavy for the compressor project. however, when having to make a choice between $180 and something I already have, I can be easily swayed.
07Emrn.jpg
 
Thank you, Shopshoe. Mine would work better if I changed a pulley and sped it up a bit. People want to see the balloon pop.--I'm always glad to hear from someone who takes a bit of pleasure from what I post.---Brian

In the video, I was hoping the pressure got high enough to pull the balloon off the compressor output and fly about the room. :D
 
In the video, I was hoping the pressure got high enough to pull the balloon off the compressor output and fly about the room. :D
Actually it did once. That is why I have that big steel donut at the top of the balloon tube.--To prevent fly away balloons. (The balloon tube puts me in mind of the C N Tower in Toronto.):eek::eek:
 
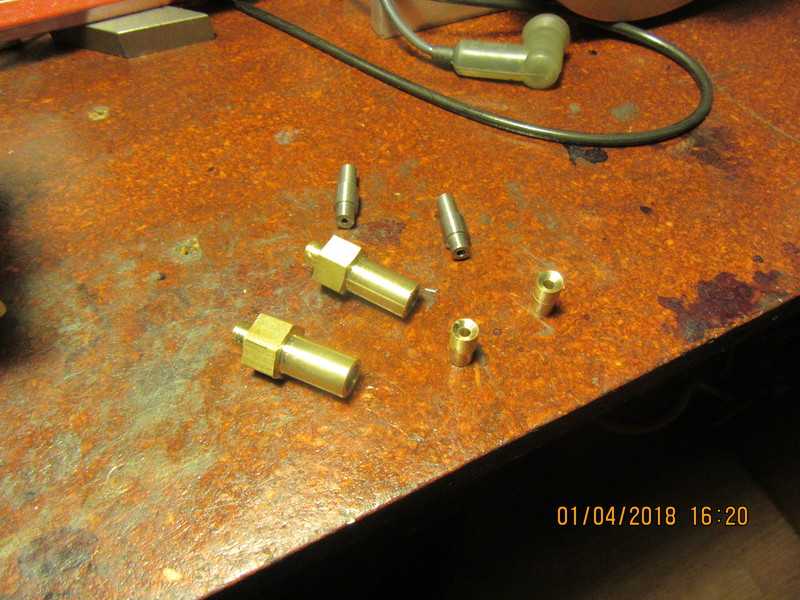
Not much to show for a days work, but progress, none the less. I have two more tiny valve parts to make, then a bit of silver soldering and Loctite work.
32ytW8.jpg
 
Hi Brian. We could use a few balloons of cool Canadian air down here in Oz. 41 degrees C this weekend :D
 
Barnbikes--I didn't look to far into the link you sent me, but it appears to be for cnc machining. Both of my machines are manual.---Brian
 
Brian
It lets you save in G-code or dxf form.
 
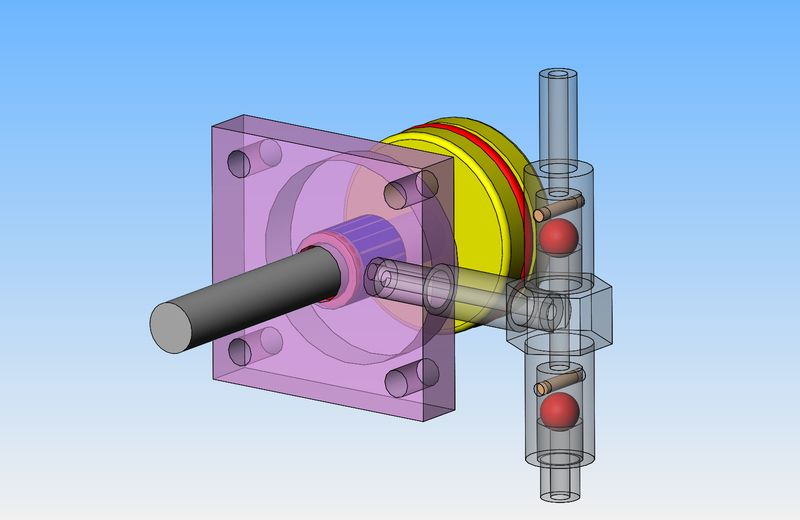
Today I learned something that I will share with you. In the typical ball and cone valves that I build, you will see a cross-pin directly above the red ball, to prevent the ball from getting sucked up to block the orifice above it. For seven years now I've been working on a four foot length of this 1/16" diameter round rod, and today I used the last of it. I called every metal supplier that I know, and nobody carries 1/16" diameter cold rolled rod. The only source I could find was the local hobby shop, and they have 1/16" diameter music wire. This has a very nice finish, but is harder then the devils horn and damned near impossible to cut with a hacksaw, band saw or even side cutters. I can't remember where I got the original piece of 1/16" material I've been using this past seven years, but it probably came from the hobby shop also. That doesn't pose a terribly big problem---the stuff cuts easily with a 1/16" wide abrasive cut-off wheel in my pneumatic grinder. Since it is so terribly hard to cut, it is difficult to cut precisely measured lengths of the rod for cross pins. So---I cut them a bit long, Loctite them in place, and then "hopefully' be able to trim them to length "in Situ" without marking up the brass housings they are Loctited into. I will let you know how that goes tomorrow.
skyQx8.jpg
 
A quick question--Is there any easy way to remove Loctite residue from brass, other than physically scraping/sanding it off? I doubt that there is, but people on the forums continue to amaze me with the things they know and I don't.---Brian
 
To clean up cured loctite I use Loctite 768 X-NMS Cleanup Solvent
 
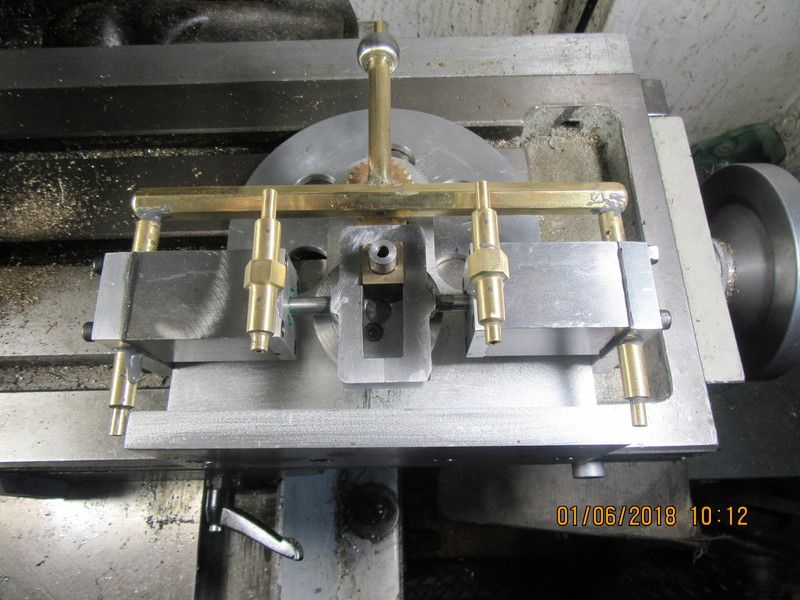
Here we are with both rod end valves in place. The biggest trick in making these things is to be able to Loctite the pieces together without getting any Loctite on the steel ball.---This is an acquired "knack". Both valves have been tested by the good old primitive "suck and blow test". One thing I might mention--If you ever make any of these valves, a secret to making them leak-proof is to set the part with a cone on a good solid steel surface (not wood), set the ball into the cone, then hit the ball a good solid "whack" with a hammer. This will ensure that the line contact at the ball/cone interface really does conform to the shape of the ball. Not a light "tap", but not such a heavy blow that it distorts the overall shape of the brass cone part. This too is an acquired "knack". As I mentioned earlier. the 1/16" ball keeper pins were longer than necessary, and stuck out on each side of the brass valve assembly. This was solved in part by some careful filing, then the assemblies were set up in the lathe 3 jaw chuck and spun at 200 rpm while I did my magic with a strip of 260 grit cloth which blended in the ends of the 1/16" pins and also cleaned up any Loctite residue. Then a carefully applied circle of J B weld and the valve assemblies were slid into the holes prepared in the aluminum end caps. Now its a matter of waiting 24 hours for the J B Weld to cure, and hoping like heck that none of it drooled down into the air hole in the bottom of the port the valves are fitted to. I'll know in 24 hours.
eiLD2L.jpg
 
Brian,

For your 1/16 rod, I think Drill Rod would work better than the music wire. A quick search showed it available in 1/16 from several suppliers I use, but I'm in the USA. This is just FYI, as it looks like you're rolling along just fine on the present build. Did I mention that I like to follow your adventures in machine and engine building.

--ShopShoe
 
Any possibility of annealing your music wire?
Watching among the rest.
GJ
 
I bought a 3 foot length of 1/16" music wire at the hobby-shop yesterday, but have found out since that I can buy 1/16" mig wire which is supposedly "soft" compared to music wire. Will check that out with my welding gas supplier on Monday.
 
I think it was Chris over on MEM that asked how I was going to plumb these new valves into the main header that feeds the balloon tube. I will drill and tap it for the two green "spigots" and then use some clear flexible tubing to tie the valves in.
OAjSk8.jpg
 
Back
Top