Inline 4 cylinder 2 stroke

Home Model Engine Machinist Forum

Help Support Home Model Engine Machinist Forum:

This site may earn a commission from merchant affiliate links, including eBay, Amazon, and others.

oneKone

Well-Known Member
Joined
Dec 22, 2012
Messages
87
Reaction score
36
Hi, I originally had this on model engine maker but the thread didn't really get any traction.

The build is based of Jan Ridder's puppy 2 stroke, most of the design has been modified with the exception of a few parts.

So far:
fc238a0746c0a06e97d9de3924dc453e.jpg

da476134203d2647e2c6adfdc9ba20fc.jpg

023268634f34f1d75e34df1c2719252c.jpg

4381dc24a91af3ec46d7b40d60ada23e.jpg

3ed86486fb56da0bf98fd074e947d54a.jpg

24105acfcc66081cfd543124172a6a50.jpg


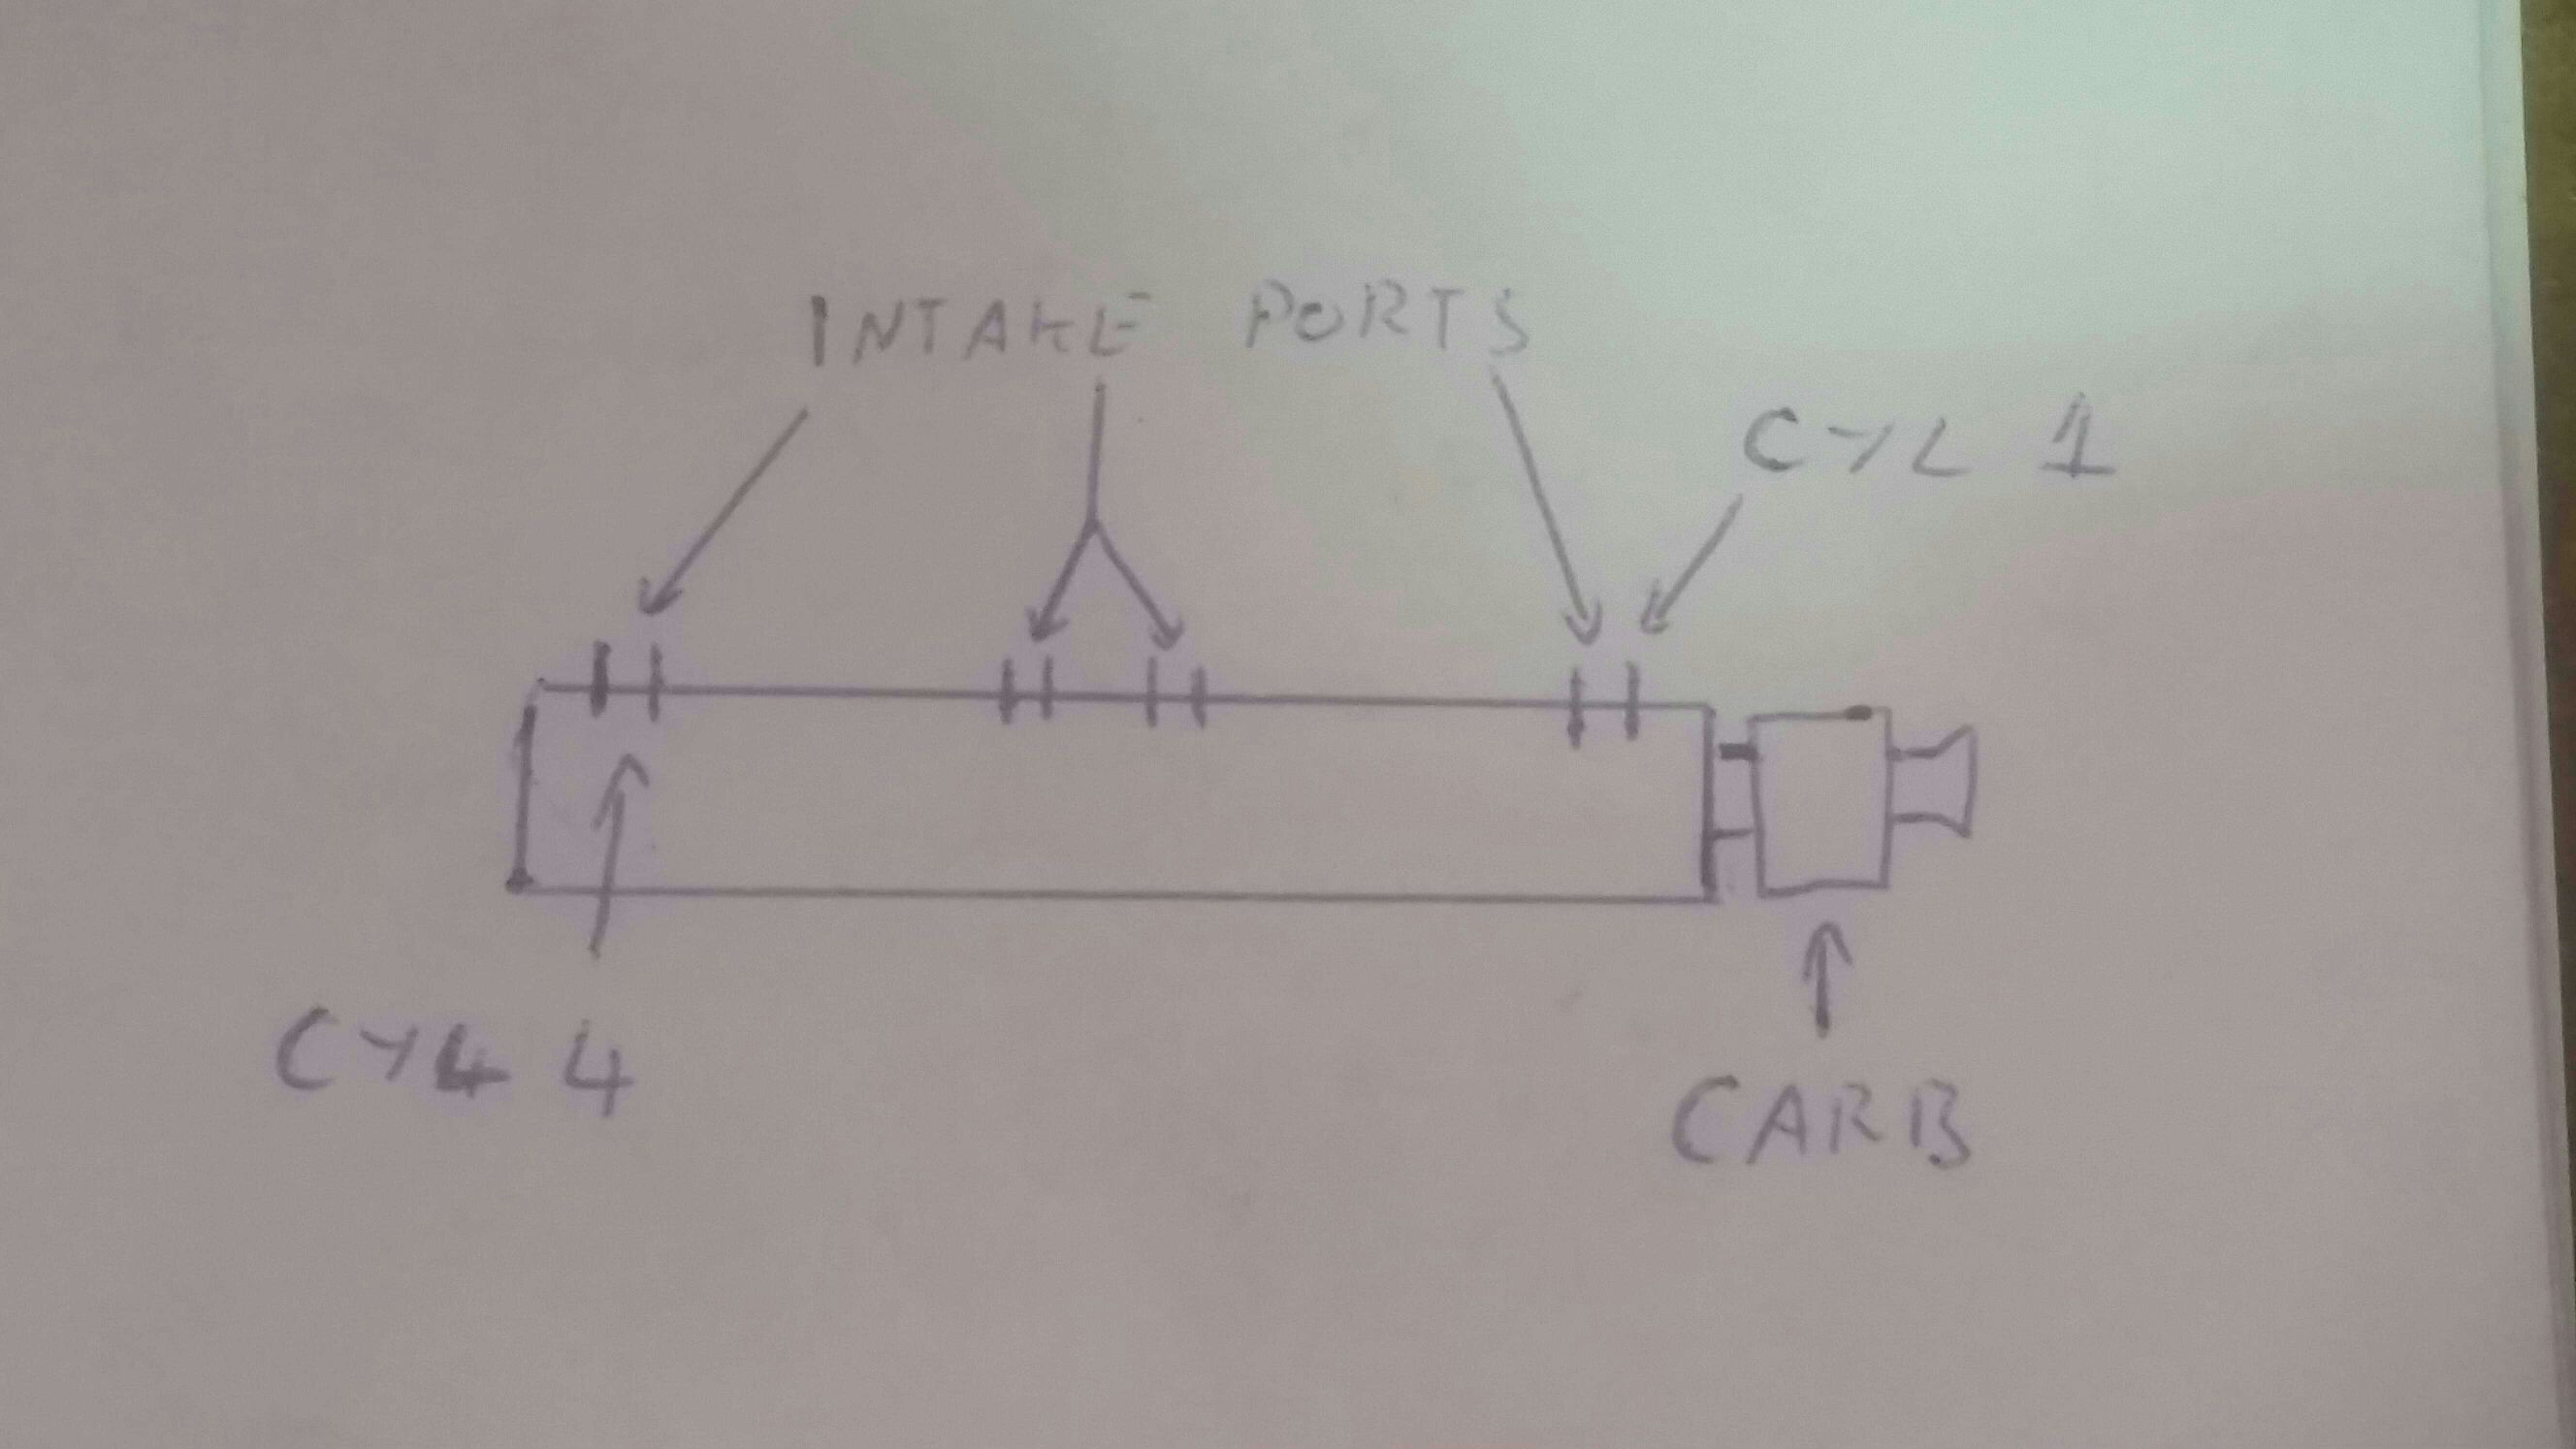
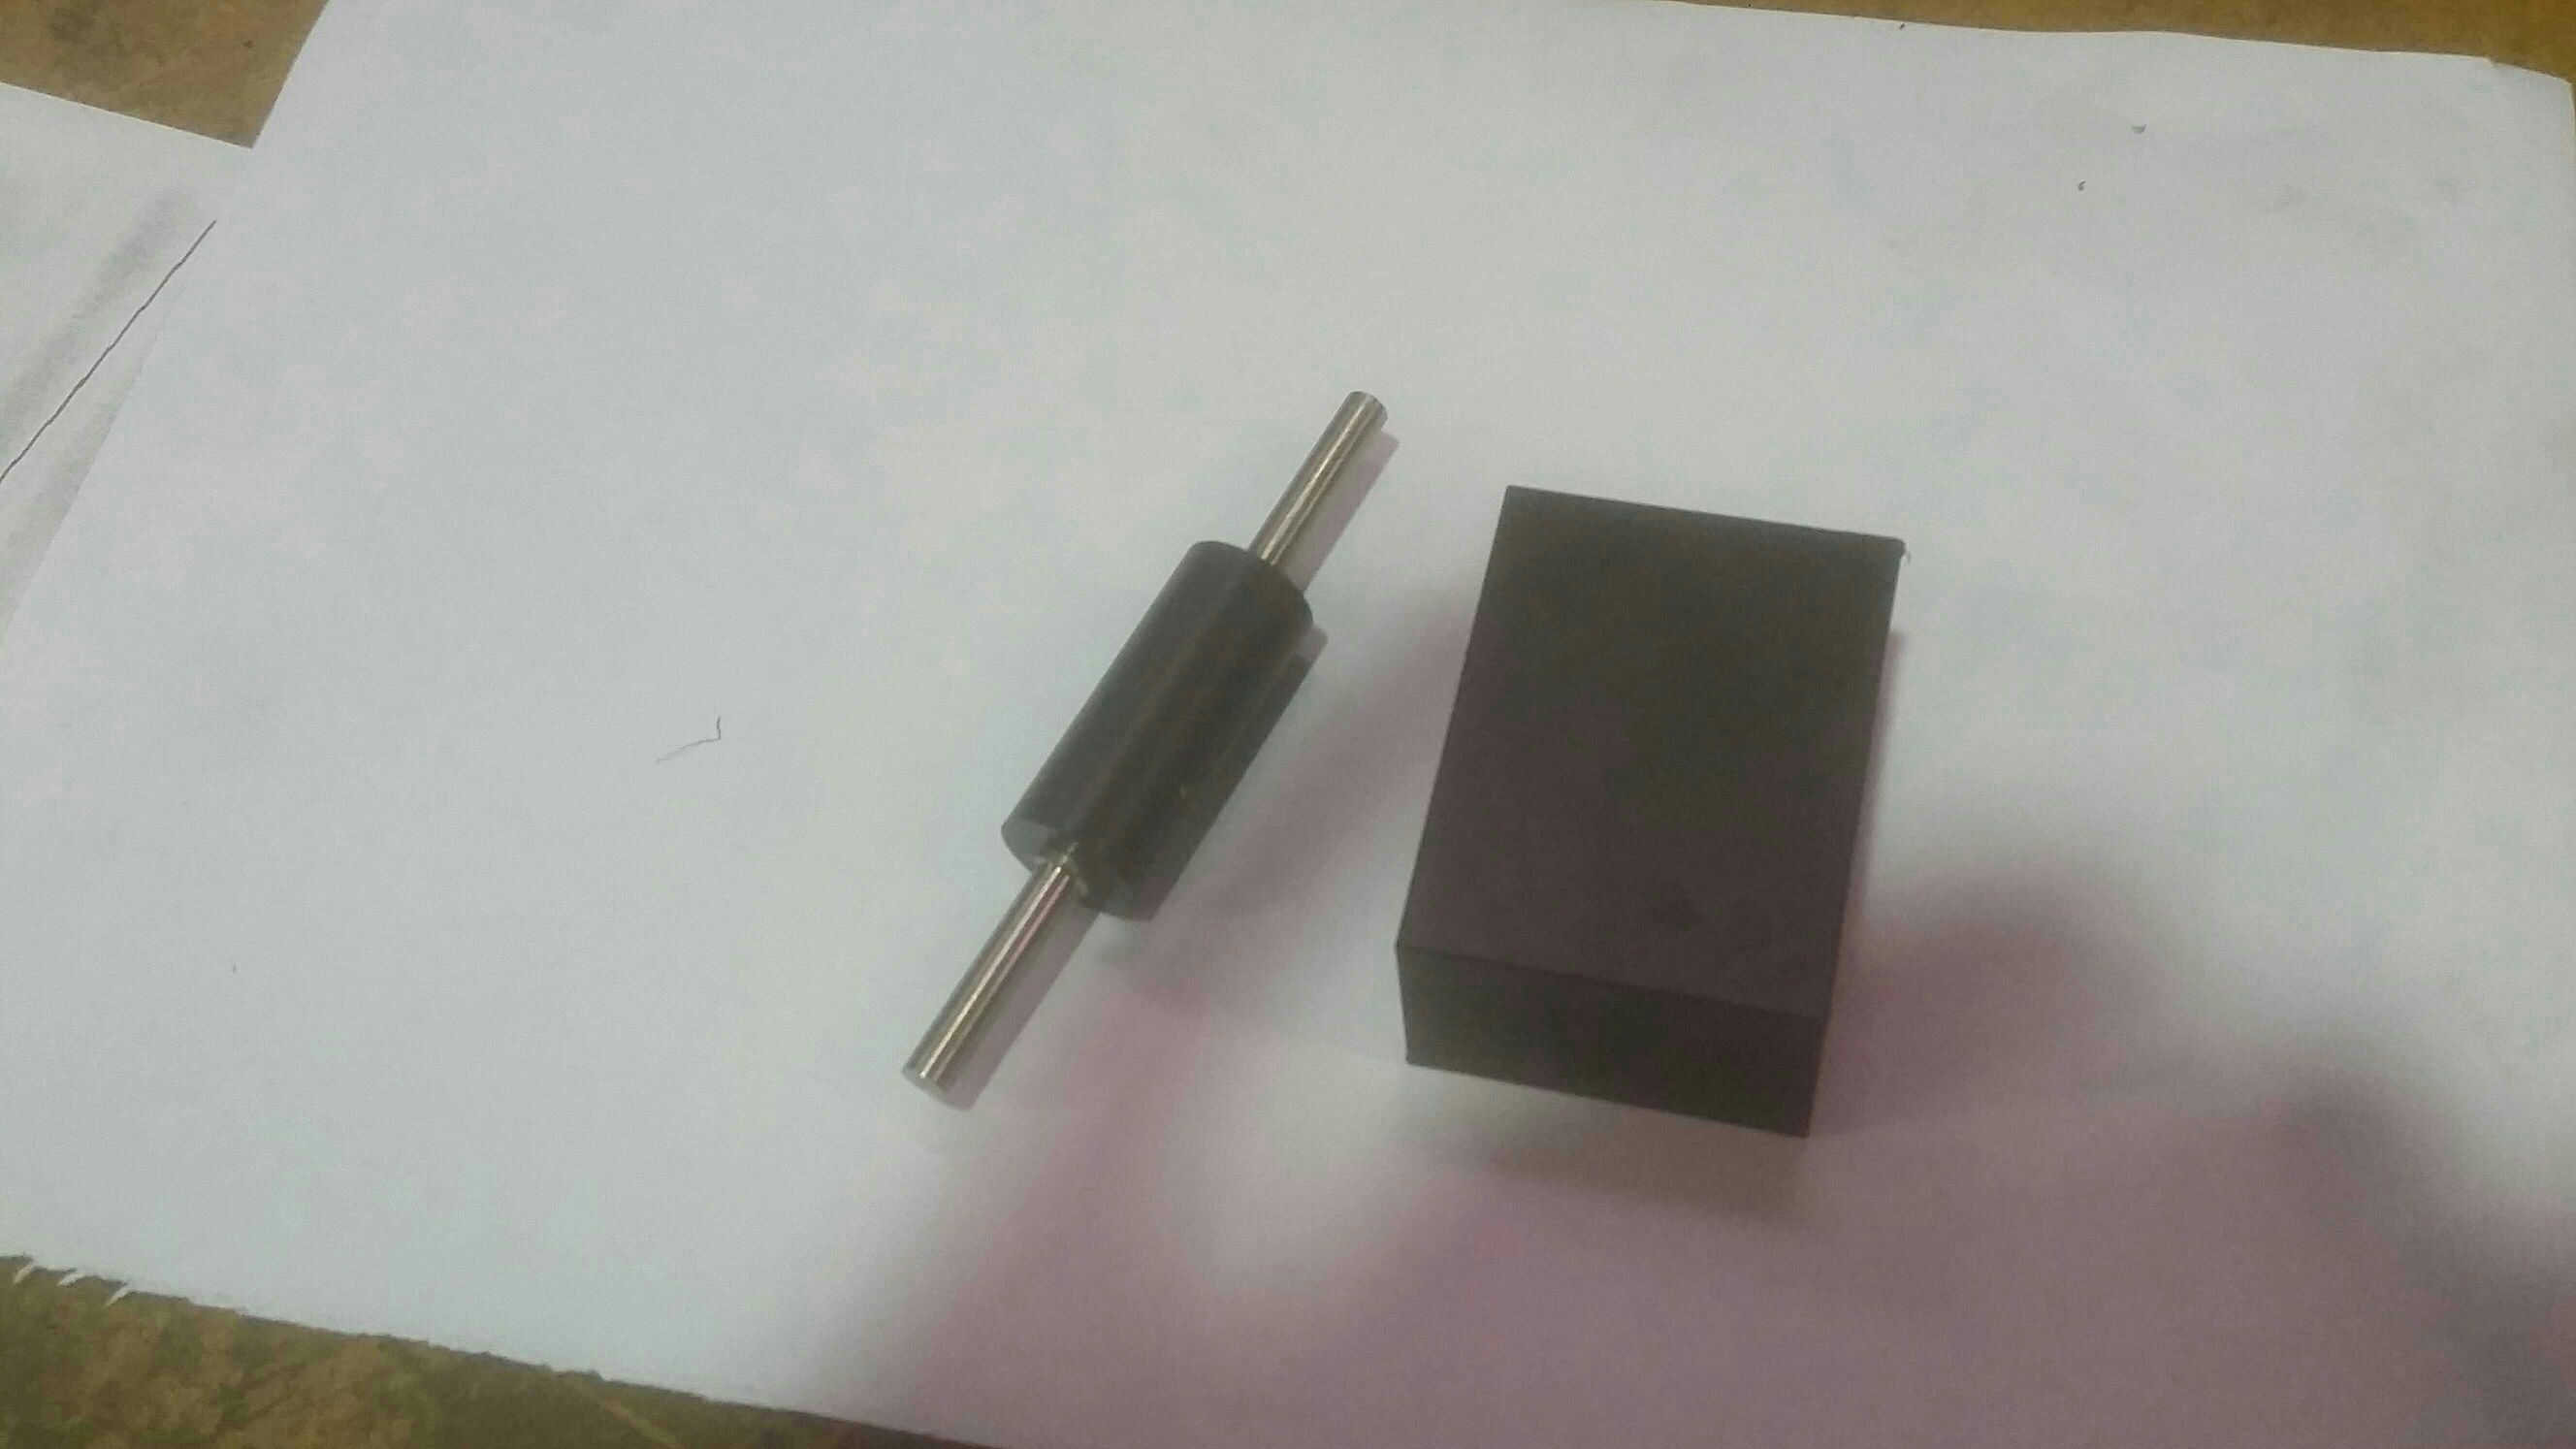
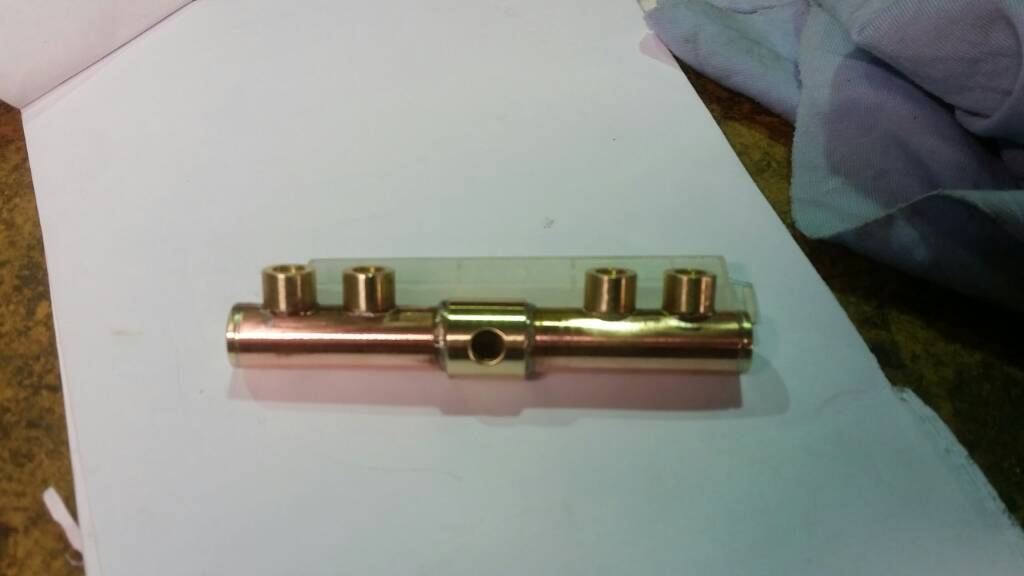
I machined the intake manifold halves at home on my little CNC "mill"
http://youtu.be/pjoD6wnLcmE

43da4d3223cf3ab466d6385d5d46f1e2.jpg

e37b21c77346c84ce2a8d0a484fc3174.jpg

1dfdcc94ed779984cc2a8da51f1c3c17.jpg
 
  • Like
Reactions: gld
Last night I completed the cylinder bottom bushes and started on the second halve of the conrods.

1feed9d24054f980832fdc0483fe30cf.jpg


As usual it takes longer than anticipated to machine the smaller parts! Tonight I hope to finish the conrods and pistons.
 
I'm certainly interested in seeing your build, as I'm sure, are others.

Paul.
Cheers,
I remember when I built my tiny if I got awesome feedback, unfortunately I really didn't have time to reply to all answer's... This time will be different!
 
I was watching it over there, now I will watch it here. I do like to see CNC machines working like that.

I made lots of changes to Jan's design when I made my Puppy too.

Jim
 
Cheers, I originally built it for PCB routing but now it gets used for other more demanding jobs! I plan to make a bigger rigid CNC mill for my next motor build.
 
I got my pistons, conrods and pressure chambers finished yesterday. The pistons have 0.015mm clearance from the cylinders..... Gotta love CNC! I bedded the ball profile into the check valve and I hope it seals!

a913e69c16c3546fed8ea9a825045c6f.jpg


This weekend I'll hopefully make the head and intake runners.
 
Hey,
I have a question about a log manifold.
d5f6a28d97a1cb9c75761e33be8e385a.jpg


As pictured would cyl 1 run rich compared to cyl 4 or would this not be much of a problem.

Cheers,
 
There's little to update, I machined the head profile at home then finished it at work, the crankcase is basically done, needs cosmetic work.

a81df6669ecc1f8c16086346dbab91c8.jpg
d6ab61b1e3f3a47deba1b8c00cdac55a.jpg


Hopefully by the end of next week I'll have the spark plugs done and the motor assembled to a point where I can run it in with a drill.
 
Yesterday I made a start on the sparkplugs, the Teflon insulators are a pressfit into the housing.
9428ad93424d734cb8104aa545ff460a.jpg


I machined the parts in (on?) a 3 axis lathe, so the hex was easier.

http://youtu.be/C32rAWasVZE
 
I made a start on the distributor yesterday, I remember seeing this type of distributor on a model ic but I can't remember where.
602033145db22177f3a1eeb8bd364d02.jpg


I'm hoping a pulley system with o-rings will drive the distributor without slipping.

This weekend I'm going to assemble the motor to run it in with a drill, I hope this method will make the motor easier to start for the first time.
 
Started off the week with a bit if a failure! The check valves wouldn't from the pressure of the springs, so I made some changes. They were originally horizontal but now they will be arranged vertically, basically the way Jan Ridders designed them!

b891540377b0594f4d93ff161b5a3803.jpg


I reused the seats because nothing was wrong with them, all I made was four 90 degree adaptors.
65e9373235704f4391f765d8ca1bd3a6.jpg


I remember reading chuck fellows doing some soft soldering on parts. Although the parts I made were a tight pressfit I thought it would be a good precaution. They turned out a bit messy but some filling and polishing should bring them out.
 
This is the point its at. It may not look like it but I'm hoping I'll be able to attempt to start it this weekend.

b4036d1f30869ef77f66446006a11596.jpg
 
I tried to have a test start this weekend. The o-ring timing system slipped like crazy so I ordered a proper timing belt with pulley's, the pulley's are pretty long compared to the one's I made so I might have to modify them slightly.
 
Keep us posted, i would love to see it run.
Cheers, I ordered the parts with express postage so hopefully tomorrow or Wednesday. At least I'll have time to finish the intake and make a proper flywheel.
 
I completed the log manifold yesterday, is a mixture of brass and copper tube.

df3b73c1c6bd7da1bbd34f1587f9b84c.jpg

My soft soldering skills still require some finessing but it is a better attempt than the check valves
 
Made some more progress, finished the log manifold, sorted the timing and iv started on the spray bar. So far it looks promising for a start attempt this weekend again, only this time with liquid fuel and a distributor belt that won't slip.

10851f28579b52b6b867a121a5219aee.jpg


Sorry for the lack of pictures, I can't get my (phone) camera to focus properly.
 
Back
Top