Hit me - Miss me?

Home Model Engine Machinist Forum

Help Support Home Model Engine Machinist Forum:

This site may earn a commission from merchant affiliate links, including eBay, Amazon, and others.
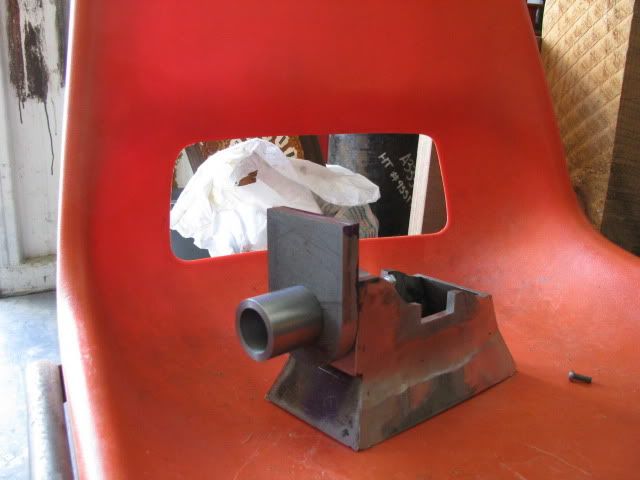
Maryak, I was thinking that the base looks a bit like a sleigh (you know, like the one Santa Claus flies around in), but with the addition of the cylinder, it looks more like a rocket powered sleigh :big:

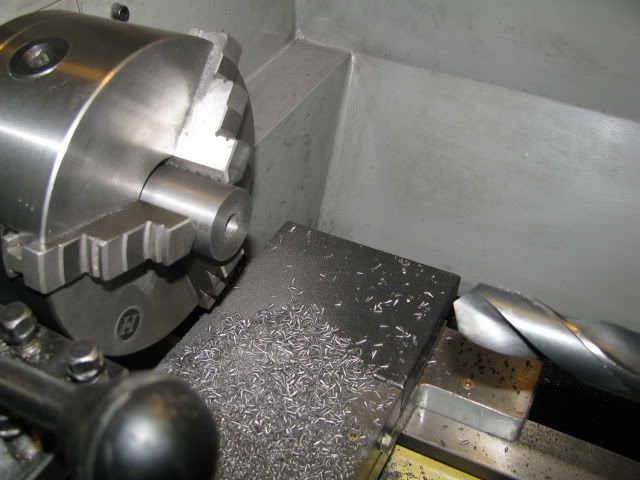
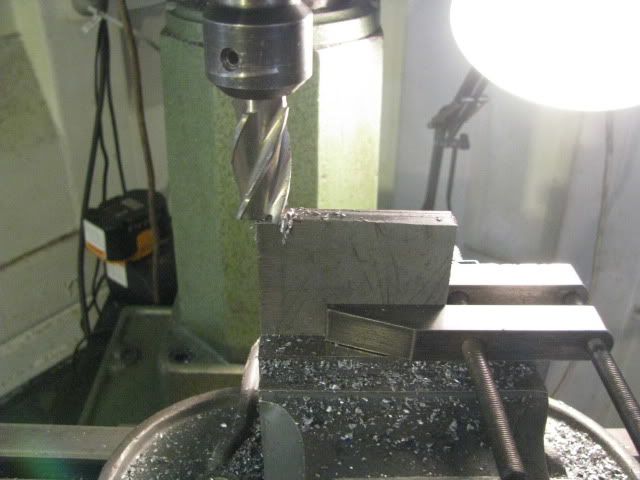
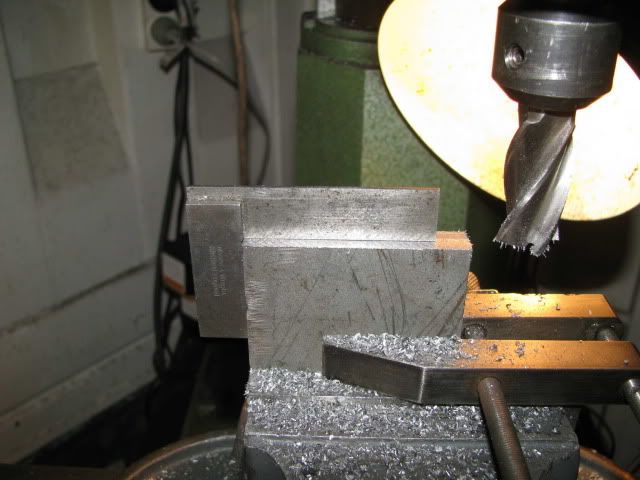
You are making nice progress :bow:
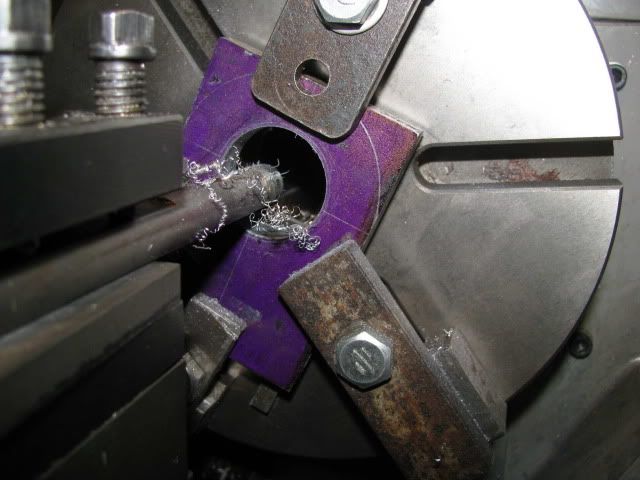
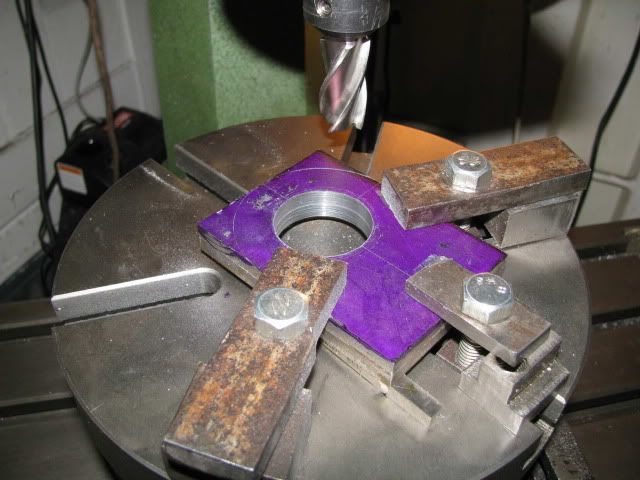
 
Jeff,

How right you are, perhaps we can utilise it for astronaut training all we need is wheels, rails and gunpowder. ;D

Today saw the cylinder drilled out to 1" and the cylinder end plates started.

Drilling out the cylinder bore.

IMG_0656.jpg


Squaring and sizing the cylinder end plates.

IMG_0657.jpg


IMG_0658.jpg


The end plates must be bored to accept the cylinder to which they are silver soldered. Having decided to bore them in the lathe with a face plate, I needed a method to keep them together during set up. This is an adaptation of holding large flat lumps on the milling machine table. PVA glue and paper.

IMG_0659.jpg


IMG_0660.jpg


IMG_0661.jpg


Have a happy day.

Best Regards
Bob
 

Great progress Bob!

I've used CA glue like that but what is PVA, and is the sand paper for glue retention?

Thanks,

Kevin.
 
PVA would be a white wood glue such as Elmers to you. The paper (not sand paper) helps the two come apart as it literally splits down the middle. A little warm water and a scotch Brite pad will remove the glue and paper fibres. The glue/paper method is used a lot in woodturning for split spindles etc.

Jason
 
Kevin,

Jason explained it much better than I could have and for clearing up the cross continent terminology. Now to clear it up a bit more what's CA glue. ???

Thank you both for your interest and support.

Best Regards
Bob
 
Maryak,
CA Glue is cynoacylic also know as crazy glue! Tuff -to get off metal neatly. Did you ever try 2 sided tape? Sticky both sides and thin!
Tony
 
Thanks Tony, :bow:

I think we call it super glue. ???

The double sided tape I have seen here has a layer of foam about 1/16" thick between the 2 faces so I went for the old proven method. I must see if I can find some ds tape without the foam packing.

Best Regards
Bob
 
Maryak said:
The double sided tape I have seen here has a layer of foam about 1/16" thick between the 2 faces so I went for the old proven method. I must see if I can find some ds tape without the foam packing.

Bob:

I've gotten some without the extra foam from a local carpet merchant, they use it in full-fitted installations. Trophy and awards suppliers/engravers use it for sticking the little tally plates on the U-Done-Good statues as well.

Joe
 
Hey Bob,
I just happen to have some here :big: It's a Scotch (3M) product (no #) that I picked up at the Big Box Office store. Don't know if you have them, Office Max or Staples. Good luck in your quest ;D
Tony

http://www.officemax.com/catalog/sku.jsp?productId=ARS24093&history=67wor5fp|prodPage~15^freeText~two+sided+tape^paramValue~true^refine~1^region~1^param~return_skus^return_skus~Y

Don't worry it really isn't permanent
 
Maryak said:
I think we call it super glue. ???

Bob, you are correct, CA is superglue, and also known as crazy glue.

And I found an easy way to get it off :) - If Mrs Maryak will allow you to raid her cosmetics collection ;D , get some nail polish remover. (This is normally acetone based) A piece of paper liberally soaked with the stuff, hold it against the glue for a couple of second to soften, and it wipes right off.

And nice progress on your engine as well :bow:

Regards, Arnold
 
Joe and Tony,

Thanks for the tips on where to start looking. :bow: :bow:

Arnold thanks for confirming that for me. :bow:

There was another reason I elected not to use this product and that is its' rapid setting time. :eek:

Had I thought ahead a little and realised I wanted to line bore the 2 plates I would have joined them with crazy/super glue before I started milling them to size. I needed a longer glue set time to make sure I put them back together as milled ::) hence some slippage was desirable to mate the edges. (There's no fool like a more adolescent mature fool).
Think.gif

Thanks to all 3 of you for your help and support. :bow: :bow: :bow:

Best Regards
Bob
 
Hi Bob,
Arnoldb is right about the nail polish remover, it will soften the glue. There are many forms of CA glue. Thin, Medium and Thick viscosity. Thin will set in seconds, thick will take longer (45 sec). They also sell an accelerator for it. Its a spray that will set any CA instantly. A trip back to the place you bought the prop for Maryak 10 will have all of those items!
Tony
 
Hi Bob,
Another source for the thin tape would be card making and scrap-booking stores. Also "SPOT LIGHT" stocks it as well. (A fabric come all things hobby for the ladies store here in WA, not sure if it's on your side of the island though.)

Cheers
Phil
 
Tony ,

I have access to acetone so Galina is saved from a raiding party.

Phil,

Yes we have Spotlight, it's where I go for my needle valve stems, (darning needles). Get all sorts of odd looks from the clientele as I stand there with my 0-1" micrometer measuring the needles. ::) ;D ;D I go with Galina and while she is making material selections for curtains for the new house, I sneak away and do my trick.

Best Regards
Bob
 
Yes we have Spotlight, it's where I go for my needle valve stems, (darning needles). Get all sorts of odd looks from the clientele as I stand there with my 0-1" micrometer measuring the needles. ::) ;D ;D

Thanks for the tip on the needle valve stems, I'll file that in the To Be Used Later box (TUBL box).
I usually rock up to Spotlight after work on my motorcycle. I've over heard a few comments behind me while in line. Helmet in one hand and VIP card in the other. ;D

Phil
 

Thanks for the tips and clarification,

I don't know where i got "sand" paper from ::)
 
Hi All,

The glue seems to have worked. ;D

Dragged out the faceplate and started to mount the plates on it using parallels under so I could go straight to the rotary table for rounding the ends.

Alas none of my T nuts fit the slots in the faceplate, neither do any of my Unbrako bolts. Ordinary bolts required machining of the heads to fit the slot so....... if I am going to have to machine something it might as well be T nuts and I will have them for future faceplate work.

That's where I'm at, hence no pictures, (one T nut looks much like another).

Best Regards
Bob
 
Hi,

As threatened in the shout box, I did manage to make some progress today with the engine, having completed the side track into T nutting.

Setting up the cylinder end plates for boring.

IMG_0665.jpg


Pre-drilling the bore.

IMG_0666.jpg


Bore boring, (not quite a stutter ::)).

IMG_0667.jpg


Test fitting the cylinder.

IMG_0668.jpg


Set up in the rotary table to round the base.

IMG_0669.jpg


I tried both using the end and using the side of the mill settled on the side as I got quite a neat finish on the climb milled return feed.

IMG_0670.jpg


The bits so far.

IMG_0671.jpg


Now to split them and solder/braze them to the cylinder.

Thanks to all the discussion and advise in Paolo's "My Own Engine" thread, I realise I need a bigger burner for my LPG torch. BOC gases looks like the go as they sell primus gear which is what I inherited from dear old dad.

Best Regards
Bob
 
That's coming along nicely Bob. Your build is definitely not "boring" ;)

Regards, Arnold
 
Back
Top