gingery metal mill

Home Model Engine Machinist Forum

Help Support Home Model Engine Machinist Forum:

This site may earn a commission from merchant affiliate links, including eBay, Amazon, and others.
yes it's possible. I don't have a milling machine. Only a sears lathe very well worn. I did build the gingery shaper and will be using it to machine the slides on the mill.
Norman
 
Very nice Norman,

This is great that you are showing us how you are making everything.

Kenny
 
Your welcome Kenny


I did some more casting today. these are right out of the sand. One of the castings is ganged up, had a larger flask so I gave it a try. They all turned out good enough to use. The metal must have been hot as the spruce really shrank as it cooled but the cast parts came out fine.
I'm getting low on metal again so I'm going to have to do some looking for more scrap aluminum. I've got enough parts to work on I'll be busy, but I'm going to go to LA, Ca. Tuesday to visit my son so I'll be gone for 10 days so the work on this has come to a screeching halt for a while.
3 casting on this.
mill022.jpg

all of the casting I did today.
mill023.jpg


See you guys later!! :big:
 
Very nice patterns Norman, and I am looking forward to seeing your castings and progress. I started a Gingery Lathe several years ago, but kids and rennovations got in the way.
 
Norman, Great looking parts, looking forward to see this mill put together. larry
 
I'm now at the boring of the spindle head. Finished up the slides, hand wheels etc.

I'm using the drive system off of the metal shaper to run the boring bar. I used 1/2" plywood to mount the drive system which is a little on the thin side so the drive system is sagging I'm using my face plate with right angle plates for support under the drive in true red neck fashion. besides this set up is only to get the spindle head bored then it will be taken apart and probably never used again. If I ever need to use the shaper drive again on this I'll make a metal plate to mount the drive.
mill031.jpg

Quill support with the boring bar
mill030.jpg

the boring bar bit. instead of using a square bit I'm using a round bit made from drill rod so I don't have to file the boring bar hole square.
mill026.jpg

looking into the spindle head. I need to make the bore around 1.125"right now its around .875 . the drill rod bit is working good so far.
mill025.jpg
 
thanks for the pics.....i have the book on the mill ...after i did my lathe i was more interested in doing lathe work....im quote surprised at how well my aluminium castings are holding up! the only problem ive had is keeping the machine screws tight. so every eighty hours i need to go over it and tighten up! :)
 
xlchainsaw
Have you tried blue loctite on your bolts? I used blue loctite on the threads for the machine screw on the bed ways. If it don't have lock washers I use the loctite.
Got more done on the mill after boring the spindle head for the spindle shaft I then bored the spindle for a draw bar.
this is the spindle bearings. I pined them so they can not spin done the way a vw type 1 engine block main bearing are done.
mill033.jpg

I'm using the shaper's motor drive system to power up the mill's spindle to bore the spindle's draw bar hole.
mill042.jpg

I removed the bearing in the quill support made a shaft to mount a drill chuck on. Mounted to the quill support I proceed to drill the spindle for the draw bar. The draw bar hole is 3/8" dia. I have to drill half way through then flip the spindle and drill the rest of the way through. So the mill is now being used to make it own parts.
you can see how the drive system is mounted to do both ends of the shaft between these to last photos
mill043.jpg


mill040.jpg

With all this done the next order of business is to build the mill's motor drive system. I'm about half done building it as I started making the system last night.
I'll put up some photos of the motor drive soon.
 
excellent!!! funny how things go...i havent posted here for a while..... then i find your posts on the shaper and mill .....and then by chance meet a local guy who has made the patterns but never cast the mill or shaper....he had a fall out with our local hobby foundry 6 years ago. :) this foundry is next to our groups steam shed and!!!! :) it was their refusal to assist me that started me casting!!!!so put two "miss casts" together and ???????????? :) i dont think i mentioned!! this guy still has his patterns!!! :)
 
Here is the mill with the transmission completed, I've made a face plate and machined the compound parts on the mill. Had to make a jury rigged tool holder using the quill support as a tool holder. The compound parts are over 6" in dia. my lathe will handle only 6" so the mill is making it's parts.

mill056.jpg

the compound, I'm working on the tool holder should have if done tonight.
mill052.jpg


mill053.jpg

the transmission frame before mounting the motor, bearings, and sheaves.
mill050.jpg
 

This is the finished boring bar to get the spindle head to size. With the home made holder and bit.
mill063.jpg

The spindle head bored to 0.625. I tapped the spindle head for 5/16 fine threads instead of the course threads for the 2 set screws.
mill067.jpg

I've since made the face mill pattern and have it cast and finished but no photos yet.
Getting close to the end of building? Gee there's a bunch of things left to make.
 
I finished up the mill
here's some photos

mill is done only part missing is the hand wheel for the tail stand since these pictures were taken the hand wheel has been cast , machined and fitted.
mill005-1.jpg

another view
mill003-1.jpg

the permanent base is being machined here using the cast aluminum face mill
mill002-1.jpg

some of the accessories for the mill
mill009-1.jpg


Now on to making tools to use with this mill.I do want to make the dividing head so that probably be the next project. I do need to do some repairs to the furnace as the lid has taken some hits from getting the fire a little to hot a couple of times. The lids opening at the start was 4" in dia it now about 6" so I'll need to redo the lid.
The weather has been getting cooler too so I don't roast while running the furnace
no more 100 degree temp days.
Norman
 
Very nice work. Lots of good work went into this. Very impressive.

Chuck
 
Thanks Chuck for the kind words.
I got around to fixing my sears lathe. It had spit out it's teeth on a gear that is cast as one piece on the drive pulley for running the very low speed back gear. I priced the pulley at a on line parts store the only place I was able to find the right part. Its price was $300.00 way more than I paid for the lathe. So now that I have a home made mill and shaper plus the foundry I figured I would give it a try at making my own gear to fix my lathe, it ain't pretty but it worked out good. Here's the photos of the fix.
the casting for making the gear and for making a fixture for milling the gear with my Gingery mill
repairlathe006.jpg

I machined the stands in the mill mounted them on a 1/4"x3" cold rolled steel base
repairlathe008.jpg

using my new g0602 lathe to bore the 3/4" holes for the stand
repairlathe010.jpg
 

stand is mounted on the mill and start of cutting the gear
repairlathe012.jpg

Its a crude set up but it worked. I cut a spruce up then using the shaper I cut a 1/4" sq. slot to hold a small 60* carbide cutting tool use as an indexing holder so I could index each tooth. that's the broke gear being used as the index plate for cutting the new gear. the broke gear and the blank are held in place with a 1/4-20 set screw. the mandrel is held in place with 1/4-20 bolts.
repairlathe014.jpg

the cutter is a round 1/4" drill rod hand ground to the shape of the space between the gears teeth heat treated etc. the mandrel is also home made.
repairlathe015.jpg

here's the finished gear I mounted it to the pulley with 3- machine screws and now the small sears lathe is back up and running. I can now run the lathe at 43 rpms just right for threading.
that's how I fixed my broke lathe and didn't spend a small fortune.
repairlathe018.jpg


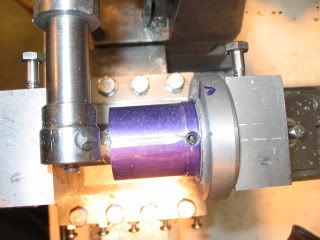
After building this mill, using it, making it work better, up grades to a 1hp motor (thanks Uncle Norman for the motor!!!) I broke down and bought a Grizzly G0619 metal mill. I've been bitten hard by the machine tool bug ??? I went from a simple cheap metal working tools to costly machines in just 2.5 years. If I could have fitted a larger milling machine in my small shop I would have.
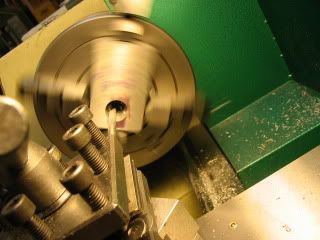
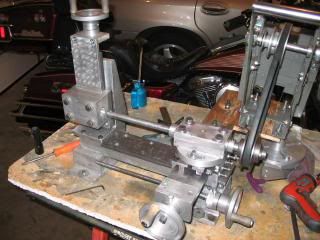
So for building things I have a 6" sear metal lathe, a Grizzly G0602 modified with reverse tumbler gears and a speed reducer for threading 40 rpms is a bunch easier than the stock 150 rpms.
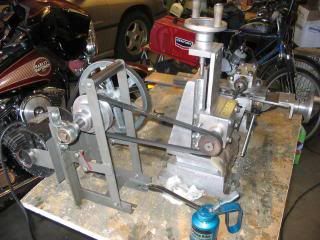
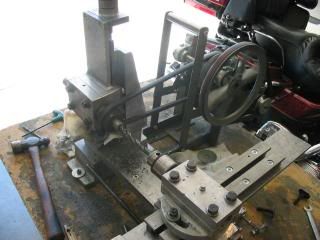
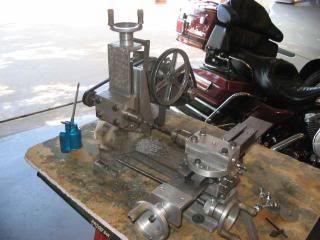
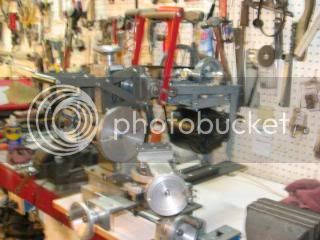
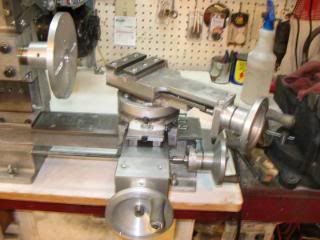
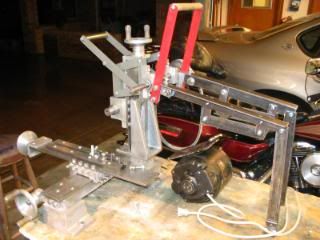
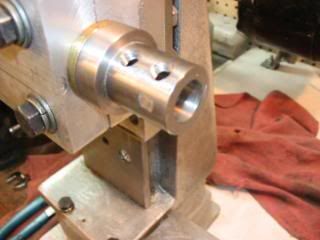
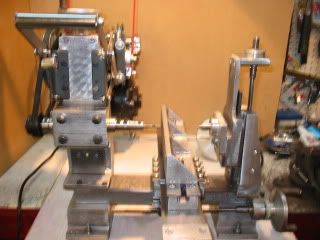
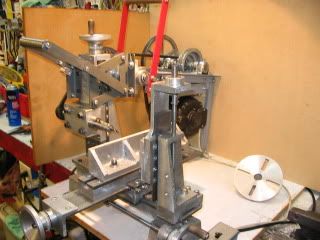
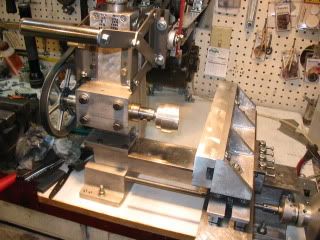
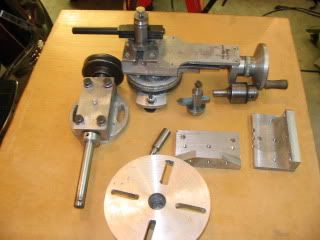
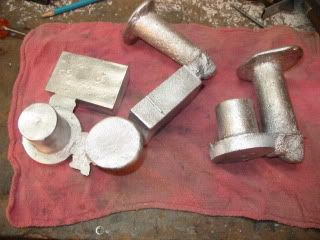
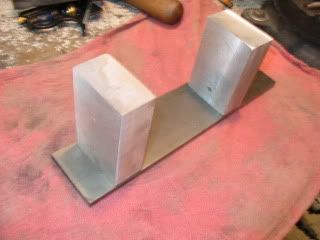
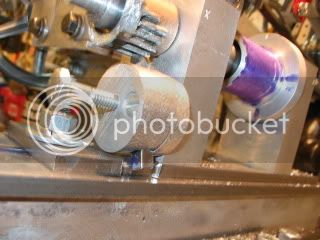
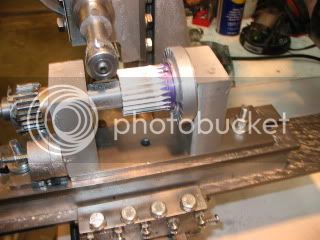
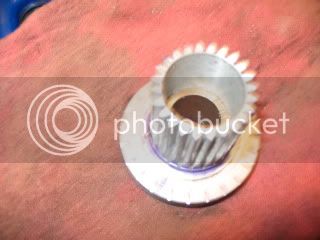
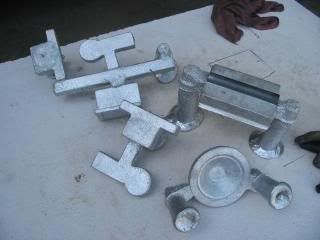
Plus I have the gingery metal mill, shaper, and the dividing head. Also other small table top tools . The foundry started all this craziness.
The foundry started from me dragging out a old hoover vacuum cleaner out of the dumpster and building a blower from it, I then thought what am I going to do with this? So stay away from dumpster diving the machining bug live in the dumpsters.
For being retired I'm having a pretty good time! I'm planning a trip to the Missouri Grizzly store tomorrow, I'm visiting my family in Jefferson city, Mo. so it's only about a 2.5 hr drive to Springfield, Mo. The machining tool bug is chewing my wallet!! :big:
 
Hi Norman

Wow that's nice work on the mill!! :bow:

I am part way through the Gingery lathe and was thinking of making the mill after. Can I ask how it performed? What would you change or do differently if you were to make one again?

Thanks in advance.

John
 

Latest posts

Back
Top