Gingery Lathe

Home Model Engine Machinist Forum

Help Support Home Model Engine Machinist Forum:

This site may earn a commission from merchant affiliate links, including eBay, Amazon, and others.
Looking GREAT John!

Please keep the updates coming.

I'm another one who buys all the plans but never does anything with them.
It's great to see your project coming along.

Rick
 
Thanks Rick.

I was beginning to think I was starting to bore everyone.


Here is the cross slide and compound slide sitting on the bed. From what I can tell from my limited measuring equipment it very close to being 90o to the bed.

Crossslide1.jpg


The fun for the last few nights as been trying to get the cross slide to slide along the ways without any other movement. The back clamp pad is still that tiniest too big so even if the tighten up the clamp it still moves that slight bit.

Crossslide2.jpg


So after I put the boy to bed tonight I will go down and take it apart again, file a bit, re-assemble, check it and repeat.

I am hoping to sneak out of work a bit early tomorrow so I can cut the face plate pattern on the table saw. I should be able to cut the pattern to 7 1/8" circle then fine turn it on the lathe later.

John

 
Woodnut

Just because we're not commenting doesn't mean we're not watching. If you look at the top of the page you will see that 2718 people have looked at this page so there definitely are a bunch of people that are following along. Keep up the great work there John because your going to have a super lathe when your done. :bow:

Cheers :)

Don

 
John, not bored here! ;D

I've always loved Mr. G's Tool's series, it's great to see one come to life! Thm:

Great work!

Cheers

Jeff
 
No john not bored maybe a little jealous, it is not unusual to have a hundred plus looks before someone comments. and I would venture to say a lot more folks have purchased the gingerly series than have built the projects. It is the nature of life bro. Lots of dreamers and a handful of doers. keep at it and giterdone
Tin
 
keep at it and giterdone!

Absolutely...and I'm looking in.

Dave
 
I got a reminder today that you need your FULL attention while using the table saw. :wall:

IMG-20111203-00598.jpg


I was cutting a small 1.5" x1.5" piece of wood for the faceplate and didn't pay attention at end of the cut. It caught the blade and hit me in the forehead. Never did find that piece. I was much more careful on the replacement piece. 2 inchs lower and it would hit my safety glasses.

John
 
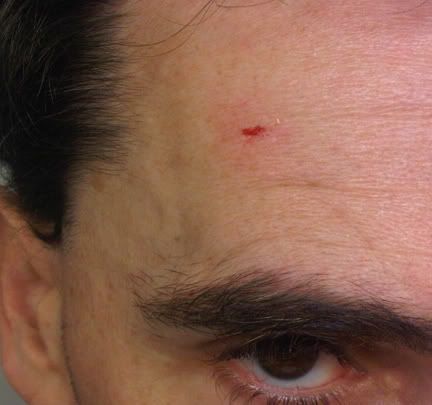
OK so after getting dinged in the forehead I took a break for a few hours.

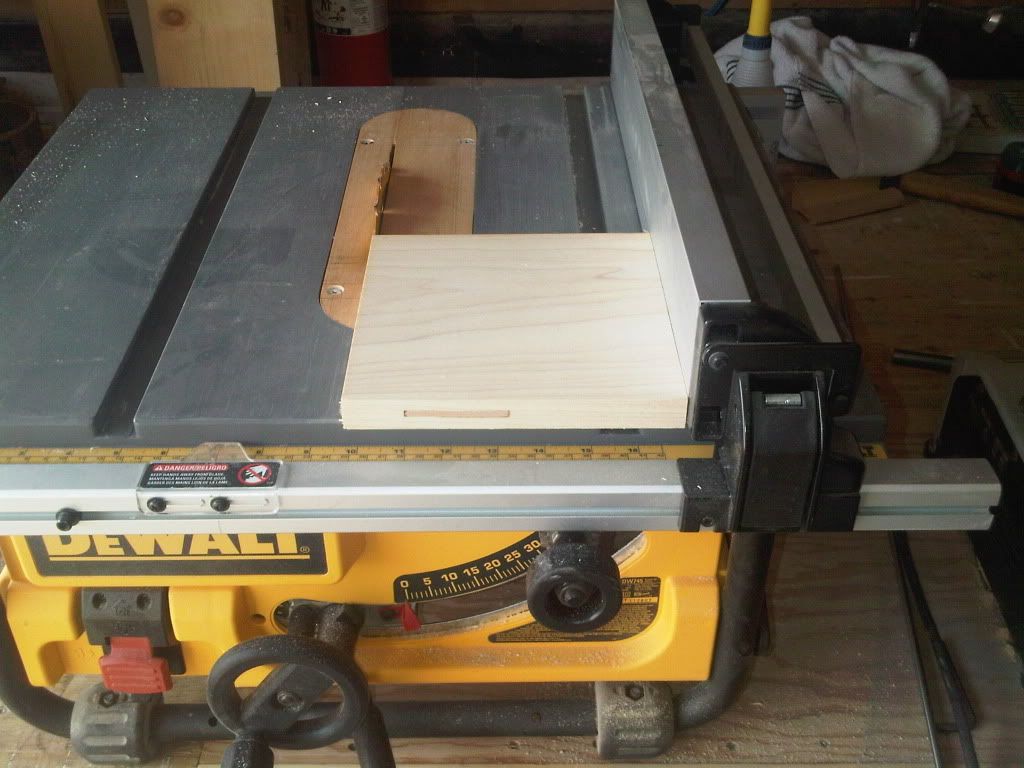
Here's what I did before that: I cut the faceplate pattern on the table saw. Yep I cut a circle on the table saw

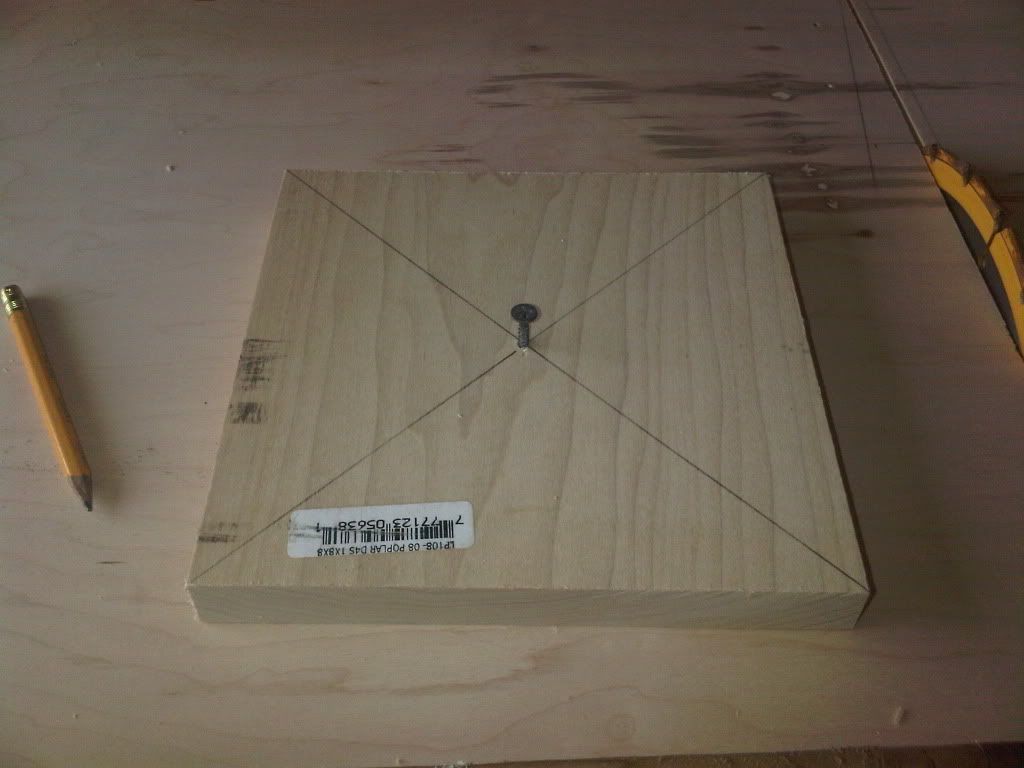
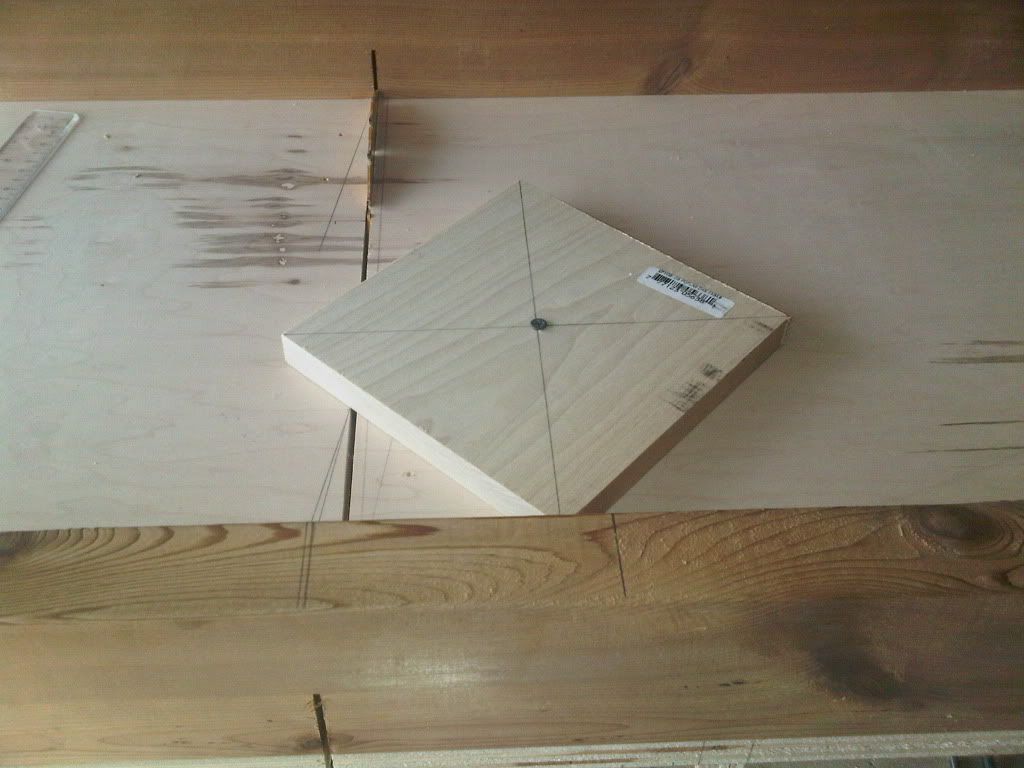
I cut a scrap piece of wood to 7 1/8" square on the table saw.

HeadStock1.jpg


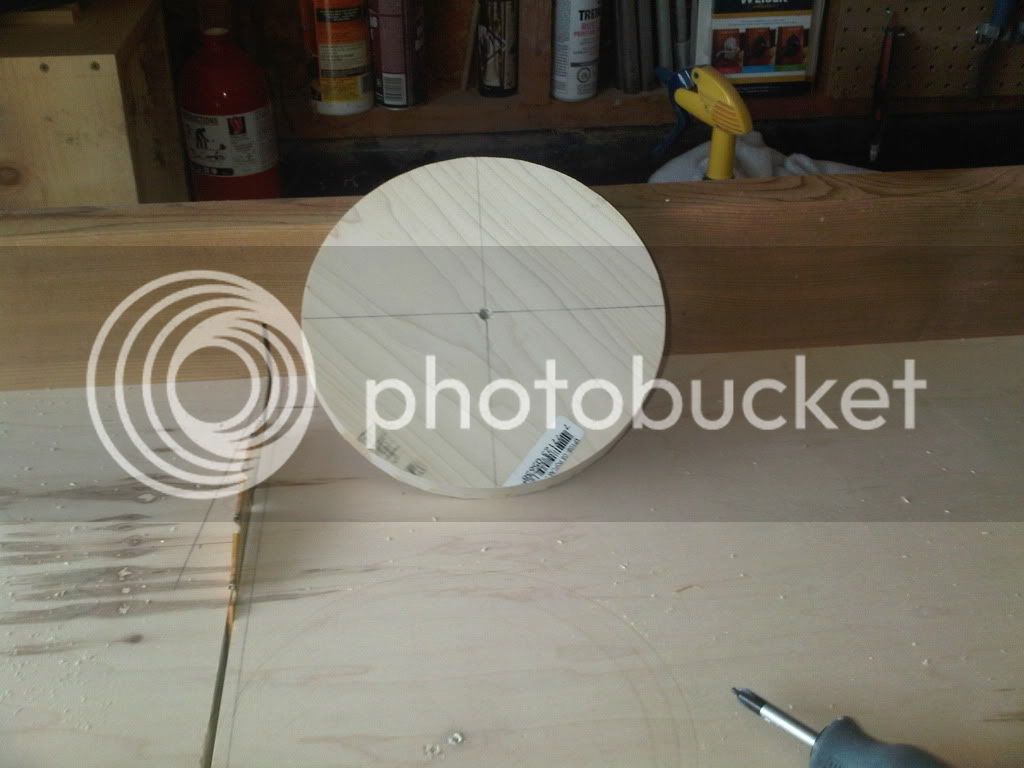
Found the center of the piece and drilled a small hole for the screw to use as a pivot.

Headstock2.jpg


Aligned it on my sled, screw the pivot down tight.

Headstock3.jpg


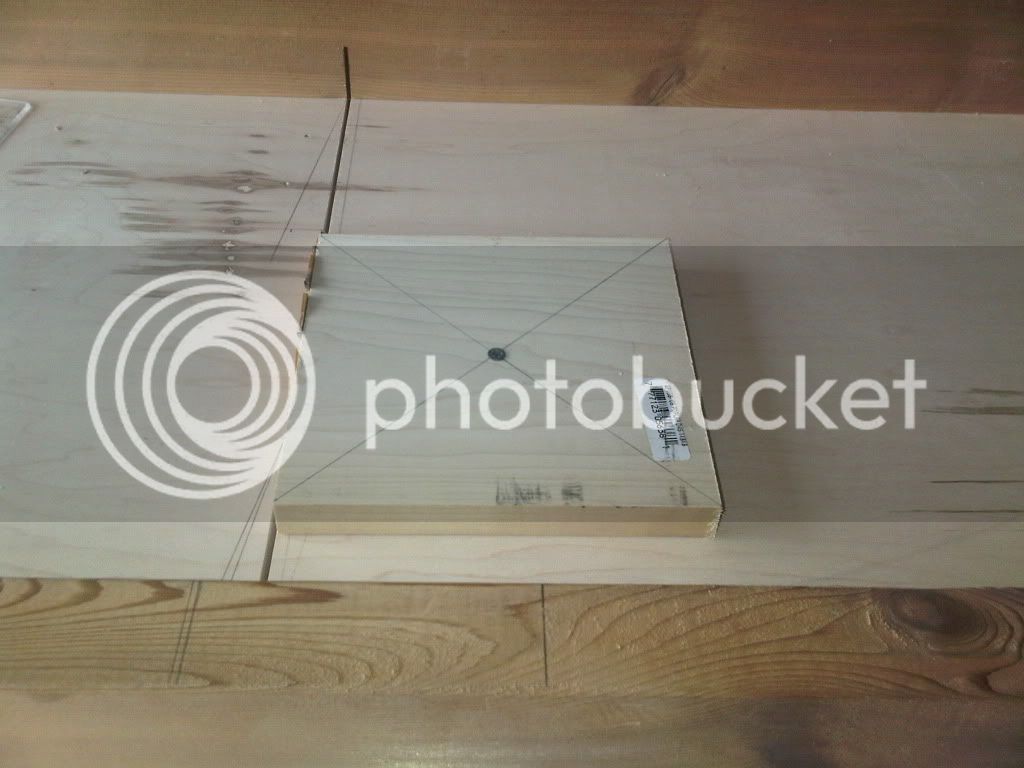
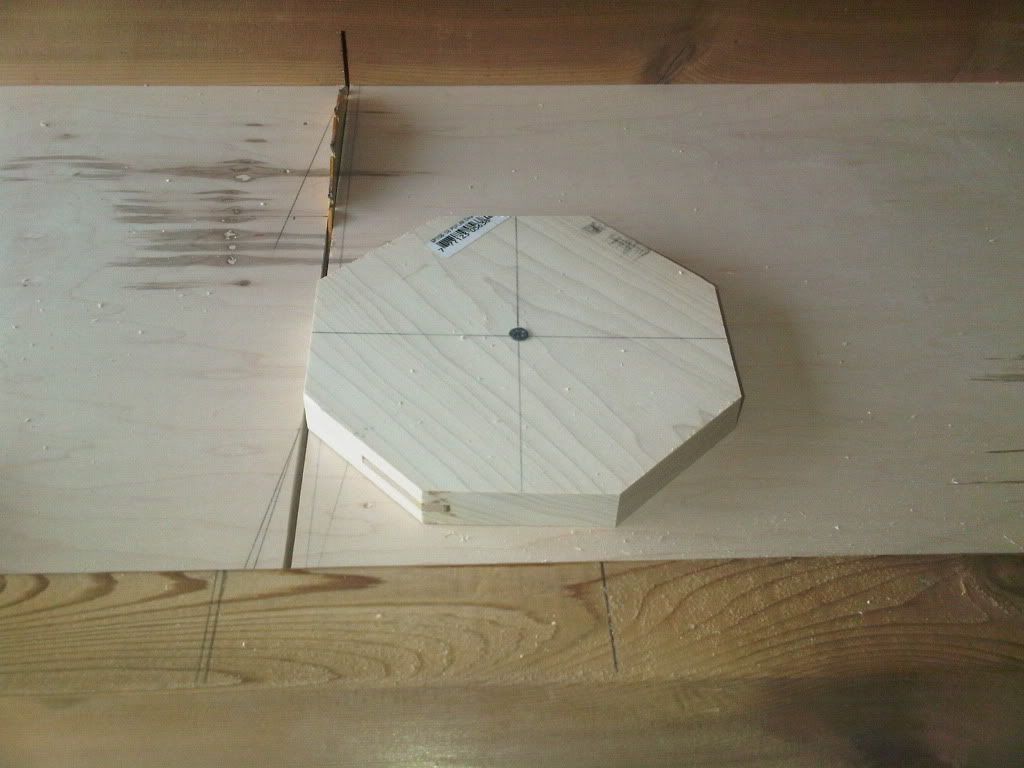
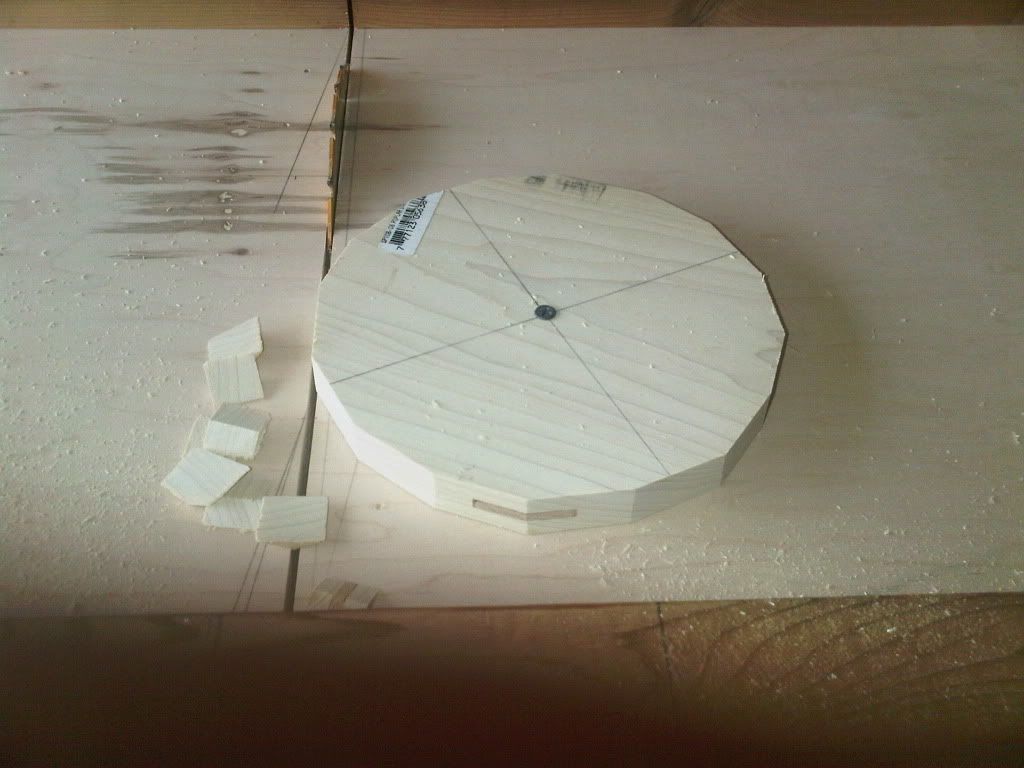
Now just cut off the corners.

Headstock4.jpg
Headstock5.jpg

Headstock6.jpg
Headstock7.jpg


You have to be very careful doing this as the piece can move while cutting a try and kick back. Nice and slow and watch were your fingers are!!!

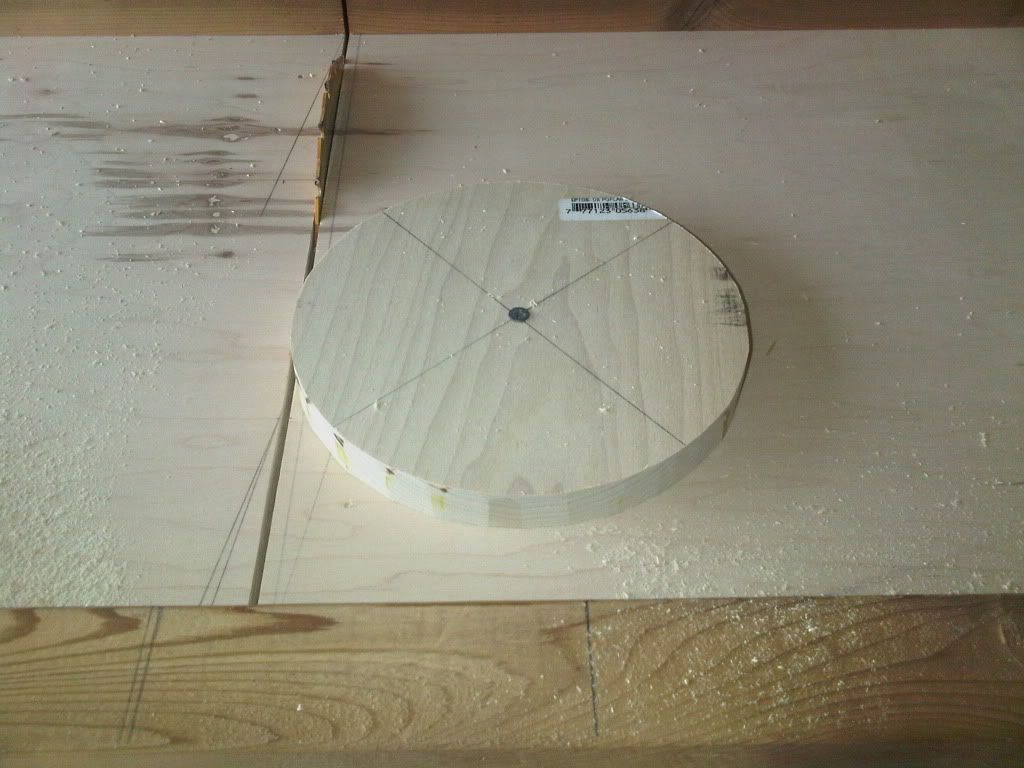
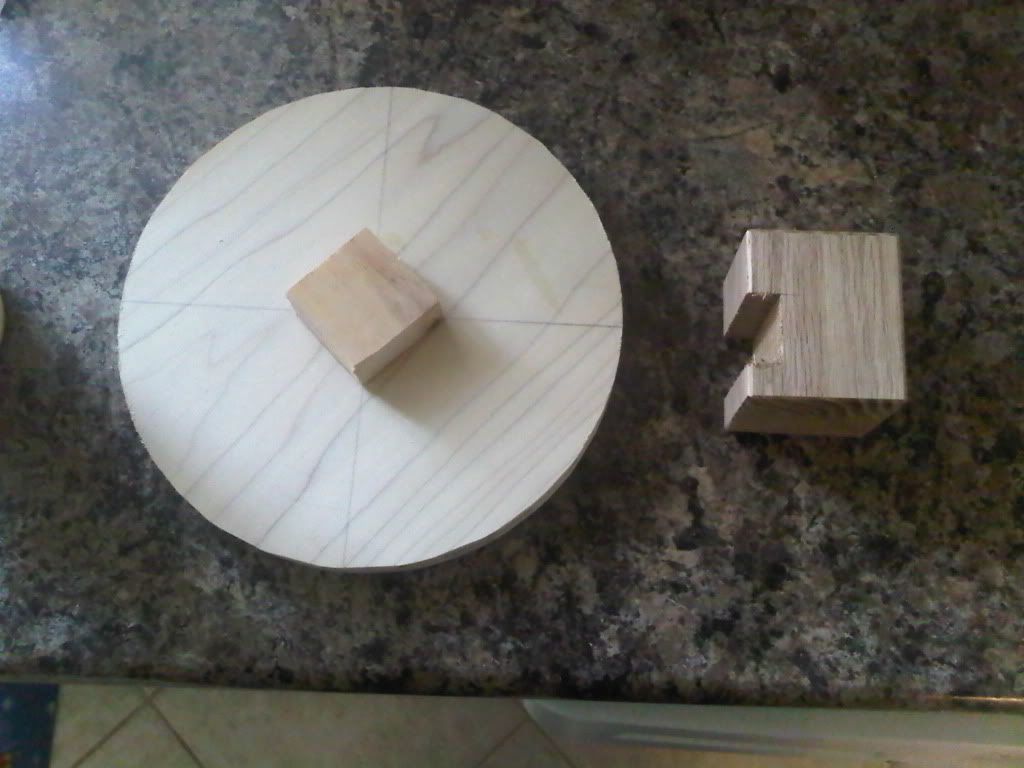
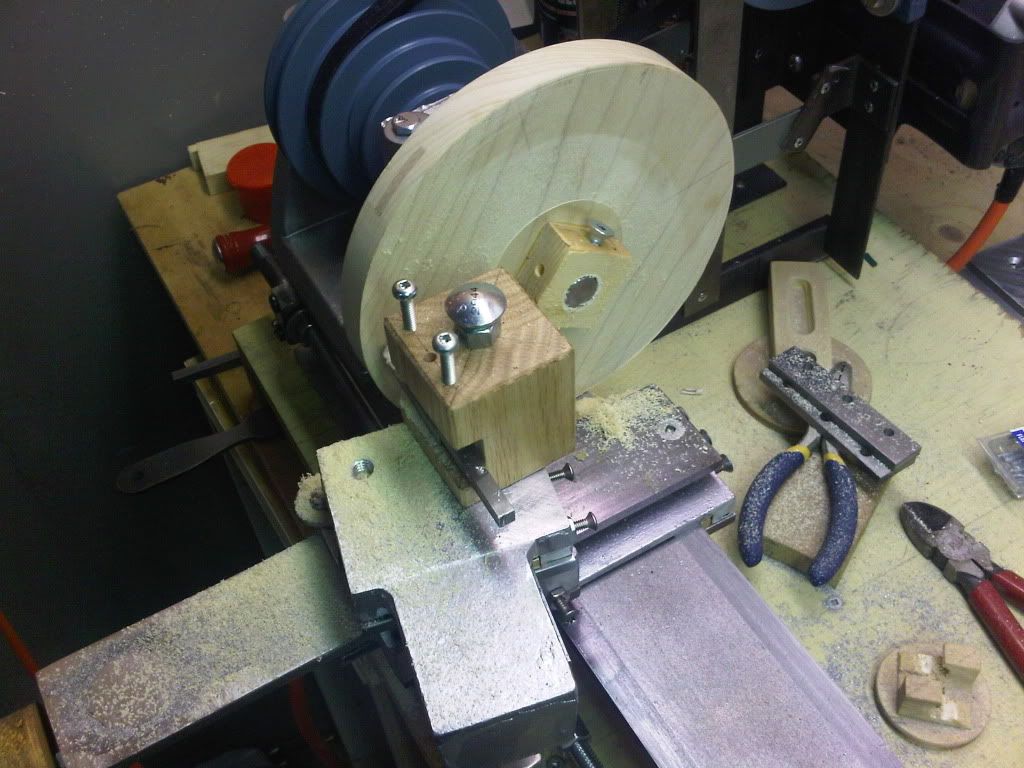
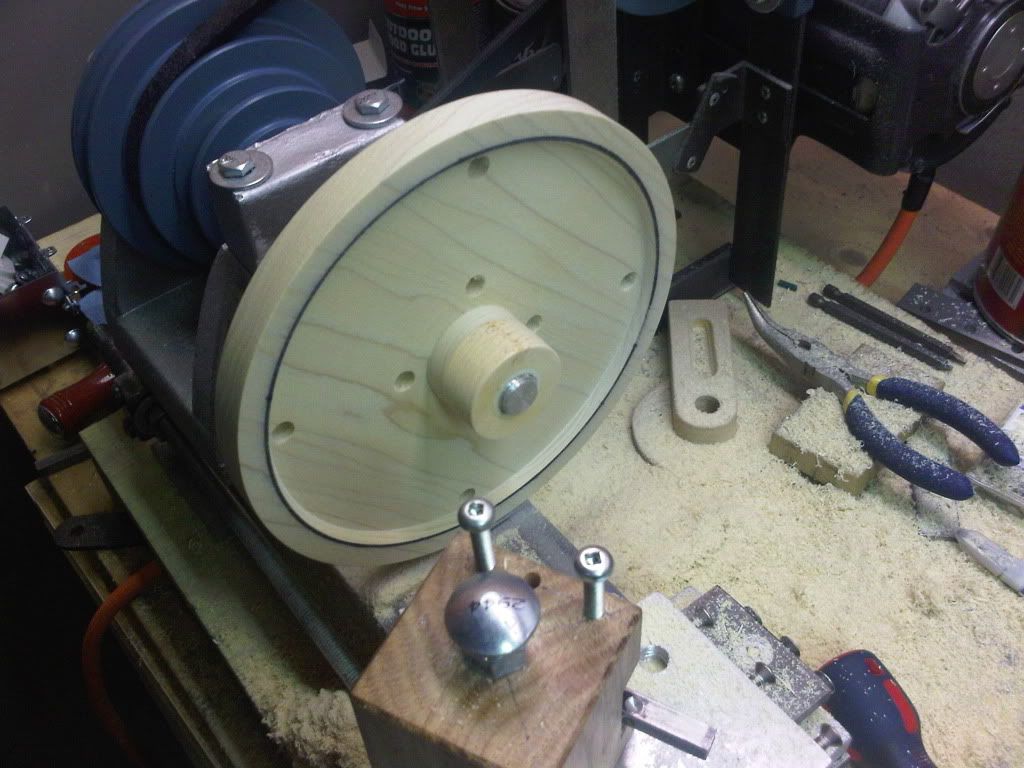
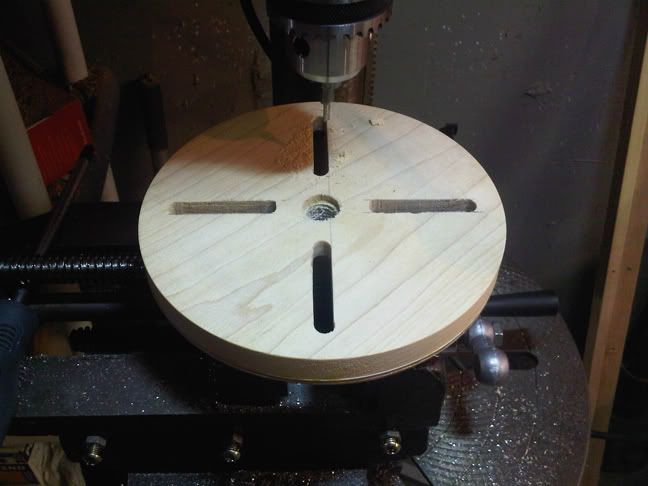
Finished pattern. Not perfectly round but close enough.

Headstock8.jpg


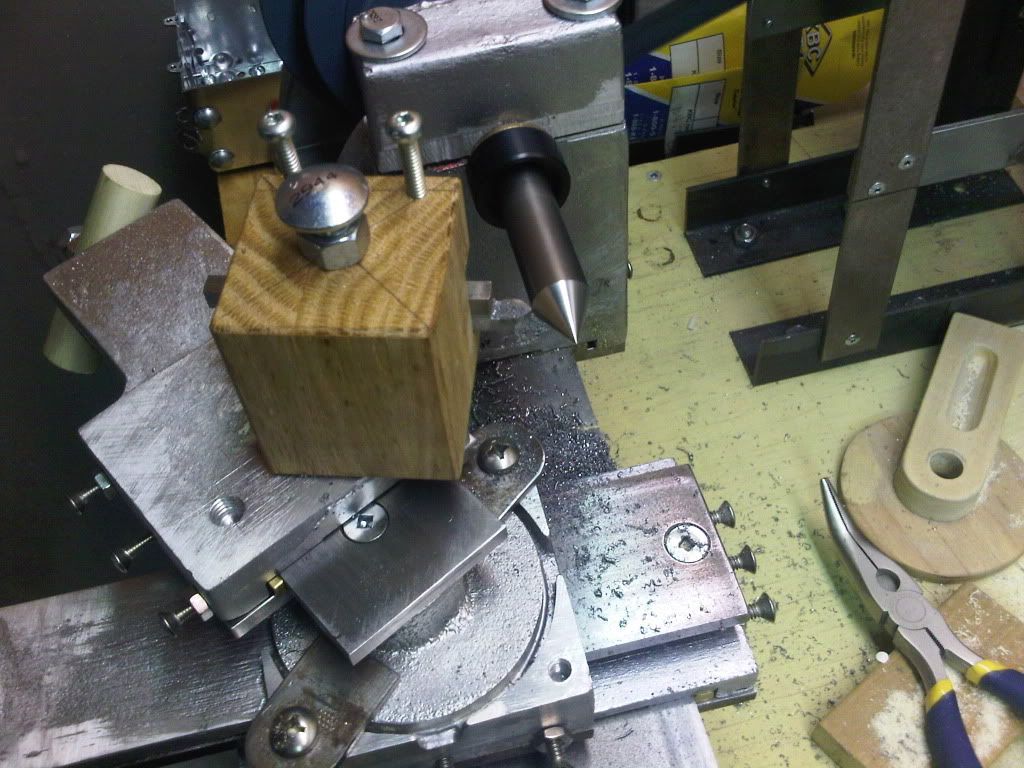
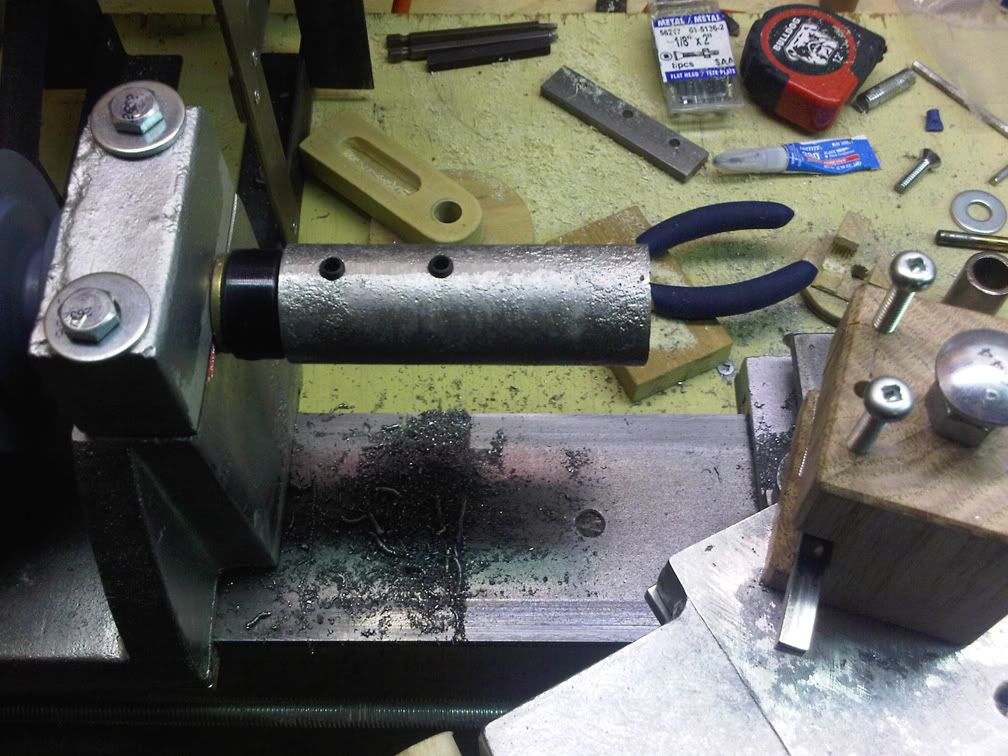
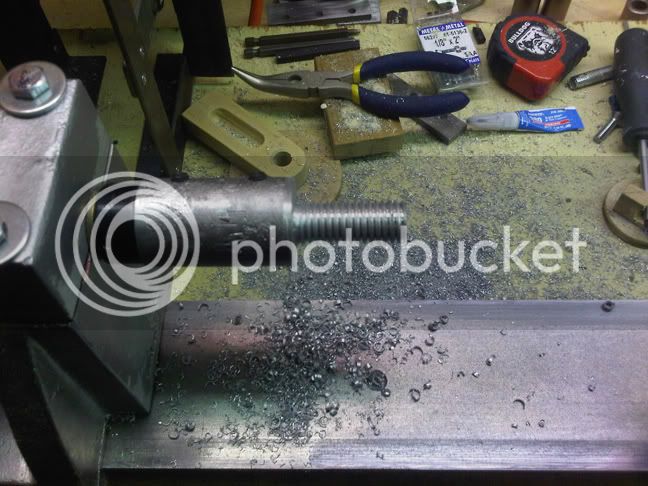
I also had some oak left from another project so I made up the pattern for the tool post. That small square piece on the faceplate is the replacement piece for the grub screw, still haven't found it's bother anywhere.

HeadStock9.jpg


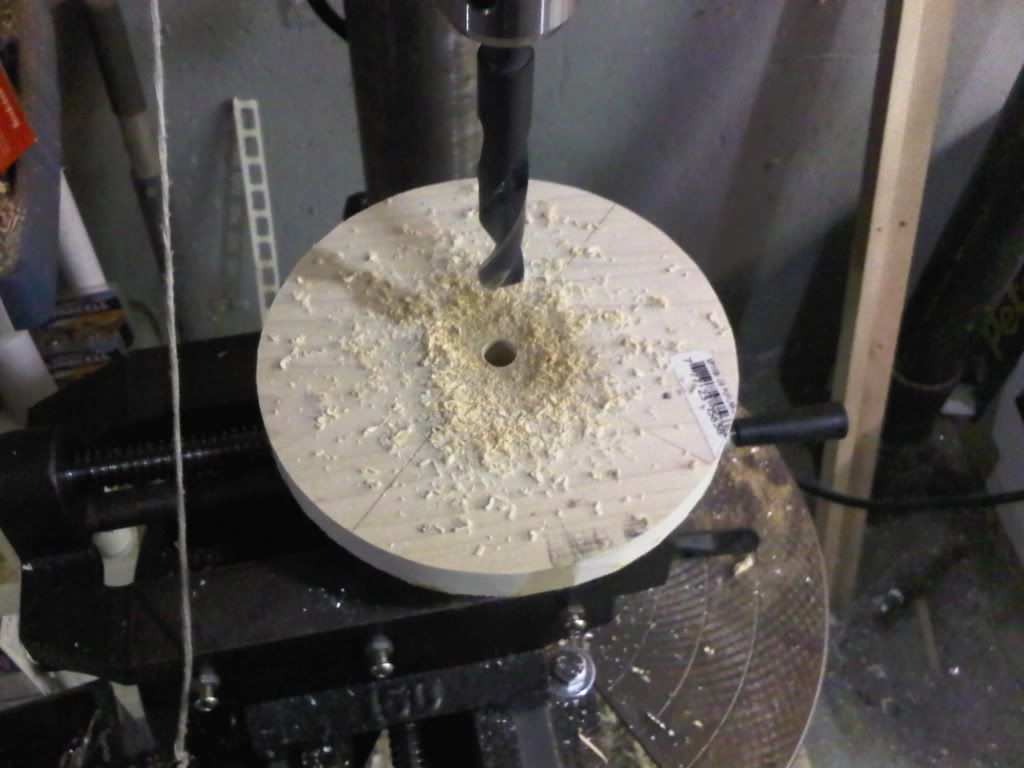
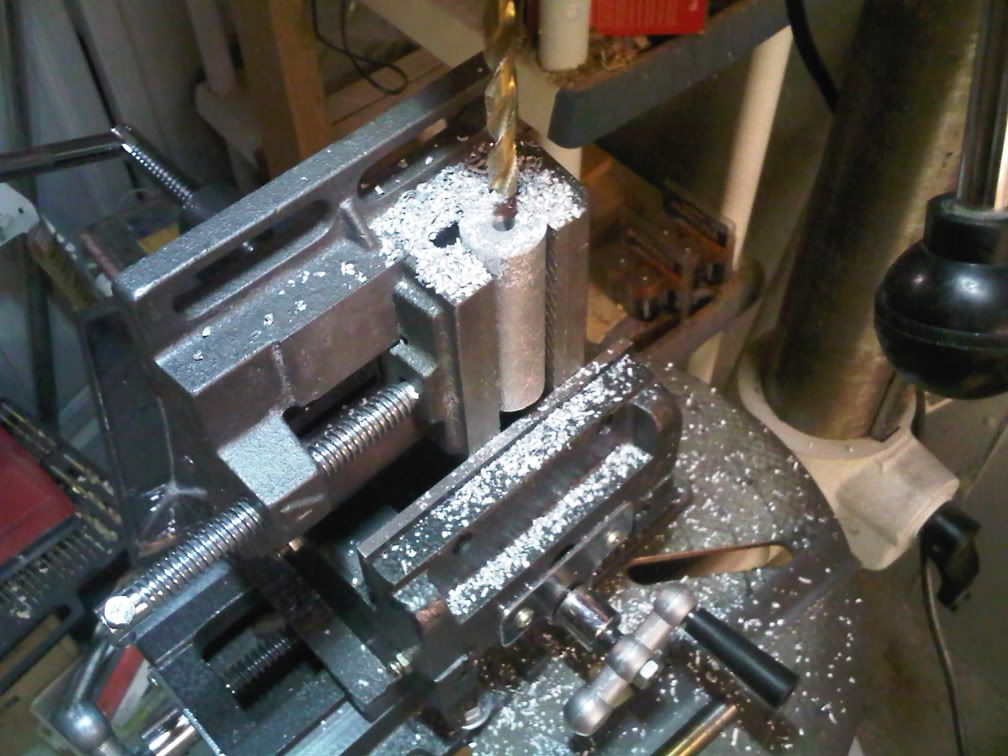
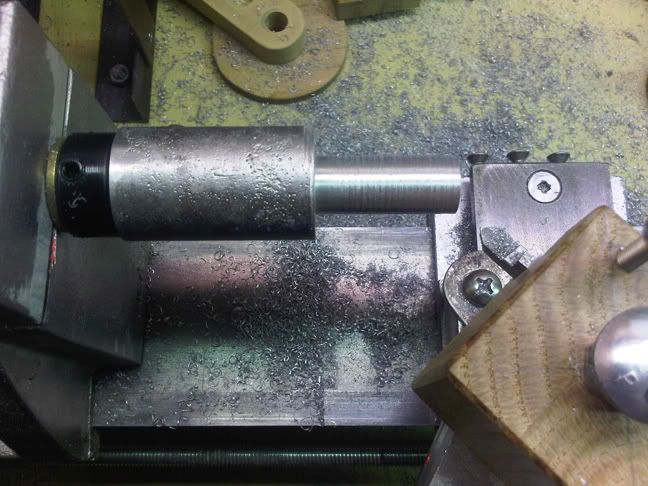
Step drilled the 5/8" hole for the spindle.

Headstock10.jpg


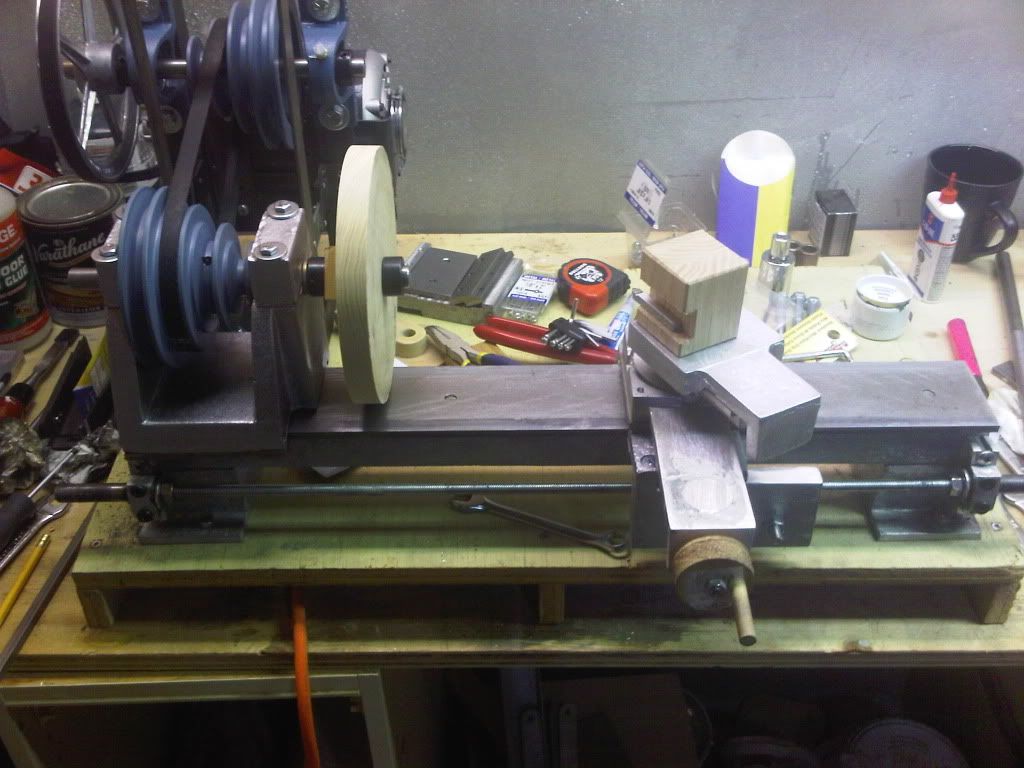
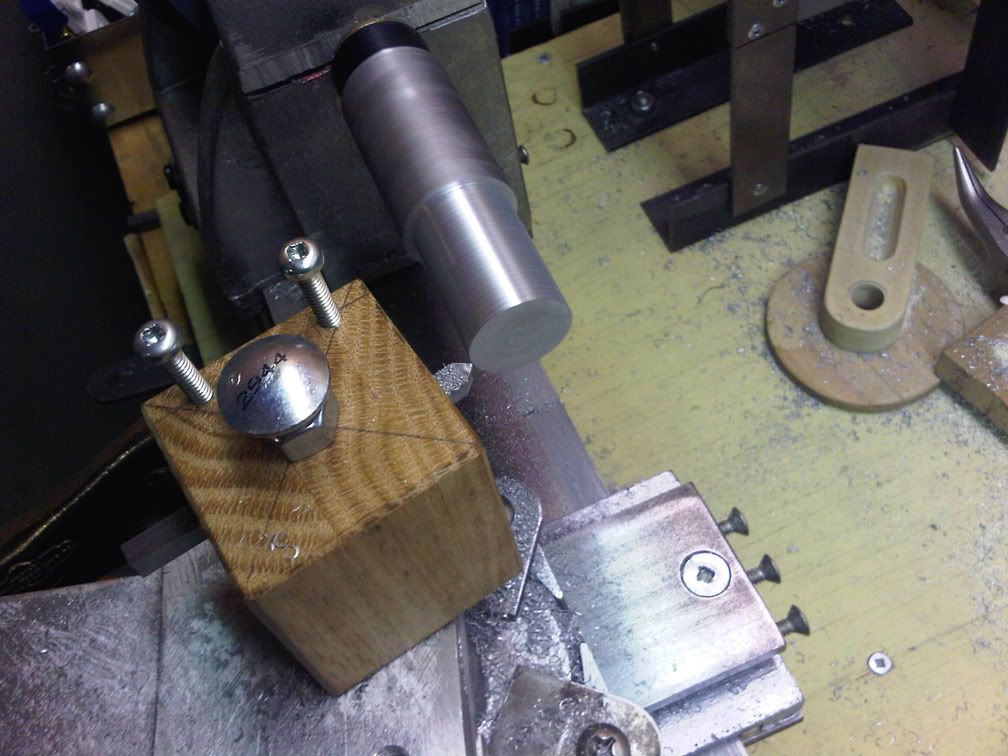
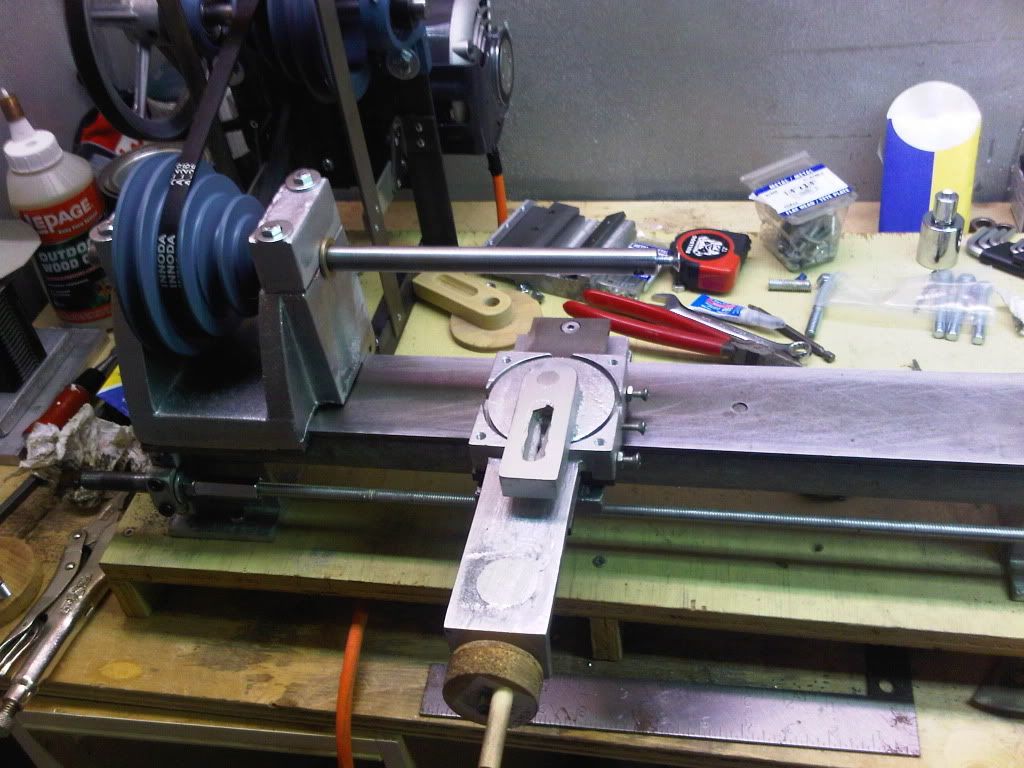
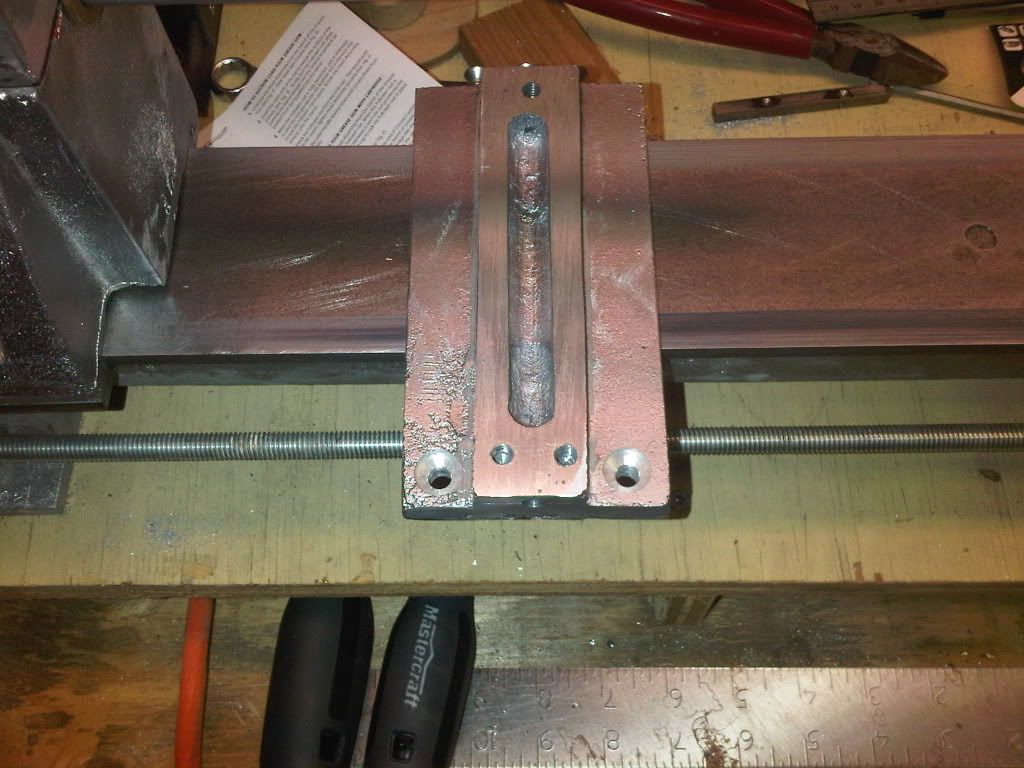
Put everything in place. Its starting to look like a lathe! Still have some fit and polish on the cross slides.

LatheWIP.jpg


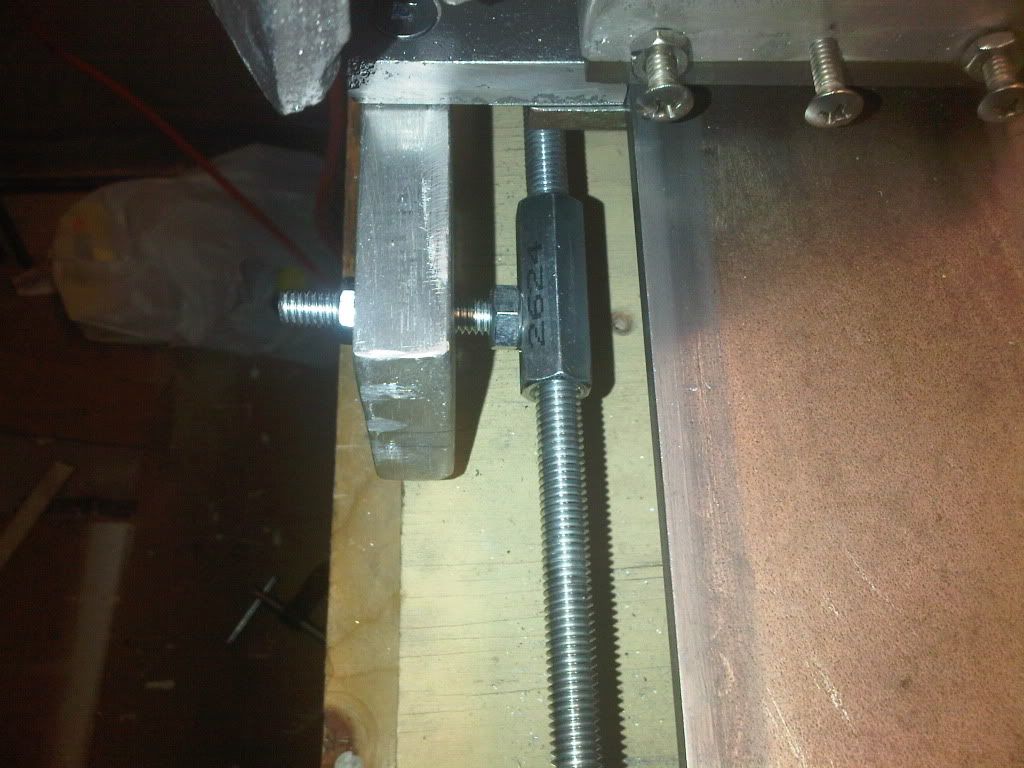
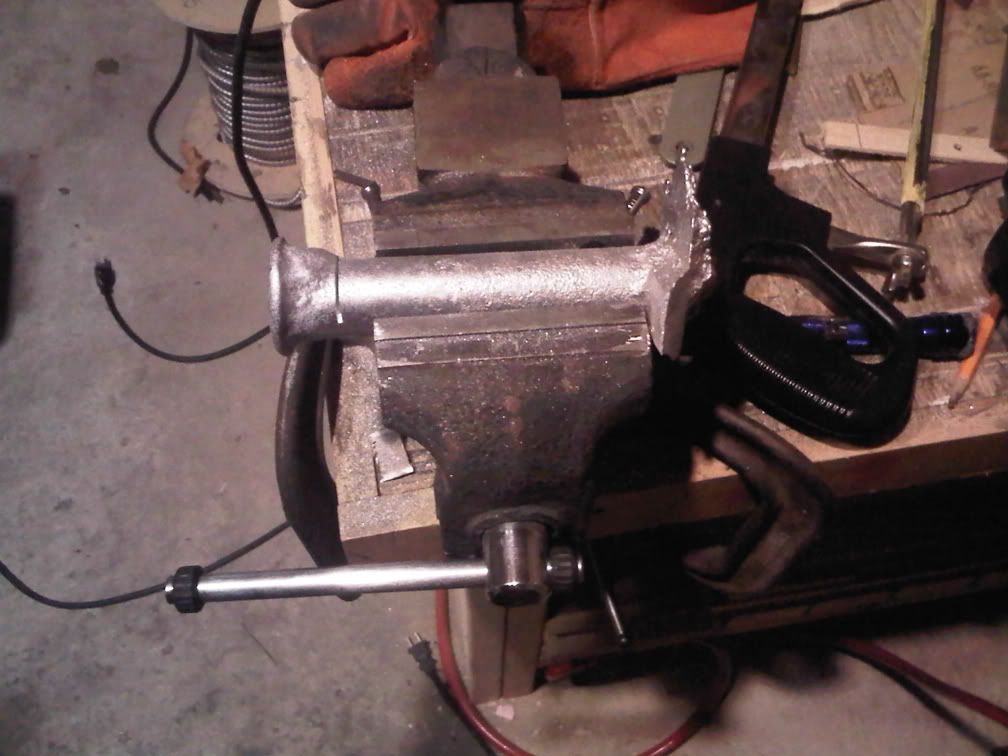
A work around for the split nut till I can cast the one from the book.

Splitnut.jpg


John


"2 inchs lower and it would hit my safety glasses."

That would be the all important point now wouldn't it ! ;D

Glad your wearing them!


Great build....sorry I've missed it some but at somepoint it will stop being a casting project...and become a "machine project"....I usually have my castings done so I don't go into that fora often...but I'm poking around now!


Dave


After several days of filing, test fitting, filing and more filing.

Test fitting and more test fitting of the slides. I have saw dust!! Yep I have it working to the point were I can now true up the face plate pattern. Still have handles to make as the ones I have now work but are too small.


FacePlateFinish1.jpg


It's not swarf yet, But I take it for now. :big:


John

 
Been pretty busy the last few days, unfortunately it's not been in the shop :(
I did find a bit of time today to screw some things up.

Work on the face plate has stalled until I can mount the pattern on the shaft without it coming loose. I got the back partly done and was working on the outer radius when it stopped spinning, the bit caught a hard spot in the wood I guess. I tried tightening the screw but the soft wood stripped. I put in a threaded inset but never could get it lined up again. Turns out my bore hole was a bit oval. I will drill it out bigger, fill it in and re-drill it later. The book says to use a threaded shaft adapter for the face plate, it should be available at your local hardware store, well thanks to Home Depot, Rona & Lowes any good hare ware store in my area are now gone. I tried to made one out of a 5/8" threaded coupling and a 5/8" bolt, but after the 3rd try and a broken tap I figure I don't have the right tools to do that just yet. I couldn't drill out the threads in the coupling out straight enough, it was noticeable out when I put it on the spindle and turn it on.

So after I broke my 1/4" 20 tap I tried to put the 60o on the end of the spindle, This at least worked out :)

Livecenter.jpg


The next project will be the rest of the tail stock. Hope to start the pattern tomorrow, but we will see what the boss has in store for me :)

John


Most of my metal working in the past has been trying to make pre-made pieces work together for what I need. Now with the lathe getting closer to being done I need to starting thinking about how I can make that piece I need. Since my attempts at the Threaded Shaft Adapter didn't work out so good I started to think on how I could make one with what I have on hand.

I can't remember were in this form I heard this but it popped into my head last night. "You have a foundry, stock of just about any size is just a pour away". So off the the garage and there waiting for me is the riser from the head stock. Its 1 1/4" by 6", cut off the ends, cleaned up the sides abit on the belt sander and I have a piece 3 1/2" long.

TSA1.jpg
TSA2.jpg


Tried my best to drill a straight hole down the center. I step drill the hole this time, Its a bit of a pain but it does make a rounder hole. Drilled and taped the set screws.

TSA3.jpg
TSA4.jpg


The piece was still off center but that will be trued up on the lathe. Now just have to reduce the last 1 1/2" to 5/8" and then put on the threads. I found a 5/8" 11 Die at KBC Tools just have to go and get it.

TSA5.jpg


I reduced the part to about 3/4" and did some measurements. It seems that at the shoulder its .7495 and the the end its .7532. About .004 out over 1 1/2", it should be fun to figure out how to correct the travel of the slides.

Any ideas?

John
 
Here she be, my first part on the lathe :D One Threaded Shaft Adapter


TSA6.jpg
TSA7.jpg


Tomorrow I hope to be able to drill out the hole in the face plate, fill it and re-drill it. Then if this works the way it suppose to I should be able to thread it on my adapter and finish making the pattern.

John

 
Slowly inching along. Did some more work on the faceplate pattern tonight.

Just have to connect the holes and varnish it.

FacePlateFinish2.jpg


Just might be able to cased this sucker this weekend :)

John

 
Been a real good thread and have enjoyed the good documentation you have done.
I just got my test run on my new furnace and did 3 melts, just put it into 4 pieces of round stock and one large disk for a fixture plate for my rotating index table.

first melt2.jpg


first melt.jpg


first melt 3.jpg
 
Hi Bill

Thanks for following along. The furance looks good. Did you have any trouble getting pieces out of the cans?

Hope to see more.

Thanks

John
 
woodnut said:
Hi Bill

Thanks for following along. The furance looks good. Did you have any trouble getting pieces out of the cans?

Hope to see more.

Thanks

John
Nope works good just open the other end and make a cut down the side, comes right off.
Your work area is far to clean ;D
Keep the info coming ;)
 
Bill

A couple of years ago I melted some lead wheel weights and poured them into salmon cans. These cans have a slight taper to them so the lead weight when cool will slide right out and you can reuse the tin for another mould. I can't imagine why they wouldn't work with aluminum as well. :bow: :bow:

Cheers :)

Don

 
Hi Bill

My wife happen to be looking over my shoulder when I was looking at your reply "Your work area is far to clean" and she made me go down to my work area and take a wider shot of "The Disaster" as she calls it.

I will admit I have some cleaning up to do, I am thinking a complete rebuild of the work table with more storage. Ahh the list of things to do is never ending.
MyMess.jpg


Don
Salmon cans, well I am going to have to try that in hear future. I was thinking of using short lengths of gas pipe for molds as well for round stock. If I make sure the 2 ends are de-burred well, and I smooth out the inside I should able to push it out after it cools.

As for the lathe the only thing I got done the last few nights are the slots
FacePlate3.jpg


A bit of sanding and some varnish and I think she will be ready.


John


That,s clean compared to my shop :bow: You can use that gas pipe to form the green sand in a bucket, be a whole bunch easier to get out of the mold compared to getting out of the pipe IMHO ;)
God bless & merry Christmas ;D
 
Back
Top