Gingery Lathe

Home Model Engine Machinist Forum

Help Support Home Model Engine Machinist Forum:

This site may earn a commission from merchant affiliate links, including eBay, Amazon, and others.

woodnut

Well-Known Member
Joined
Oct 16, 2011
Messages
140
Reaction score
6
Greetings all.

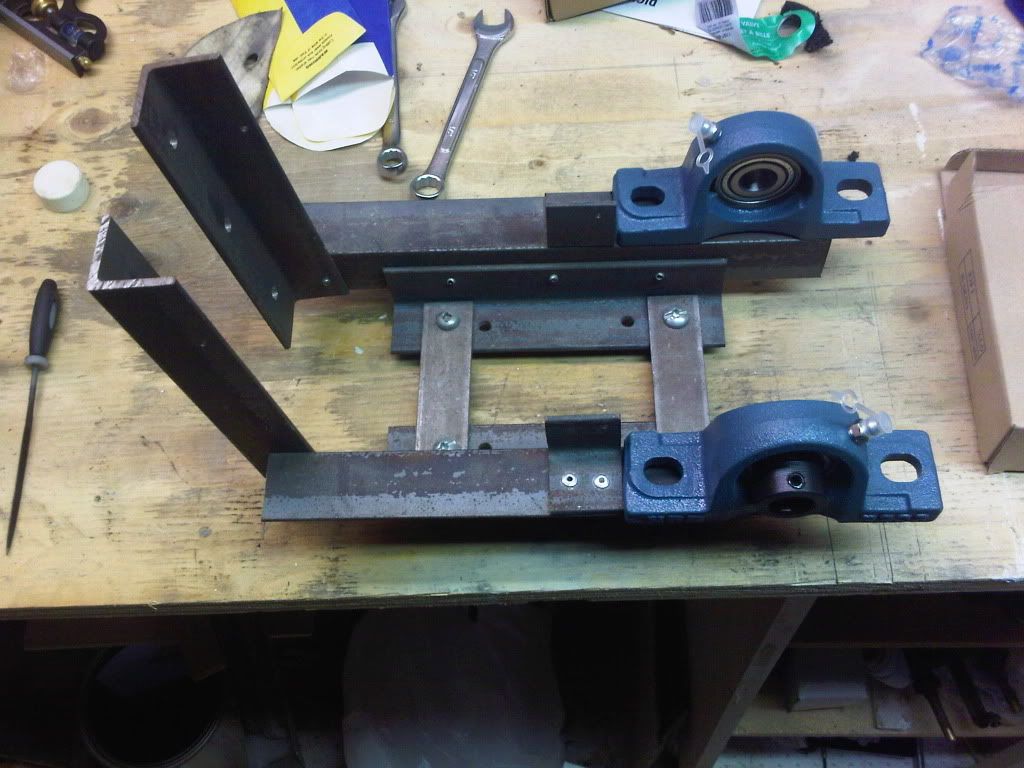
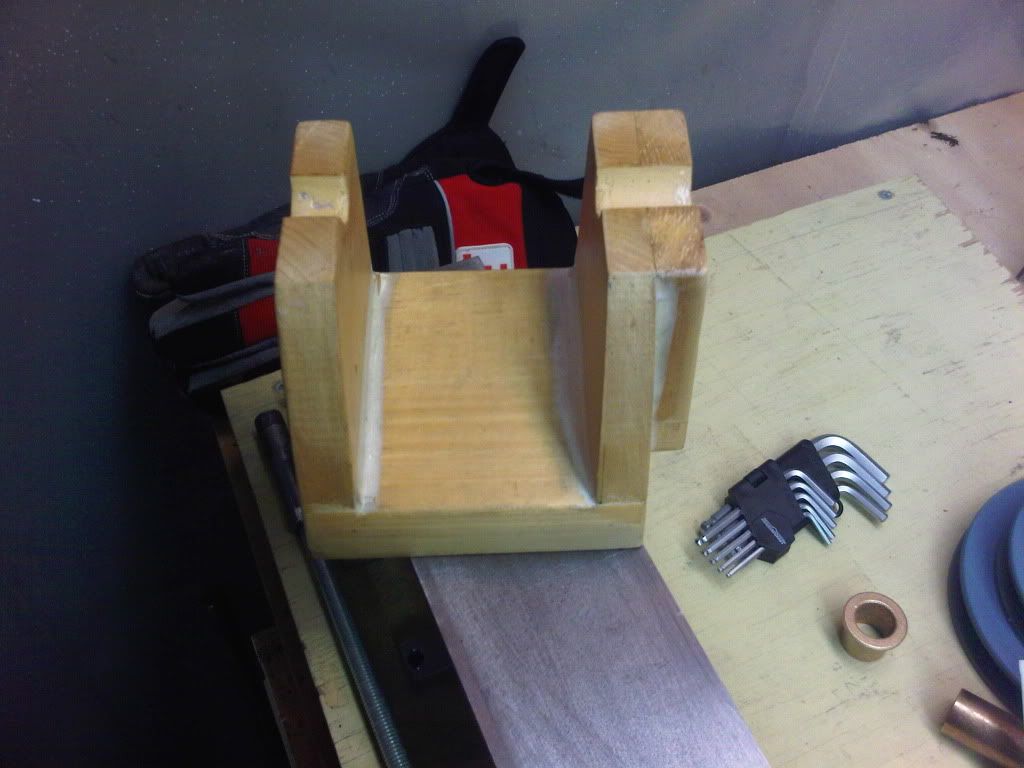
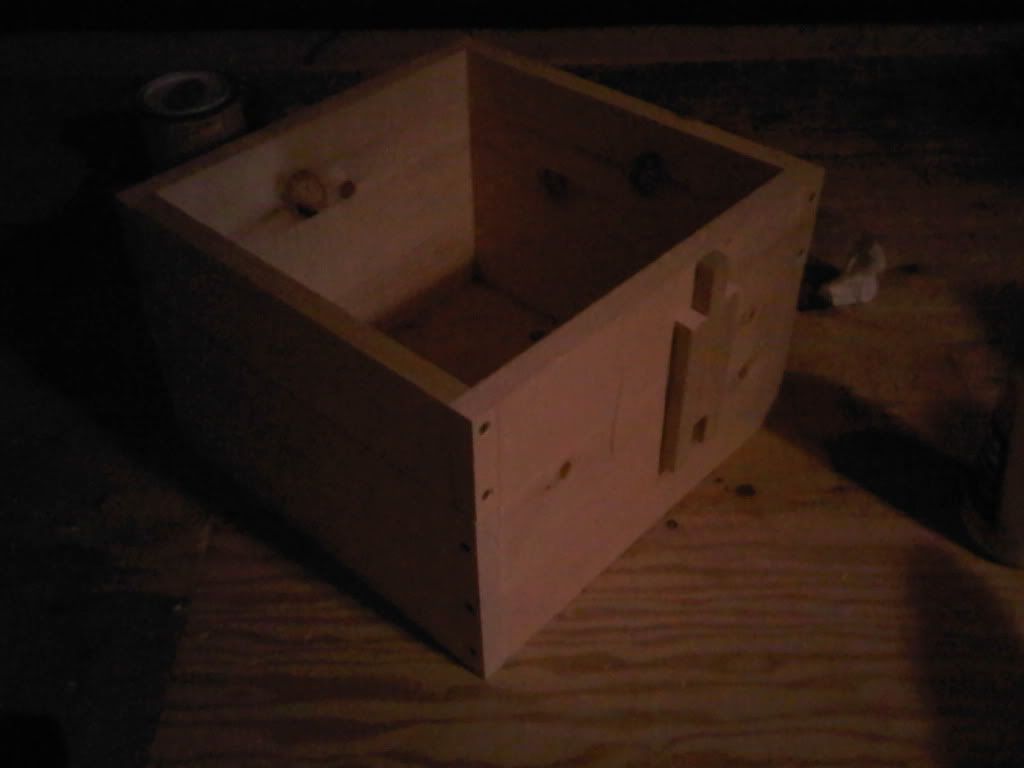
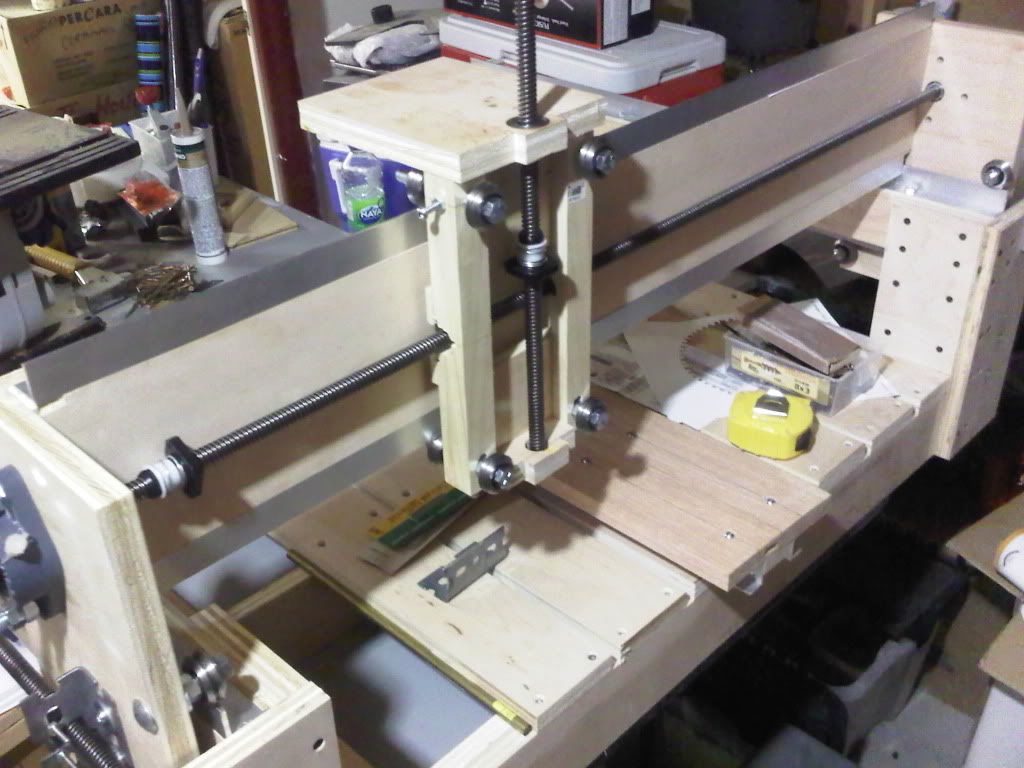
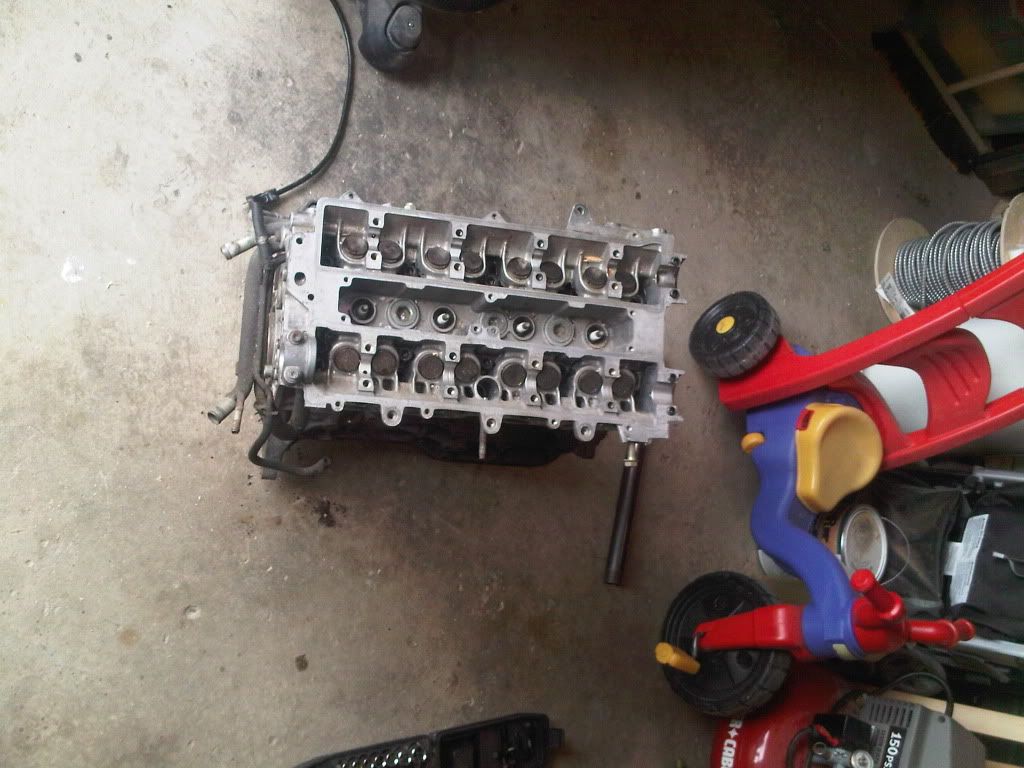
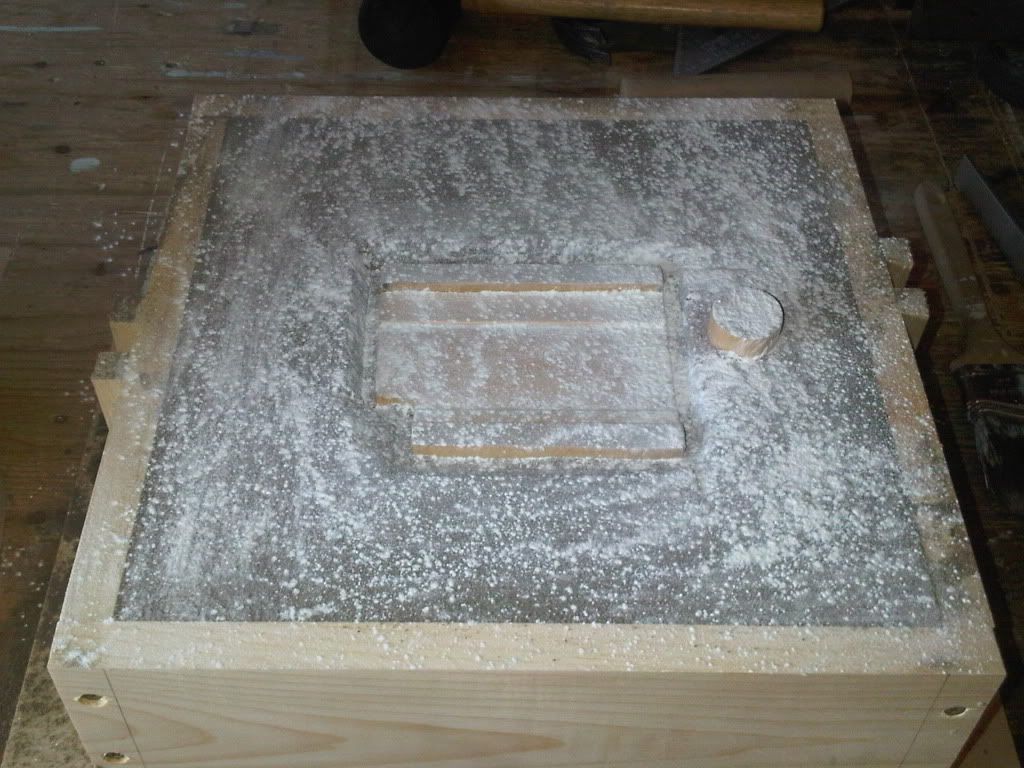
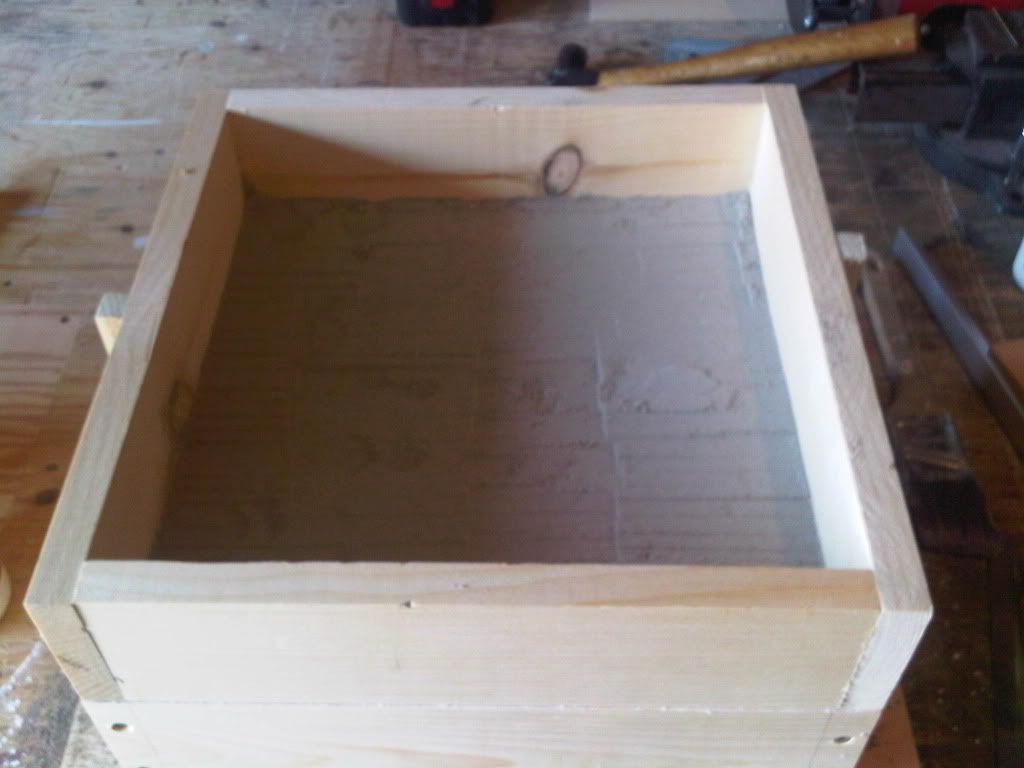
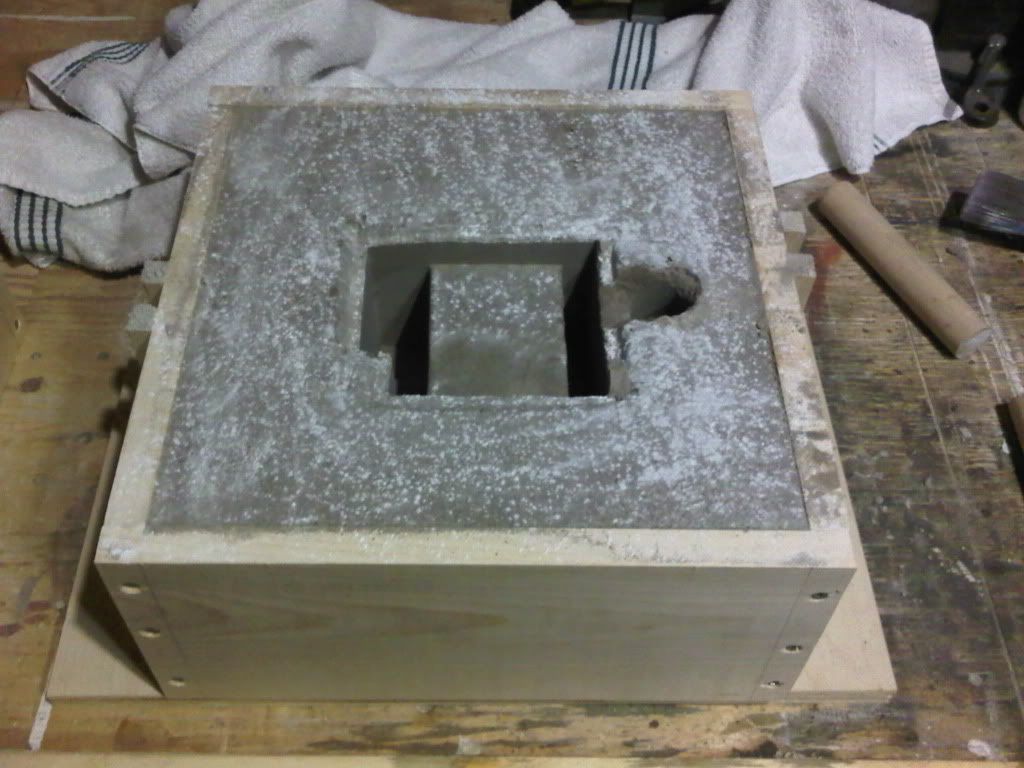
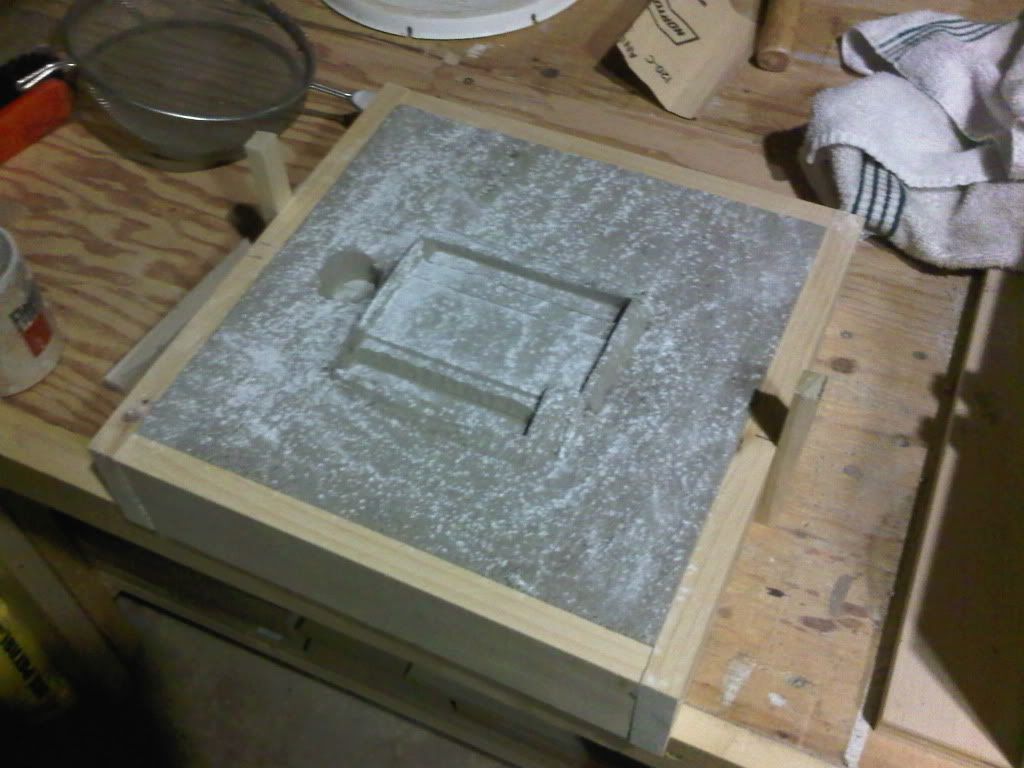
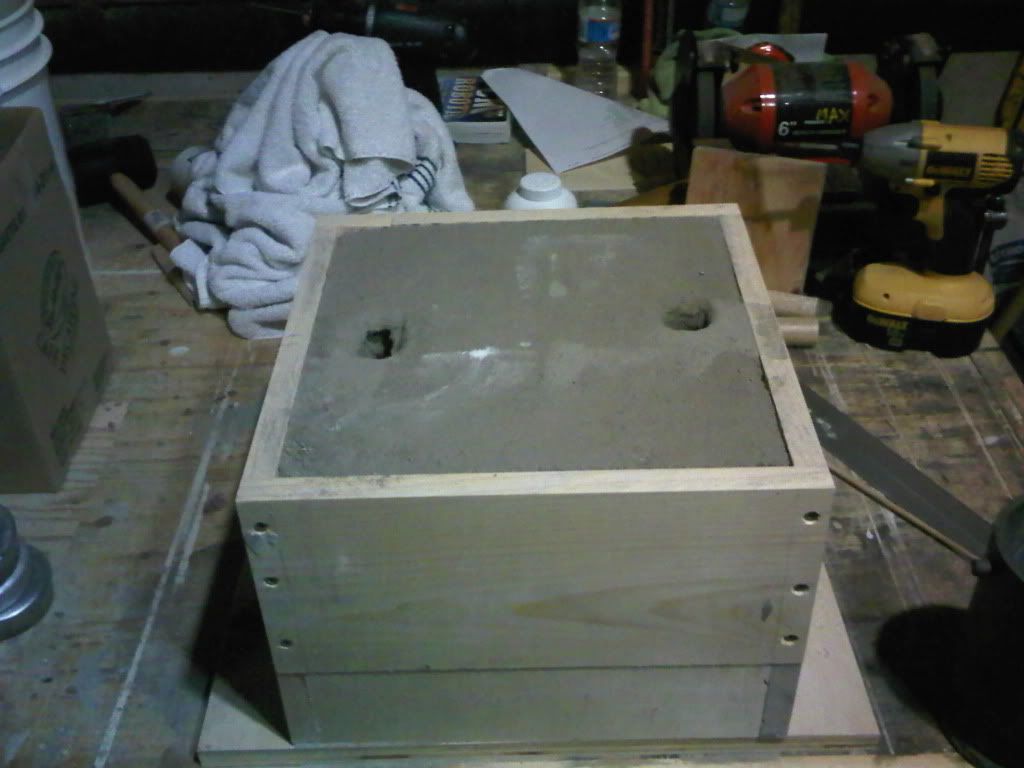
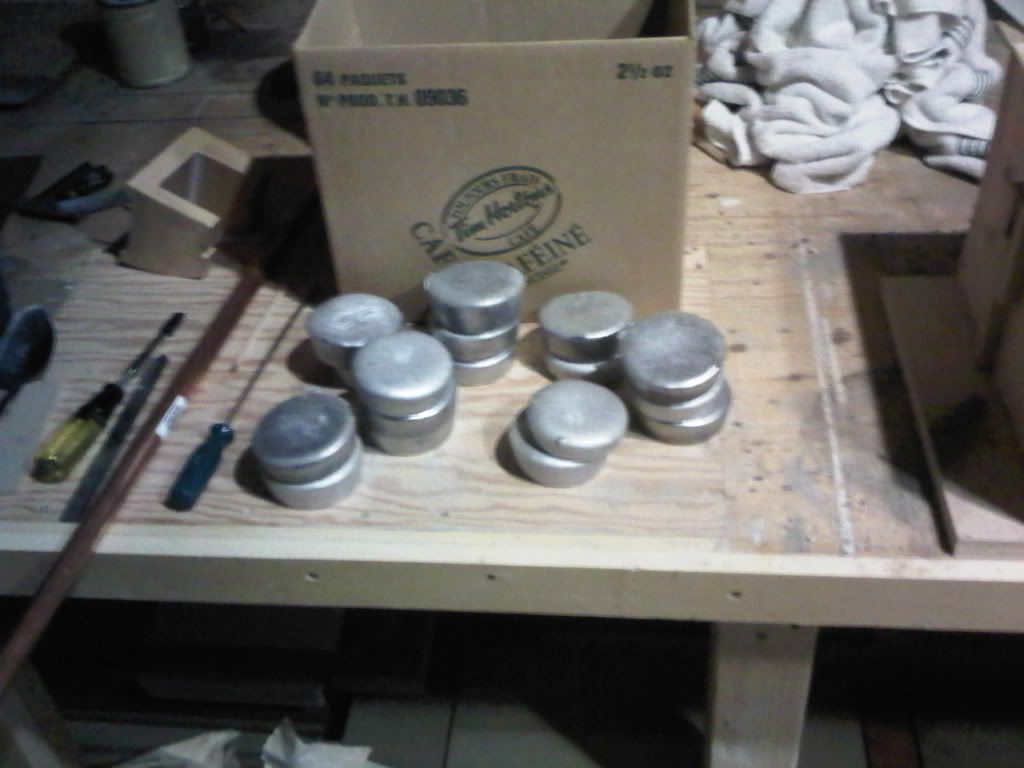
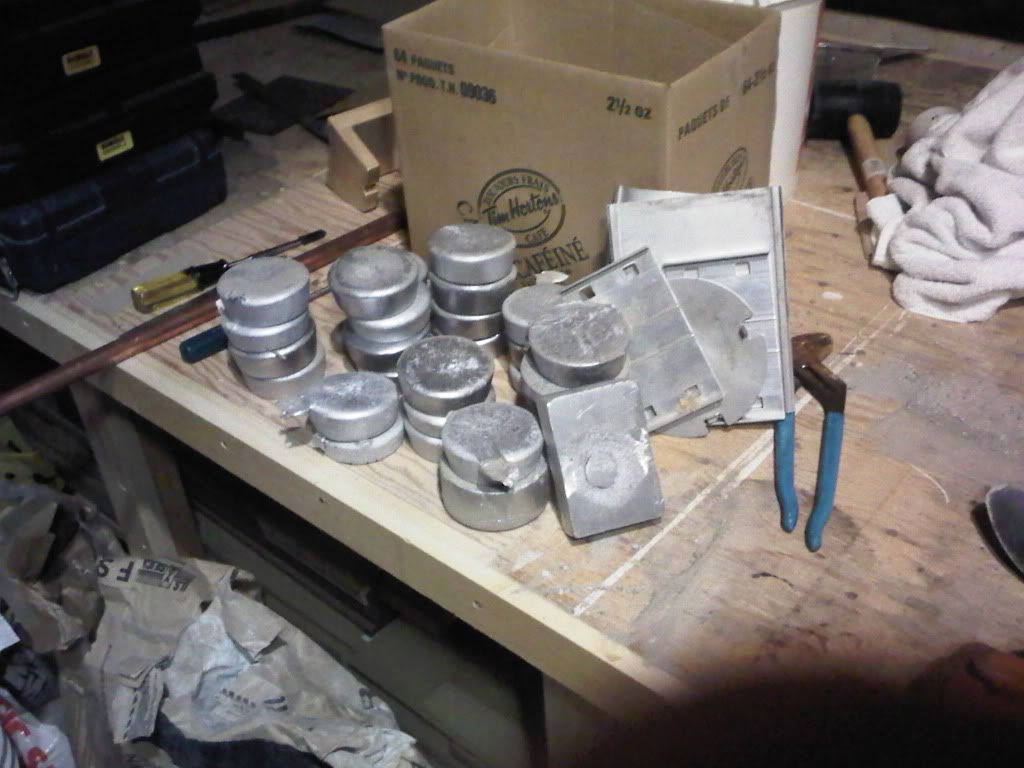
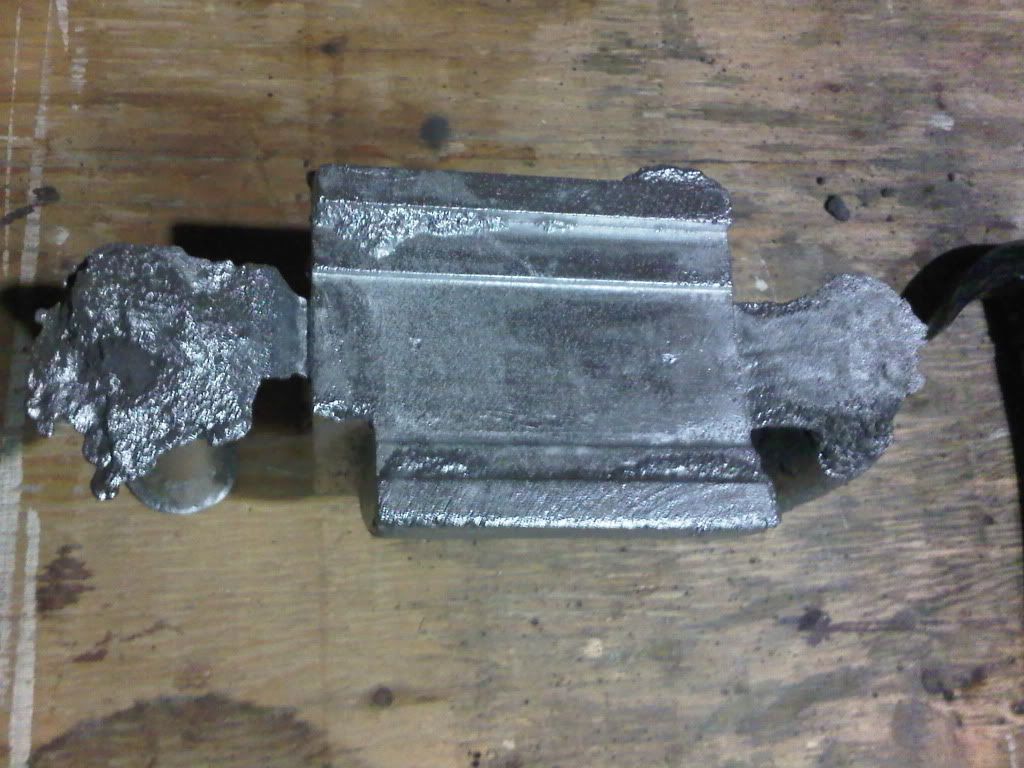
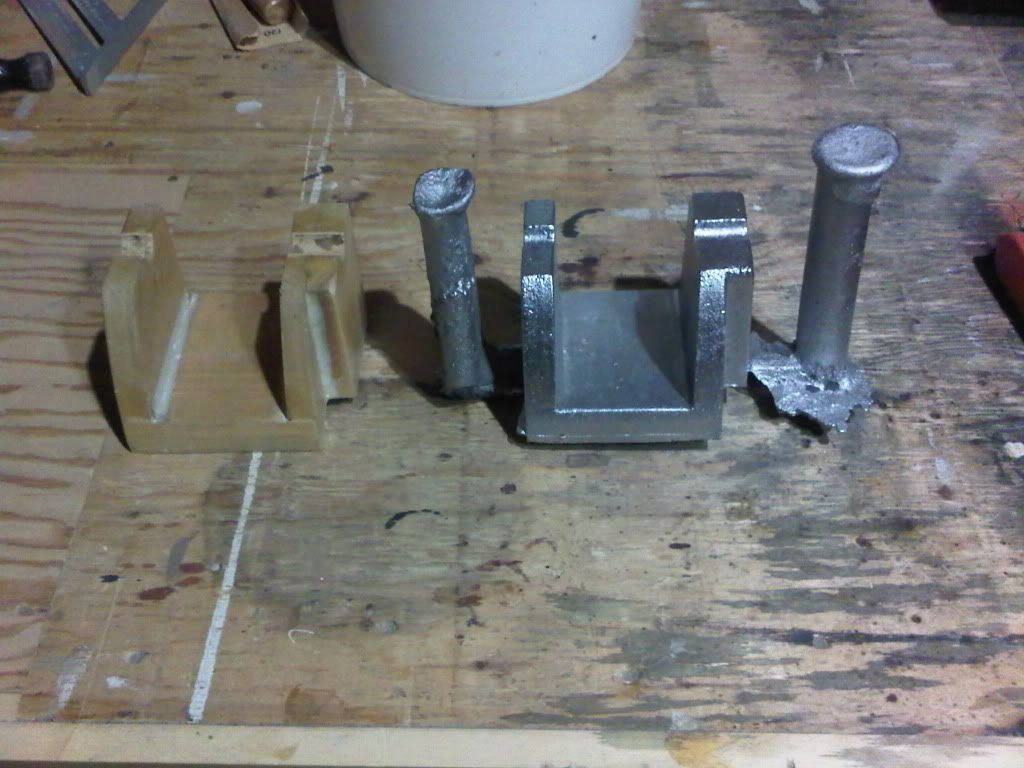
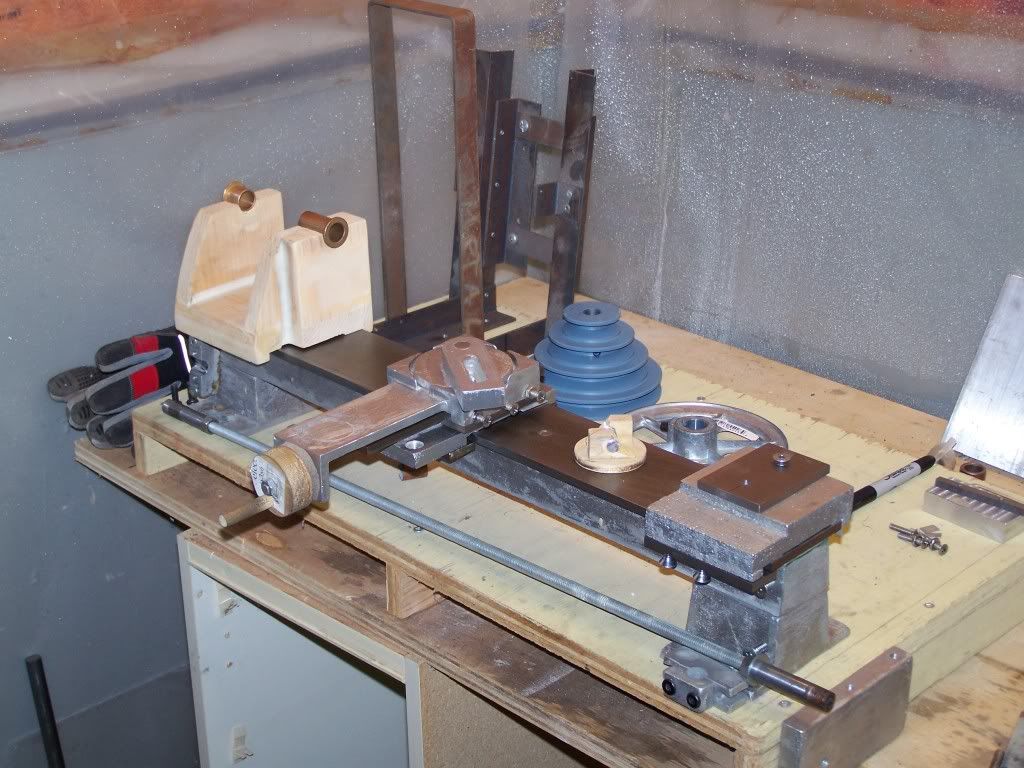
I started this Gingery Lathe about 9 years ago. Moving 3 times has put the project on hold for most of the last 7+ years. About a week ago the place were I had it and the furnace stored closed down and I had to bring it home. I am in the process of stripping it down and cleaning up the rust and some other mistakes I noticed. The pictures below are of it quickly put back together. Still have 5 or 6 more parts to make. Hoping to be able to make some more parts soon.

GingeryLathe.jpg


GingeryLathe1.jpg


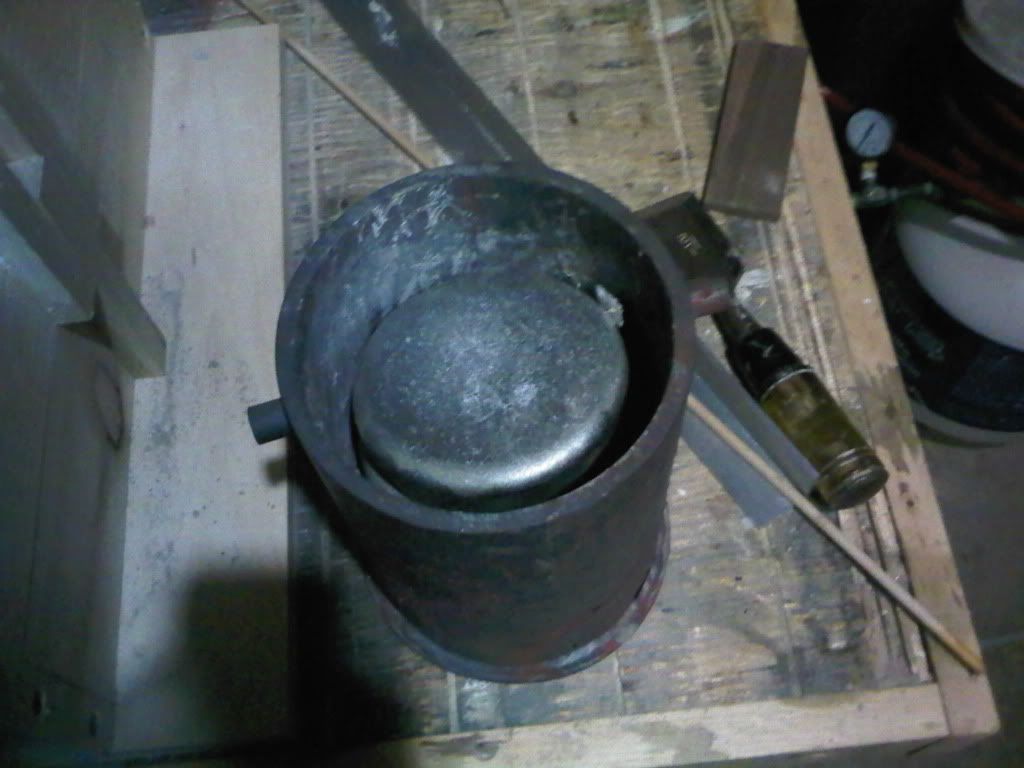
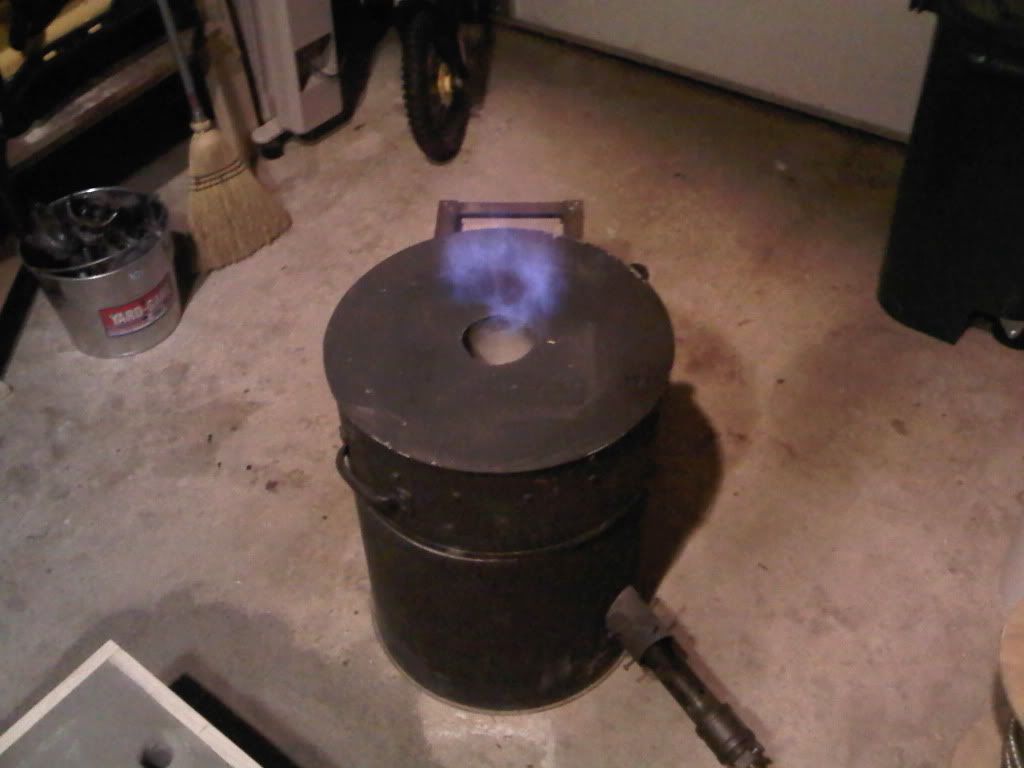
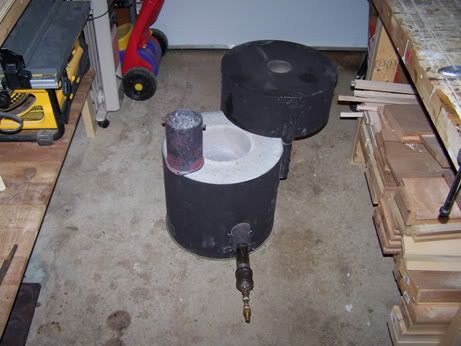
And here's a Pic of the furnace. I forgot how heavy this thing is. Just have to find it a spot in the garage.

Furance.jpg


I am almost ready to start making parts again, biggest problem is finding a place to get my 30lb propane tank re-certified. Anyone know of a place in the Burlington/Oakville area of Ontario?
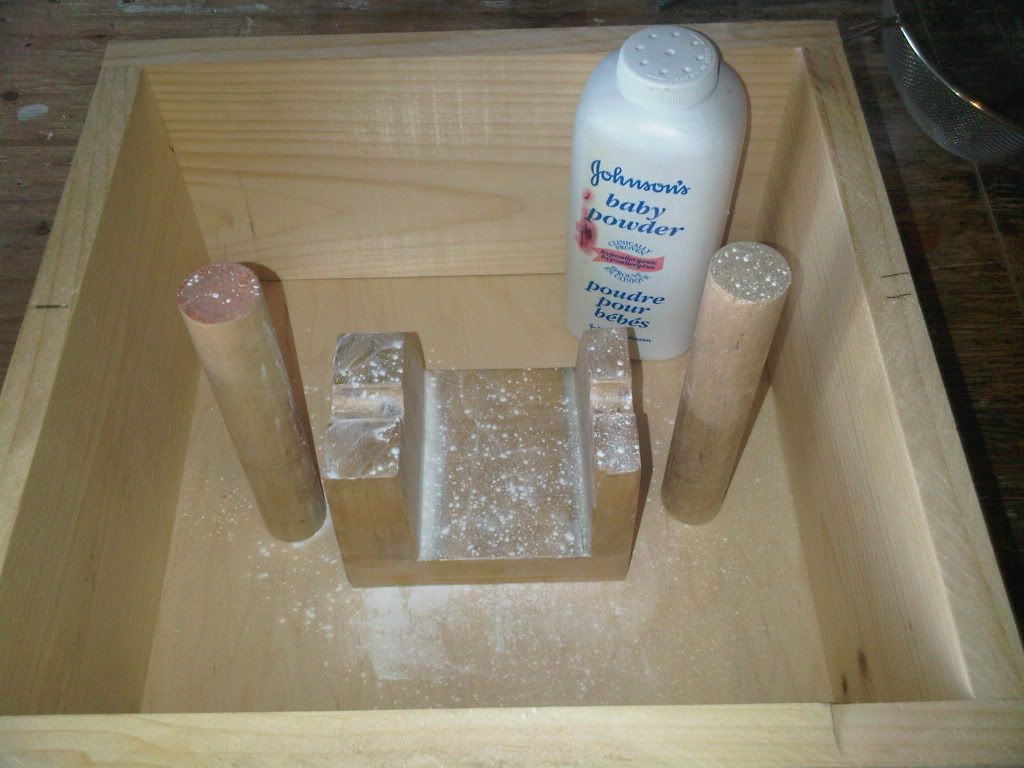
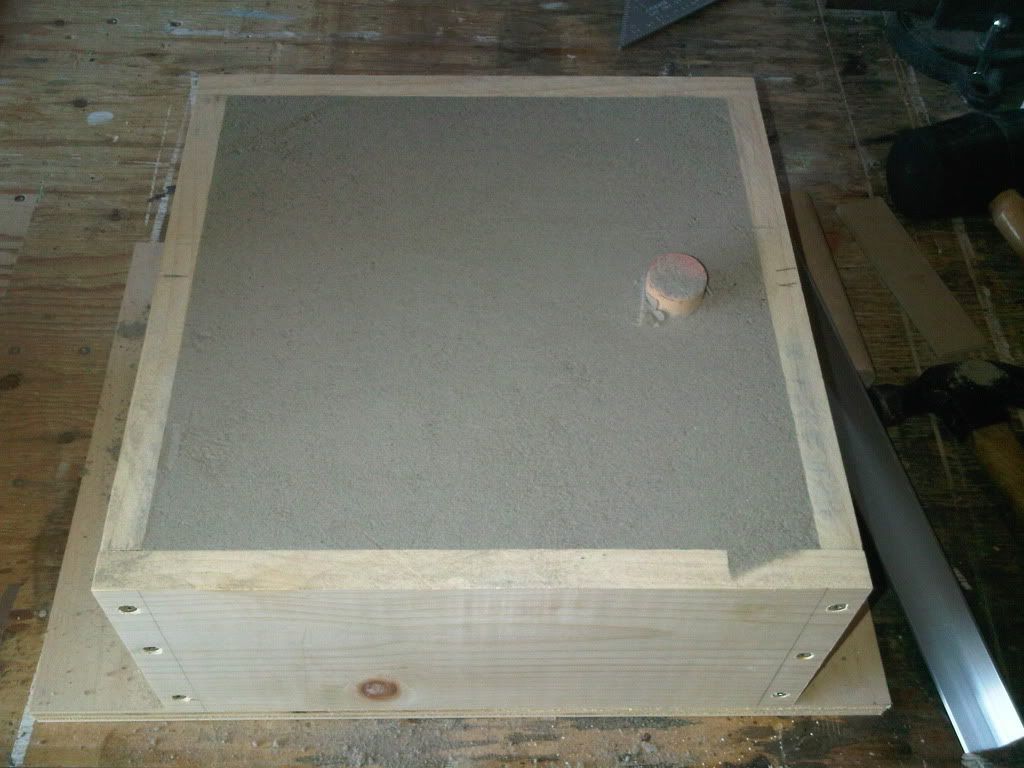
My casting sand has been sifted and just needs to be hydrated. Will need to build a new flask for the head stock, but that easy. Can wait!

Hopefully I can keep on track this time. I will post more pictures as I go.

Be Safe & Happy Casting.

John
 
John

Hi and welcome to HMEM John. I've got the popcorn popping and sitting back ready to watch. Good luck with the build. :bow:

Cheers :)

Don

 
Nice work there my gingerly never got off the ground I did build a furnace fired it up and never used it it is wrecked now. I since acquired several lathes. I still dream of metal casting.


Burlington/Oakville area of Ontario?I am almost ready to start making parts again, biggest problem is finding a place to get my 30lb propane tank re-certified. Anyone know of a place in the
In my area east coast USA none want to talk about tank recerts I just get the same answer cheaper to buy new.I just use 20s and exchange them if the Hydro test date is close.
Tin

 
Thanks Tin

I have phoned a couple of places that advertise on there web site that they re-certify propane tanks, but so far no one has called back. I did find an old 20lb tank in the back of the garage last night and of course it was expired as well. Took it to the Home Depot and exchanged it today :)

I got a very dangerous package in the mail today, the wife tried to hide it but I think I came home earlier than she thought. The "Lee Valley complete tool catalog". Inside they have the Taig mini lathe for wood or metal for $268 ca and it's screaming my name. If I hadn't just spent a bunch on the Gingery Lathe getting pulleys and pillow bearings I would be running out to get one.

Hmmm Christmas is coming.....

J
 
Tried to do some work on the lathe tonight.

Went down stairs and opened up the new pillow blocks I got last week. Grabbed the motor mount frame I built 9 years ago and...
It's off to the metal store tomorrow.

Motormount.jpg


I was able to build the flask and get a couple of coats of varnish on the head stock.

HeadStock.jpg


Sorry this ones a bit dark. Damn crackberry camera.
Flask.jpg


After doing what i could with the lathe I turned to the CNC Machine.

CNCmachine2.jpg


After looking at the Y axis i think I will rebuild it. Now the foundry is mostly up and running I think it would be stronger to cast the Y axis truck from Aluminum.
Too many small wooden parts here.

CNCmachine.jpg


If thing go my way I should be able to cast the head stock in the next day or so.

Be Safe and Happy casting.

John

 
Some good looking stuf you have going there John. I will be watching along.
Brock
 
Thanks Brock, with winter coming, I am not sure how much time will have out in the garage. Its not insulated.

Not much has happen in the last few days. Wife has been working the afternoon shift so I been playing "Trouble" with my 5 year son Zac. I did get to the store and buy the new angle iron I needed for the motor mount. At least I can rebuild this in the basement.

My neighbor came over this Saturday morning and asked if could help him move a cord of wood he just got delivered. No problem, got Zac dressed up (its only 5C here) and off we went.
After filling up the storage rack in the back the rest went into his garage. I noticed over in a corner an old car motor. I asked what he was doing with it. It's garbage he said. The block it cracked and a few other things were wrong but i think really hear anything after "it's garbage". The header and a bunch of other parts are Aluminum! Nice high quality (compared to ladders and lawn chairs) aluminum! Can I have it? I asked. Sure saves me taking to the dump. Great! we dragged it over to my garage, good thing the wife is working today, and I started stripping it down.

Engineparts2.jpg


After a couple of hours between playing with Zac & lunch. I have it mostly ripped apart.

Engineparts.jpg


I still have to get all the valves, springs and what not out. Have to separate the pistons from the connecting rods. Then figure out to cut it all down small enough to fit into my crucible.
I am glad he was in the process of rebuilding this motor as there was no oil in it. This old Toyota motor will have a new life as parts of my lathe ;D

John


John

Looks like a good find that engine. Some good quality aluminum for your castings by the looks of things. Is the main block aluminum as well? I hope the weather holds for you so you get a bit more time in the shop before it gets too cold. :bow:

Cheers :)

Don
 
great score John
after you take out the valves and springs, dont get too fussy about valve guides etc
Once you pour off the alli, you will find them in the bottom of the crucible ;D
Have fun :big:
Pete
 
Yeah Pete is right, melt the ali and pick the steel out. I melted some large (145mm Diameter) Cummins pistons and it turned out the ring land was steel so I got some nice looking steel rings which will make nice flywheels with not much work. On the backyard metal casting site Lionel shows how to break down big parts with a BBQ. If you have a good refractory lining and a drain hole in the bottom you can just chuck it in the furnace and catch it out the bottom, I have broken down car rims doing this. Keep us posted.
Brock
 
Thanks Guys.

Mr Lionel and the Backyard Metalcasting web site!, almost forgot about him. Spend many hours at his site when I first started this craziness. He got me hooked on this. I built his "2 bucks" furnace and saw that he was building the Gingery Lathe, I then design and built the furnace I have now because the "2 Bucks" furnace was too small to make the lathe. I didn't put a drain hole in the bottom and I don't remember what my reason at the time was ???. The furnace is lined with commercial grade refractory. I went a bit over kill as the sides are +4" thick (it weights 150lbs or more). There is no tipping this thing over. I can still put my hand on the outside of the furnace after a 30 minute run.

Unfortunately I don't have a BBQ big enough to put the block in. Not sure if I can soften up an area with a propane torch and then smash it with a sledge ???
I will have to dig out the sawzall and see how many blades I can break.

John
 
Just smash it with a sledge don't worry about preheating as it will just make it too hot to handle or too soft to break just squash. Heads are full of cavities and break fairly easy. Big square block splitter is even better than a sledge.
Brock
 
Just smash it with a sledge don't worry about preheating
Thanks Brock, Smashing and bashing it is then!

Got a bit of work done on Sunday, got half of the motor mount rebuilt. Didn't take a picture for some reason? Carved 2 pumpkins with my boy. After I put him to bed I went out to the garage to see if I could remember how to ram up a mold. :)

mold1.jpg

Got the head stock dusted ready for the sand.

Mold2.jpg

Sifted some sand to cover the patter in a nice fine sand.

Mold3.jpg

Top part all filled up.

Mold4.jpg

Flipped her over and dug some sand out around the pattern to get a better match.

Mold5.jpg

This is were I ran out of sand. I used up a 5gal pile mostly on the top part. Oh well off to make more green sand.

Mold6.jpg

Made up some more sand, let it sit for about 30 mins, then ram up the rest of the drag. Opened up the mold and got ahead of myself and took out the pattern before I put in the other riser. So far the mold looks good. A bit of sand stuck to the base of the pattern, But I can clean up that from the part after it made.

Mold7.jpg

The drag, not prefect but good enough.

Mold8.jpg

Failure! While trying to put the other riser hole in, the side of the mold caved in. Knew things were going to good for my first time molding in 8 or 9 years. I managed to press the piece back into place but it fell in again and crumbled while making the hole bigger. Oh well dig her out and start again. But by this time its 11:30pm and I am off to bed. Maybe if there time tomorrow after trick or treating I will see if I can ram her up again.

John


I got up early this morning and ram up the mold before going to work. Covered it mold with a towel.

Pour1.jpg

It wasn't too warm today, got up to 10C. rammed up the mold early in the morning then off to work.

Came home early to get ready for Tick or Treat, when out and had a blast with Zac. Then tried to calm him down from his sugar rush. We try and keep candy to a minimum.

Pour7.jpg
Pour4.jpg

Lots of ingots, I still have 2 5 gallon buckets of scrape and some other odds and ends to melt down yet.

Pure2.jpg

Loaded up and ready to go. I didn't take a picture but I slowly warmed up the furnace, it steamed a bit nothing else.

Pour3.jpg

Fired up and running good. Defiantly have to get more sand!!

Pour5.jpg

I didn't get any pictures of the pour :( I was working by myself. It was nice using these ingot, next to no slag.
Not sure how this will turn out. The second riser didn't fill up from the inside. I filled it. It took all but a very small amount of aluminum that i had in the pot.
Have to wait for at least an hour before cracking this thing open. Not sure if I will do that tonight or wait till tomorrow.

Pour6.jpg

This was taken 10 minutes after pouring. The outside of the furnace is only 37.1C. Now in 2 hours it will much hotter as the heat slowly travel through it.

It was fun, I almost forgot how much I liked doing this. It warmed up the garage nicely. Yes I had the doors open.

John


OK there was no way I could sleep tonight without opening the mold.
I did wait the hour they recommended, just.

Breakout1.jpg

Cracked open the mold. Hmmm looks pretty good so far. Little bit of clean up, no big deal.

Breakout2.jpg

Dumped it all out and started diggin the part out. So far so good :)

Bottompart.jpg

The bottom needs to be cleaned up and there was a bit of leakage around the part line. But it whole!

Patternandpart.jpg

Here is the pattern and the part. From what I can tell there is just a very small shrink cavity on the thickest part by the riser that didn't fill (right side).
Looking at it now I see why it didn't fill. its really thin were it meets the part. Something to watch for next part.

Not looking forward to having to sifted all that sand and rehydrate it again. Oh well its all part of the fun.

Now on to the next part. The tool rest and bearing caps.

John


looks great John :bow:
one question
your ingot mold looks a bit like a cake tin?
if not can one be used ?
Pete
 
Looking good John! I'm glad your enjoying this...keep the pictures coming!

Dave
 
Good stuff!
Got me itching to fire up my furnace again.
 
Hi Pete

My ingot mold is a commercial grade muffin pan. They fit into my crucible perfectly. My wife got it for me when "Tim Hortons" switch over from baking everything fresh on site to bringing in everything frozen. They were just throwing them out. Wish now I had gotten a couple more.

I tried a WalMart muffin pan but it didn't stand up to the heat very well. I got one pour out of it, no leaks but it was toast after. The metal is just too thin. Even my pan will twist a bit when I fill her up. I have seen other people make ingot molds out 2" angle iron with a cap welded on the ends. Even a hole dug in sand/dirt can be used in a pinch if its not to wet. If you use a cake or muffin pan just make sure its heavy duty with no coatings. Not sure how a non stick coating would stand up to 1300 degrees?

Be Safe & Happy casting

john
 

Great looking castings John.

Looks like a nice furnace too. Definitely a good operation to do in the winter eh?
 
Back
Top