From the scrap box...

Home Model Engine Machinist Forum

Help Support Home Model Engine Machinist Forum:

This site may earn a commission from merchant affiliate links, including eBay, Amazon, and others.

ksouers

Well-Known Member
Joined
May 24, 2008
Messages
1,347
Reaction score
8
I have need of a vise stop with my current project. I already have a crappy one I threw together a couple years ago. It has served me well but it’s time for a better one. This time I’m also going to make it better looking as well.

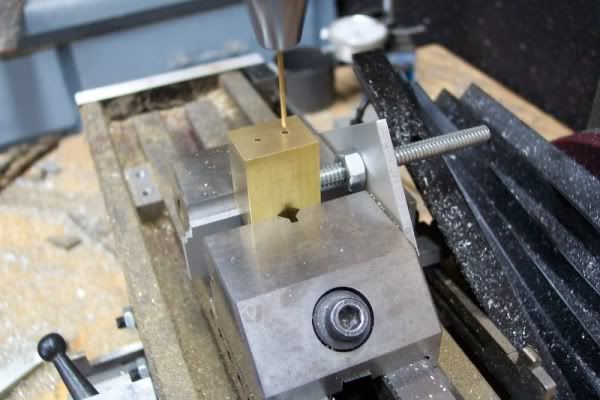
You can see the old one in use here.
tn_cyl-3.jpg


All the pieces came from the scrap box, I bit of aluminum and a short piece of 3/16 O1 drill rod.

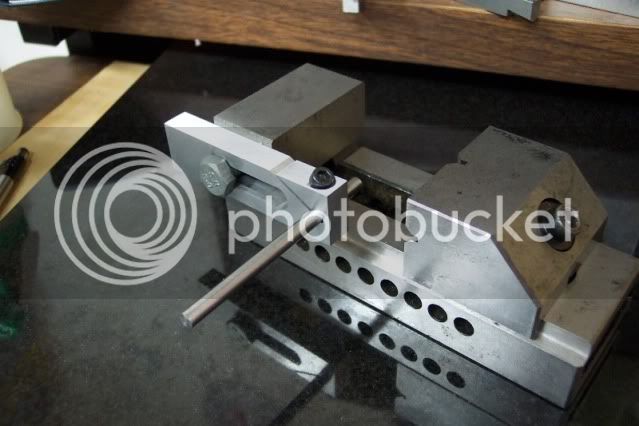
The dimensions of the aluminum after clean up are roughly 2.500 x .375 x .750 inches. The drill rod is about 3 inches long.

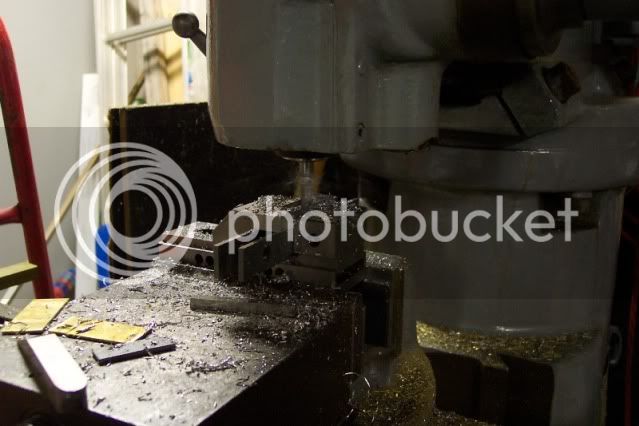
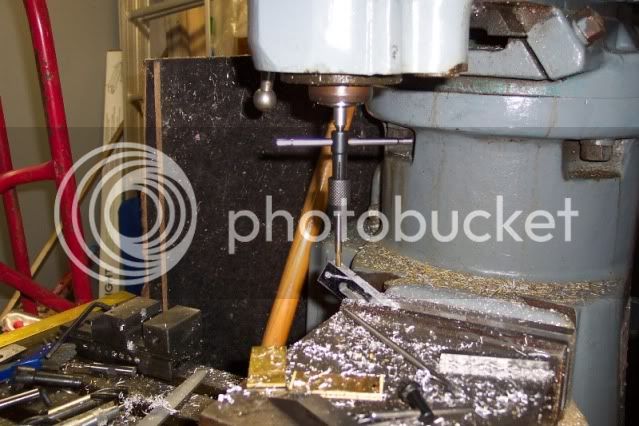
First thing after clean up was mill out a slot for it to slide in. The slot is 5/16 wide and 1 inch long. The bolt on the vise is 8M, the 5/16 slot clears it nicely without being too loose. The slot starts .800 from one end, this will also be the end for the cross bar. After milling the slot I drilled and reamed a 3/16 inch hole .190 inches from the same end.
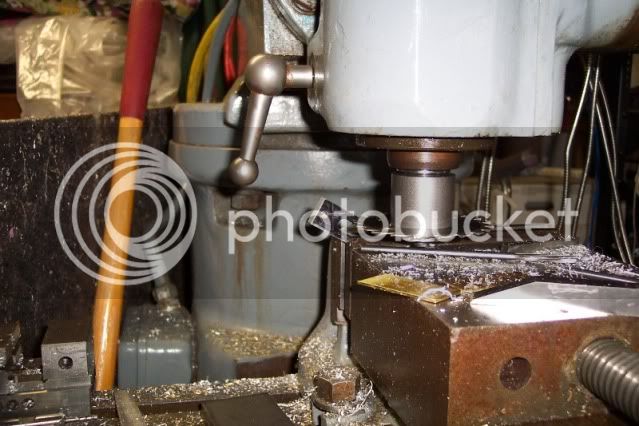
Sorry for the dark picture, I forgot to turn on the flash.
tn_vs_slot.jpg


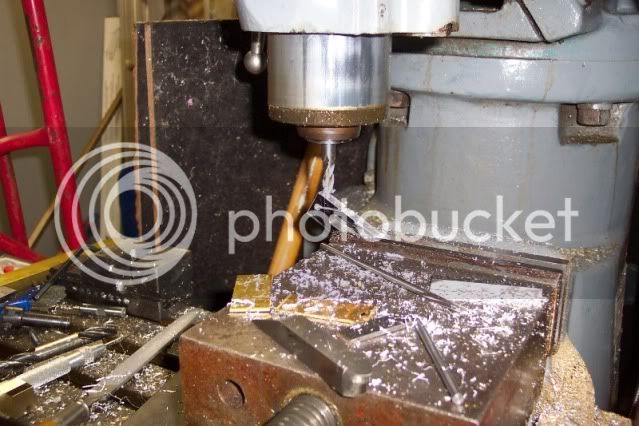
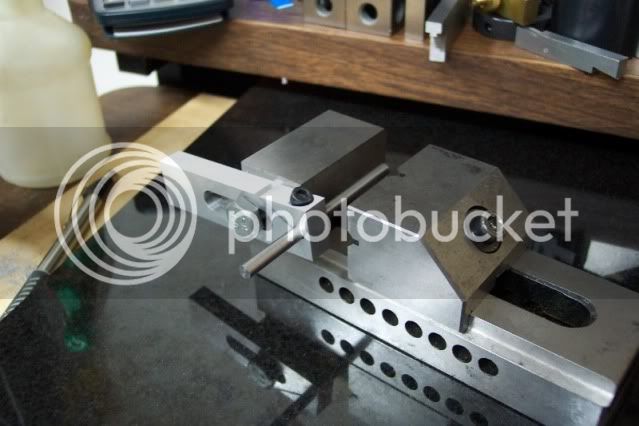
The piece was then set at a 30 degree angle and slit.
tn_vs_slit.jpg


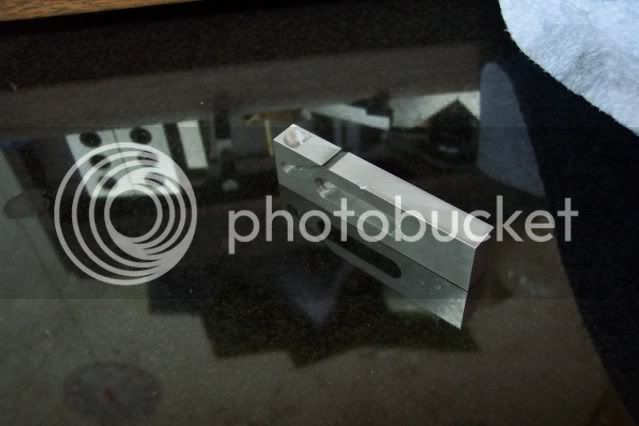
After slitting the top was countersunk for a #8 SHCS. Everything was kept at the 30 degree angle.
tn_vs_cs.jpg


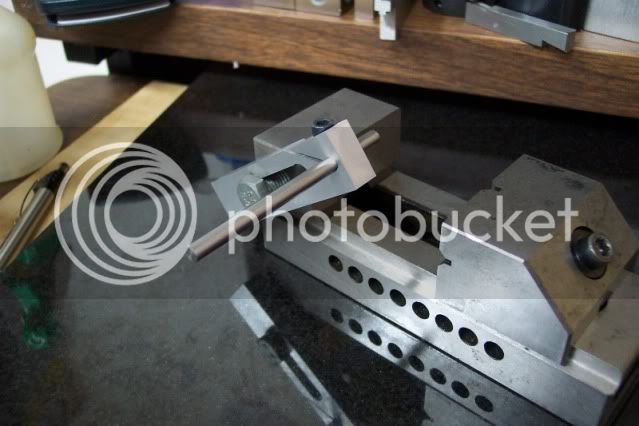
The hole was then drilled for the 8-32 screw, then clearance drilled up to the slit. Then it was tapped.
tn_vs_dt.jpg


After a little clean up this is what I ended up with.
tn_vs_oblique_1.jpg

tn_vs_oblique_2.jpg

tn_vs_oblique_3.jpg

tn_vs_obliqe_rod.jpg


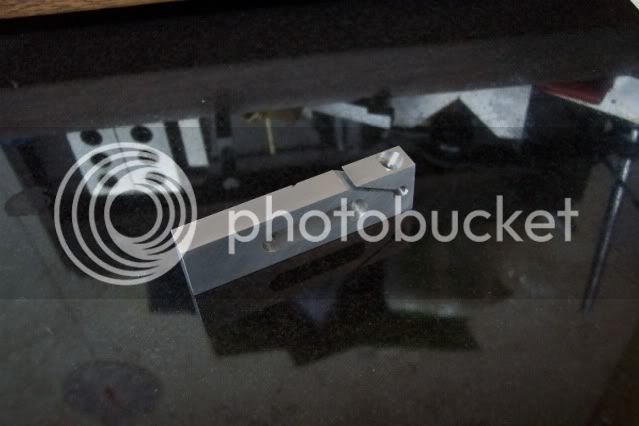
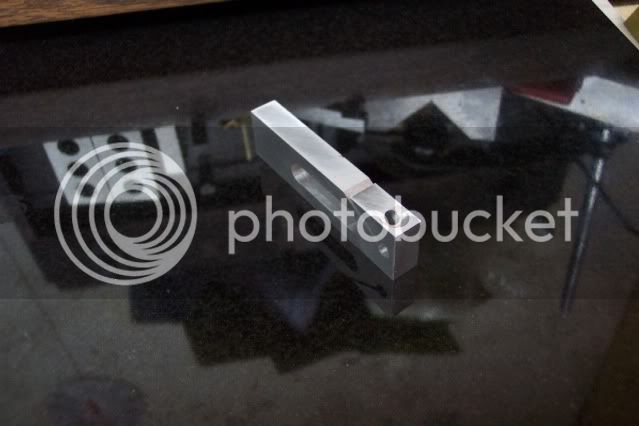
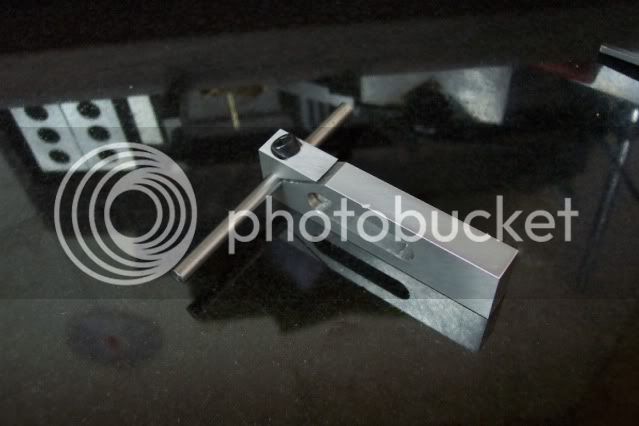
It fits the vise nicely and is way more adjustable than the old stop.

tn_vs_vise_long.jpg


tn_vs_vise_short.jpg


tn_vs_vise_up.jpg


Thanks for looking.
 
I have almost the same vice with the threaded hole on the side. Nice looking stop.
 
That looks pretty handy Kevin!!! Thanks for sharing:eek:)
 
Thanks guys.

I may end up extending the slot a little. I we'll see how it works out for now.
I'm quite pleased with it. Now I have to go clean up the mill and put it to use ;D
 
Sweet. Nice job. I shall have to shamelessly rip that one off for my shop!!

;)
 
Go right ahead, Mike ;D

You have all the instructions and dimensions right there. It only took me about 4 hours, but I'm in the frozen midwest and take frequent coffee and warm up breaks. Plus I had to scrounge the parts out of the scrap bin.
 
Very nice stop.
Isn't it amazing what we can find in the scrap box when we look real hard. :big:
Seriously thought nice work!
 
It looks good, Kevin. Should come in very handy.
I think I will be another of the 'rip-off' people, since you are so willing!

I just so happen to have a very similar thing drawn up on a sheet of quad paper to use on my
Atlas for a carriage depth stop/indicator holder. Similar, I mean, in that it uses the same kind
of slot and hole as a clamping device. I like that kind of clamp. No loose parts!

Thanks for sharing.

Dean
 
Thanks guys.

I really wanted to do it in brass instead of aluminum but couldn't find a piece big enough. I may end up making one later from brass. I'm not completely happy with the square ends, too boxy and sanitary, but I don't have a rotary table to round it off with and I sure didn't want to spend all day filing it round. But over all I'm pleased with the way it came out. Much better than the old floppy plate and all-thread.

I guess my next dive into the scrap bin will be to build some kind of rounding fixture...
Hmmm..... (where's the smiley with smoke coming out his ears?)

Dean, be sure to post a build on it. I may want to "borrow" it ;D
 
Twmaster said:
Sweet. Nice job. I shall have to shamelessly rip that one off for my shop!!

;)

Ditto! A slightly scaled up version would do well on my Kurt!

Dave
 
Thanks Dave.

Imitation is the sincerest form of flattery, so "they" say ;D
 
Very neat job.

Could I make one observation for future consideration?

In its current set-up, the vise needs two different size Allen keys as well as a spanner to operate. If you use the same size fasteners for the vise stop as the vise clamping screw, only one key is required.
 
Very good setup.

I like the way you made it adjustable inboard and out.

Mine is just about 1/8' from the fixed jaw, so any odd size piece may not catch, the stop, with yours, you can adjust it to where you want the datum to be.

You probably got a marketing idea there, with the adjustability.

Good workmanship also..
 
djc, thanks for checking in. Yes, I agree, a minimum of tool needs for operation should be a goal. Unfortunately the vise manufacturer selected the bolt size so I had to live with it. But in reality it's not that awkward, once set up the stop is not adjusted further and only the one allen key is needed to loosen the jaw. I use a combination allen key set, so all the allen keys are on one handle anyway.


hobby said:
...adjust it to where you want the datum to be.
Hobby, thanks. That was the plan Thm:


Latest posts

Back
Top