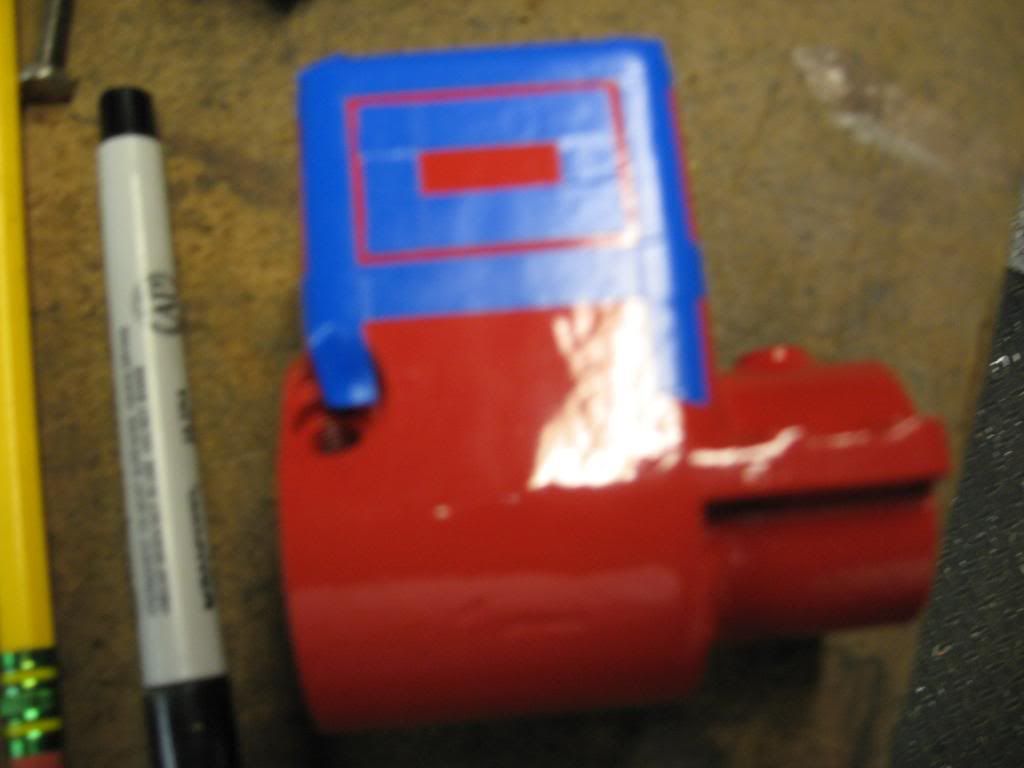
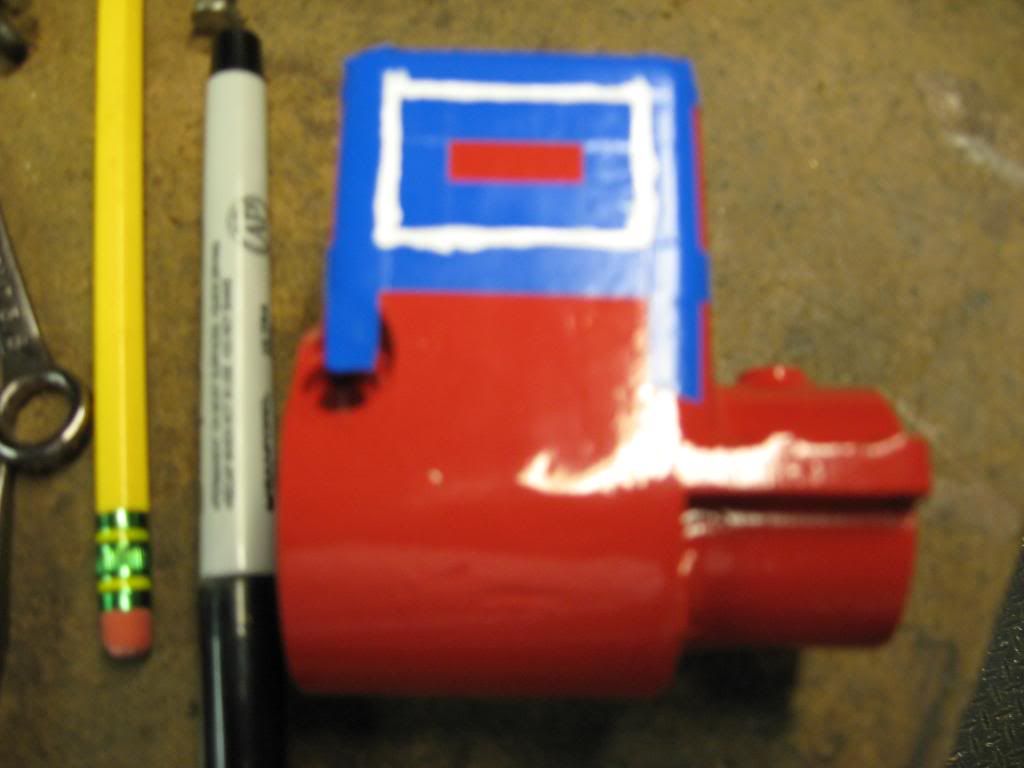
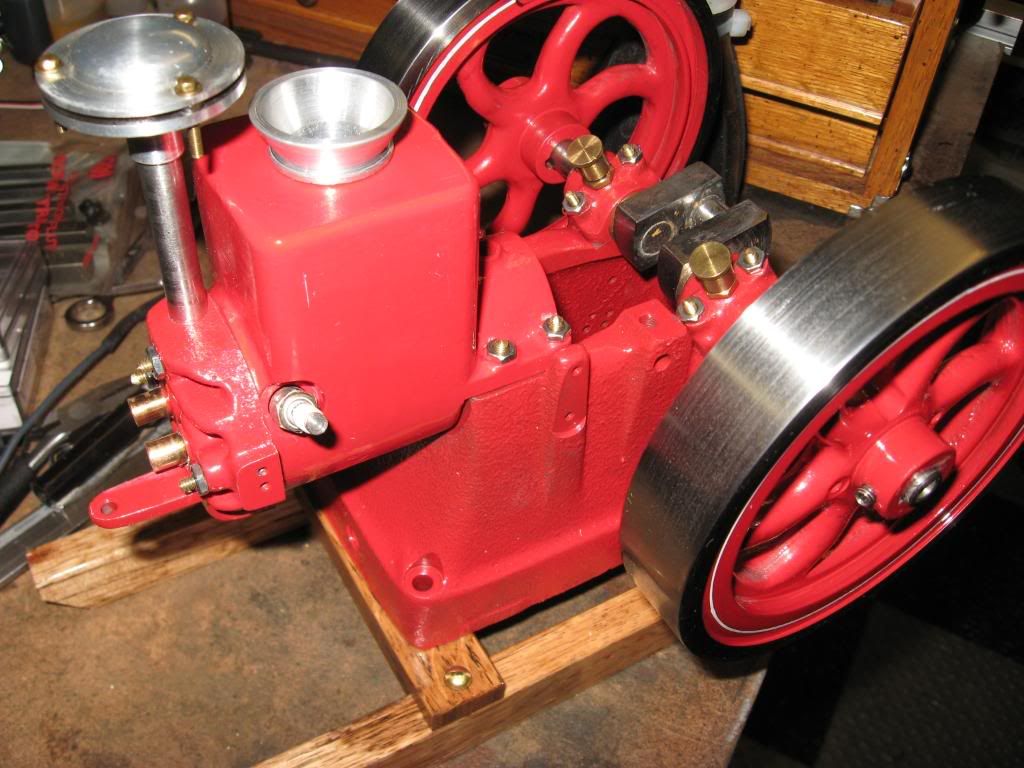
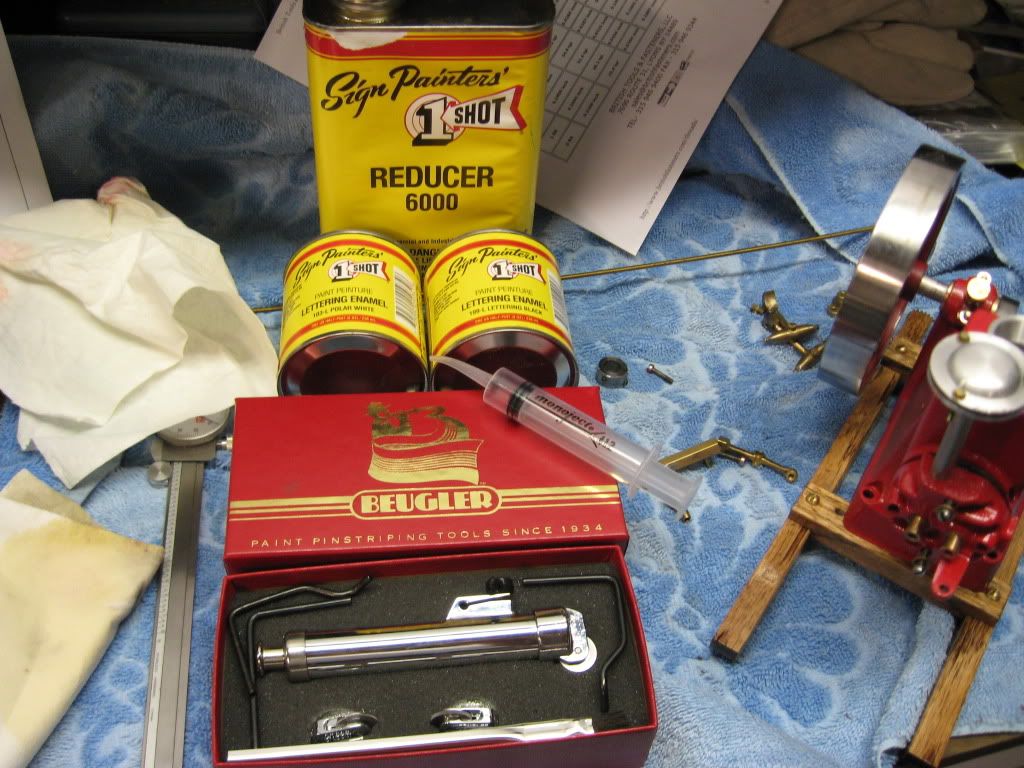
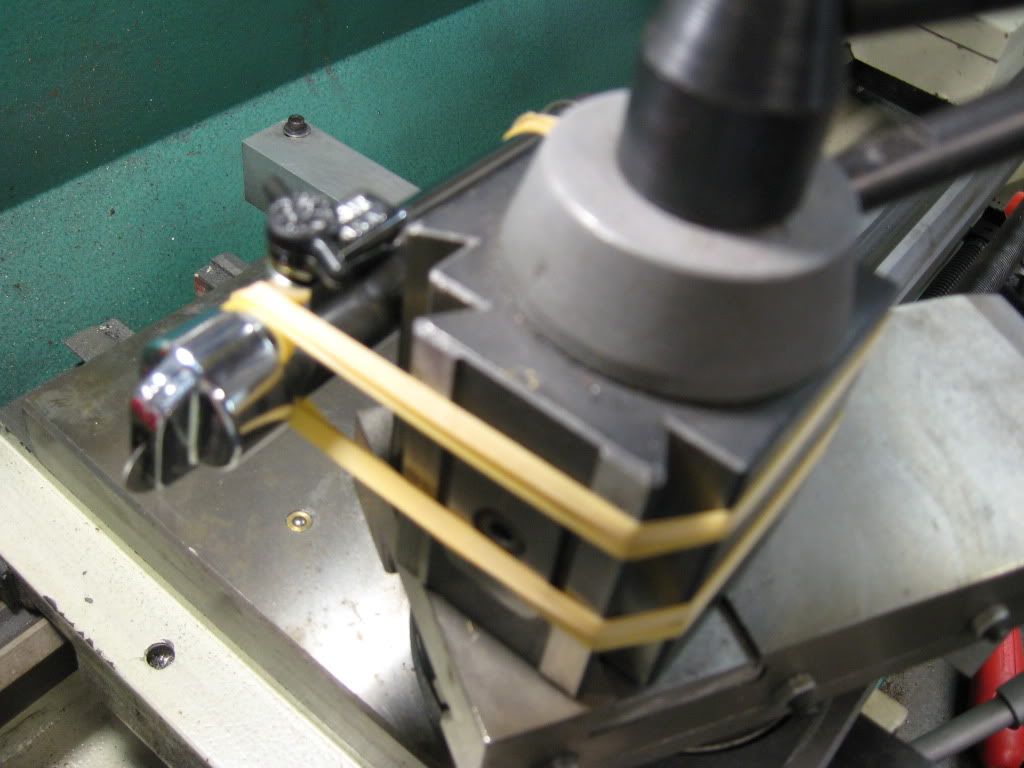
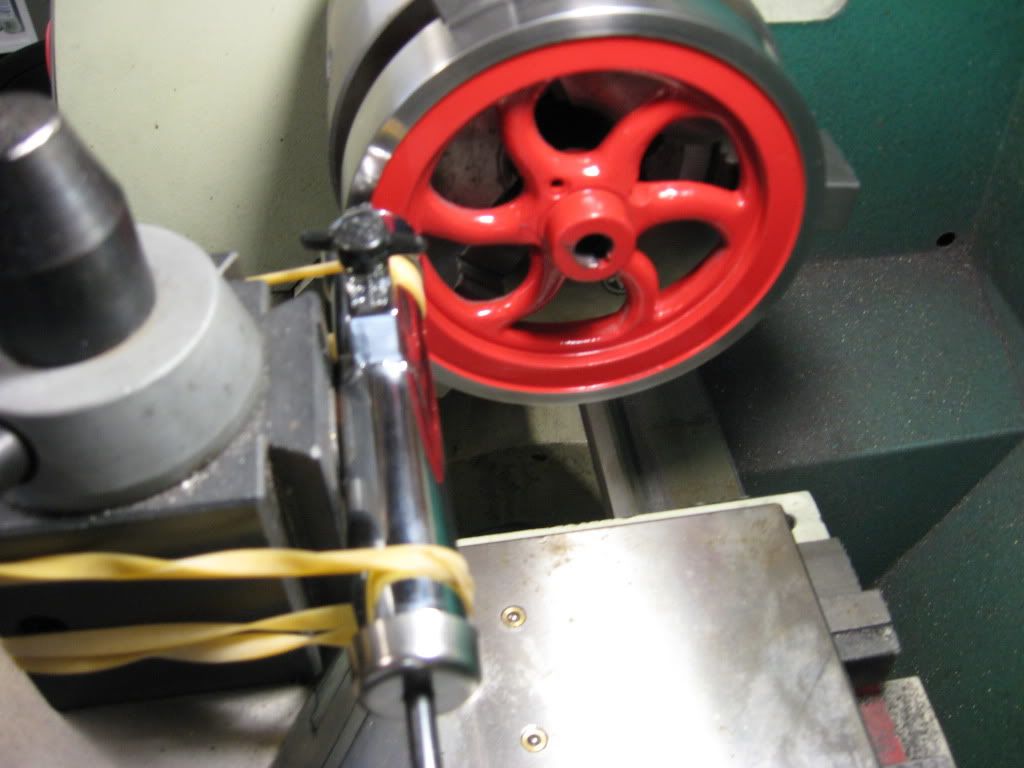
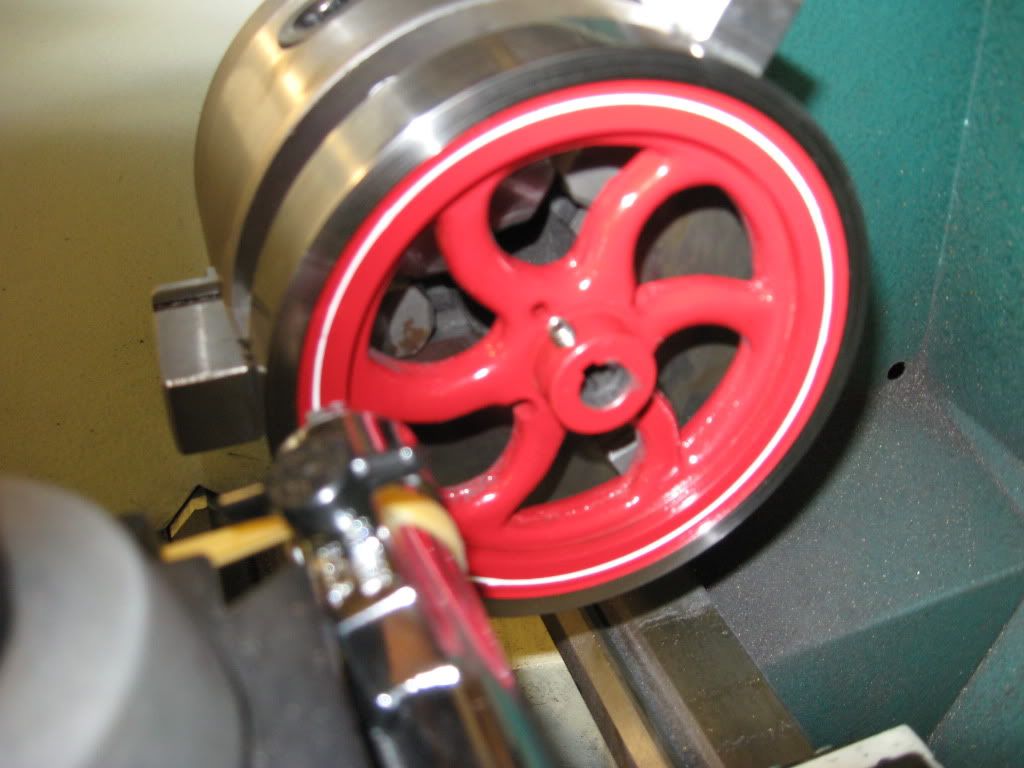
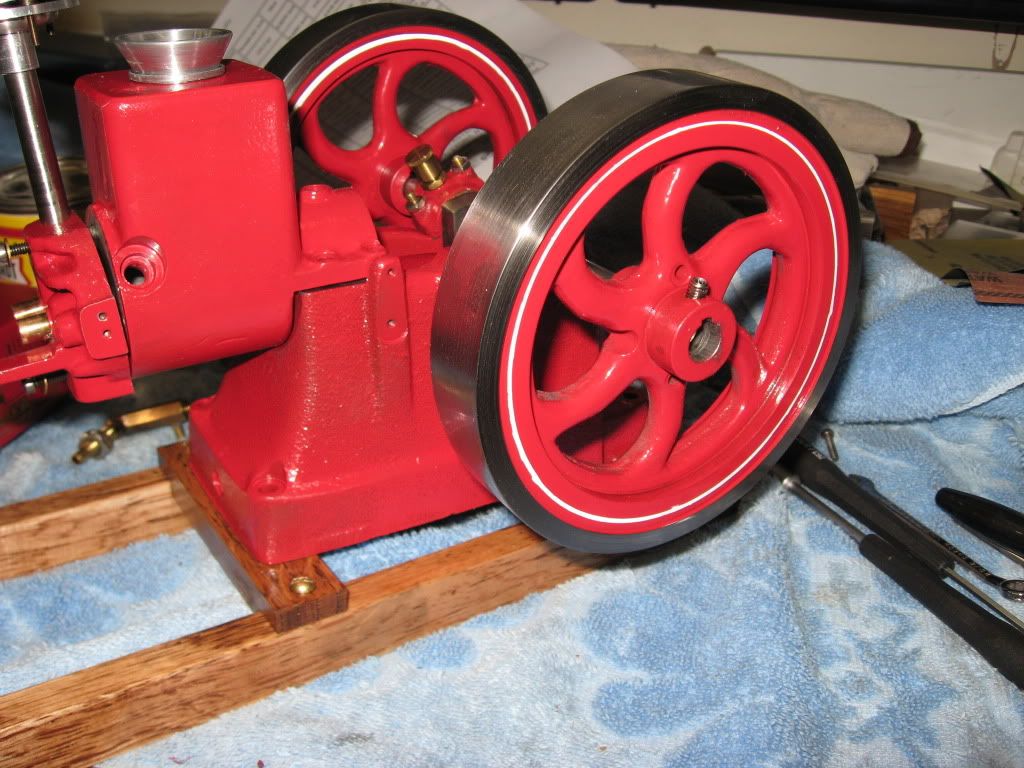
Does anybody have any pinstriping tricks? Flywheel is pretty easy, I just put a fine paint pen in the tool post of the lathe and chuck the FW touch the pen to the FW, hand turn the chuck....perfect! I'll even think about decals if I could find them that small. Or I'm thinking of just pinstriping the FW and that's it. On my avatar engine I painted the pinstripe color first then used chart pack tape to mask and then the green finish color. Pain in the butt method!
Tony


")