cobra428,
Very Nice :bow:
On my Canon, if you hold the shutter button half way down it will tell you if you are in focus or not, (Green rectangle yes, Yellow rectangle no.), if not in focus change to the tulip icon for close ups.
Hope I'm not teaching you to suck eggs ??? ??? and a Canon is a very good choice of camera. :bow:
Best Regards
Bob


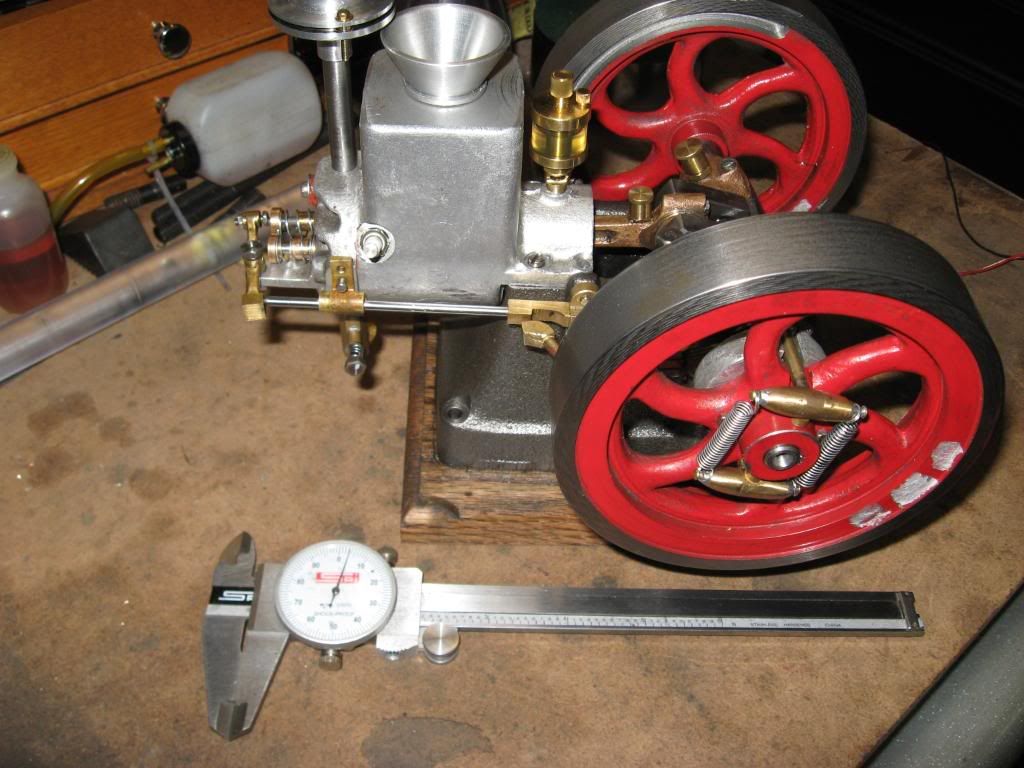
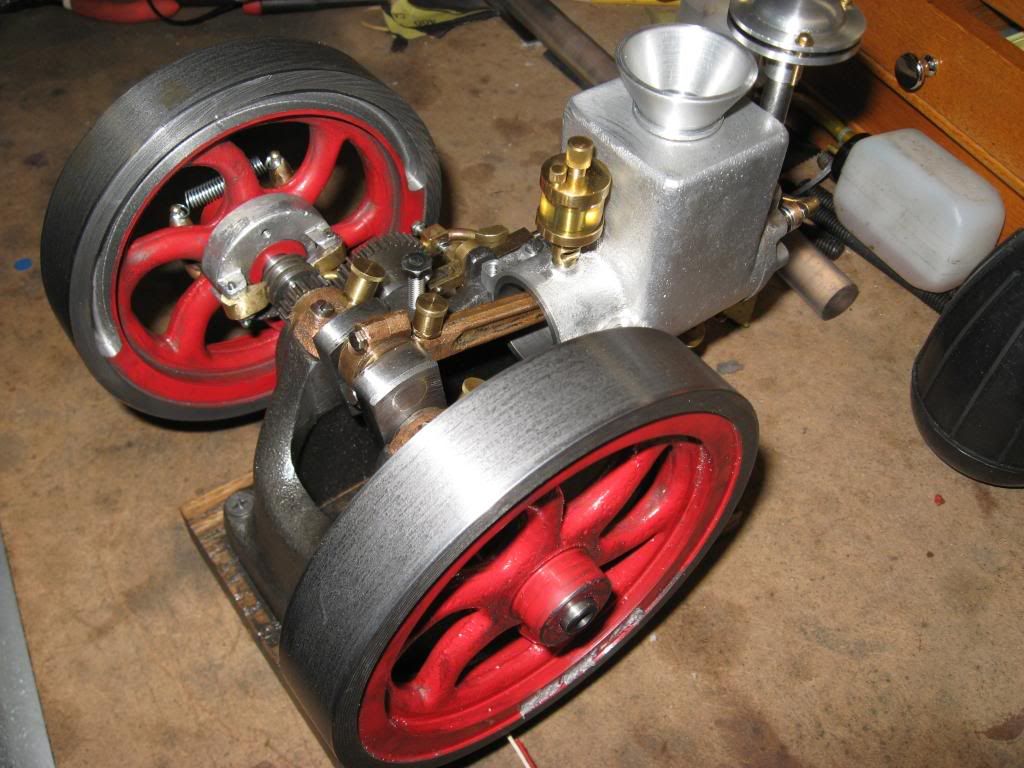
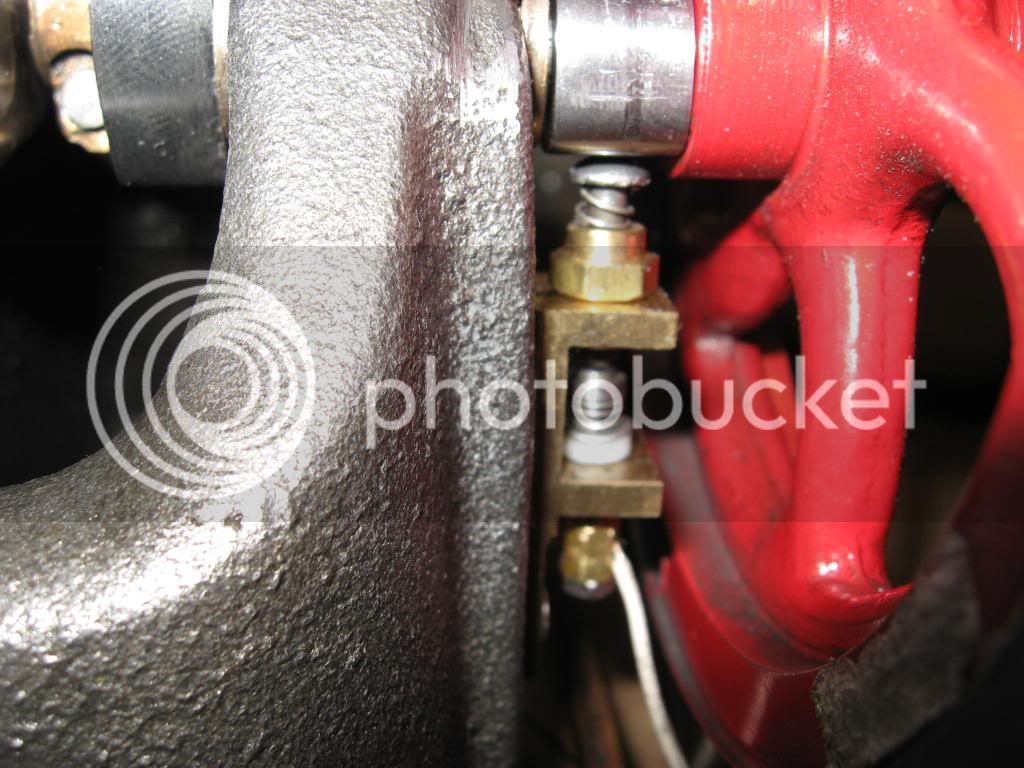
") . I just left the magnets there since they stick really well. However, you could remove the magnets, weigh them, and cut a steel piece of the same weight and hold it to the flywheel with screws.
. I just left the magnets there since they stick really well. However, you could remove the magnets, weigh them, and cut a steel piece of the same weight and hold it to the flywheel with screws.