Coles Hit & Miss REDUX

Home Model Engine Machinist Forum

Help Support Home Model Engine Machinist Forum:

This site may earn a commission from merchant affiliate links, including eBay, Amazon, and others.
Been a bizzy boy tonight. I pick up some frisket paper from the art store today (pinstripe masking). But I had a better idea on my drive home from work :idea: I use to use a drafting ink pen on my model airplanes to simulate panel lines.
It worked great. Not so pronounced in this pic (look at left wing). I have the pens from my younger engineering days. So I will go to the art store tomorrow to see if I can get some white ink and give it a whirl.
IMG_0237.jpg

Tonight I had another brilliant idea Rof} I said to myself.....self....how did they empty the water out of the engine ??? they needed a drain. So to add more junk on to the engine, I decided to put in a drain and valve. I thought I was going to need a couple of 90's so I made them only to find out it was just better to go straight down. The valve was an old left over from my "steam era days" and could go to use. The valve and fittings are PMR stuff 3/16".
So here comes the pic's
IMG_0323.jpg


IMG_0324.jpg


IMG_0330.jpg


IMG_0361.jpg


IMG_0362.jpg


IMG_0349.jpg


IMG_0347.jpg


IMG_0341.jpg


IMG_0343.jpg


IMG_0344.jpg


IMG_0356.jpg
 
Tony,

Nice drain system. :bow: I have been pondering the very same thing but I may have to make a boss to accept the valve.

Best Regards
Bob
 
Hey Bob,
Thats right you have a sheet metal outer jacket. A little brass boss soldered in will do the trick for you!!!
Tony
 
The finger tips are burnt to the bone and still more buffing to go. I tried the local art/drafting store for a Rapidograph pen and white ink (another pinstripe attempt). NG, went on line and found them, 7-9 days till delivery. So, I decided to start to buff out the brass and bronze parts.

IMG_0368.jpg


Just used the ebony and some Brasso afterward to clean them up. Thinking about a clear Lacquer over them now.
What to clean them with ??? and still have the shine and have the paint stick scratch.gif Will Prepsol work ??? I'll give it a shot, unless anybody has a better method.
Tony
 
Heya bony fingers :big: You might wish to use Brakleen. It comes in an aerosol can at the auto parts store and is a fantastic solvent. Just don't use it on your fresh paint as it will strip it in a hurry.

BC1
Jim
 
Thanks Jim Thm:
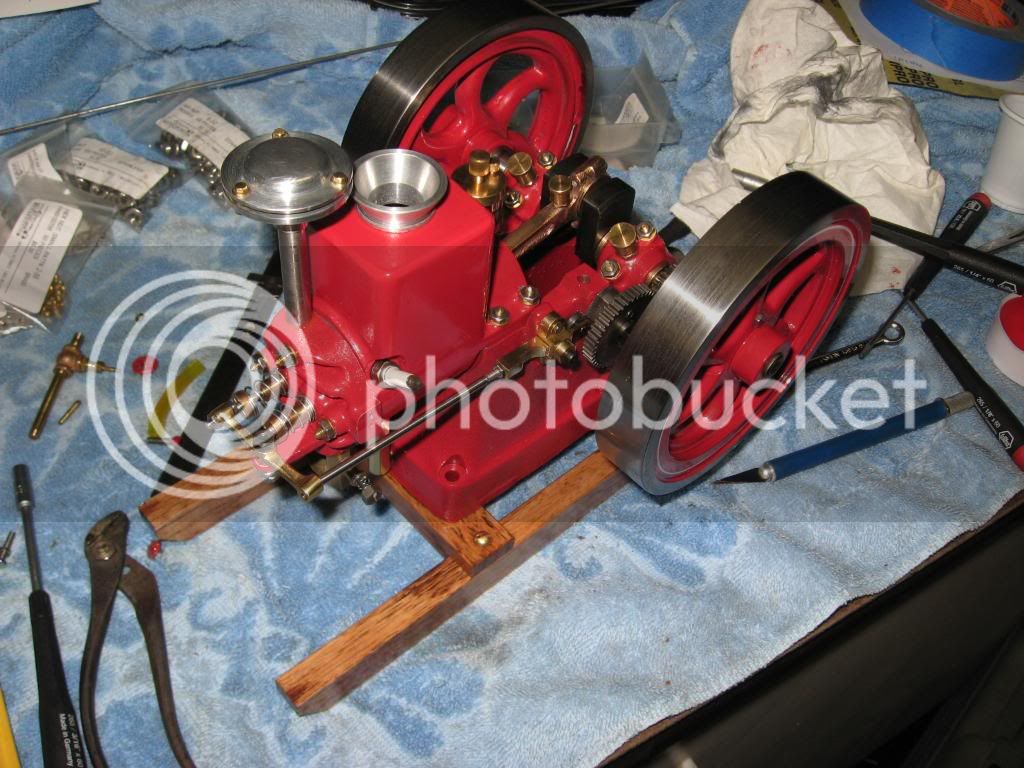
I'll look into it. It's funny, I bought this engine as my first IC project. Just to learn how to make an IC engine. It was supposed to be my first IC learning experience. Man I'm learning.......I'm learning that I can't leave an engine well enough alone. Rof}
Tony

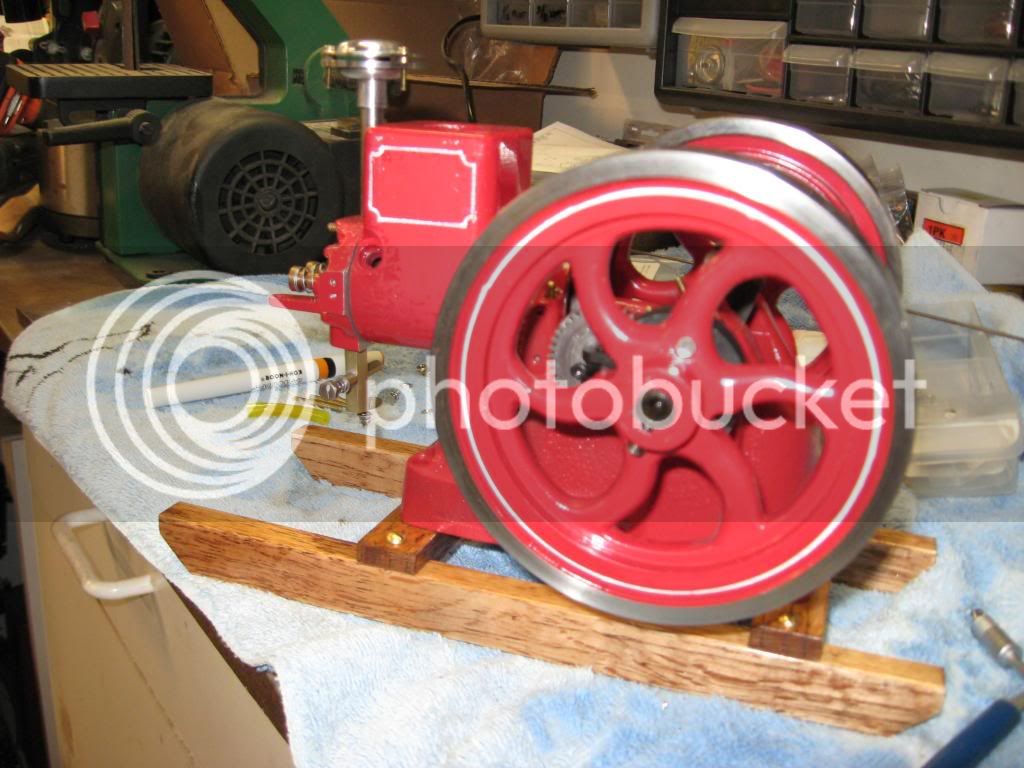
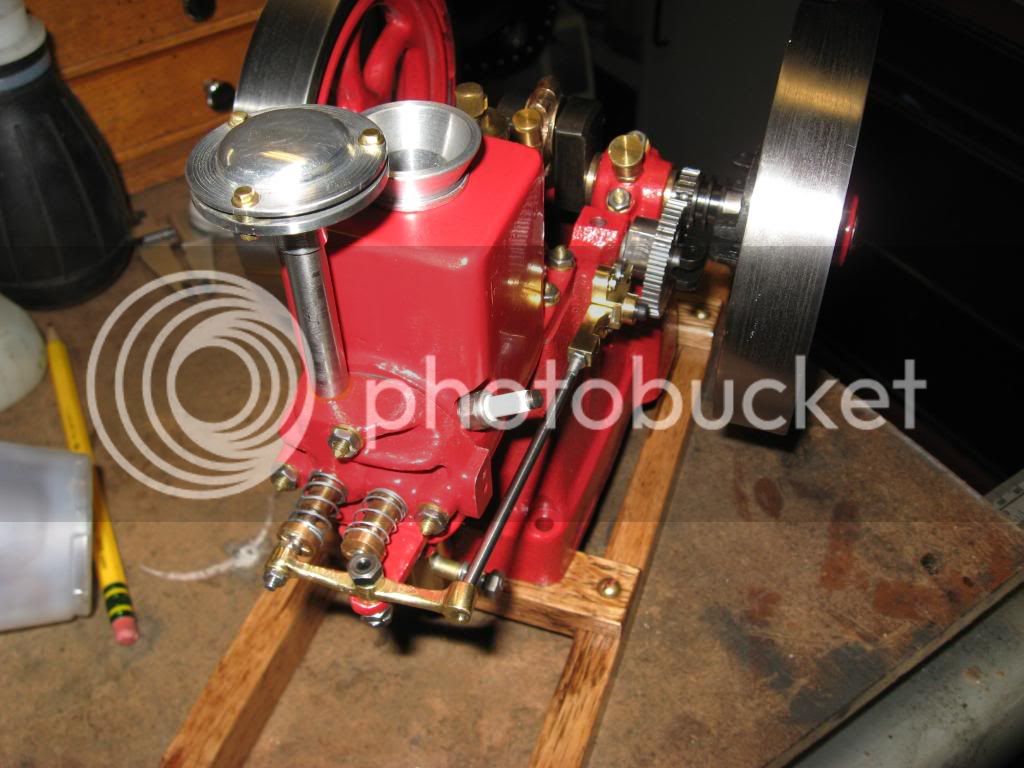
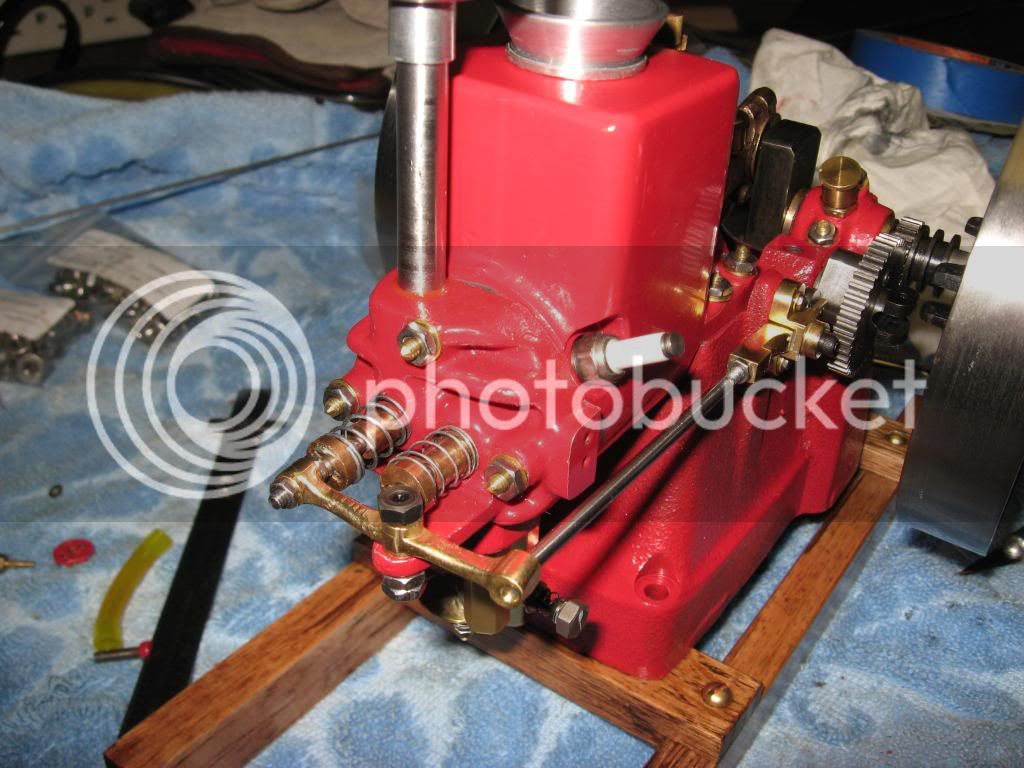
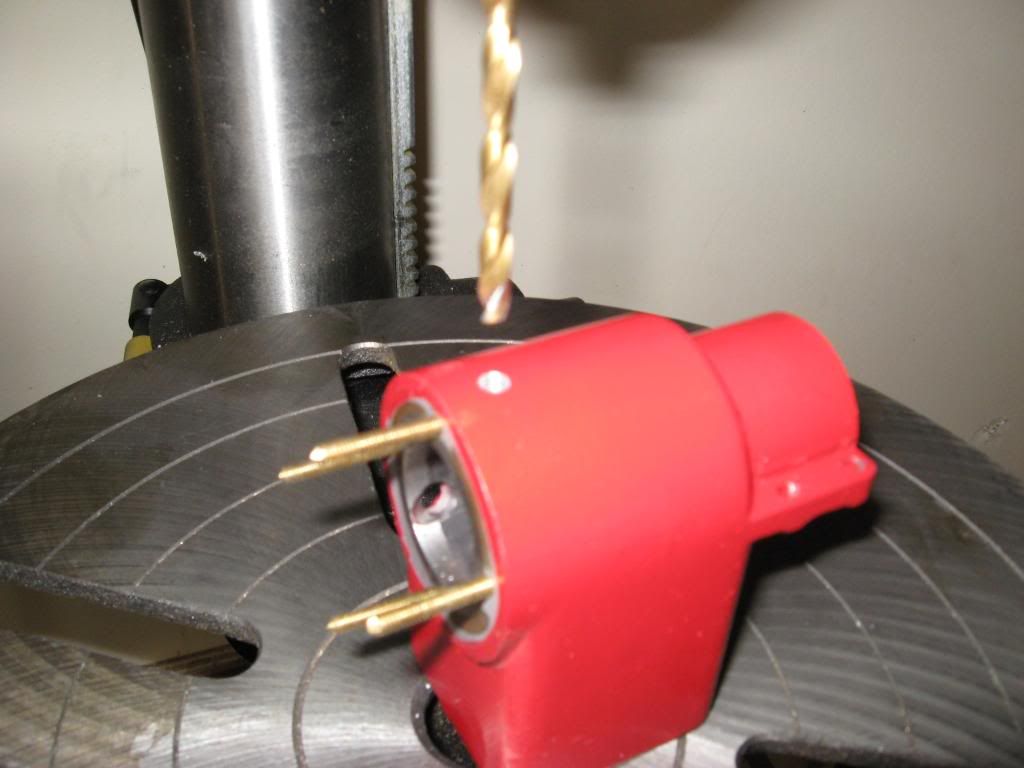
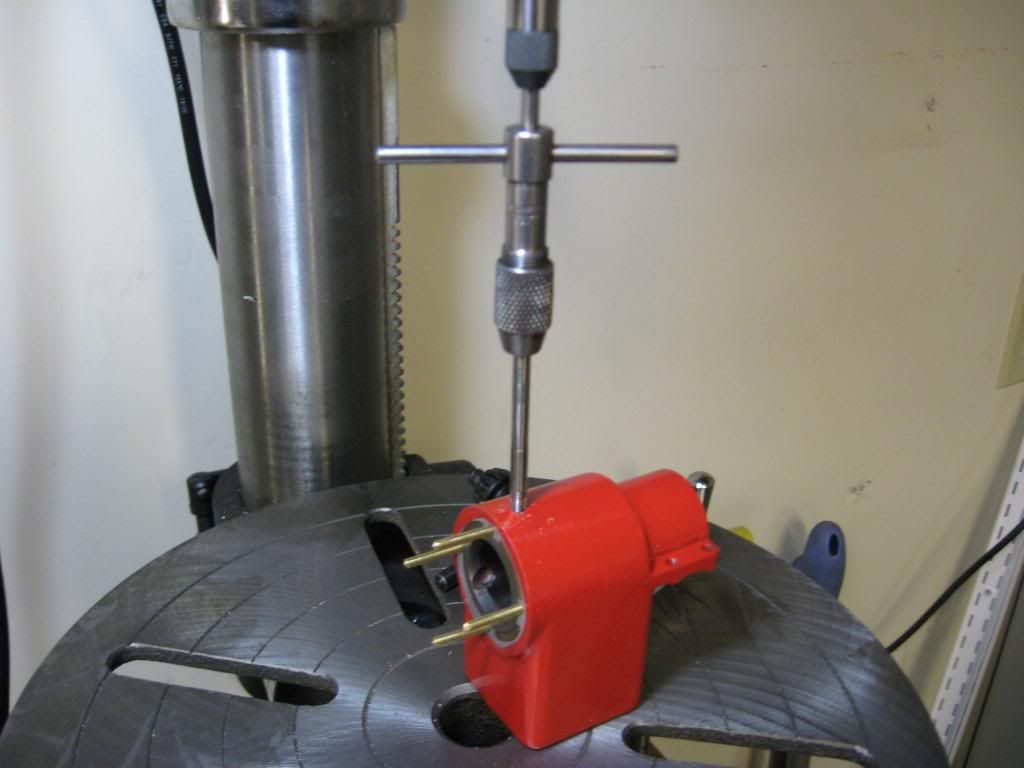
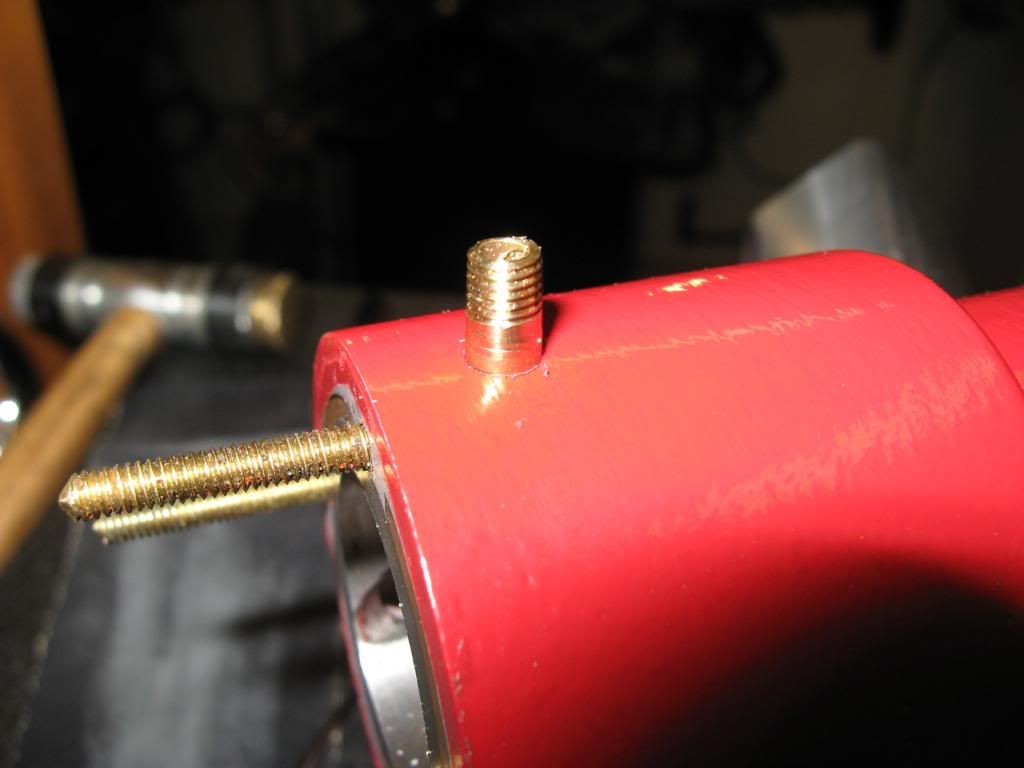
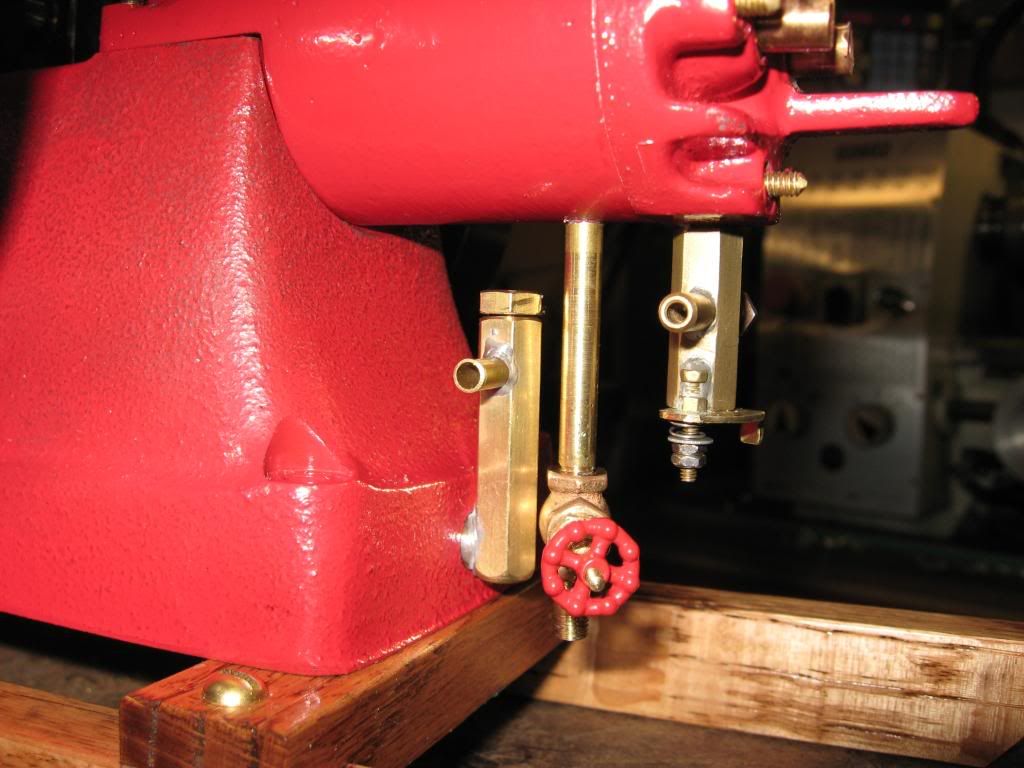
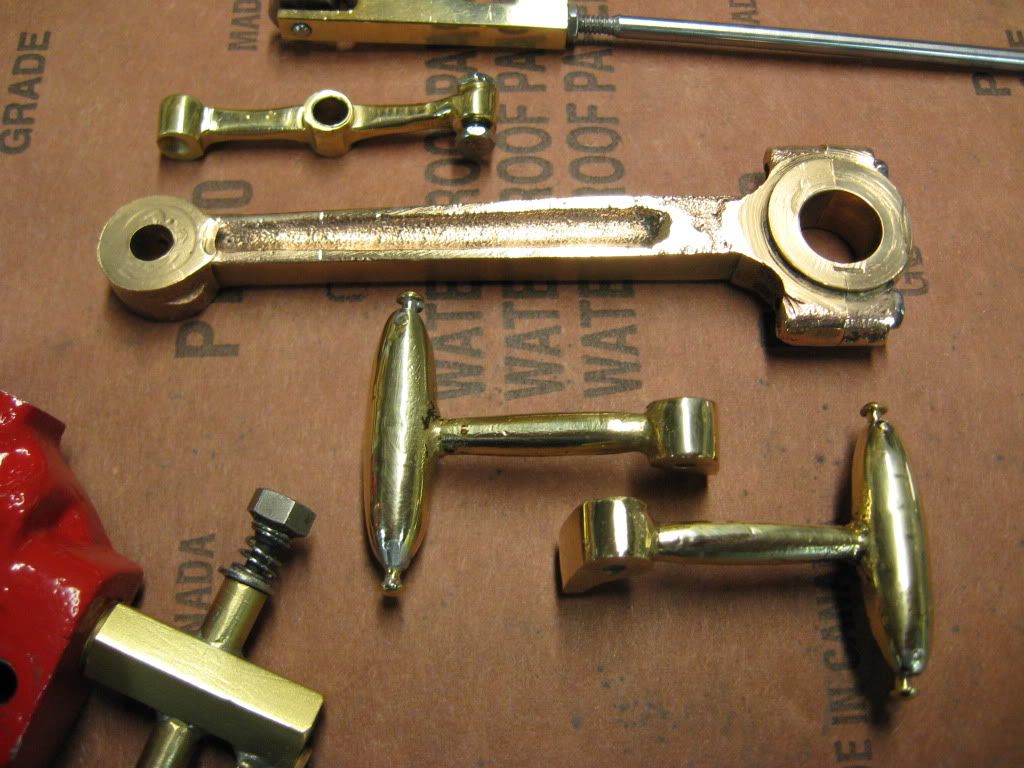
PS take note on the gov weights. Don't put the holes where they tell you. Springs will interference with the FW hub. I redone them and put escutcheon pins in the ends to clear the hub
 
Lacquer makes a good cover for brass, but I don't think it will hold up to gasoline.

Dave
 
Steamer, you are absolutely correct, gas will attack the lacquer. Hopefully these parts will never see raw gas. I will not do the carb or the check valve. Thanks for the concern
Tony
 
It's been a fun night. I've been playing with chemicals all night. So here goes a picture story of what I did.......

Black Oxide Chem
IMG_0372.jpg


After a few minute dip
IMG_0374.jpg


Clean up
IMG_0376.jpg


Time for a bath

IMG_0377.jpg


Let's pickle awhile
IMG_0378.jpg


Had some of this from the model airplane days..degreaser and prep
IMG_0379.jpg


Pickling some more before clear lacquer
IMG_0381.jpg


Tony


I think I'm on to something :D 
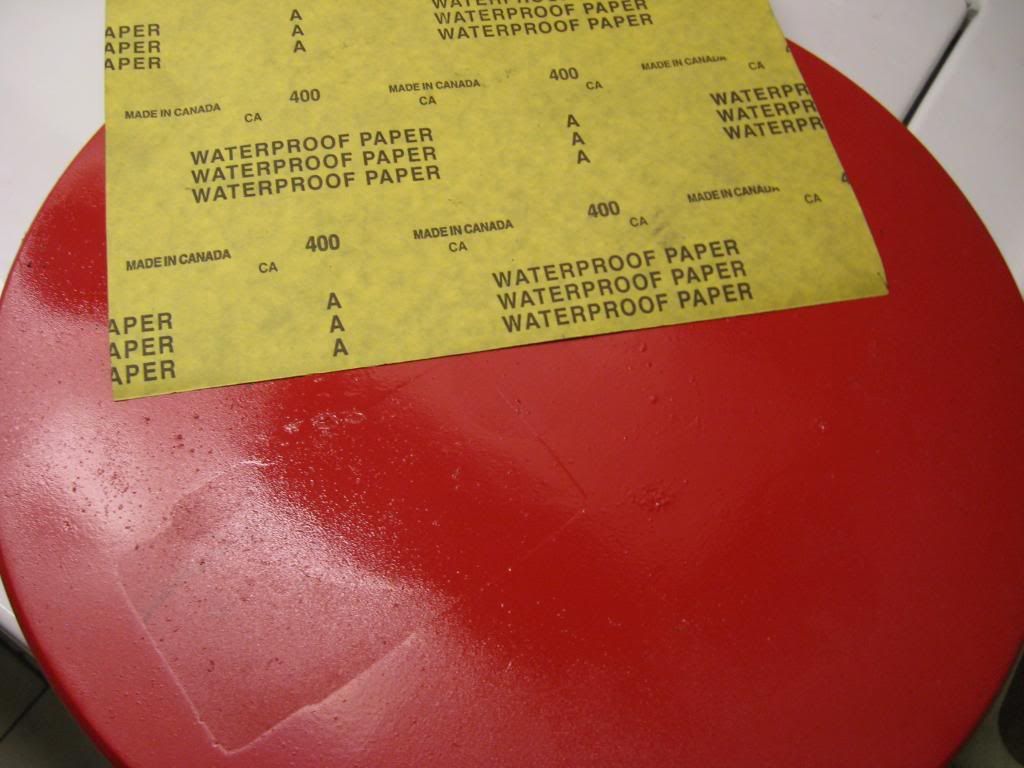
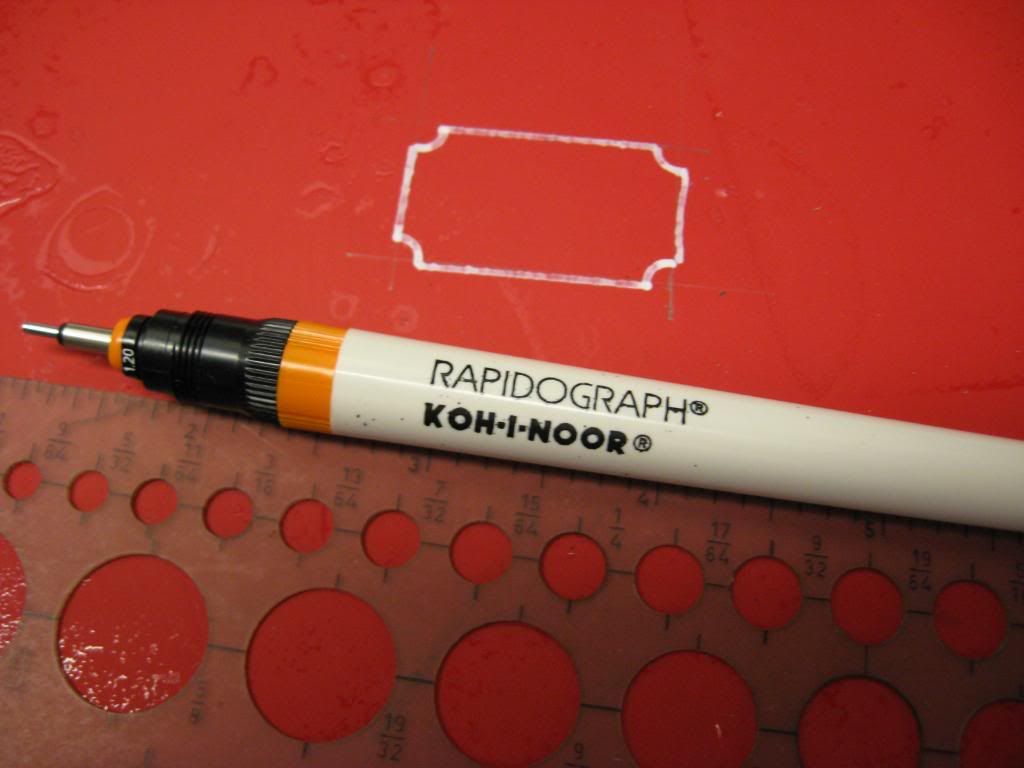
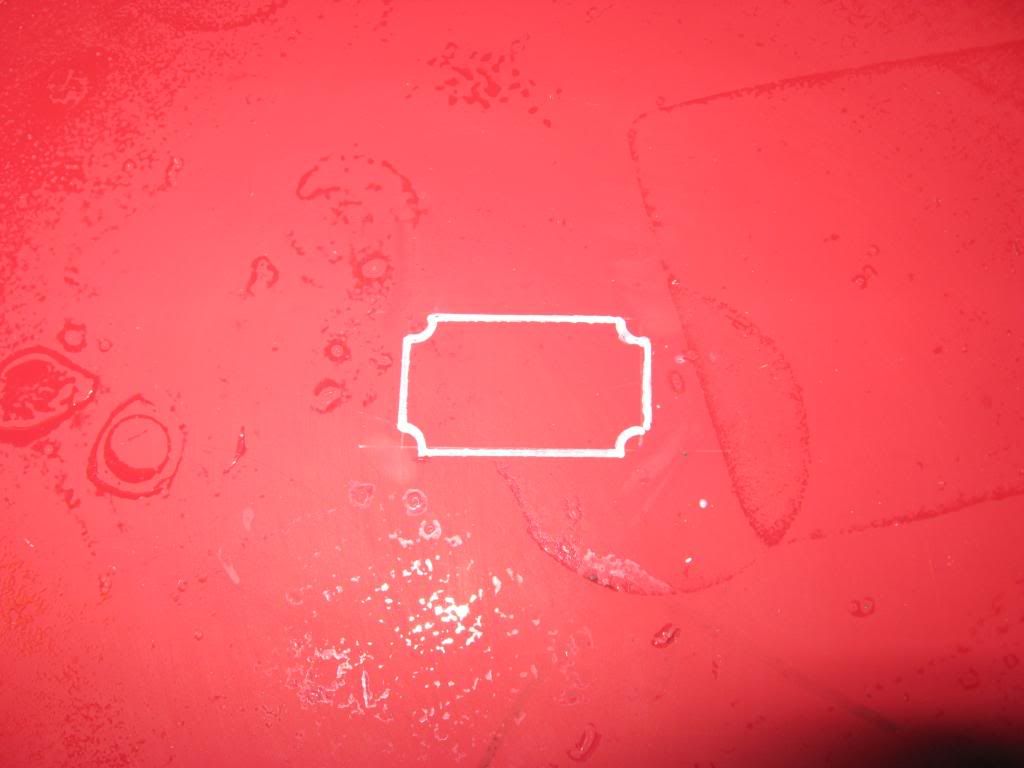
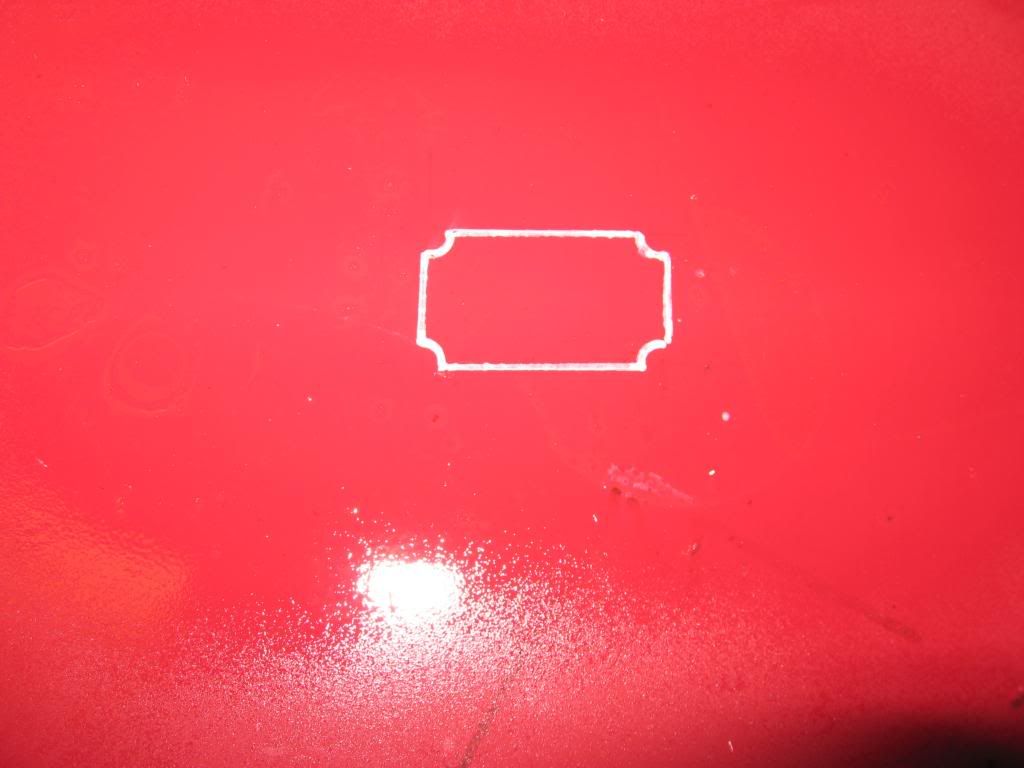
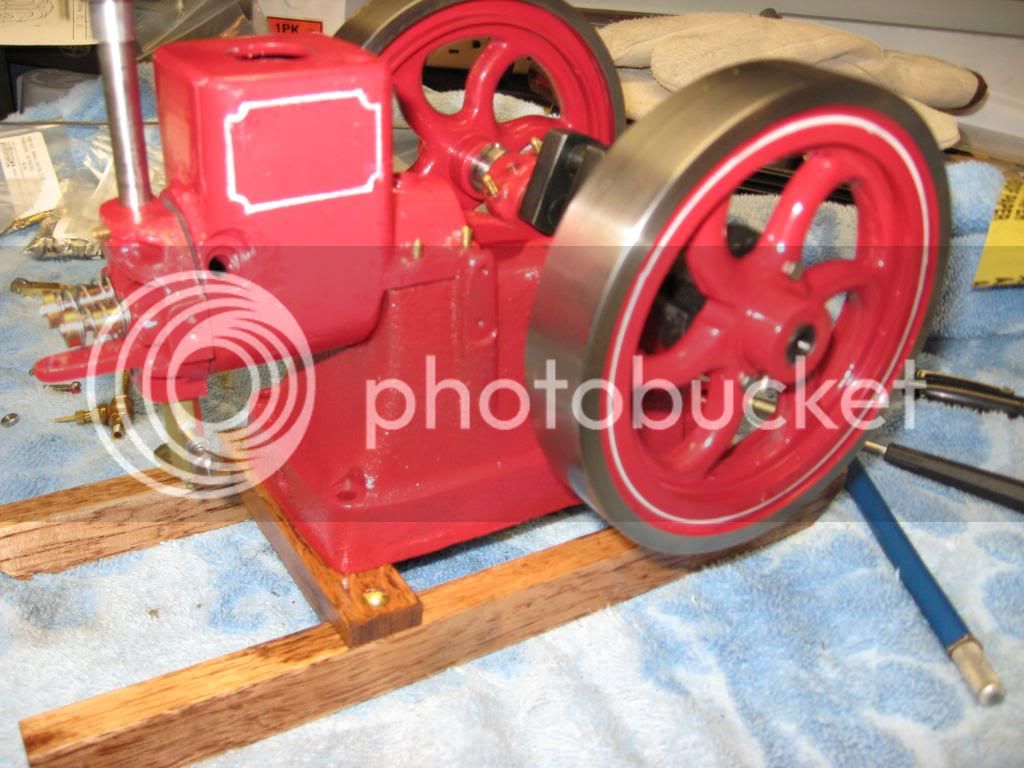
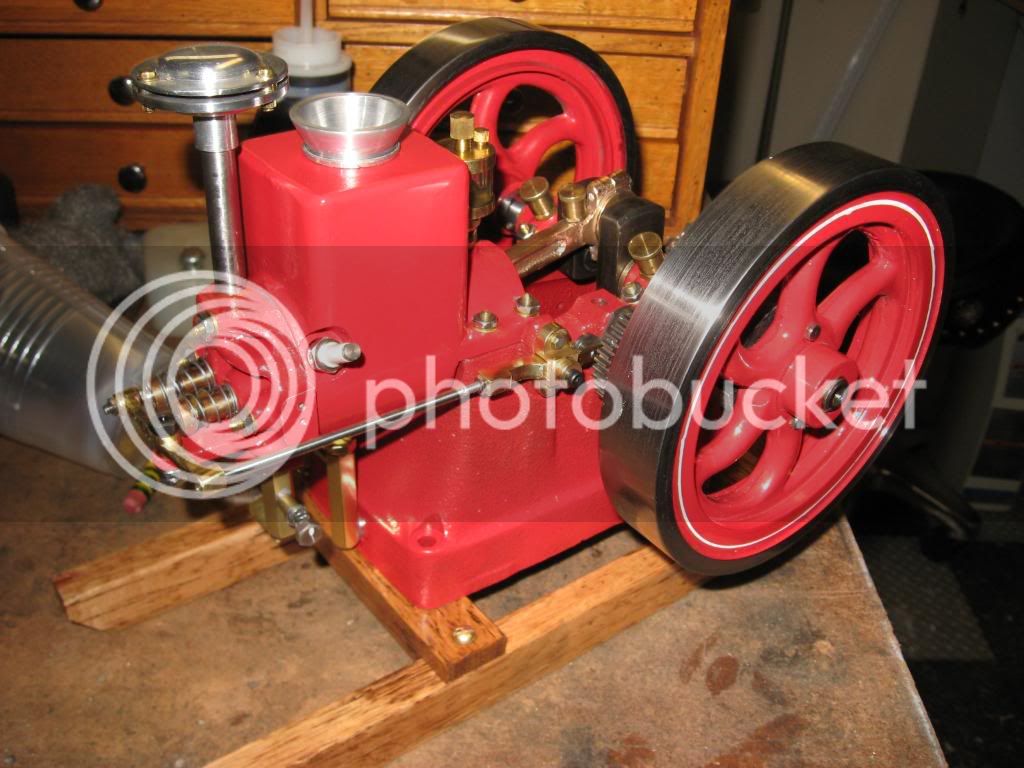
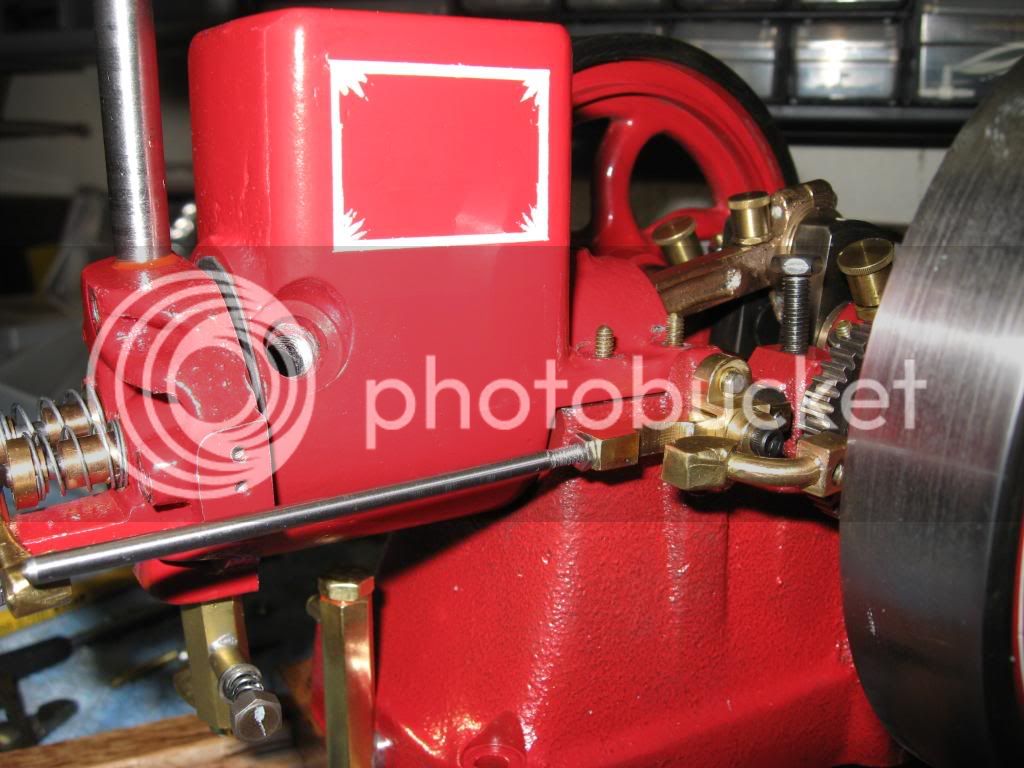
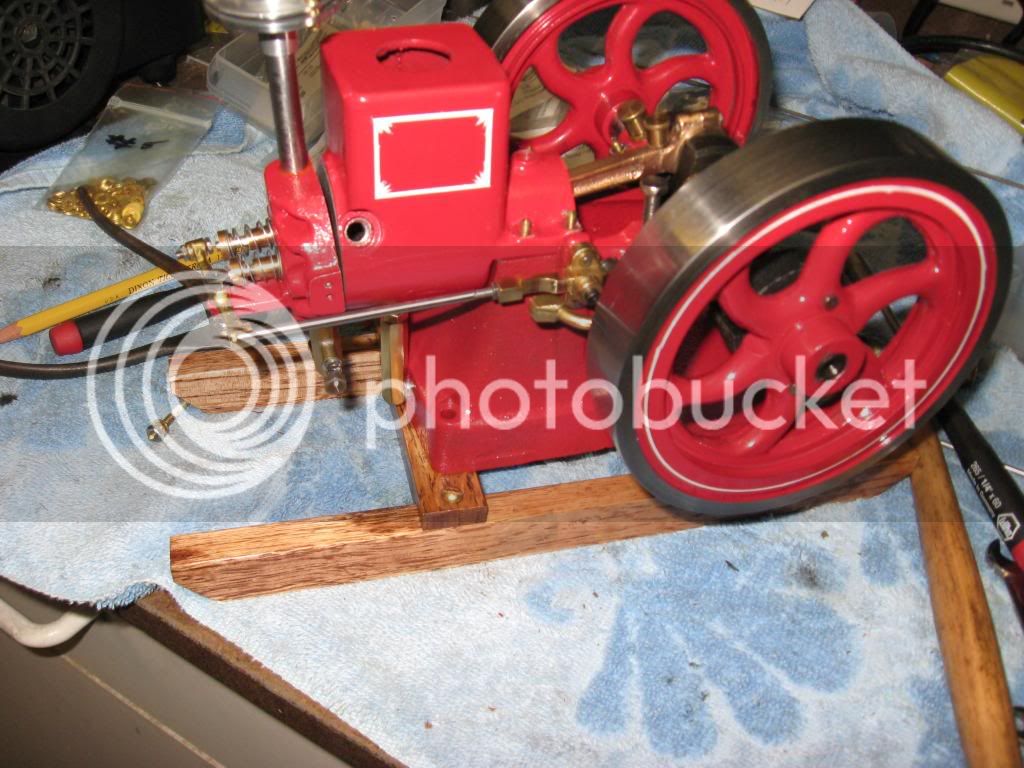
I finally got the white ink today and began the experiment. I sanded the lazy susan that I paint on and has the paint of the engine on it. I then sanded with 400 wet to "break the gloss". Used a pencil to give me guide lines. Then I broke out the old drafting equip. Erased the pencil lines and coated with clear. Looks better in person (dam camera picks up to much)

IMG_0407.jpg


IMG_0410.jpg


IMG_0413.jpg


IMG_0414.jpg


IMG_0415.jpg


IMG_0419.jpg


Think I have to just slow down my motion a tad to get a fuller line

Tony
 
Well guys I'm giving up on the cyl pinstripe ......for now! Tired of painting and polishing and painting.....So I decided to put it together for now......go to work on the Whittle V8 (haunting me) and come back another day. Still a few more parts to put on but it's getting there!
IMG_0426.jpg


IMG_0424.jpg


IMG_0423.jpg


IMG_0422.jpg


Till tomorrow......fuel tank.... ign and make it run again........book shelf.......V8

Tony
 
I couldn't leave well enough alone.......again. After crying on your shoulders.....Oh, I tired and can't do that anymore.....I gave it another shot. The engine needed it.....to me it didn't look right without it......So

IMG_0428.jpg


IMG_0431.jpg


I masked and then "dry sprayed" the white, left on the outer mask and used the One Shot paint and 00 pinstripe brush to put the tick marks in the corners. Not perfect but I'll feel better when I put her on the shelf.
Persistence.....the only other way is with computer generated decals (which could be in the future). I want to move on to the V8 :big:
Machines have been silent for to long now!!

Tony
 
And here I was thinking about busting your chops for quitting before the project was done. Looks good, I salute you sir :bow: :big:

BC1
Jim
 
Jim, sometimes I need a little of the busting :bow: and a kick in the paints Not exactly what I want (I bust my own chops to much) But I'm thinking it looks all right!
Tony
 
Tony,

That's bloody marvellous. :bow: :bow:

You wouldn't like to paint mine when it's finished..................... ??? ??? ::) ::) ::)

Best Regards
Bob
 
Bob,
For you......No Problem Buddy.....it would be an honor :bow:
Tony
 
cobra428 said:
Bob,
For you......No Problem Buddy.....it would be an honor :bow:
Tony

Thanks mate, I appreciate your kind words.

Best Regards
Bob
 
cobra428 said:
.......... But I'm thinking it looks all right!
Tony

It looks GREAT! Now you can begin/resume your V-8. "Mother may I? Yes you may" :big:


BC1
Jim
 
Thanks Guys, Tonight I will do the other side (paint takes 24h to dry)
Tony
 
Back
Top