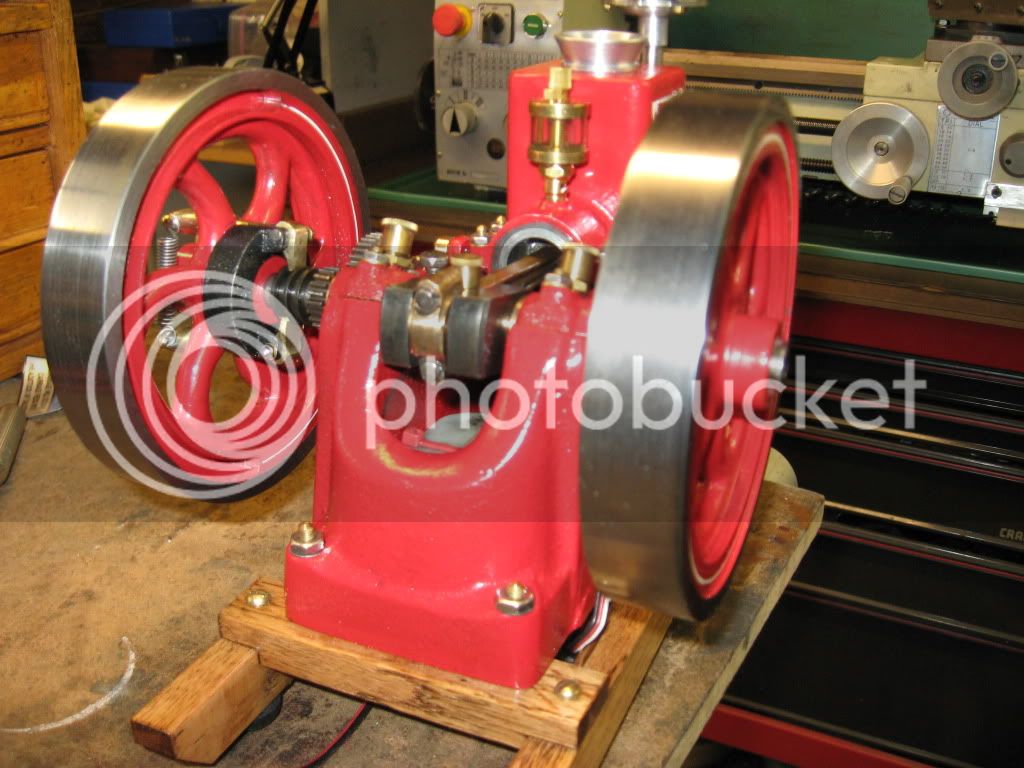
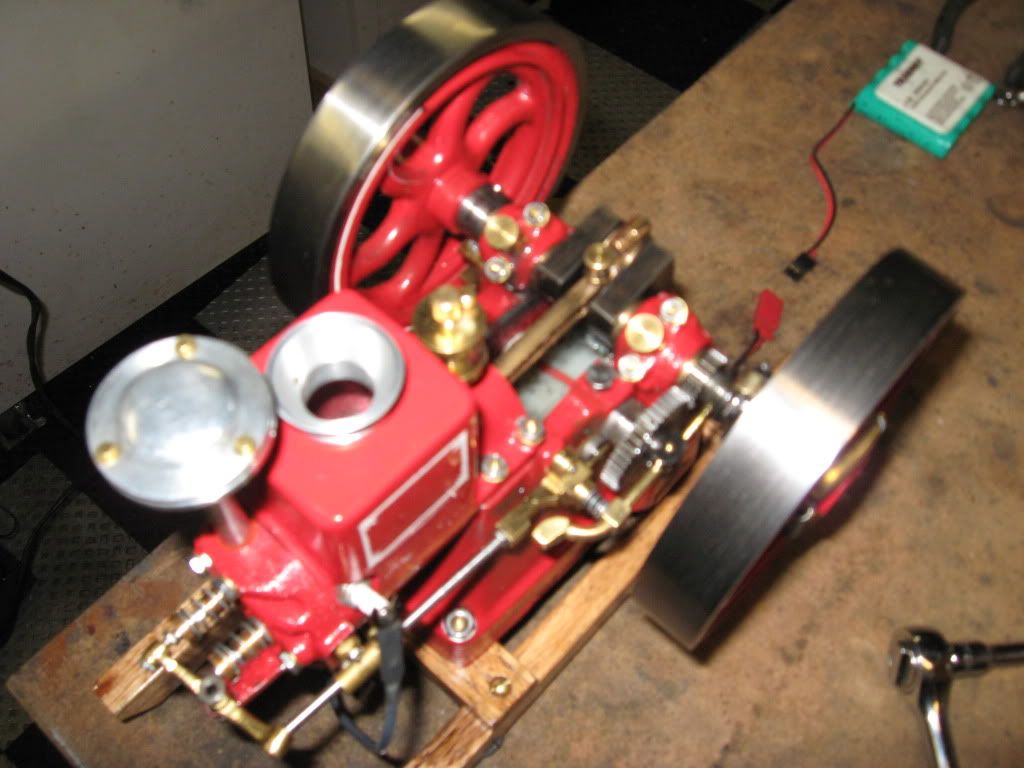
Coles Hit & Miss REDUX

Home Model Engine Machinist Forum

Help Support Home Model Engine Machinist Forum:

This site may earn a commission from merchant affiliate links, including eBay, Amazon, and others.
Hi Guys,
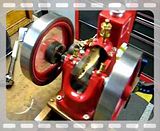
Well I did the other side with pinstripe. No sense boring you with that pic......looks just like the other side.

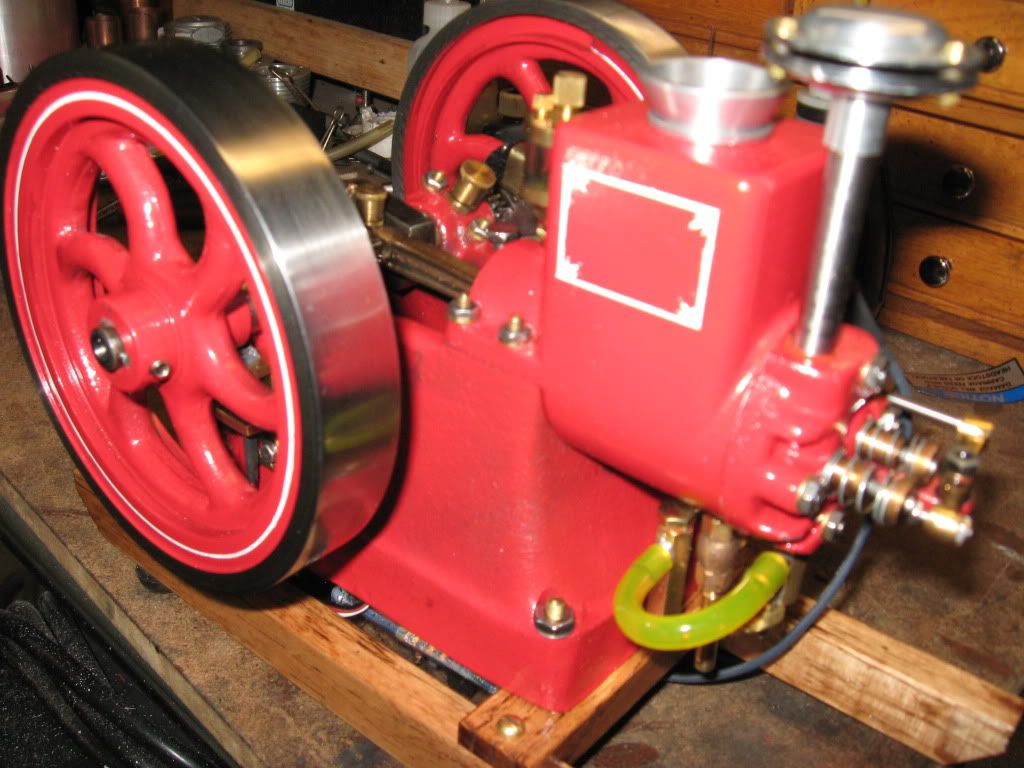
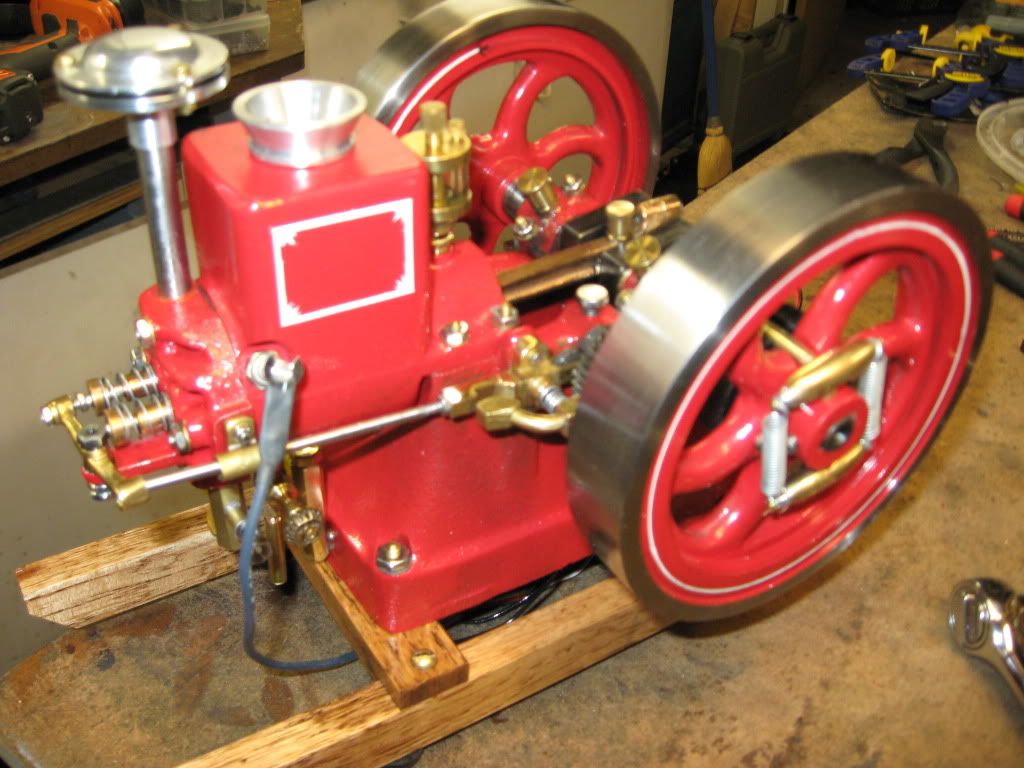
But I do have a question. I've seen on some engines (don't remember who's) a placard. Looks like black backround with brass border and lettering. Similar to what the full size mfg would have put on their engine with serial #, Date of mfg, logo.......
Is this another trophy place type item? Or?
Tony

http://hamiltonupshur.tripod.com
 
Tony,
Your local trophy/engraving shop can do what you want.

They will stock lacquer coated brass. The black can be either gloss or matte and the brass can be either polished or matte. Gloss black on polished brass is the most common. 0.025 thick brass is the norm.

The brass has two coats of lacquer on it. First it is coated with clear and then with the color coat. A laser is used to burn away the color, leaving the clear to protect the brass so it does not tarnish.

The commercial shops can normally work with any Windows file as the laser is treated as just a Windows printer, but the color choice is used to control the speed and power of the laser. Best to keep any artwork as a pure color, ie black, green, yellow etc. Leave the background white and that will be black on the finished plate. Check with your shop as to what they prefer. You can save a little bit if you do the finish profiling. Put the profile on the drawing so it will disappear when the part is to size. They may also have some standard sizes that they work with or have a die for.

If you have problems, let me know. I have an OLD laser and some of the stock on hand, but I can only work with limited file formats.

Gail in NM,USA


Thanks GailinNM,
I do have a trophy place not far from me. Matter of fact he's on my way home from work. I will have to stop in and chat
Tony
 
Thanks CC,
There was a lot of great help and inspiration by many on this site. I'm finishing up on the polishing tonight (I think) and coming down the home stretch! Like I hear many times...... the last 5% takes 200% of your time :big:
Tony
 
cobra428 said:
...... the last 5% takes 200% of your time :big:

You got that right Ton', it ain't over till the ugly ones go home.

BC1
Jim
 
Well I just got great news. I called the trophy place and explained what I wanted. No problem the man said. I said how much? $5 bucks he said...come in tomorrow the engraver is not here today.
I will be there tomorrow....drawing only, no computer file.

;D Tony
 
OK, now for more serious stuff......Head gasket material? I was using just high temp silicon. But what should I really be using ??? ??? ??? Stay with the silicon (it worked)......thin copper......thin alum......Teflon...paper soaked with oil ??? ??? ???
Tony
 
Good deal on the nameplate Tony. I forgot that the engravers today can just scan in artwork and feed it directly to the laser with very little cleanup. I think that I can do that with my laser, but have never tried it. I mostly use it for cutting using vector files. Acrylic, gasket material and that sort of thing.

On gaskets, I have never had a lot of luck using oil soaked paper. It is too hard and does not compress enough. Mostly I use vegtable based gasket material, either 0.006 or 0.015 thick. It works well on low compression engines, but not so well on high compression glow engines. On them I use 0.005 ( 36 gauge ) copper sheet. I got mine from the local craft store in their copper tooling section. I make up a simple one time use punch/die that I use in the drill press for the small holes, and then some times profile the complex or internal sections using the same punch/die to nibble. You have to anneal it before use and then every time that you disassemble and reassemble the engine, but is permanent.

Your engine looks great. Congratulations on the build.

Gail in NM,USA
 
Thanks GailinNM,
I made a cad drawing of the placard and cut it out and placed on the engine last night for sizing. Look right but the text looks to small. I am going to scale it up a bit to see if that helps. At 1x.6 it's the right size, any larger I think it will look more like a "Billboard" rather that a placard!
I'm going to the trophy place during lunch today to see what they have to say! I don't mind the small text but can they cut it and make it legable?
Tony

 
Thanks Vernon,
I droped off my drawing and a pic of Upshore's and they said no problem $5 and a couple of days.
Tony
 
OK,
Only my luck. When I was away on my biz trip, I got a voice mail that my placard was done at the trophy shop. When I called them....they are on vacation this week :rant:. Well it can wait, engine runs again bling done (except for placard) almost ready for the book shelf.
So here are some pics of the finally (one more to come with the placard)

IMG_0432.jpg


IMG_0434.jpg


IMG_0435.jpg


IMG_0438.jpg


Rustolium Paint
CNC Machine Ign (S/S)
Timing 5 deg BTDC
93 Oct fuel (no oil mix)

Back to the Whittle V8

Tony

PS thanks for putting up with my rants and raves


:redface2: you Tony, you're making me want to get my casting sets out and work on them. That sure looks great man.

BC1
Jim
 
Looks Great Tony!

I'm going to start mine as soon as I get a bigger Lathe

Thanks for posting , it will come in handy!
 
Very nice Tony.
Can't say I'm overjoyed though. You've added to the reasons why I should try this someday. So many projects...so many ideas...
Thanks...I mean...thanks for sharing.
 
Zee,
That's what this place is all about.....sharing
And Thanks!
Tony
 
Ah, that's awesome... man that thing runs fast. Very nice. :bow:
 
Thanks Vernon.
I'm trying to slow it down as I post. Riching her up ain't doing it, next I'm trying to cut down the advance on the timing :shrug: :noidea:
Tony
 

Latest posts

Back
Top