Building one of Rudy's steamers

Home Model Engine Machinist Forum

Help Support Home Model Engine Machinist Forum:

This site may earn a commission from merchant affiliate links, including eBay, Amazon, and others.
Dean,

Great work as usual! 1/32" is bloomin small! Think smallest I've ever used is 1/8"!

I like that type of valve with the slots.

Nick
 
NickG said:
Dean,

Great work as usual! 1/32" is bloomin small! Think smallest I've ever used is 1/8"!

I like that type of valve with the slots.

Nick

After a using smaller end mill sizes for a while, 1/8" seems big and sturdy! I get nervous using the little ones, just like anyone else. Hold your mouth right, hold your breath, hold your horses, and all like that.
I've broken a few of them, too.

Nothing new on this build today. Pesky paying jobs wanting to be done. That's the way it goes.

Dean
 
I can't imagine using 1/32" What milling machine do you have Dean?

That is the way it goes. It's sometimes good to have a break anyway. I'm forever trying to set deadlines and timescales and it never works. I guess it boils down to the fact this is low priority unfortunately.

Nick
 
Nick,

Dean has a Taig milling machine (as do I) http://www.taigtools.com/mmill.html

Funny, I've been unemployed for a week now. It seems as I am as busy as ever and have even -less- time for my projects....

Deadlines? We don't have no skinkingk deadlines! :D

 
Wellll... Got a little dab done today. Not much, but after spending the day inside an
old Copal shutter, a bit of time on the fun side of the shop was welcome.


195.jpg


This will be the valve rod locking block. It sits in the larger slot of the valve and allows for
adjustment of the valve rod. I did what I could on this while it was still attached to a larger
piece, to make it a little easier to handle. There is a cross hole in it, which has been drilled,
and a tapped hole for a set screw.

The hole is so shallow that it needed a plug tap to make any threads. A taper tap hits
bottom before it starts to cut. When these two holes are done, the piece is cut off, and
the end cleaned up.


196.jpg


In this shot, a nub of 4-40 screw is being cut off to make the set screw. (It's like a grub
screw, for yoo-all who are off shore.)
I'm using a jewelers saw to cut this little thing. A little more on that, later.


197.jpg


For making the slot in the set screw, I start with a regular nut for that sized fastener, and
cut a slot that meets at two opposing points on the nut. This will be the guide for making
the set screw slot. How deep to saw this slot depends on how big your set screw will be.
For this one, 4-40, I sawed about 1/4 way throught the nut.


199.jpg


Then, thread in the little nub of the screw that had been cut off prior. Start with the screw
just below the surface of the nut, and use the slot that has been cut in the nut to guide the
saw blade. You may have to hold the screw from the bottom with a pencil eraser to keep
it from trying to spin, until the slot gets started. Once a bit of a line has been cut into the
screw, back it up a turn and finish cutting the slot to a sensible depth.


198.jpg


This is a jewelers saw, for anyone who might be wondering. I can't think of any reason
not to have one of these in the shop. Really good for cutting out shapes in thin material.
Besides, they're dirt cheap.

If you'll look at the previous picture, you'll see that the teeth on the blade are pointing
toward the operator, (me). This is the way one of these saws is used. The blades are very
thin, as you can see, and if you try to use this type of saw to cut on the forward stroke, as
with a hacksaw, you'll go through five blades an hour. Put the blade in so it cuts on the back
stroke, and it'll last a long time. You can afford to go through a few blades, though. They
run about $7 per gross.


200.jpg


So, that's that little thing, with the set screw in place.


201.jpg


The next piece is the small clevis that goes on the other end of the valve rod. I do what
I can with it while it's still attached to the larger piece of stock.


202.jpg


Then cut it off and put it on end to mill the slot and drill the needed hole through the back
side of it. When I need to drill a hole through a small bit, like this, I set it on a parallel to
get it level in the vise, then snug the vise without tapping the piece down onto the parallel(s),
as you normally would. The parallel will be slightly loose under the piece, and can be pulled
out.

Usually, I'd leave a piece long, and just end up with another cut-off for the scrap box.
Sometimes I'm feeling cheap, and... do it the hard way.


203.jpg


The valve, from the other day, and today's big accomplishment.
Man, my work is really cutting into my play time.


204.jpg


That's how it goes together.

Maybe some more tomorrow.

Thanks again to all who are having a peek now and then!

Dean


Am I missing something? I cannot see any pics....
 
I can't see pics on any post on the forum right now, Mike. I know my server is serving them. I have a gob of web pages of my own, and they all load.
I'm sure someone will see it and know what to do soon. Unless the whole interwebs is breaking down...

Can't see 'em on your posts either, MB! It's a conspiracy against us!
 
Well foo....

Voice = 'Monty Pyton'

Oh dear. The Intartubes have exploded!

;)
 
The pictures are back, thanks to the guys who work so hard keeping this place running.
Three cheers, guys!

Dean
 
Dean

Re-read yesterday's offering today, it's much better with illustrations :big:

I like that jeweller's saw, going to have to get me one of those...
The project is coming along very nicely. Looking forward to the next instalment ::)

Cheers, Joe
 
The jewelers saw is a great idea. I usually use a hack saw, and the small things look like they have been hacked. Keep up the inspiring work. Thanks again. Allen.
 
Deanofid,
What kind of blade are you using? I just seem to find woodworking ones. Are you using a fine workworking one? I've been looking for a metal blade for my Delta Jig saw. Variable speed 16" throat.....it would be a beautiful thing

IMG_0077.jpg


Tony
 
Tony, I had a Hitachi saw like your Delta. I used wood blades to cut aluminum on the thing.
 
Twmaster,
Thanks, nice to know. I figure as soon as I started the cut there wouldn't be any teeth anymore

Tony
 
Hi Tony;
The blades I get are for metal. I use them for brass, al, and steel. They are like tiny hack saw blades.
You can get them and the saw frames from these guys;

http://www.timesavers.com/findbydesc/SearchCatalogMain.asp?ProdDesc=jewelers+saw

I don't know if they are for use with an electric scroll saw. They are flat on the end, no pins, and they are very thin. On some blade cuts, you can barely see the teeth.

Hope this helps.

Dean
 
Dean, beautiful work. Your slot head grub screw was much better than mine - did mine with a junior hacksaw blade! :-\
managed to get it off centre!
Nick
 
Nick, thank you, again!
I do appreciate everyone's comments and support.


Another day gone by, (a few days!), and again, only a few bits done. The new/old
Atlas has held my attention for a few days, getting it fitted up and in trim for serious
work. (Might be modeling work, but it's still serious!)


205.jpg


This bit will be the valve rod guide. Just a round piece with a hole reamed through.


206.jpg


The little piece being threaded here will be the cross pin that holds the eccentric rod to the
valve rod clevis. Using the Atlas here, and the first "real" pieces made using the new three jaw.

Spent some hours cutting the back plate for it yesterday, and the time spent was worth it.
It runs out at just over a thou with a DI running on a gauge pin. Much better than I expected
from this non-brand chuck.

The die holder is from Taig. They make pretty nice stuff at a reasonable price. These die
holders have a 1/2" guide pin that is made for mounting on a Taig tail stock, but works
great in a chuck, too. They only hold round dies.


207.jpg


This piece that has been marked out with a surface gauge will be the support for the valve
rod guide. The print calls for 1/16" steel sheet, but I'm using hard brass, 'cause that's what
I've got. The two holes that are punched deeper, the ones that are easier to see, will be
the mounting holes. The two lighter punch marks will be drilled to form a radius in two of
the inside corners.


208.jpg


I cut this piece out with the jewelers saw. It means more work than if done in the milling
machine, but I just felt like fiddling around today. As can be seen, I have a hard time staying
on the line. That's mainly because I can't find a happy medium for my eyes between the
top and bottom of my bifocals, and if I wear a cheater, I can't seem to find a comfortable
distance to work. That's my excuse.

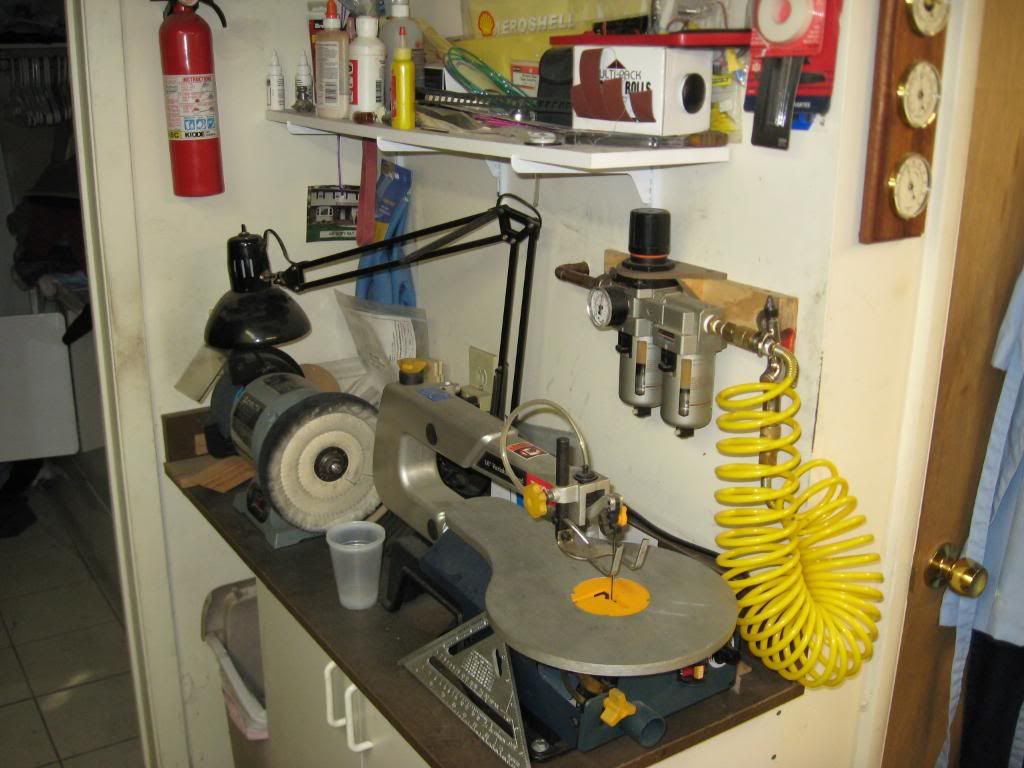
The jewelers saw can cut nearly 90 deg angles. In the background you can see the piece
of paraffin wax that is used to lube the blade.


209.jpg


Here's the cut out piece. I knew I would have a bit of filing work...


210.jpg


For filing thin sections, like on this piece, they get put between a couple of pieces of wood.
It keeps the noise down, and the wood keeps filings from being imbedded in softer metals
when they are tightened in the vise.


211.jpg


These are the three bits done, along with today's offering to the gods of steel, (or brass).
Broken blades happen.


212.jpg


To get the guide and its support lined up for soldering, the bits were assembled with the
valve rod in its bore in the steam chest. I left the rod with my slightly oily finger prints all
over it, and was careful not to get any flux on it or inside the guide bore. The flux didn't
care about that at all, and flowed into the guide bore, along with the solder, (red arrow).
Soldered up tighter than a janitor in a drum.
Shoot.


213.jpg


So, put on some gloves, heated it up well again with the torch, and quickly pulled the shaft
out of the guide. Naturally, the guide support came loose too.
Then try again. This time, put a liberal amount of oil on the shaft, being careful not to let
any get into what would be the solder joint, and hit it with the heat. Since it was already
tinned from the first try, the two bits eagerly joined and the oil gave off a stink. But the shaft
didn't stick this time.
Should have just smoked the shaft with a candle in the first place. Don't know why I didn't.


214.jpg


That's better, and that's the day's work. Came out nicely lined up, and the valve shaft
moves easily through the guide and steam chest.


215.jpg


There's the progress shot. I keep getting closer, but I'm not getting done! It'll get there,
eventually.

Thanks for looking in.

Dean


Dean, that is really coming together. Looking grand!

I spent the entirety of this evening mounting my old Atlas. All my joints now hurt. Time for some liquid pain killer and read the board!

:D
 
Dean,
It is looking magnificent. Can't wait for the running

Tony
 

Latest posts

Back
Top