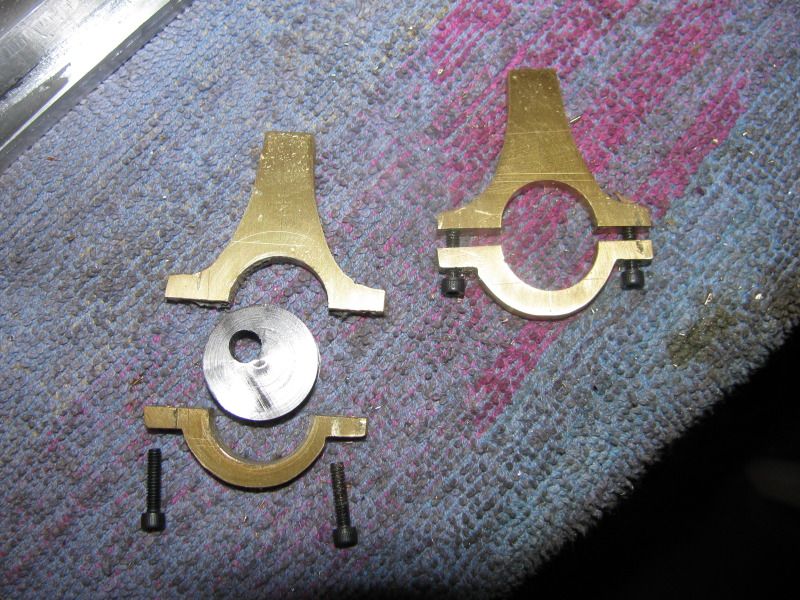
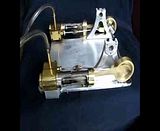
And here's how it ended up. I may do a bit of cosmetic filing here or there, but all in all it went well. Also in the picture you can see one of the hubless cams. In my original design these cams had hubs on them, but there is so little room between the flywheels and the bearing stands that I eliminated the hubs just to give myself some room. These cams work just as well as the hub style, its just that they are a real bugger to adjust the valve timing on. You have to remove the "cap" side of the eccentric strap to get at the set screw in the center of the hubless cam to adjust it rotationally. Please note that I have removed the eccentric strap drawing which I had posted much earlier in this thread, as it has undergone some fairly dramatic changes. I will post a new drawing tomorrow.