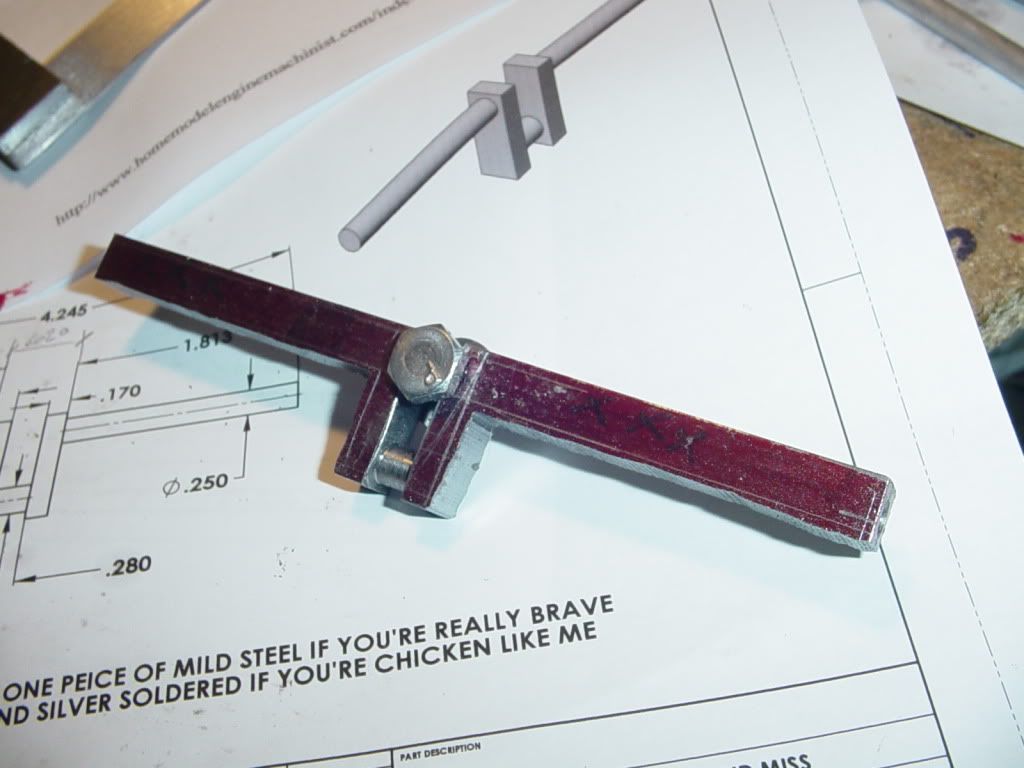
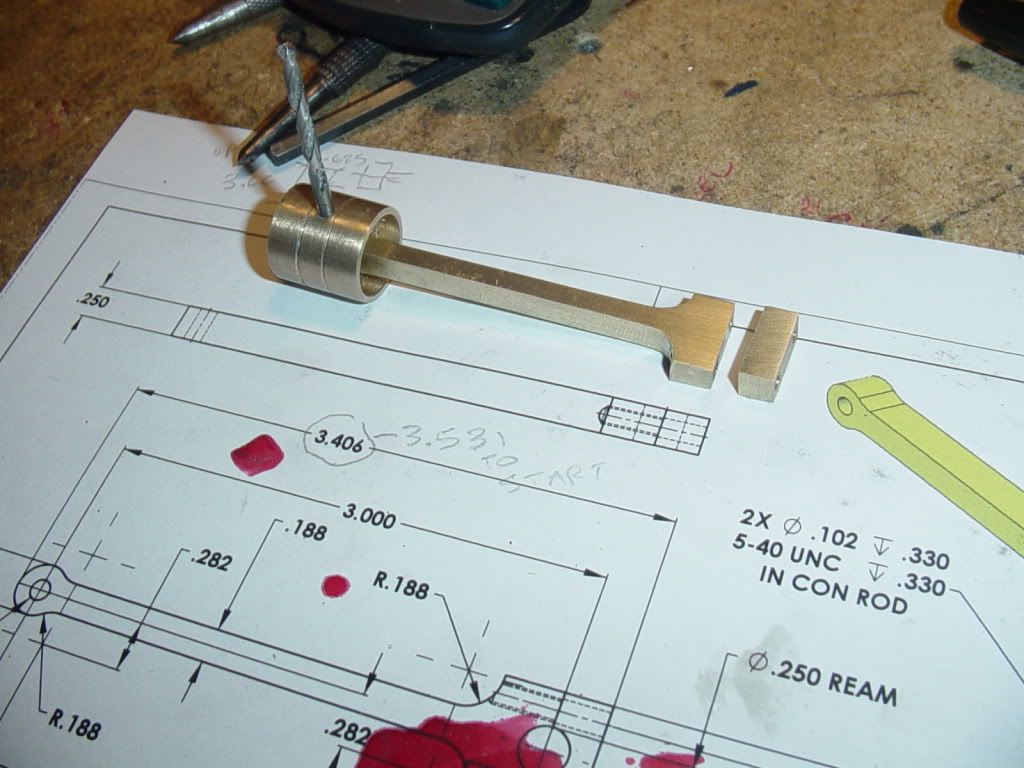
And this is what it looked like before I set up to turn the ends. The 1/4" bolt has a nut and washer on the far side, and is tightened down to keep the slot in the center from collapsing when I turn between centers.
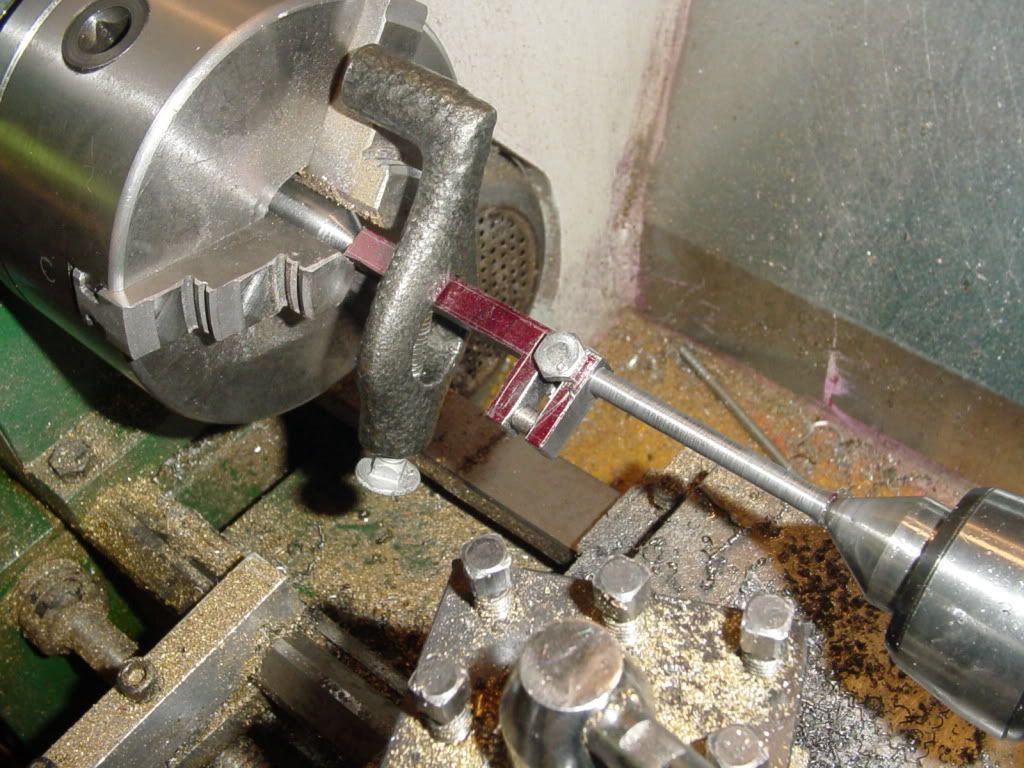
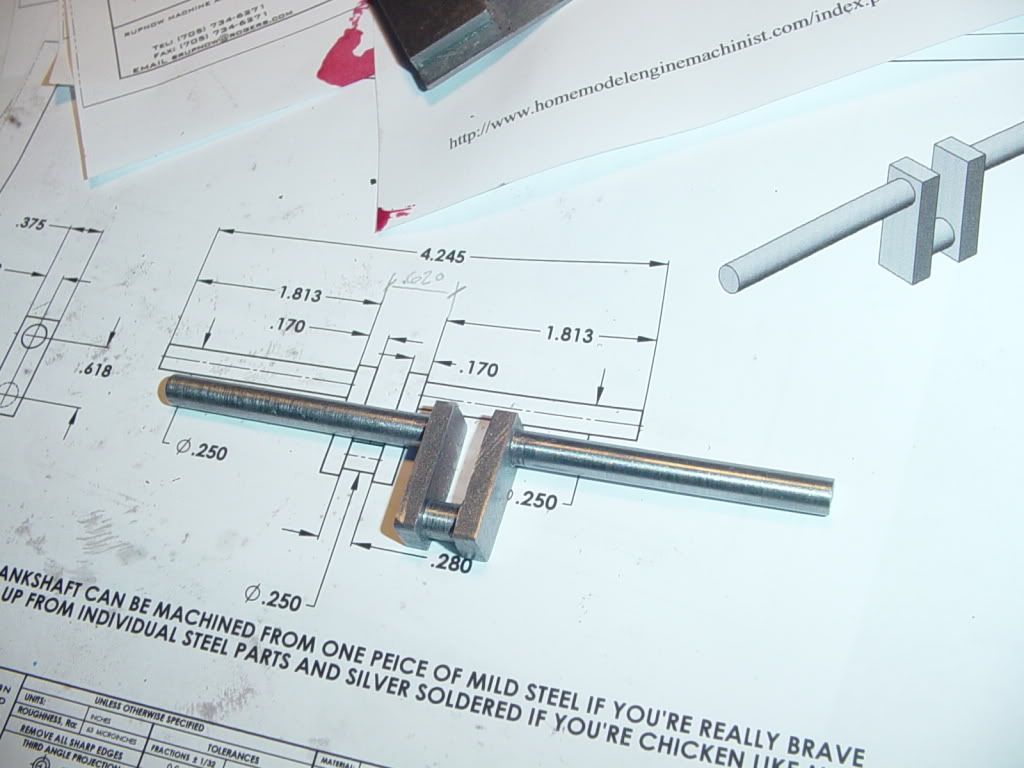
Here we are turning the first end to finished diameter. See---I do own a lathe dog!!! Of course, once the first end was finished I turned the part 180 degrees and finished the other end the same way.
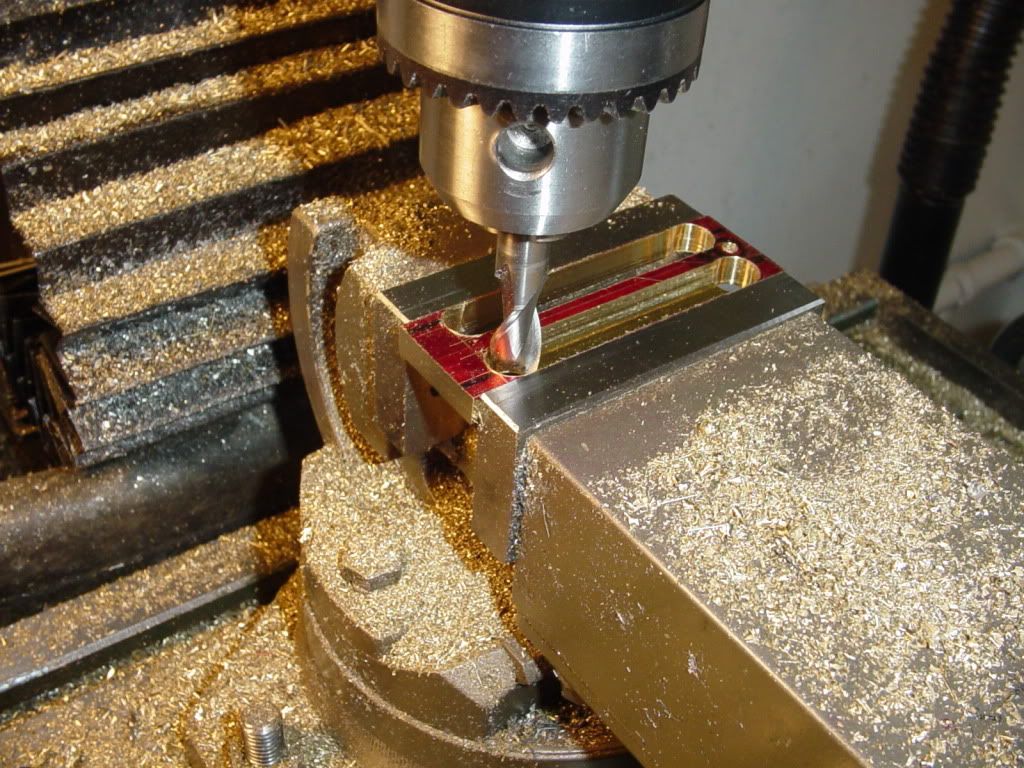
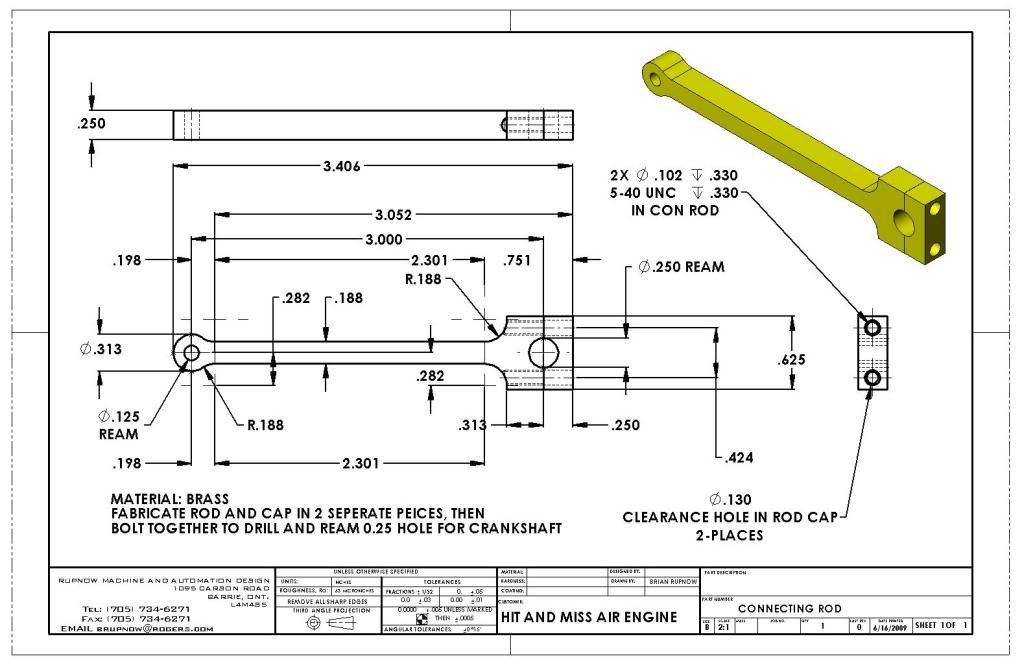
This afternoon I built the connecting rod and cap. --Here is a good tip---If you start with a peice of 1" x 1/4" brass bar, you can use a 3/8" endmill to plunge cut at the center of the 4 radii and then go ahead and cut slots which will form the corner radii at each end and remove most of the unwanted material.--there will be enough brass left between the cutter and the vice jaws that the cutter doesn't hit them. I modified the con rod drawing a little bit, so will post a new drawing here and update the download section later.
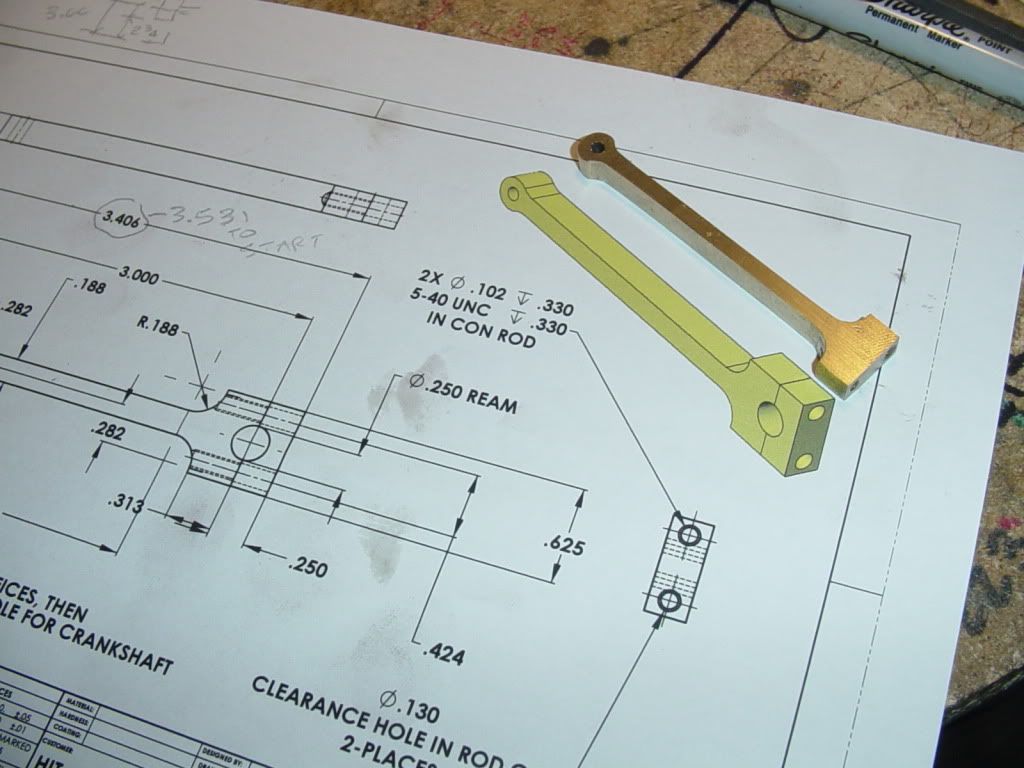
This is the way the connecting rod turned out. I can't put the hole for the crankshaft in yet, because I am waiting for my local nut and bolt store to get the #5-40 socket head capscrew in that I odered last week. The cap has to be bolted to the rod before the bore is put in, because half the bore is in the cap and half in the rod.
And here we have the con rod, cap, and piston. For those who might have been wondering, I'm going to use a peice of 1/8" cold rolled steel round rod for a wrist pin, and I will use a bit of #648 Loctite to keep the pin positioned in the piston.
Well, I'm back anyways. No real work to do, so might as well play in the toyshop. Its been long enough since my 15 month continuous build that I seem to be over the burnout.
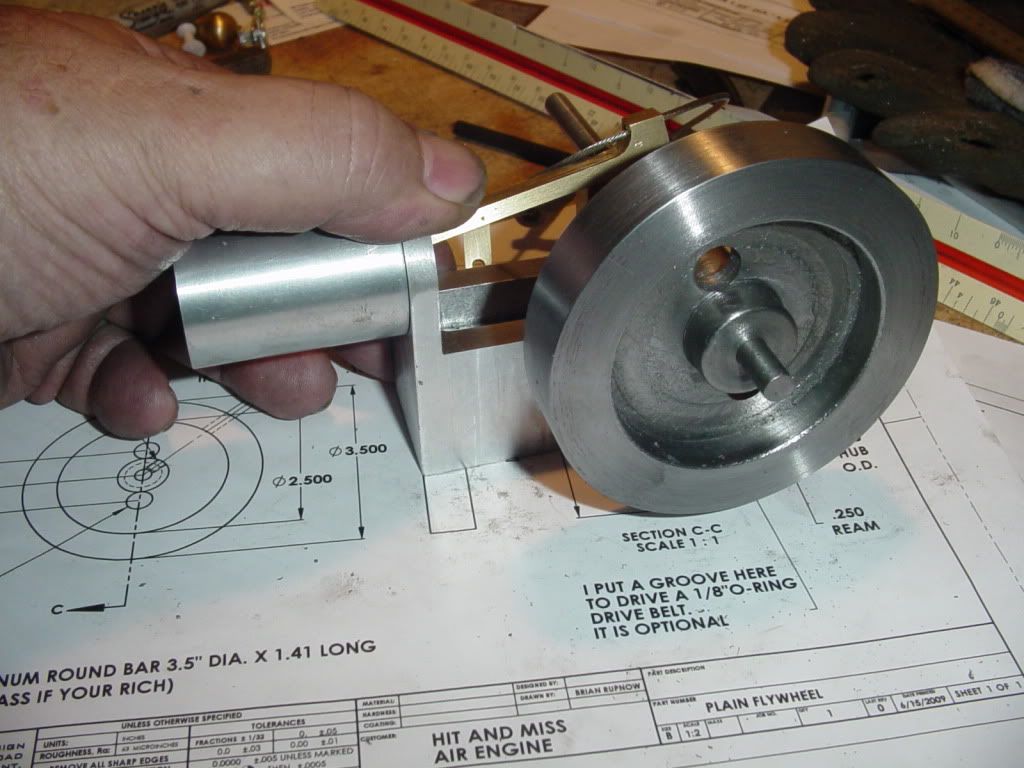
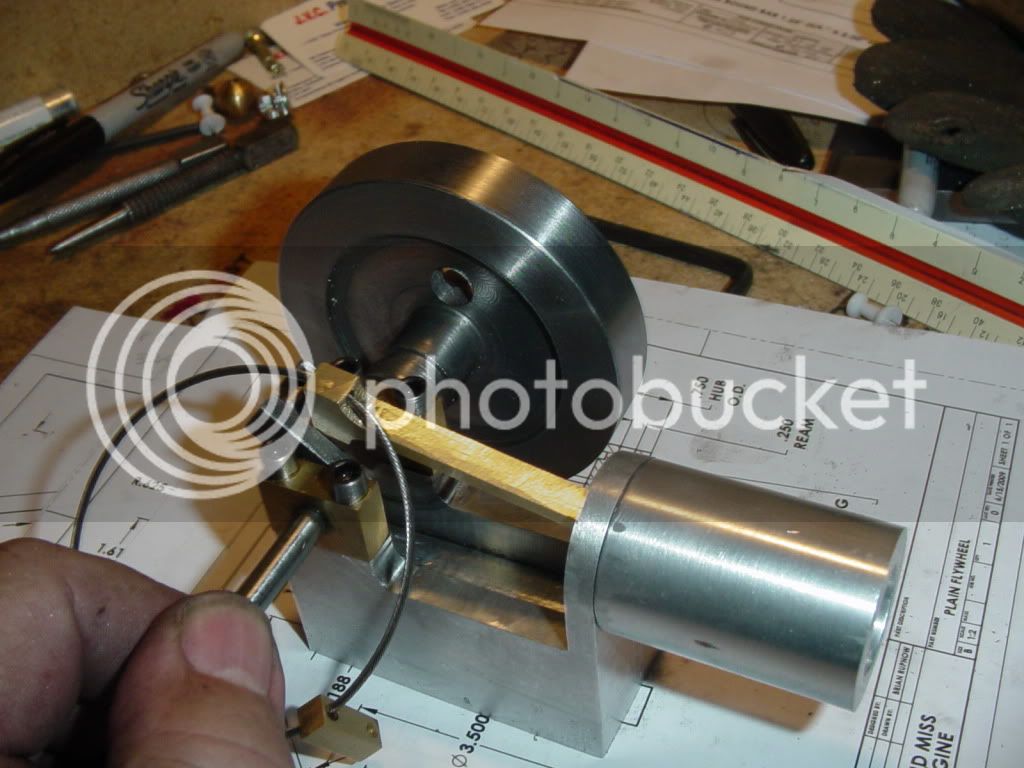
Nothing too exciting this morning, but still I spent 4 hours hogging this steel flywheel out of a peice of 3.25" diameter round mild steel.---Yes, I know that the plans call for 3 1/2" diameter, but this is what I could get CHEAP. I decided that aluminum flywheels just don't weigh enough to give the inertia needed for a good "hit and miss" action. I will probably make both flywheels out of steel---The second one won't be as much work, as it doesn't have an extended hub like the one I just finished. I think maybe I will paint these flywheels to keep them from rusting. Brass would have been nice, but its just too spendy.
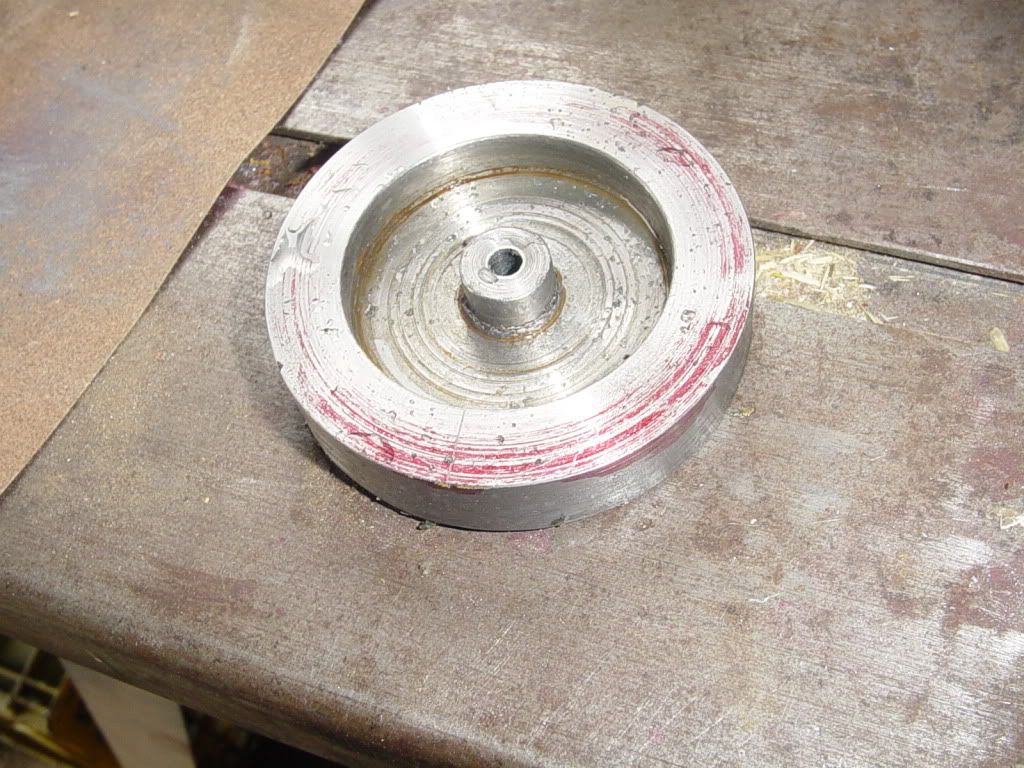
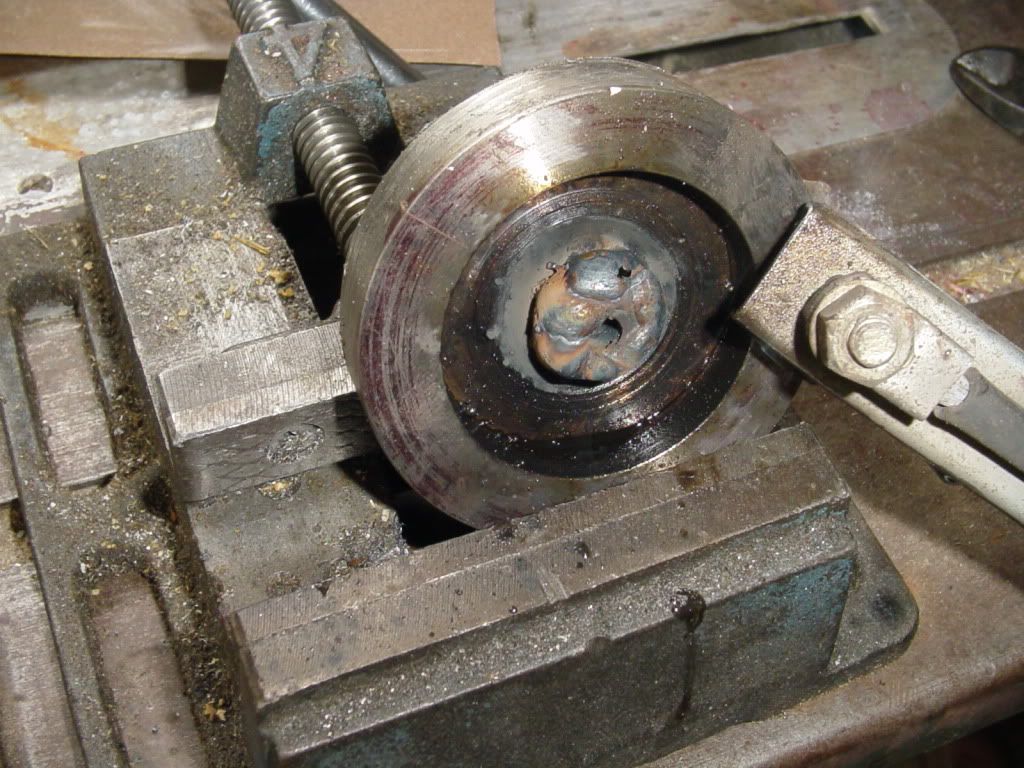
Talk about famous last words---"The second flywheel shouldn't be as much work as the first." So there I was, merrily machining the recess in the face of the second flywheel, and making calculations as to how much more I have to take of the hub to get it to 0.75" diameter.--I dunno what happened--STUPID ATTACK MAYBE!!! Damn, that hub is starting to look kinda small. Hmmmm--maybe I should measure that. HOLY SNOT!!! 0.61 DIAMETER!!! So---There is too much work invested to scrap it and start over---Out to the garage and get out the mig welder---build the hub back up---
Ozzie---you can use whatever is most convenient for you. I use #5-40 because that is the thread size on a 1/8" rod.---and 10-24 is the thread size on a 3/16" rod. Use whatever you have. Otherwise you can make a career out of buying taps and dies.
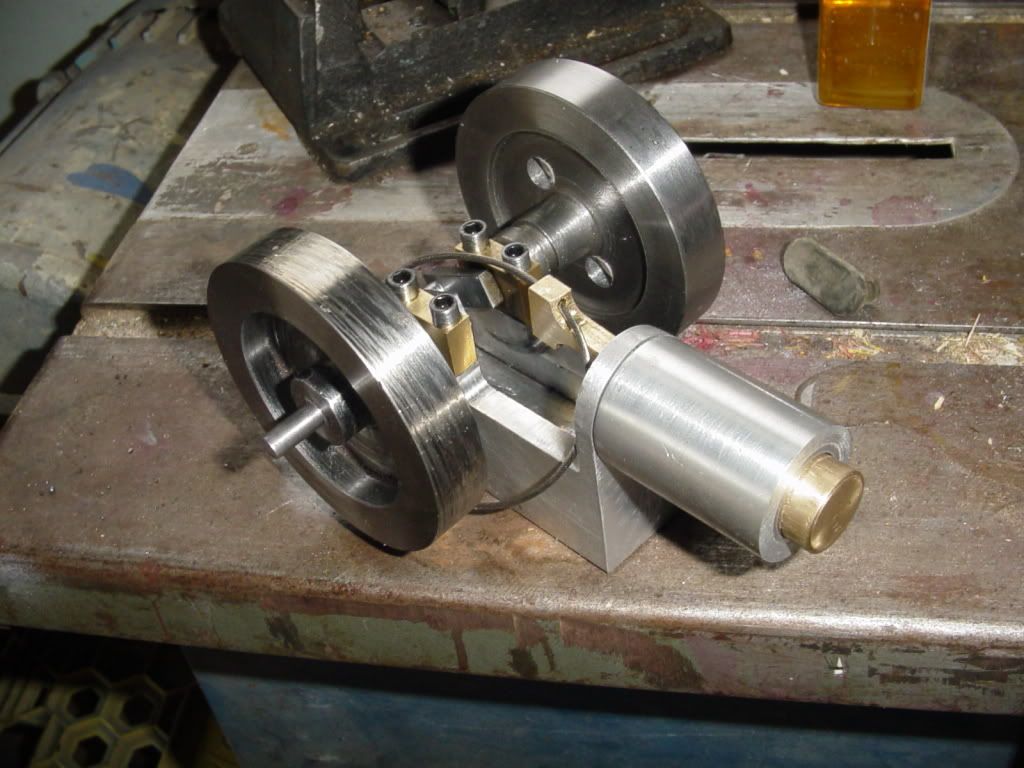
Okay--We're all fixed up.--There has to be a "Greater Power" at work today---for both bad and good. If I had made that second flywheel out of brass or aluminum, I'd have had to throw it in the trash can. As it turned out, mild steel is one of the most easily welded metals that exists, and 5 minutes with the mig saved my day!!! I still have some minor holes to add and some serious polishing to do on the flywheels, but by and large they are finished. I have worked 8 hours to make 2 flywheels.---thats about $300 worth of my time---if I had any work. ;D ;D
Putputman---You are aware of the parallel universe theory, right? There is the universe in which people who work every day for a living are found, and then there is the other universe where policy makers and people who run countries inhabit.
$%#@--I just broke my only #5-40 tap. Called Brafasco to order 2 new ones and they are $23.00 EACH!!!! A lot of money for something only slightly larger than a bumblebees third member.