Anybody want to guess---

Home Model Engine Machinist Forum

Help Support Home Model Engine Machinist Forum:

This site may earn a commission from merchant affiliate links, including eBay, Amazon, and others.
My gears that I had on order came in this morning, and I was able to modify them with no problem and attach them to the flywheel and the exhaust cam. One thing that is kinda trick---The large gear with the exhaust cam comes in with a 1/4" bore (which is fine---the cam shaft is 1/4" also) However, the outer diameter of the hub is 1/2", and has to be turned down to 0.375" to fit into the bore of the exhaust cam. Also, the hub is 1/4" long and has to be taken down to 3/16" long. The hub on both gears comes with a #6-32 set screw. After a bit of head scratching, I attached the large gear to the end of a round piece of 1/4" cold rolled steel, with the hub facing away from the chuck and flush with the end of the 1/4" rod. First I turned the o.d. of the hub down to 0.375"---this also removed the end of the set screw with the hex hole in it. Then I faced the hub to be 3/16" long. Then I walked the rod with the gear still attached over to the mill and cut the center of the set screw out with a plunge cut from a 1/16" end mill. I then knocked the 1/4" rod out, and used a small easy out to remove the remains of the set screw.
GEARS001-1.jpg
 
I'm pleased to announce that if you build the Webster frame according to the drawings, the gears are a perfect mesh when installed. I was a bit concerned about that, but they seem to be spot on.---Brian
 
This is a rather crummy shot of the gears installed on the Webster engine.They fit and operate perfectly. They are a bit dirty, as they have a bit of loctite in the gear teeth that has to be cleaned up the next time I have everything disassembled. There are a number of "spacers" on this engine that require some tweaking, depending on how large (or small) you're accumulated tolerances are when you get to this stage. The gears are the stainless steel ones from Berg. Now I am supposed to be getting my carb this Friday, which will let me build a carb adapter and finalize the height of the pillar supporting the gas tank. I (hopefully) am being sent a small piece of copper to make a head gasket from one of the forum members, and I'm still waiting for my grease cups to arrive. You can see the end of the brass rocker arm (with a blob of loctite on the end of it) directly below the cam on the side of the larger gear.
gearsinstalled-2001.jpg
 
SCORE!!!!---I've been wondering where to get a piece of spring steel for the "Rocker arm Spring" for my Webster. I was out today to pick up something else, and as I drove home I stopped by the lawnmower/chainsaw repair shop. They gave me enough spring steel out of an old rewind mechanism to build a hundred Websters. this stuff is only 1/4" wide instead of the specified 9/32" per plan, but I'm sure it will be fine.
rewindspring001.jpg
 
Hi Brian
Nice little tool. Yes it will ease the drilling for the rollpin.
CS
 
Brian, does that mean you'll never be able to adjust the valve timing once you've drilled the hole and placed the roll pin? If it was off, couldn't you just take off the big cam gear and advance it or retard it one or more teeth as needed?

Sorry if I don't understand, but I can't see why pinning the flywheel in a certain position is critical or even important. ???

Chuck

 
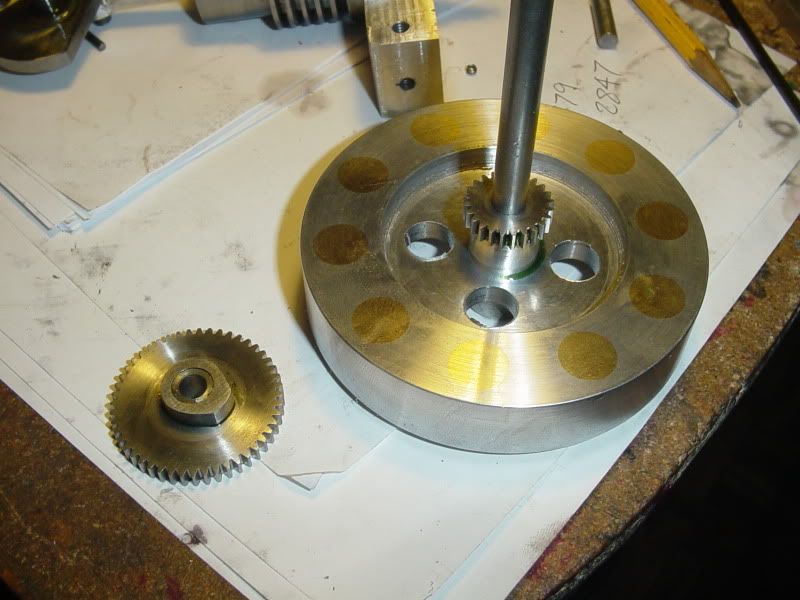
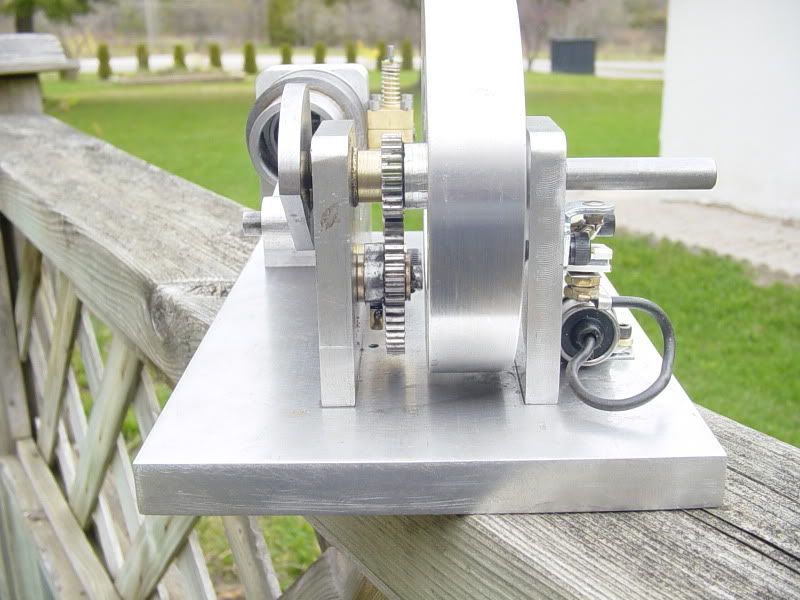
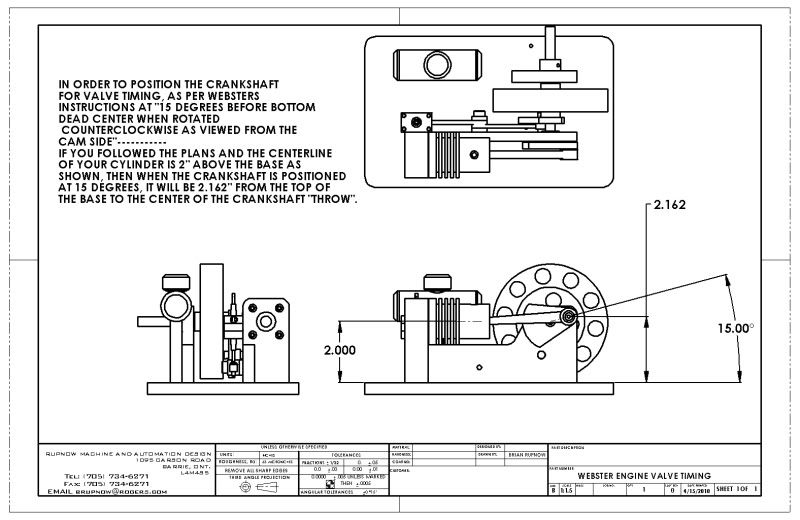
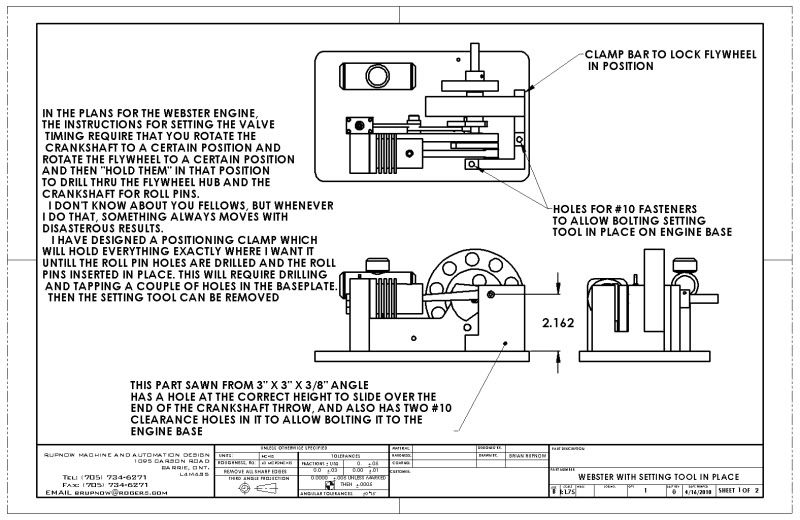
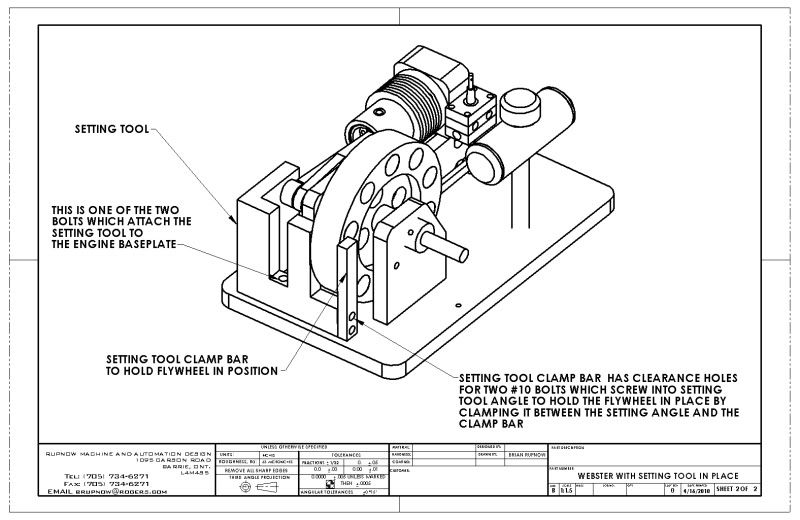
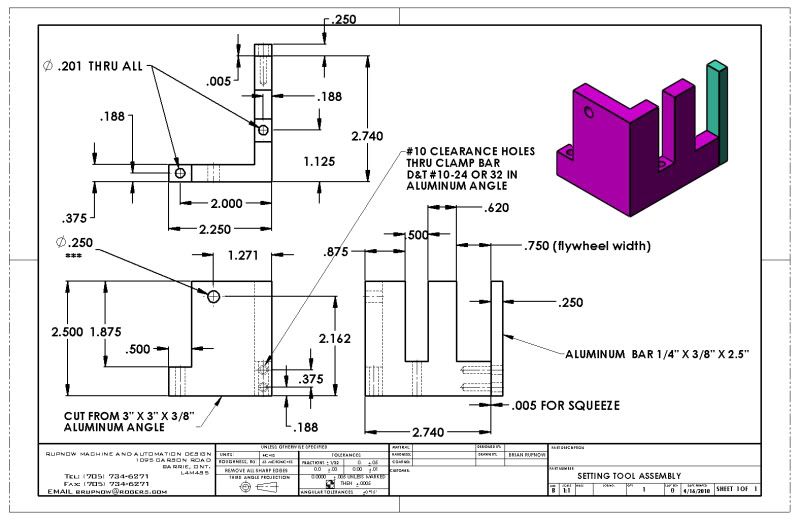
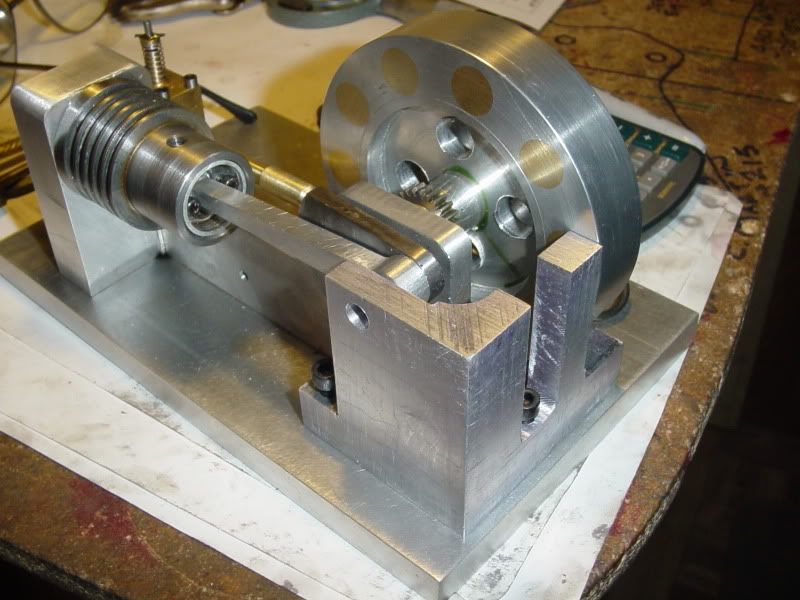
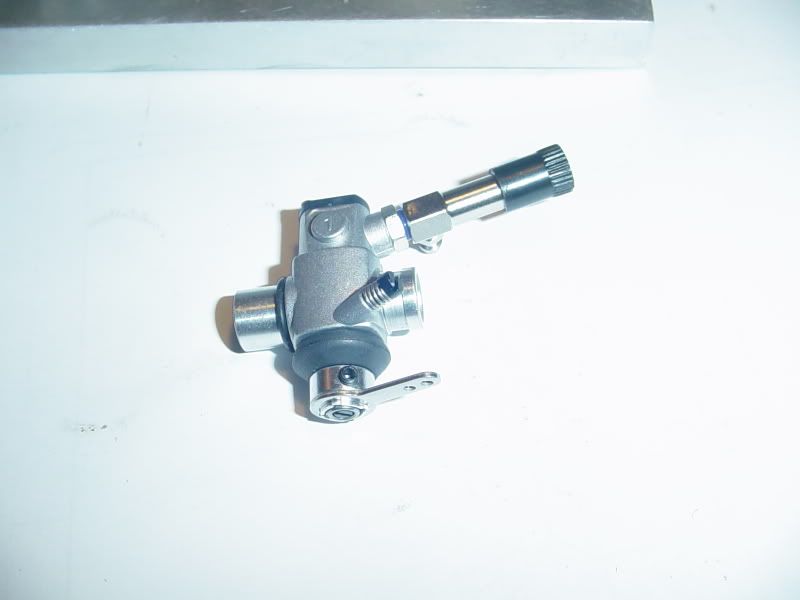
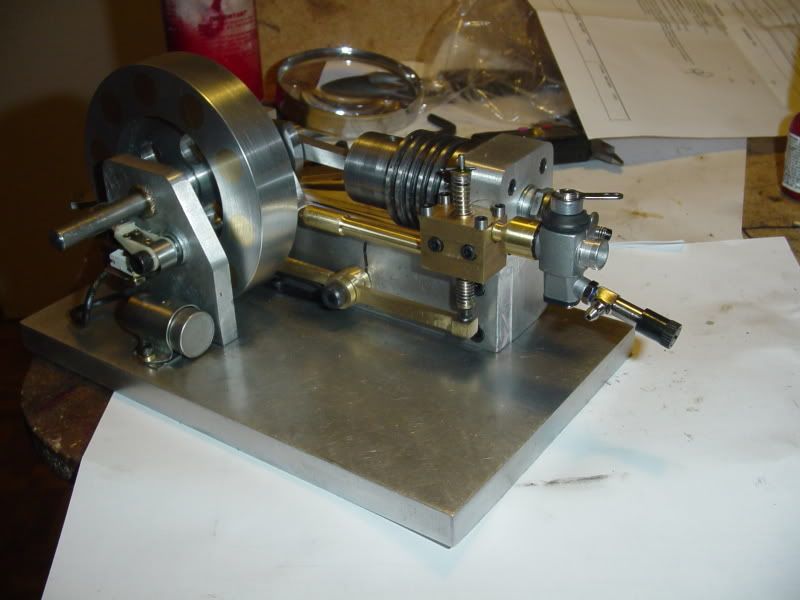
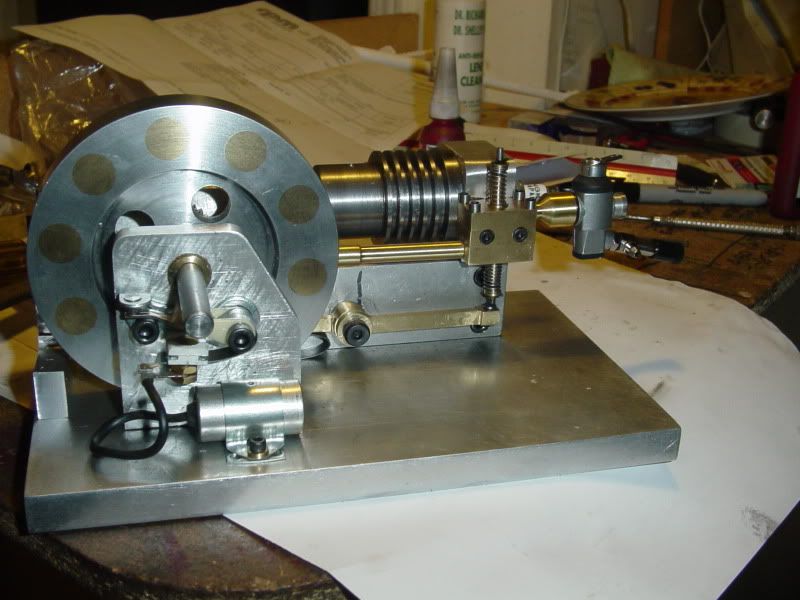
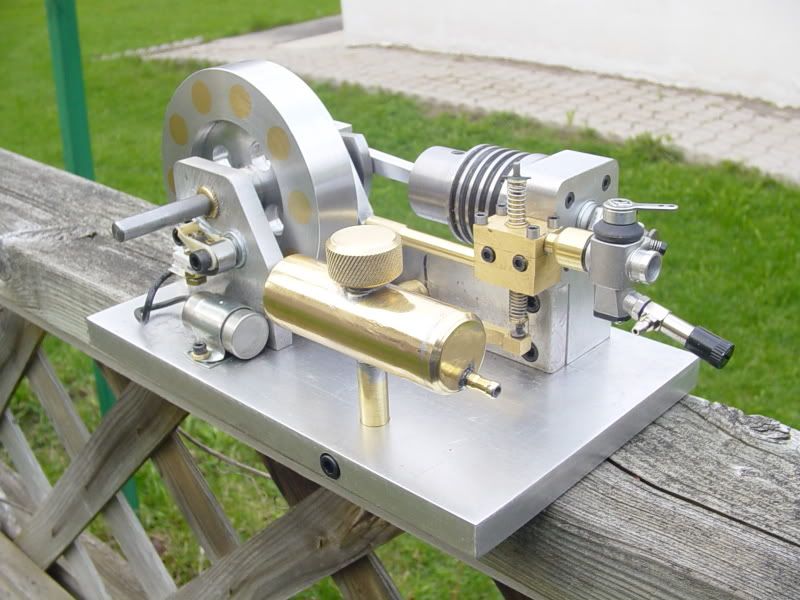
Chuck---I know it seems a bit weird, and I agree with you. However, in this case, the small gear is attached to the flywheel and this is kind of a two part deal. Webster wants the crank throw positioned so that the piston is 15 degrees before bottom dead center, and also wants the cam set in a position where the rocker arm is about to begin lifting the exhaust valve, hence the exact positioning of the flywheel in its rotation. I have thought about this, and I too thought--"But what happens if the 15 degrees specified isn't correct?--Couldn't I just advance or retard the gear mesh by one tooth and correct it?" Yes, I am sure I could. I like this because it gives me a "way out" if the 15 degrees is not right. Anyhow, I have to start somewhere to pin the flywheel to the crankshaft, and I will do it according to the instructions, knowing that if its not quite right, I haven't painted myself into a corner.---Brian
 
There we go---Not very pretty, but should be functional for a one time use. I'm not even going to bother with the bolt on clamp bar. I'll just use a small c-clamp to clamp the flywheel to the "setting angle" in the appropriate position.
settingtoolonengine001.jpg
 
I like it---I like it!!!! Carb adapter made, pressed into place, and loctited. Carb loctited into adapter. I'm not sure that thats right but I couldn't find any other way of getting the carb to stay in place. I had to refer to Longboys excellent video to see which was top and which was bottom of the carburetor. I would really have been singing the donkeys song if I'd loctited the carb in place upside down!!! Now that I know how high the carb sets off the base, I'll be able to go ahead and cut my gas tank column to the correct length and install the gas tank.
CARBANDADAPTERINSTALLED001.jpg

CARBANDADAPTERINSTALLED002.jpg
 
Man that is one slick looking engine Brian. :bow: And far be it for me to question your skills and ability but I think I would have soldered up a small brass boss to your adapter pipe and then drilled and tapped it to accept a small set screw to hold your new prized possession in place. I can't wait to see this baby fire off. ;D

BC1
Jim
 
Nice work Brian. :bow:

Best Regards
Bob
 
bearcar1 said:
Man that is one slick looking engine Brian. :bow: And far be it for me to question your skills and ability but I think I would have soldered up a small brass boss to your adapter pipe and then drilled and tapped it to accept a small set screw to hold your new prized possession in place. I can't wait to see this baby fire off. ;D

BC1
Jim

Bearcar--You could well be right. I never thought of that. One thing about this Loctite I use, if you get desperate enough you can break the bond. The carb cost $40, and although you can buy any part for it as a replacement, I don't think they would take it back with green loctite on it or with a hole drilled in it. ;D ;D
 
Actually I had more of a grub screw arrangement in mind, one that would merely provide capture pressure to the side(s) of the carb throat, not a through hole actually into the part. Oh well. Hopefully you won't have to remove the carb for any reason. I suppose some heat would release the adhesive bond. Get her fired up man, we all want to see this jewel run!

BC1
Jim
 
Well guys--After reading all the excellent suggestions (All different) on the height that the gas tank should be, I went with Websters advice---"Set the tank so that the fuel level when full is 1/4" below the needle valve." One thing about it--If the advice given by everyone is indeed correct, then the darn tank should work all right at just about any level. My thoughts were that if the top of the fuel is below the needle valve (which I assume means at about the center of the venturi throat) then I shouldn't have any problems with gravity flowing and "puddling" the fuel when the engine is setting on one of my display shelves.
gastankinstalled004.jpg

gastankinstalled003.jpg
 
Back
Top