A new engine for fall---

Home Model Engine Machinist Forum

Help Support Home Model Engine Machinist Forum:

This site may earn a commission from merchant affiliate links, including eBay, Amazon, and others.
I've heard it said that "Close only counts in horse-shoes and hand grenades." There is one other place that it counts, and that is clearance where the con rod exits a round hole in the bottom of the cylinder. I showed lots of clearance in my 3D cad model when I took a section view thru the center of the engine, but in the case of a rectangular cross section rod exiting thru a round hole in the bottom of the cylinder, it doesn't tell the whole story. If you look at the edge of the con rod, about at the center, you will see how much clearance I DIDN'T have. I thought I felt some resistance when I first rotated the assembled engine by hand, but it was stiff and I was able to get a full rotation after working the crankshaft back and forth a bit rotationaly. I will file a radius on the corners of the con rod, and that will take care of things. There is no moral to this story, other than the fact that building one of these small engines always has a few surprises in the process. Laying in the picture with the con rod and piston is the newly machined and hardened wrist pin.
 
Last edited:
I am down to the point in my parts making where all that is left is the carburetor, exhaust pipe, and the cooling fan system. I still have a lot of bronze laying around, so decided to make this part today, just because it's do different. Alas, it is not going to happen. Whatever it is about bronze, if the bandsaw blade has any wear on it at all, it simply won't cut bronze. A new blade, it cuts fine. A slightly used blade, and it just isn't going to happen. The blade still cuts aluminum and steel with no problem but not the bronze. My metal supplier who has a big industrial size self feeding bandsaw and cuts the slices of the 5 or 6" diameter " bronze billet" I have says the same thing about his saw. I would switch to aluminum for the part, but I have to be able to silver solder the fan shroud to it.---Darn!!!
 
Brian:

Try brass instead. Although your application does not require any particular strength I have been told that silver soldering bronze does not result in a structurally sound joint because of the small percentage of lead in the bronze. A friend has been researching silver soldering of bronze for a locomotive he is building and has destructively tested a lot of joints and has found them to not to be very strong. The silver solder apparently breaks away from the bronze at the joint.
I've seen a lot of postings on forums saying silver soldering of bronze is acceptable but he has researched it and has found otherwise. I can't substantiate his claims.
I guess this would be a topic for another thread so let's not dewll on it here. I just mentioned it because perhaps not being able to use your bronze is a blessing in disguise.

<edit> 660 bronze is the most popular around here and it is one of the bronzes that does not silver solder well (has up to 8% lead). That's why I mention it. On the other hand apparently phosphor bronze solders well.


I can't wait to see this engine run. It's a very interesting design - as usual.

Sage
 
Last edited:
Try brass instead. Although your application does not require any particular strength I have been told that silver soldering bronze does not result in a structurally sound joint because of the small percentage of lead in the bronze.

That is very interesting. In boiler work they always say to use bronze for the fittings, not brass, because the brass will de-zink. So are we at risk of our silver soldered fittings parting away from the copper boiler? Bronze has always been used for boiler work.
 
Luc--Thank you for the link. dsage--I was going to use the bronze because I have it available. Now I'm not so sure. For one thing, it will cost me $40 or 450 to buy a new band saw blade to cut what I have. A piece of 3" square brass x 1/2" thick wouldn't cost that much.---and with questions about the silver soldering, perhaps I will buy some brass.---Brian
 
The problem is there are all kinds of Bronzes out there. The ones that contain a high(er) percentage lead are apparently the problem. 660 contains as much as 8%. Perhaps the boiler fittings are something different. Probably castings (which may or may not be a different alloy)
I didn't do the research or the testing. I'm just reporting what I heard from a fellow model engineering club member who did a lot of testing and found the silver solder (under destructive testing) would break away from the base material presumably because the lead keeps the silver solder from bonding properly. Personally I would have chocked it up to improper heating of the base material but he says he was following up on data he had researched with tests of his own.
The biggest problem is that he could not find any bronze with low lead readily available anywhere. He found a supplier in the UK that had something called "gun metal" (whatever that is) that is apparently low(er) or no lead.

I wouldn't worry about it too much. Just don't build any bridges of bronze (or anything else critical). I certainly wouldn't worry about you radiator support.

Now brazing is a whole different story and apparently ok. Isn't it brazing that you do on boilers??

Re: de-zinking. That is a problem that mostly occurs from over heating the metal (in temperature and/or time). The bottom line is that there is more to joining metals than putting a torch to them and melting some metal on the surface.

Another better known (and similar) issue is WELDING 12L14 free machining steel. Great to work with but should never be trusted after welding. But I digress....

Continue on Brian. I've diverted this excellent build thread enough.

Sage
 
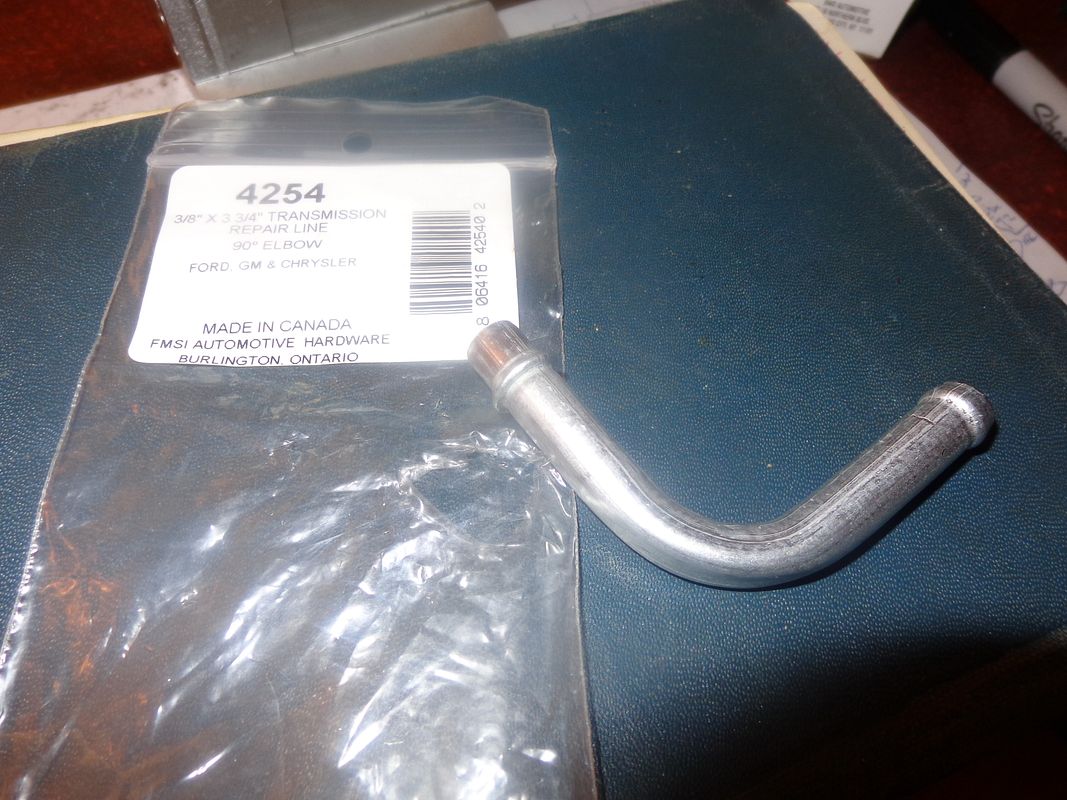
Now here is something a little different. I really didn't like the look of the exhaust pipe running out of the engine on an angle, and the carb being mounted on an angle, but I had to design it that way so the exhaust wouldn't interfere with the carburetor. Today I was down at Partsource, an automotive supply store, and seen a rack of steel 90 degree and 180 degree bend steel tubes for automatic transmission repairs. For a couple of bucks, I thought "Hey---If that worked out, I could run the exhaust straight out from the engine and mount the carburetor at 90 degrees." I can't bend anything on that sharp a radius without kinking it badly. That tube measures 3/8" o.d. and has a .028" thick wall. I will keep you posted on this and let you know if it works out.---Brian
 
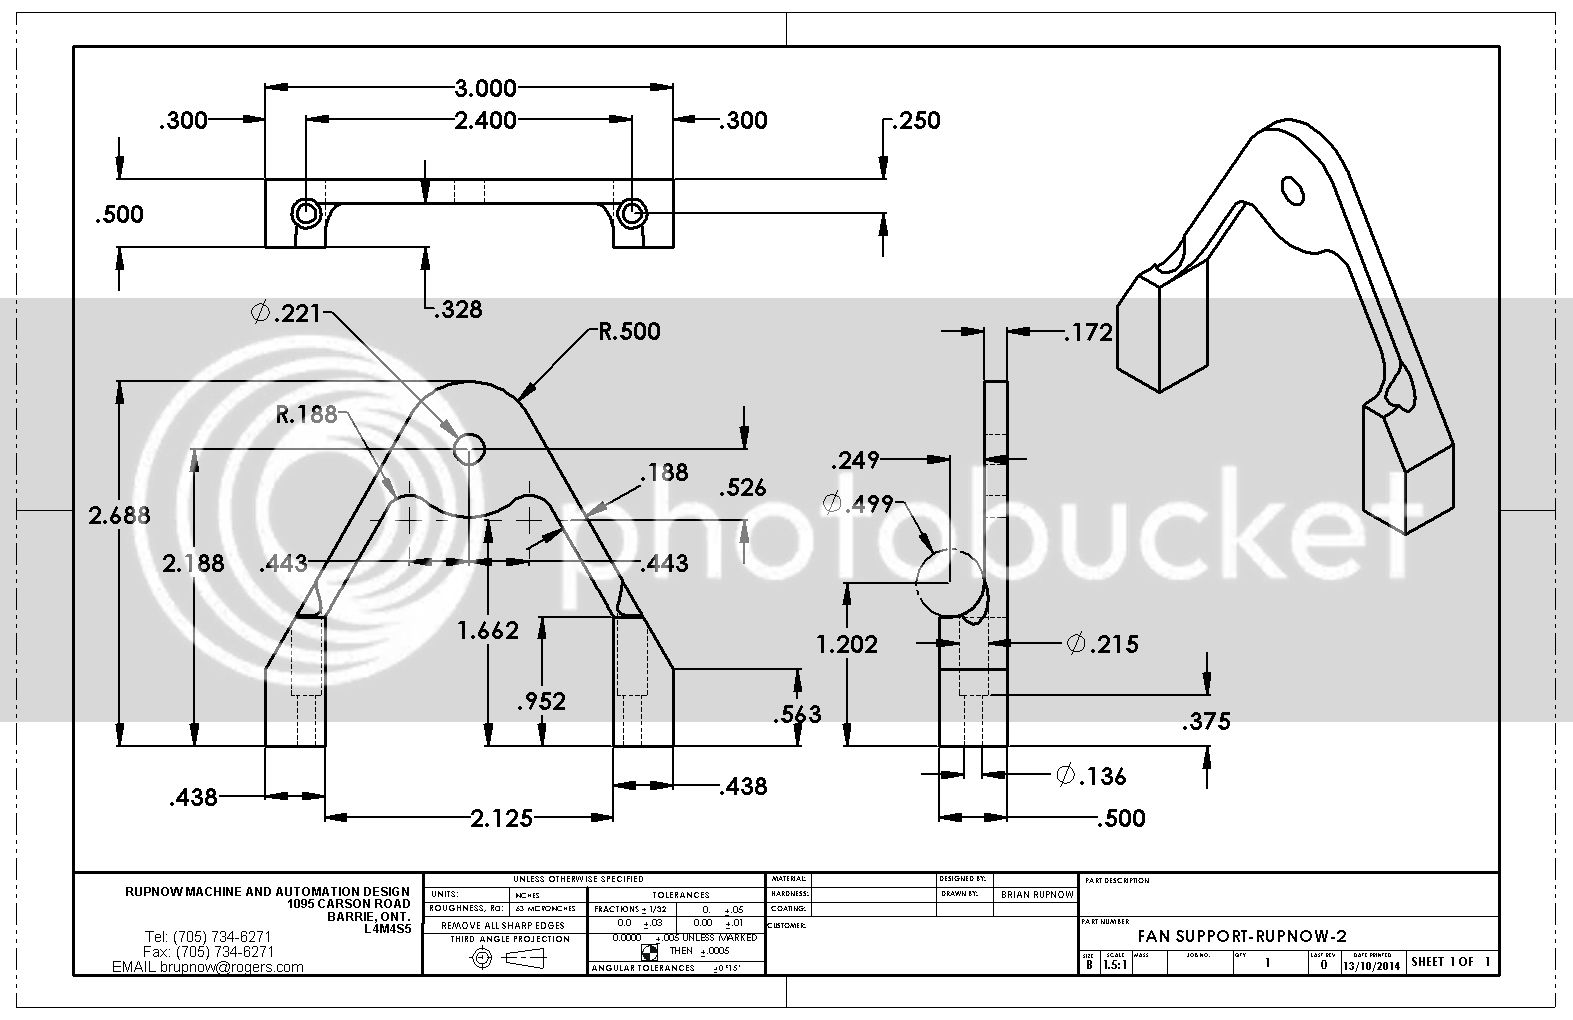
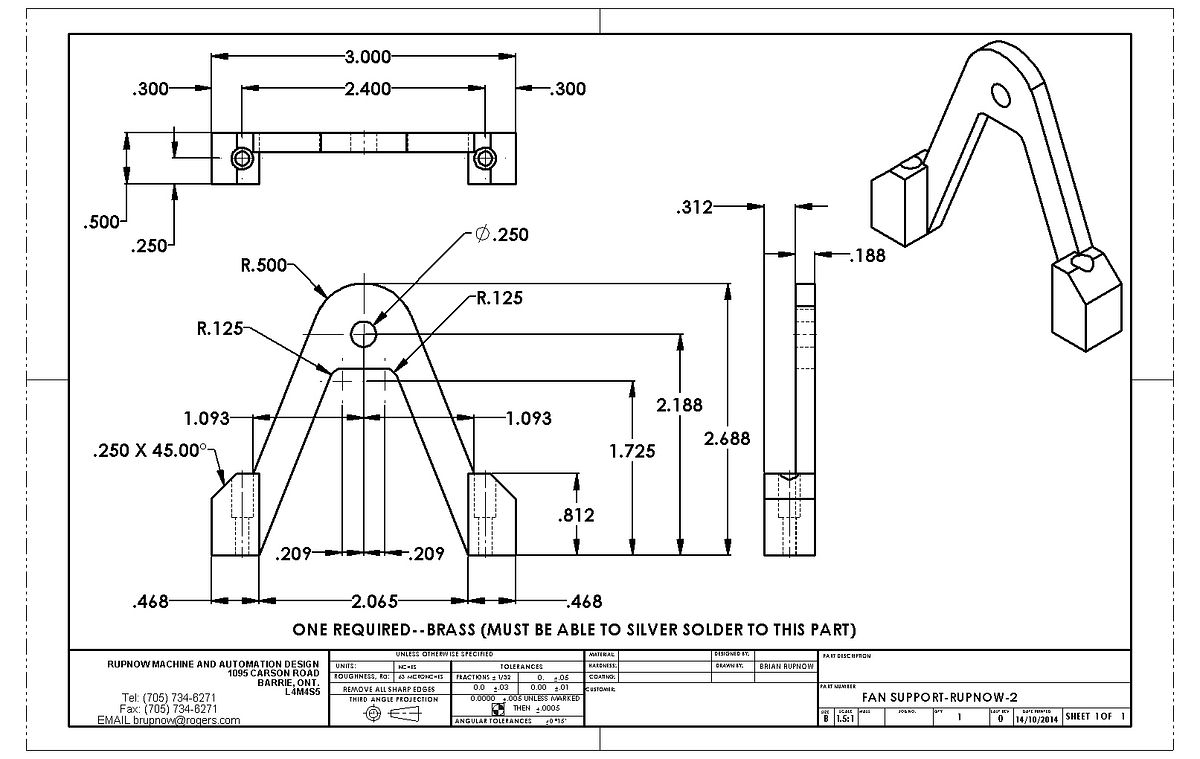
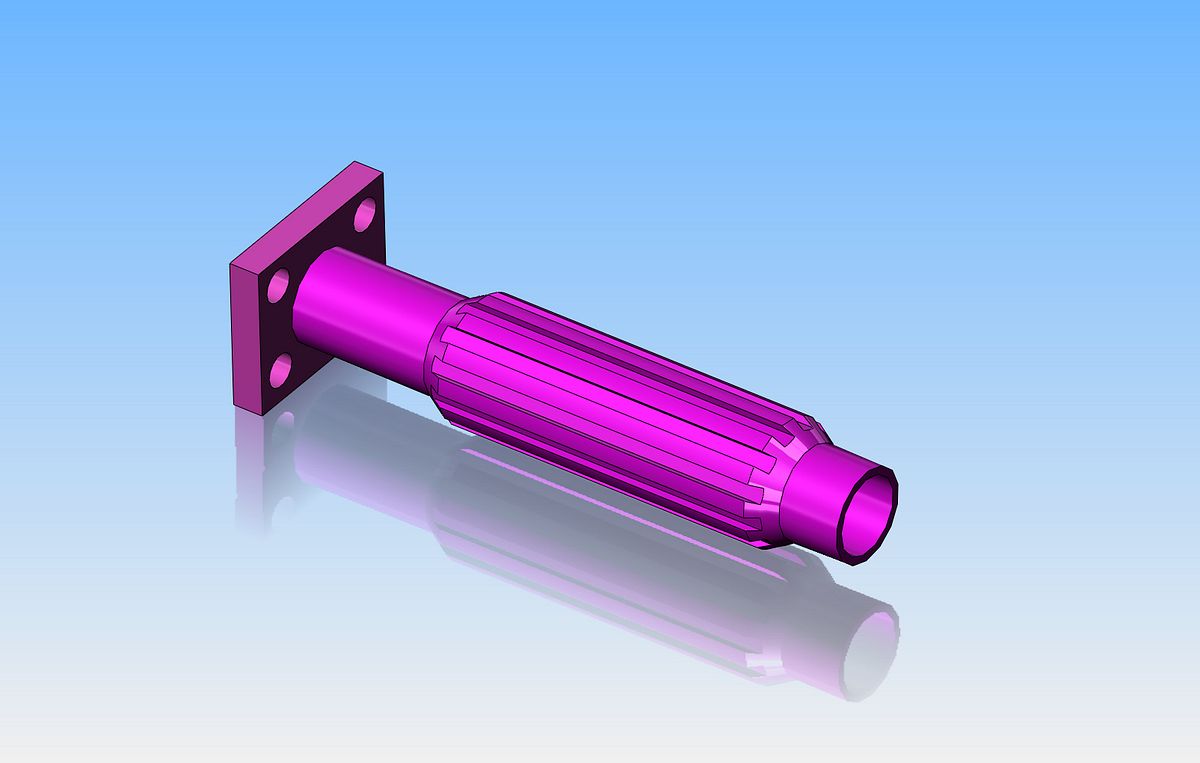
For reasons far more complex than I want to go into (but mainly involving how little material was left beside the counterbored bolt holes), I have went to a total redesign of this part. I don't do this terribly often, but since it is almost the last major part, and because it will be made of brass now instead of bronze, I have redesigned it. I finished the last of my "drop in" engineering design contracts this morning, so hope to complete this part and possibly the fan tomorrow.
 
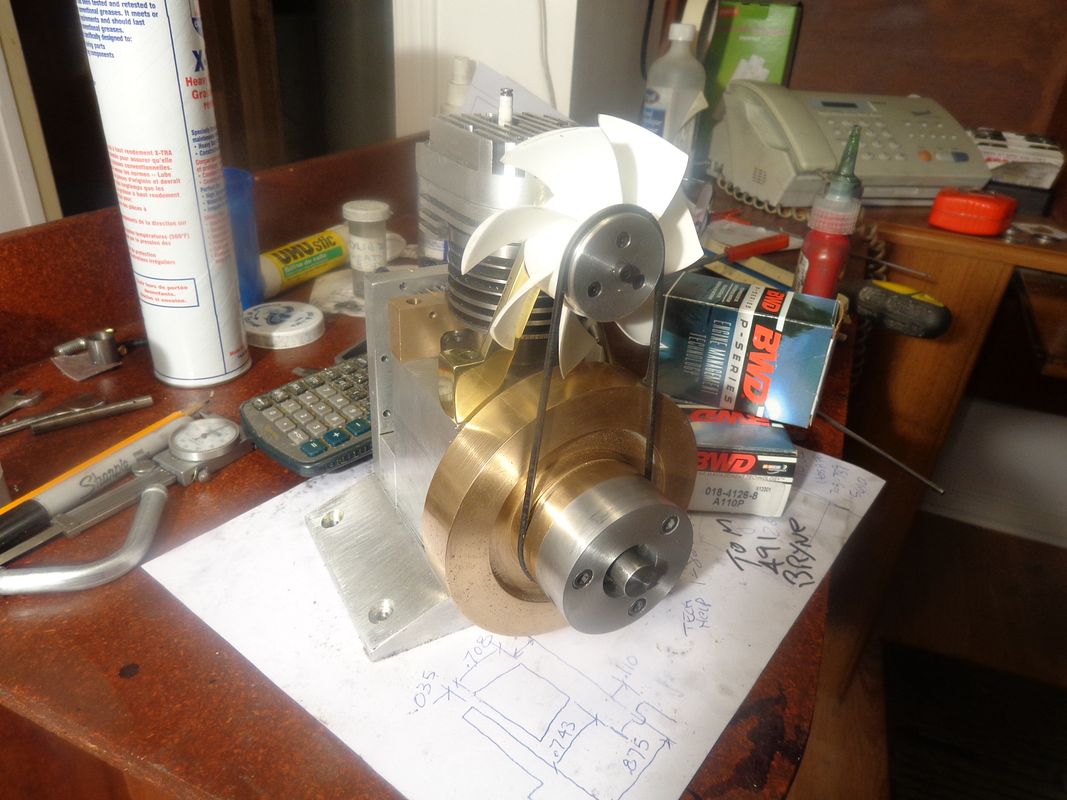
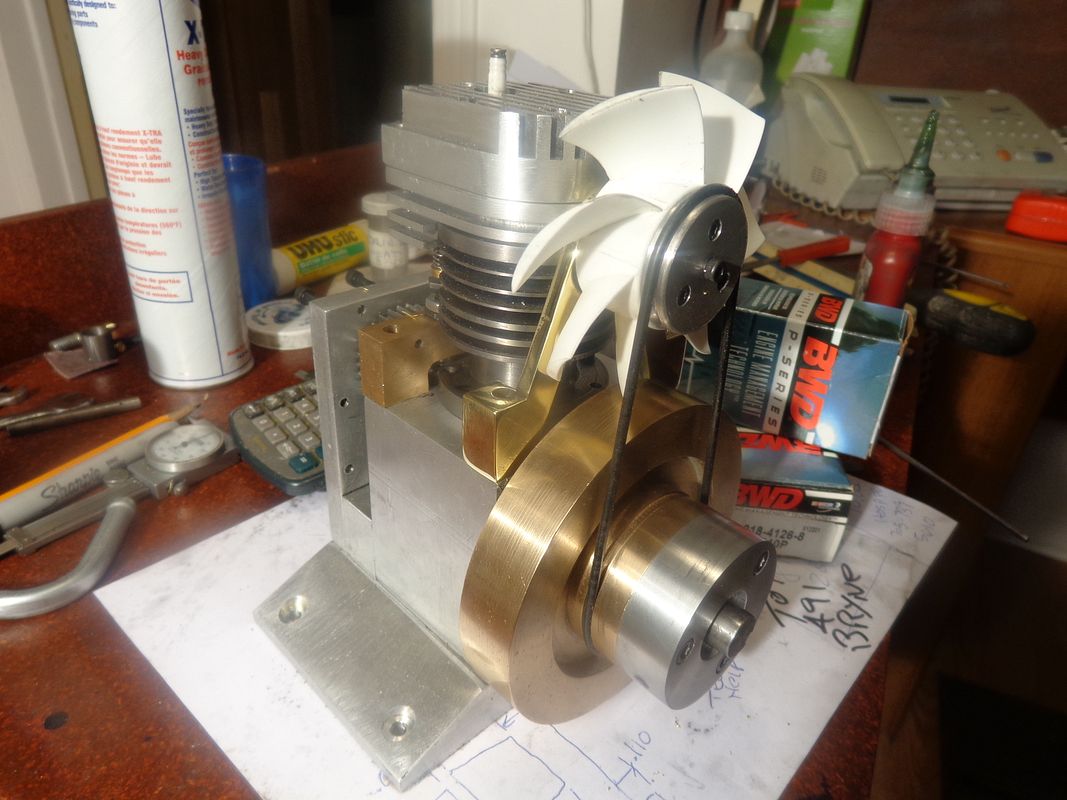
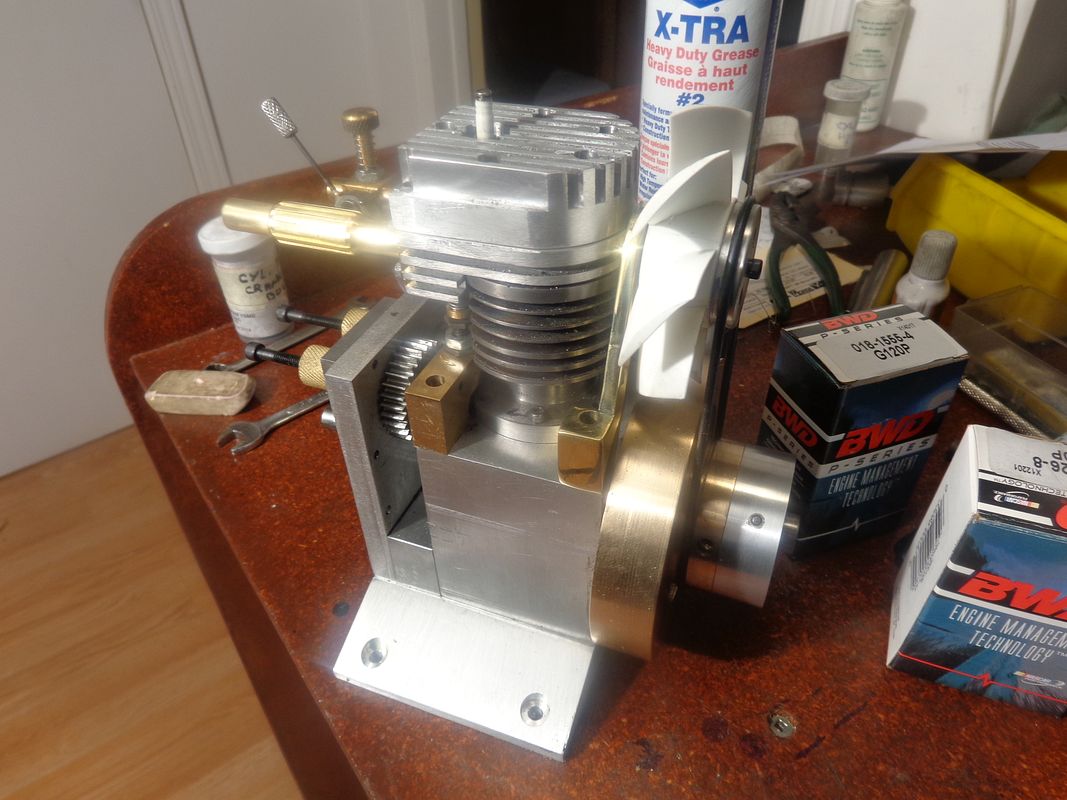
If the engine runs, I can guarantee that it will run cool. The white plastic fan is out of some computer hardware. I am not crazy about the color of it, (I may paint it) but at least the pitch on the blades is correct. I realize that the curvature of the blades would make it more efficient if it was going to turn counterclockwise, but it still puts out a good column of air if turned clockwise (I set all my engines up to turn clockwise.) That is because I use my variable speed drill as a starter, and if I run it counterclockwise the chuck loosens off. I still have to find some thin wall tubing of the correct diameter to solder onto my fan support to act as a fan shroud as per the 3D cad model seen at the early stages of this thread.--those little fans will really chop up fingers.

 
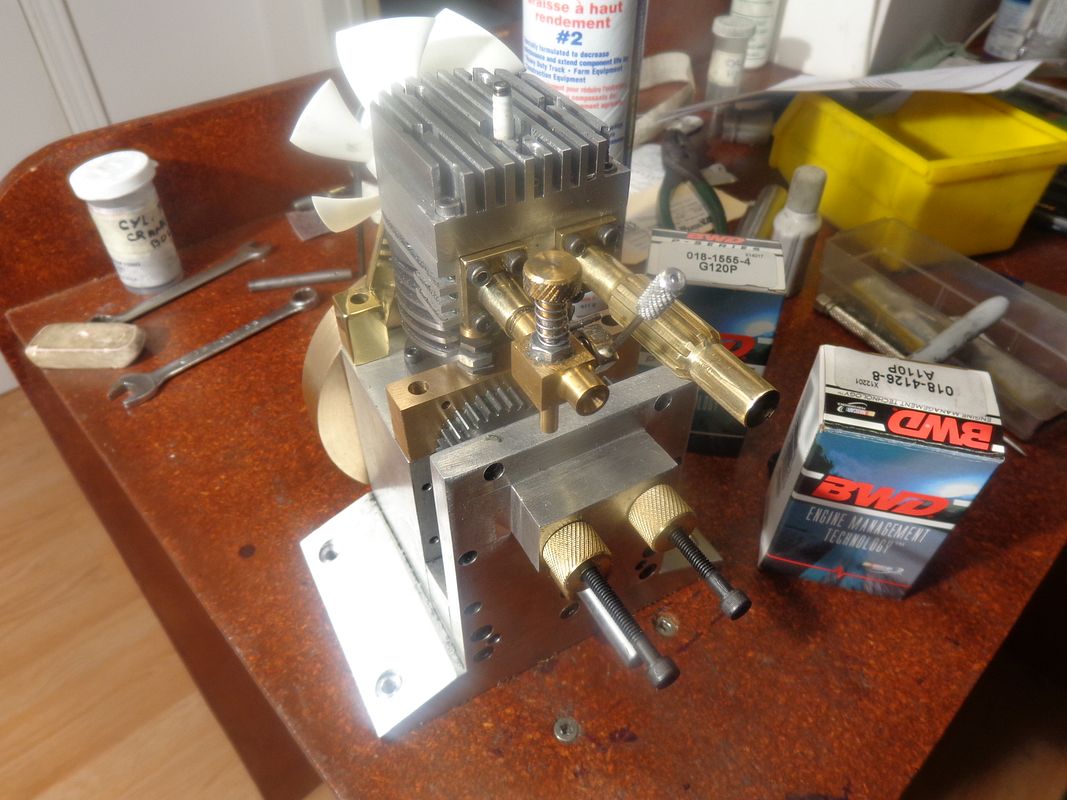
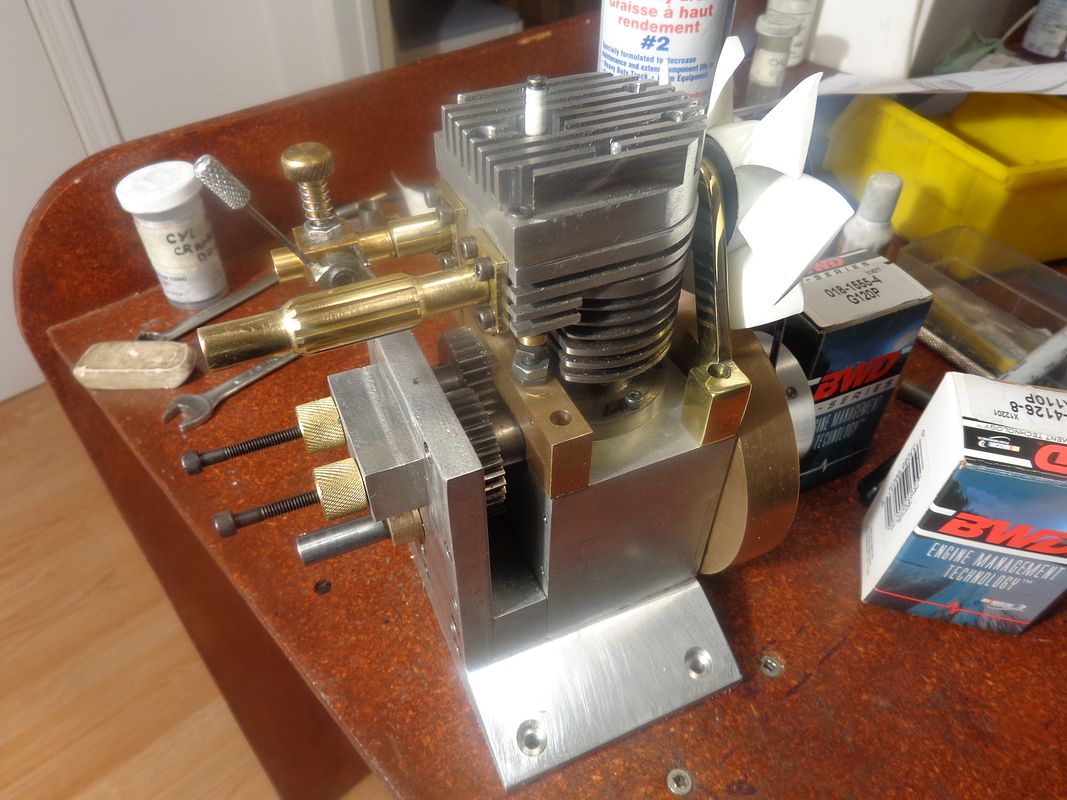
I think I may try my Chuck Fellows carburetor on this engine. It works great on the Webster. I will make a more complicated larger carburetor if I have to, but I already have the Chuck Fellows carb, and if I use it I can come straight out of the engine ports with both exhaust and carb and not have any interference.--Speaking of exhaust---I kind of like this. You can do nifty things with a piece of 1/2" diameter brass and a 1/16" slitting saw!!!---
 
Cross your fingers for me guys. It's pretty well all over but the final assembly. I am pleased with the way my intake and exhaust manifold turned out, and my Chuck Fellows carburetor looks real proud setting up there. Yes, I will be bevelling the corners on the tappet guide, gear backplate and fan support just like the solid model, but I thought I would wait until I had everything assembled and do it "in place". All I have left to fabricate is the fan shroud, and I MIGHT do that before I try to start the engine---but I am just as anxious to see this thing run as you are!!!---


Good looking Brian,

Just carefful with the sound wave of your exaust
not killing the sound wave in your carb:fan:

they are almost the same lenght and the biggest part of
your exaust is close to your carb and might cause an air lock

cheers
Luc
 
As I began my final assembly of the engine, a thought occurred to me. The displacement of this engine is quite large in relation to the volume inside the crankcase. I am breaking new ground here (for me anyways) and I thought it MIGHT need a crankcase vent. It might not, too, but now is the time to put one in, while I can still pull the engine all apart and flush it out before I put the rod and piston back in. If I don't need one, that's fine, it won't do any harm and didn't cost any money. If it does need one, at least it's in there.----Brian
 
After a full day of final assembly, individual cam timing, ignition timing, adding a new set of points and condenser, adjusting valve lash, and making a starter spud to fit this particular engine, I am just about ready to Rock and Roll. Has it got compression?--Hard to tell. It's a brand new engine, and it's too stiff to tell if I have compression or not when turning it over by hand. Tomorrow should tell me more---
 
Engine does have reasonable compression for a new engine that has never yet fired. I hooked it up with a v-belt to my 1800 rpm electric motor with a 1:2 ratio so it was turning at 900 rpm+/- for about 10 minutes without the sparkplug in it, to loosen it up a bit. I then put the sparkplug back in and turned the engine over with my variable speed drill. I had coated everything with oil, and as I turned it over, I seen ripples in the oil racing away from the sparkplug. Closer investigation shows that I need to machine the counterbore that the sparkplug sets in about .020" deeper to get below a cooling fin groove. That will be my first chore in the morning---Pull the head and machine the sparkplug seat a tiny bit to get a good seal at the plug. I will borrow a gas tank from one of my other engines.
 
Darn -I'm off to the bush for a few days so I won't get to see it run til I get back. I hope it starts nice and easy for you.
 
It's been a GREAT morning here. I got up and borrowed the gas tank off my Odds and Ends hit and miss engine, did a little machining on the cylinder head sparkplug seat, hooked up the battery, and AWAY WE WENT!! I have lots of clean up and finessing to do, but we have a runner!!!!--Brian
[ame]https://www.youtube.com/watch?v=np2N5ZxtKuo&feature=youtu.be[/ame]
 
Back
Top